Ready to add beauty and character to your walls with classic beadboard? Learning how to install beadboard changes plain rooms into spaces with appeal and texture.
Beadboard installation offers an affordable way to update bathrooms, kitchens, hallways, and living areas with traditional cottage-style character.
This versatile wall treatment hides imperfections while creating visual interest through vertical grooves and raised ridges.
The installation process requires basic carpentry skills and common tools that most homeowners already own for successful results.
What is a Beadboard and What are its Types?
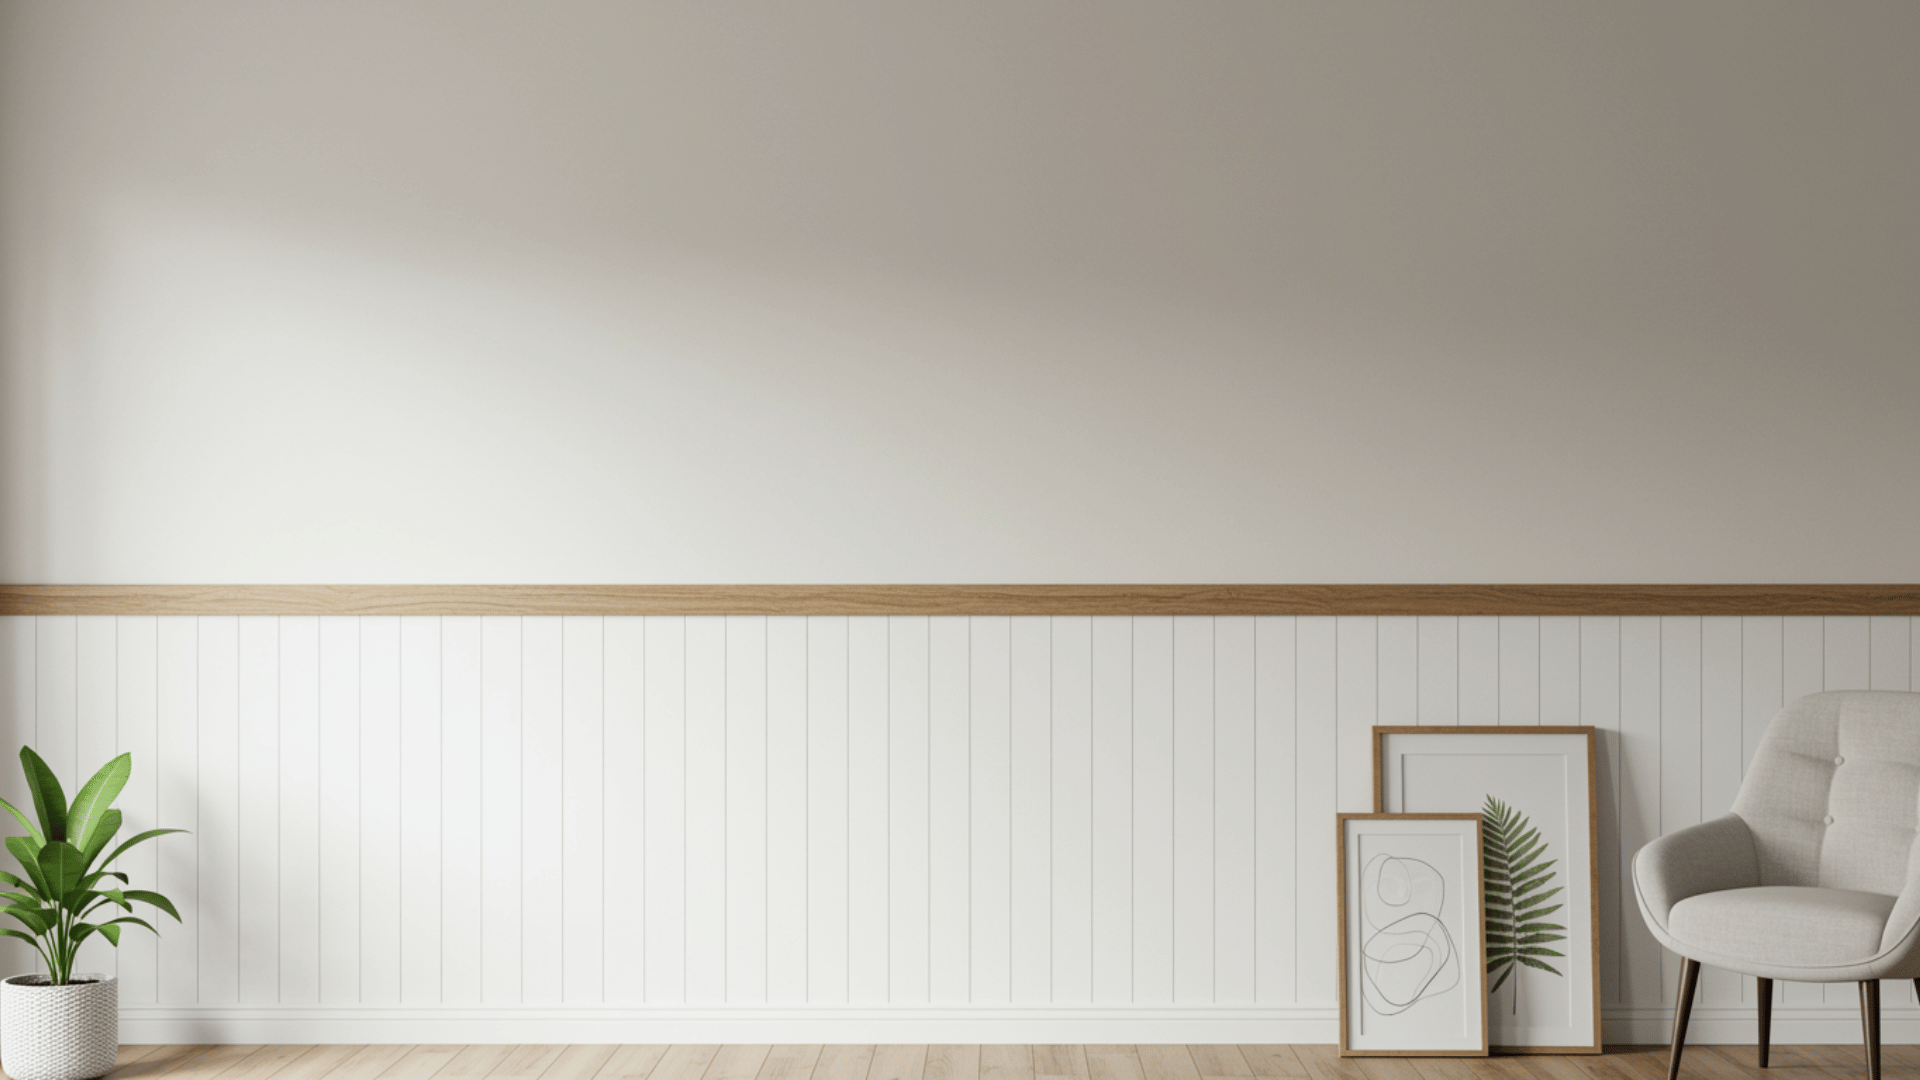
Beadboard consists of decorative panels featuring evenly spaced vertical grooves, creating a classic lined pattern popular in traditional and cottage-style homes.
Originally made from individual tongue-and-groove wooden planks, modern beadboard panel options include MDF sheets and vinyl panels, making installation easier.
The vertical ridges are typically spaced 3 to 4 inches apart, creating the distinctive beaded appearance that gives this wall treatment its name. Here are different types of beadboard:
- Standard beadboard
- Cove beadboard
- Butterfly beadboard
- Random V-groove
Materials and Tools Required to Install a Beadboard
Gather essential supplies and equipment before starting your beadboard installation project for smooth, efficient, professional-looking results throughout.
| Category | Items Needed | Purpose |
|---|---|---|
| Materials | Beadboard panels or planks | Main wall covering material |
| Cap molding or chair rail | Top edge finishing trim | |
| Baseboard molding | Bottom edge finishing trim | |
| Corner trim pieces | Inside and outside corner coverage | |
| Construction adhesive | Panel attachment to walls | |
| Finishing nails (1.5-2 inches) | Securing panels and trim | |
| Wood putty or filler | Filling nail holes | |
| Primer and paint | Finishing and protection | |
| Tools | Tape measure | Measuring wall dimensions accurately |
| Level | Ensuring straight, plumb installation | |
| Circular saw or jigsaw | Cutting panels to size | |
| Nail gun or hammer | Attaching panels and trim | |
| Stud finder | Locating wall studs for secure mounting | |
| Caulk gun | Applying construction adhesive | |
| Sandpaper | Smoothing edges and filled areas | |
| Safety glasses and gloves | Personal protection during work |
Step-by-Step Process of Installing a Beadboard
Learn the complete installation process, changing plain walls into beautiful beadboard surfaces with proper techniques and tools.
Step 1: Measure and Plan Your Layout
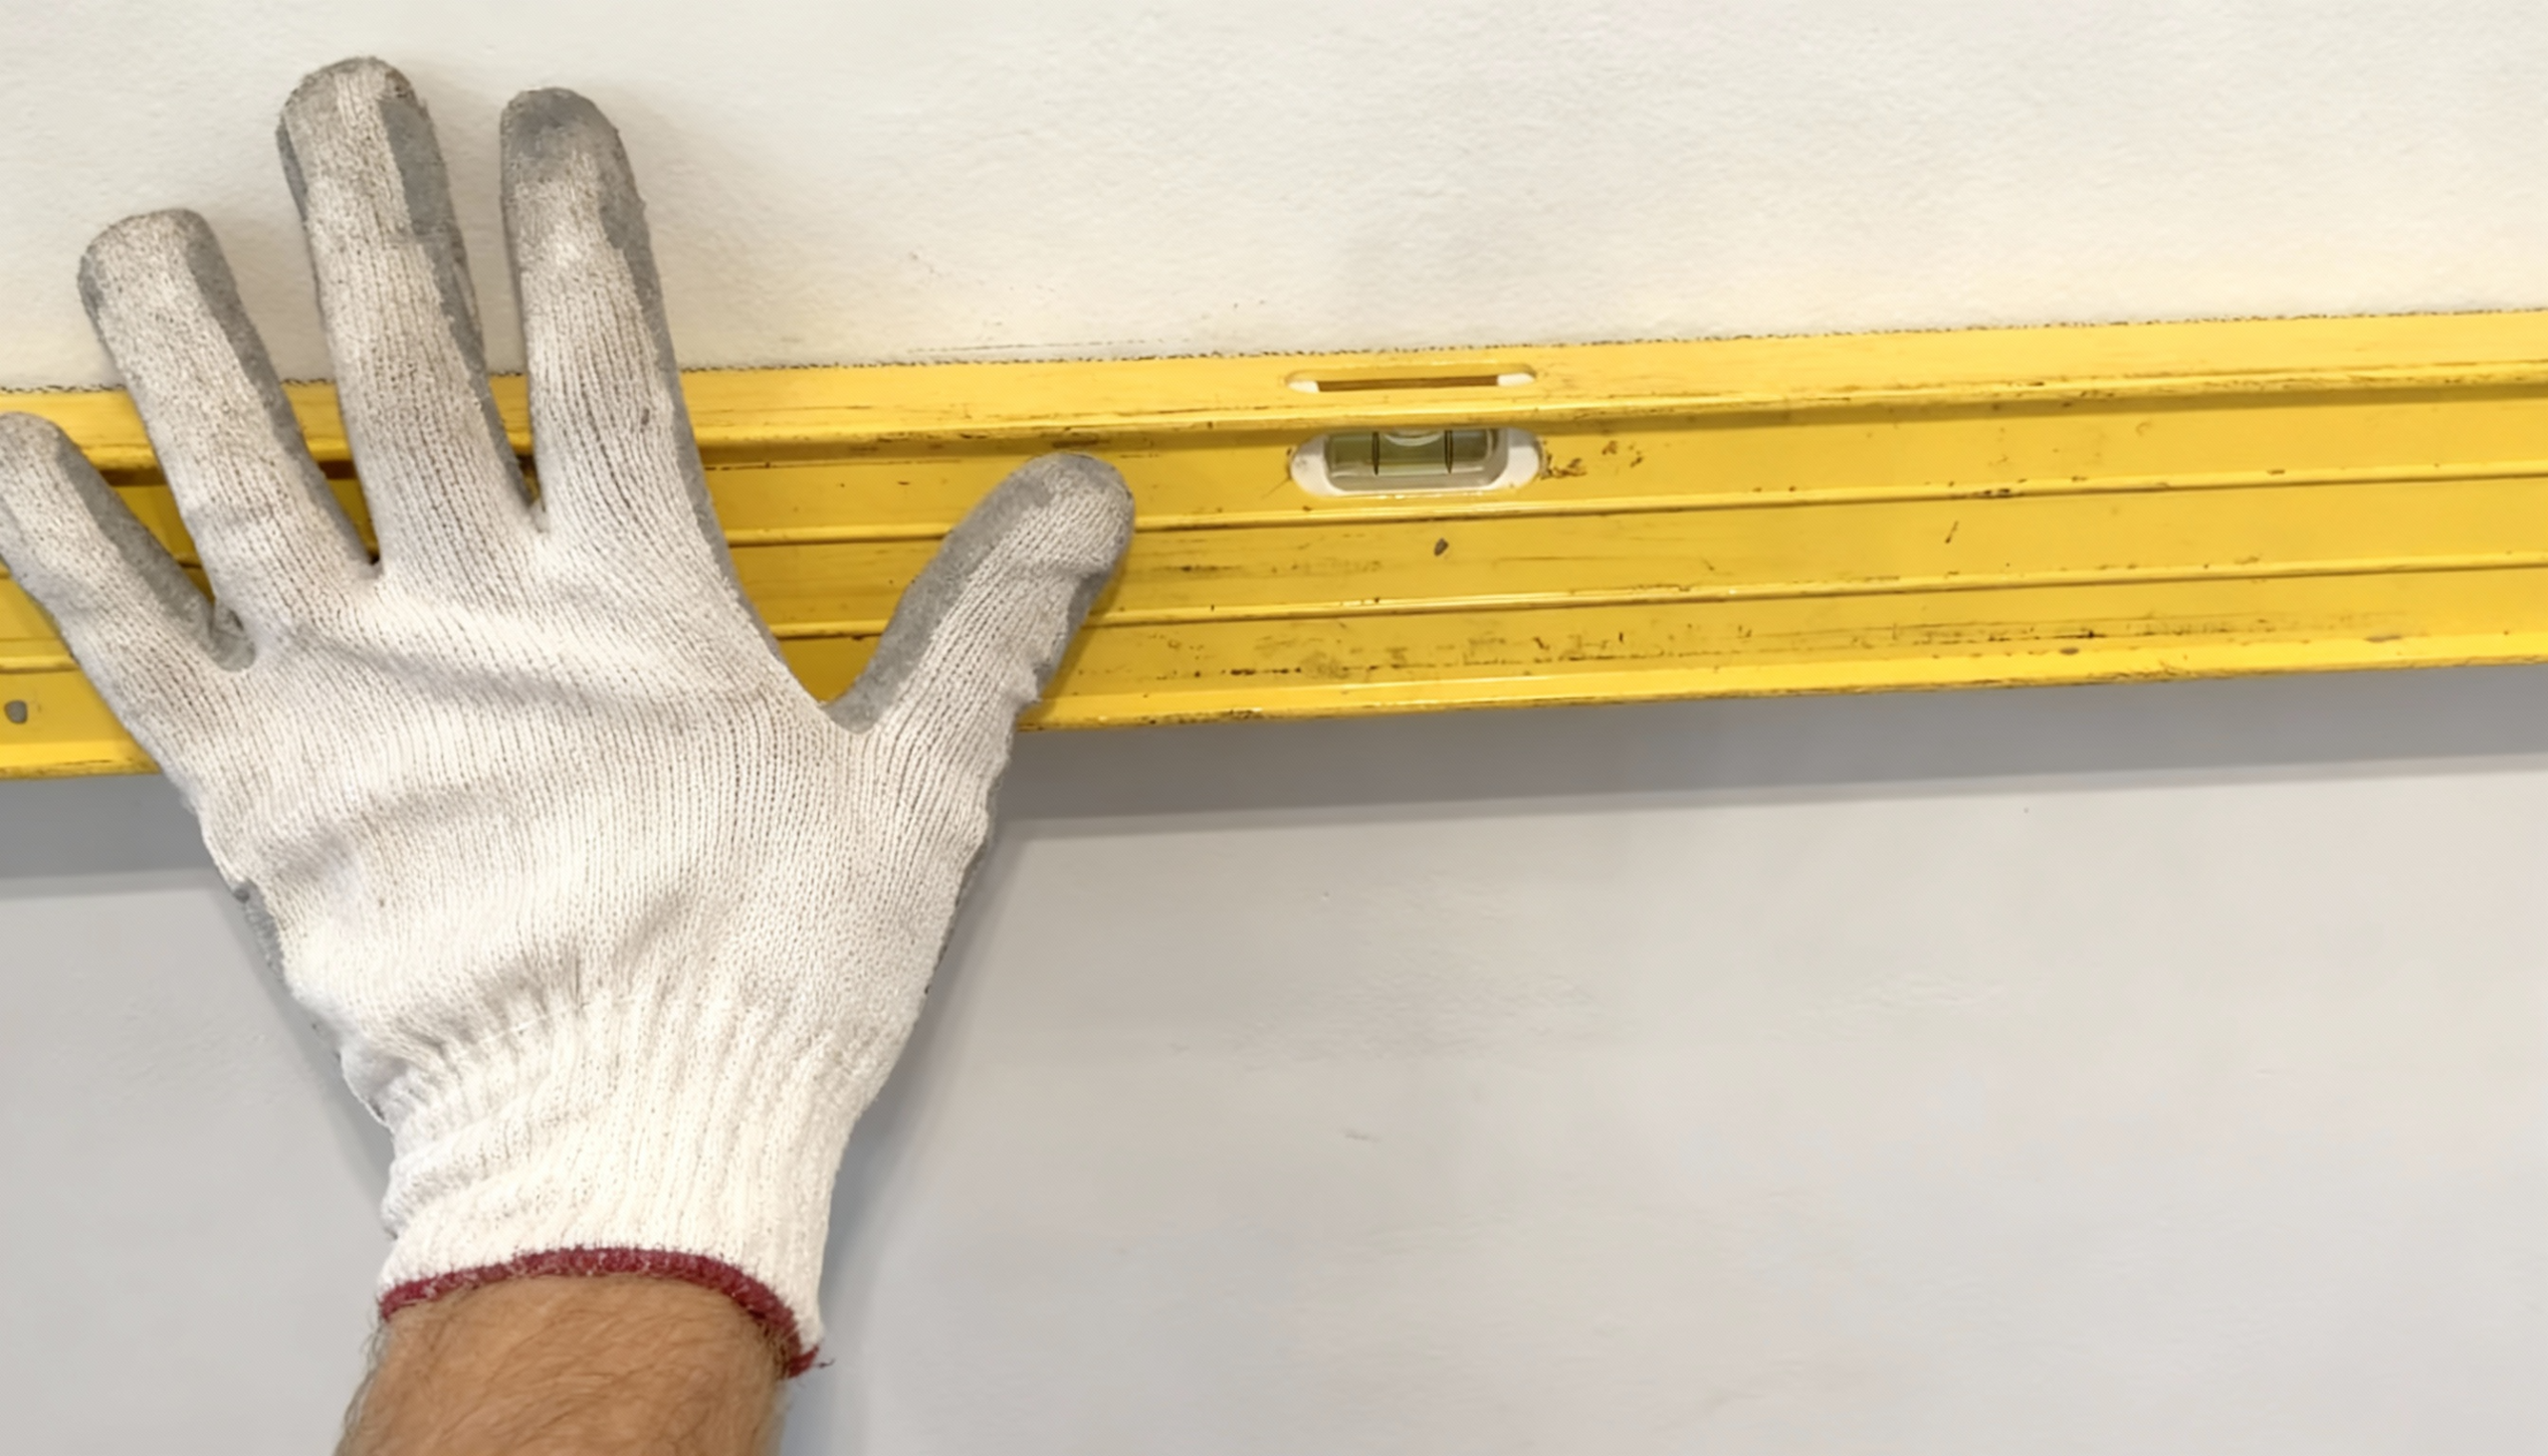
Measure the wall height from floor to the desired beadboard height, typically 32 to 36 inches for wainscoting or full wall height for complete coverage.
Calculate how many bead board panel sheets you need by dividing the total wall width by the panel width, accounting for corners and openings.
Plan your layout so panel seams fall on wall studs whenever possible for secure attachment. Mark a level horizontal line at your desired height to guide the top edge placement.
Step 2: Rotate and Cut the Beadboard Panels
Measure and mark each panel carefully before cutting to ensure accurate dimensions that fit your specific wall measurements.
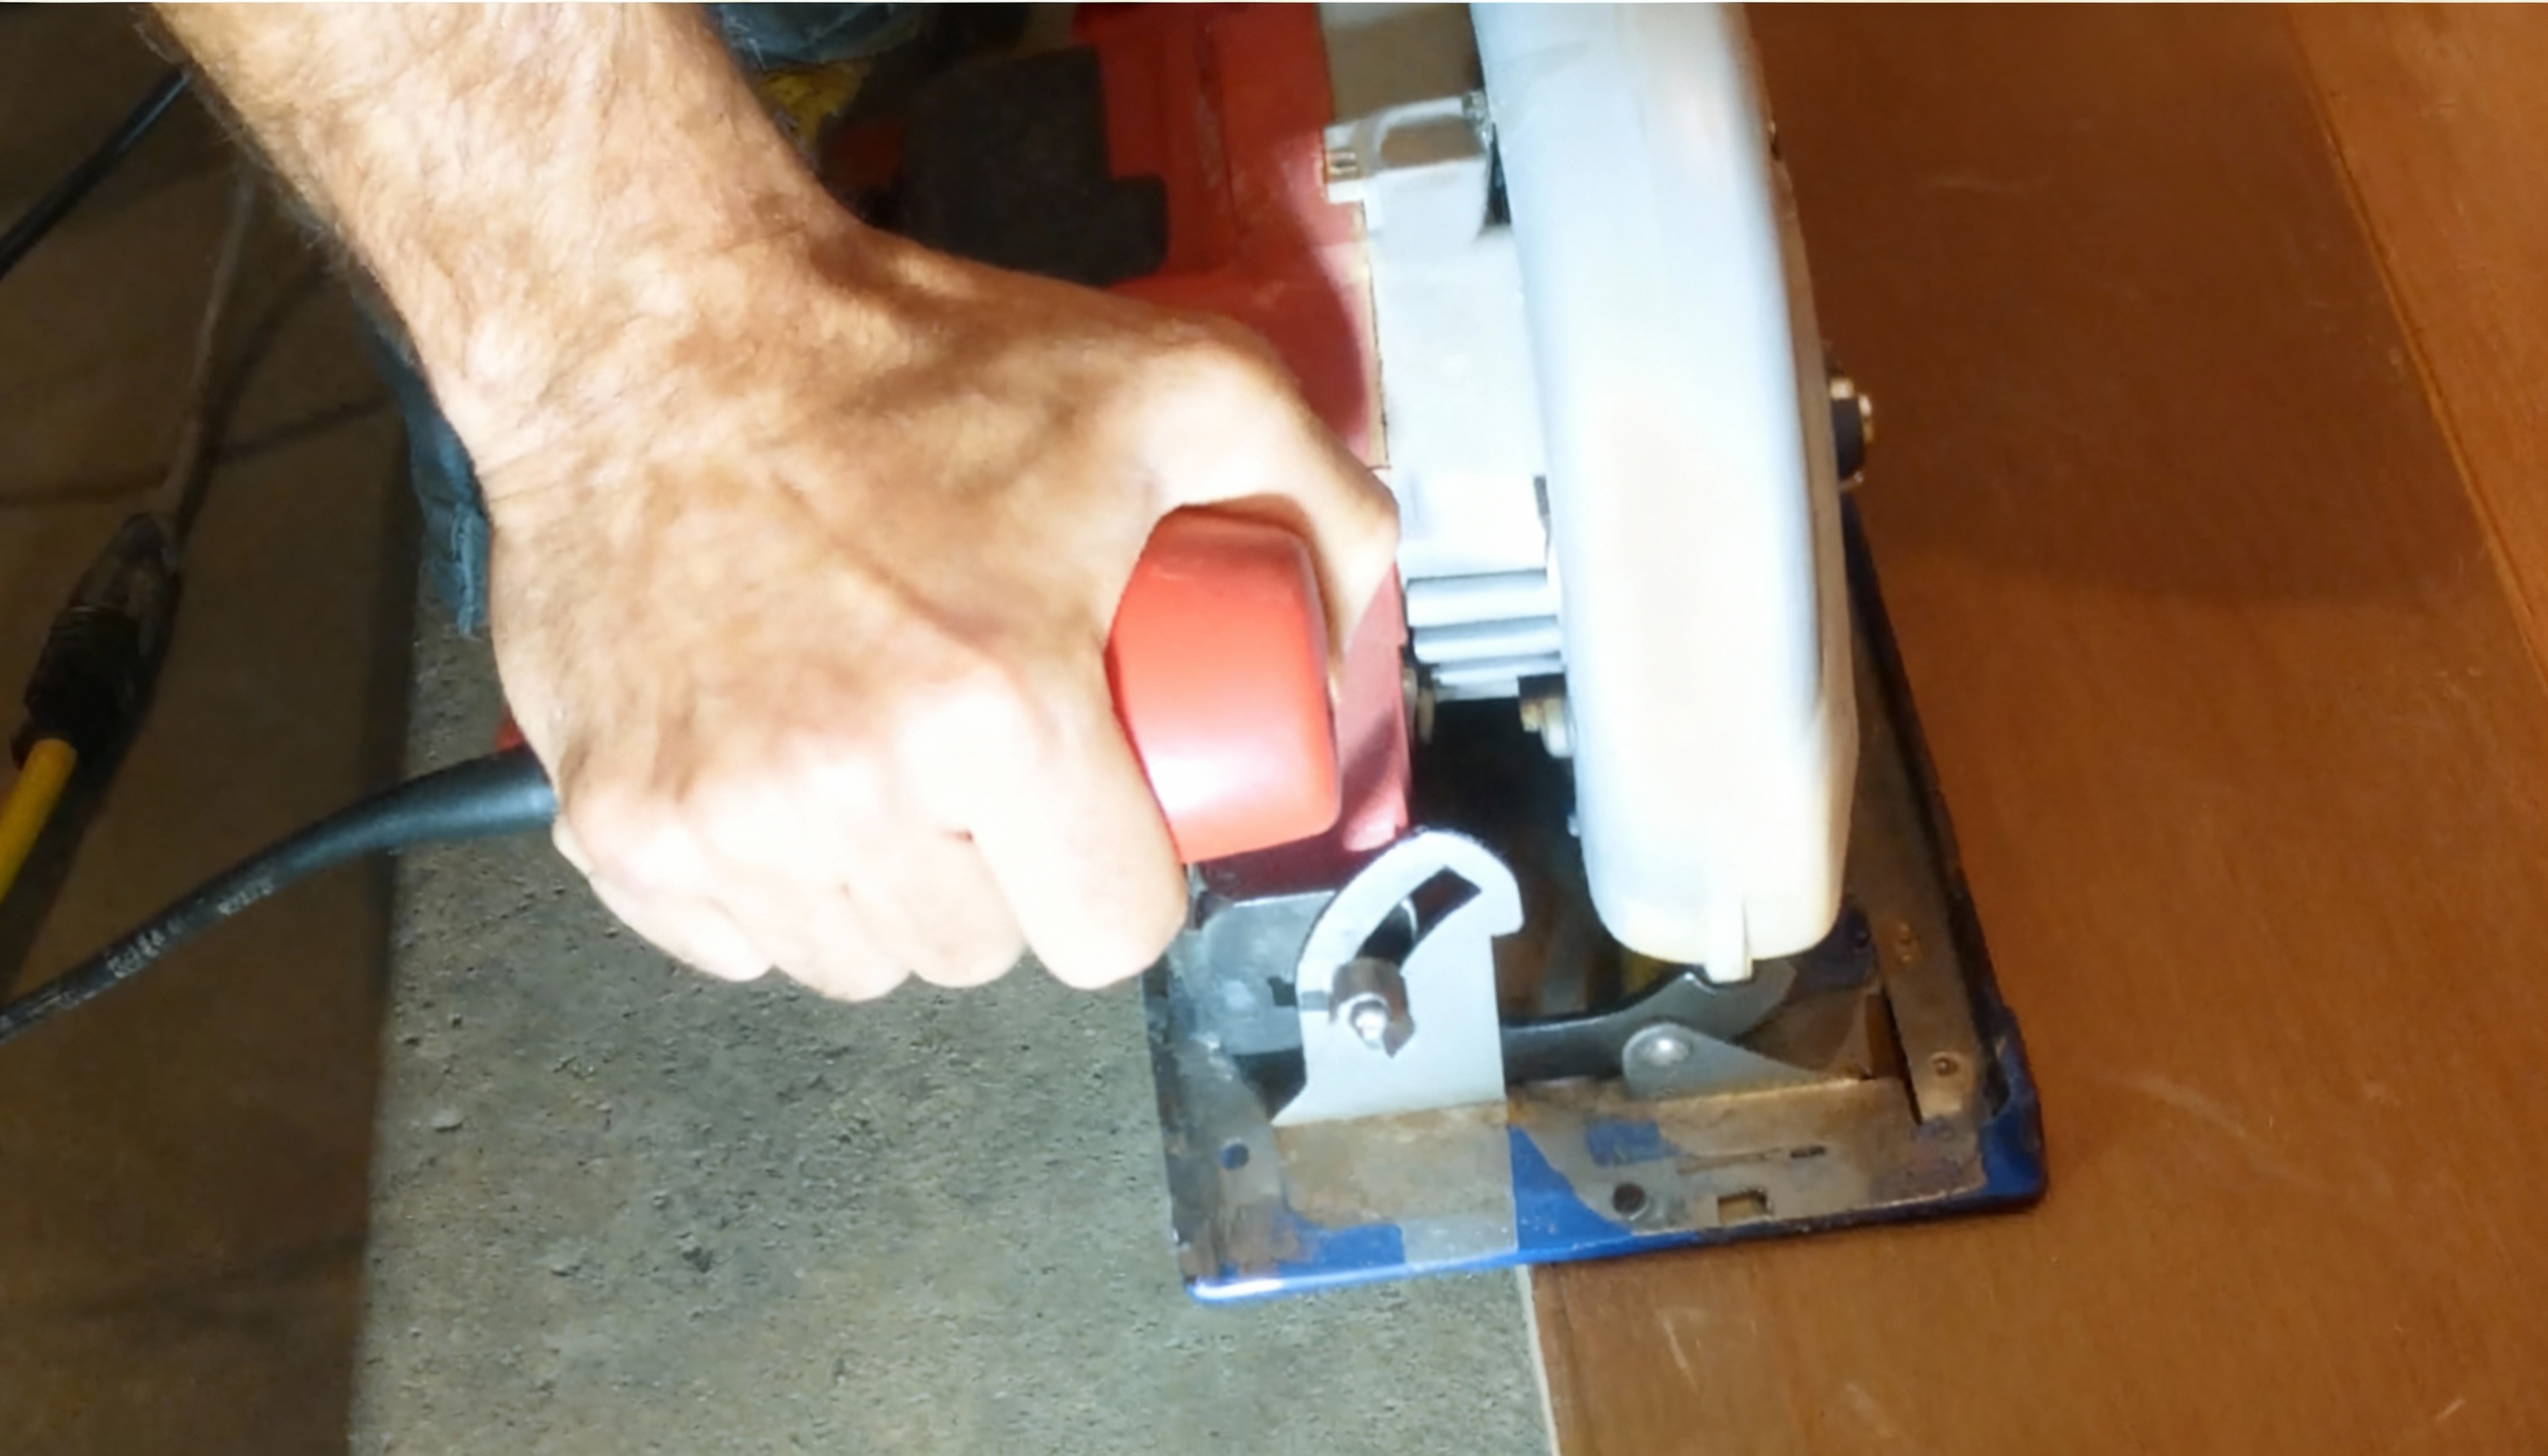
Use a circular saw or jigsaw with a fine-tooth blade to cut beadboard panels to the correct height and width for your installation.
Cut slowly and steadily to prevent chipping or splintering the material, especially when working with MDF or wood veneer panels.
Step 3: Apply Adhesive and Install Panels
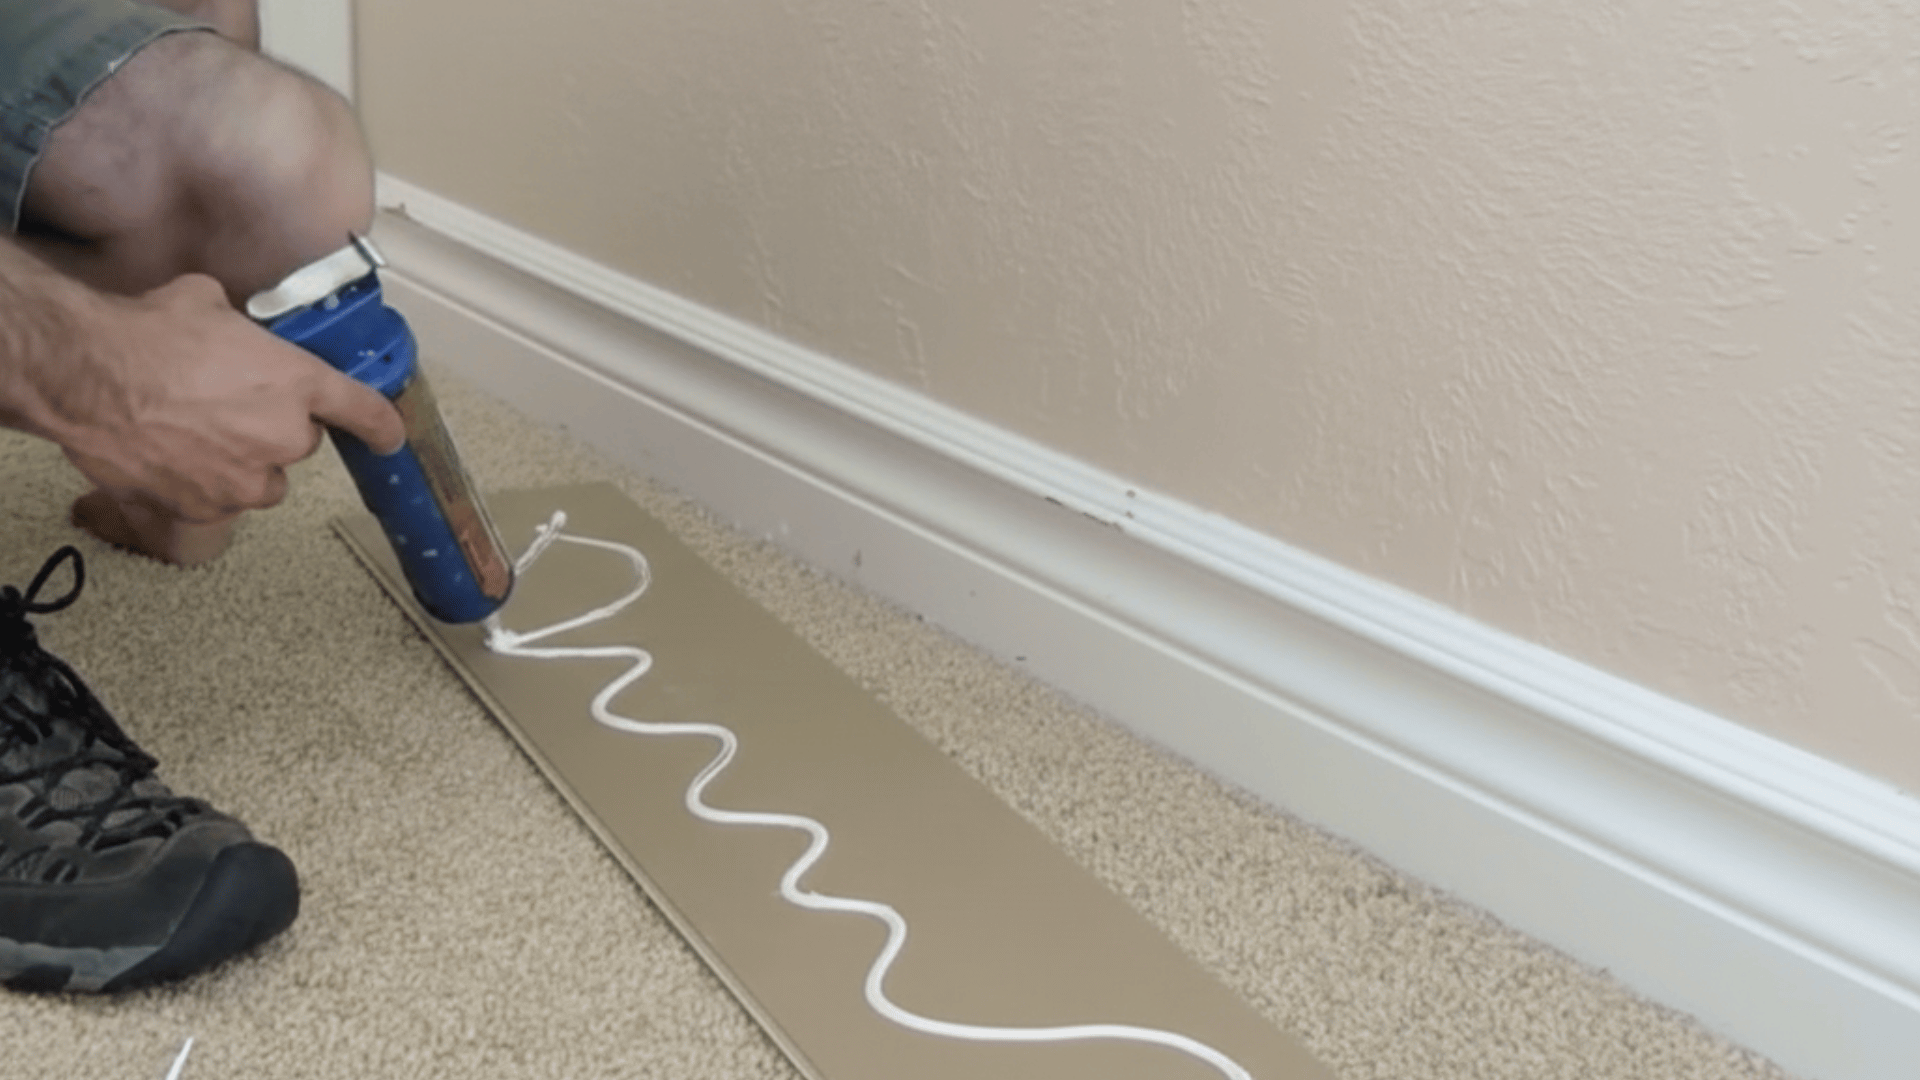
Apply construction adhesive to the back of your first bead board panel in a zigzag pattern, focusing on areas that will contact wall studs.
Position the panel against the wall, starting in a corner, pressing firmly to ensure good contact with the adhesive throughout.
Check that the panel sits perfectly plumb using your level before securing permanently with finishing nails driven into wall studs.
Step 4: Secure Panels with Nails
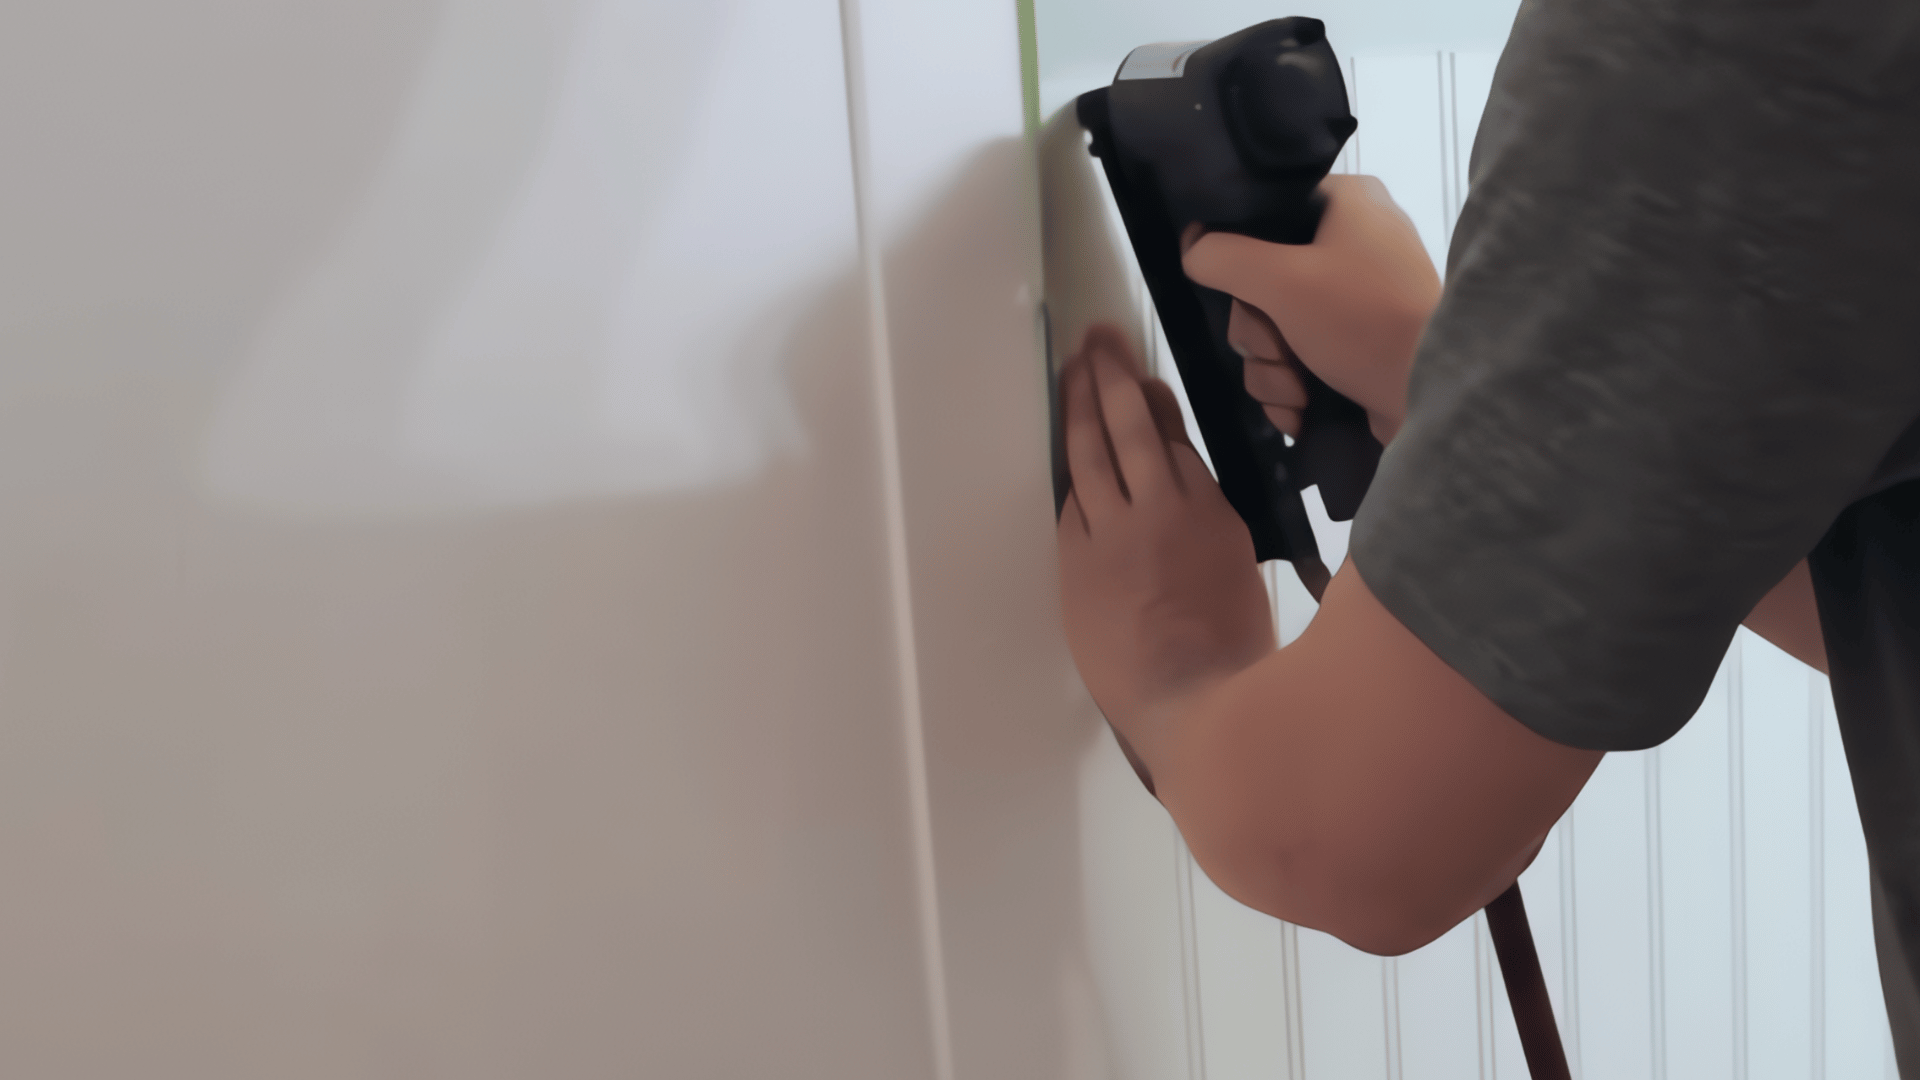
Drive finishing nails through the beadboard into wall studs at 12 to 16-inch intervals along each stud location for maximum holding strength.
Nail along the top edge, bottom edge, and through the panel face into studs, countersinking nails slightly below the surface without cracking material.
For tongue-and-groove installations, angle nails through the tongue at 45 degrees to hide fasteners within the joint for a cleaner appearance.
Step 5: Apply Finishing Touches
Allow the putty to dry completely according to the manufacturer’s instructions, typically 30 minutes to 2 hours, depending on the depth and humidity levels in your room.
After drying, clean the surface with a soft cloth, removing all dust particles, then check that your beadboard sits perfectly level and secure.
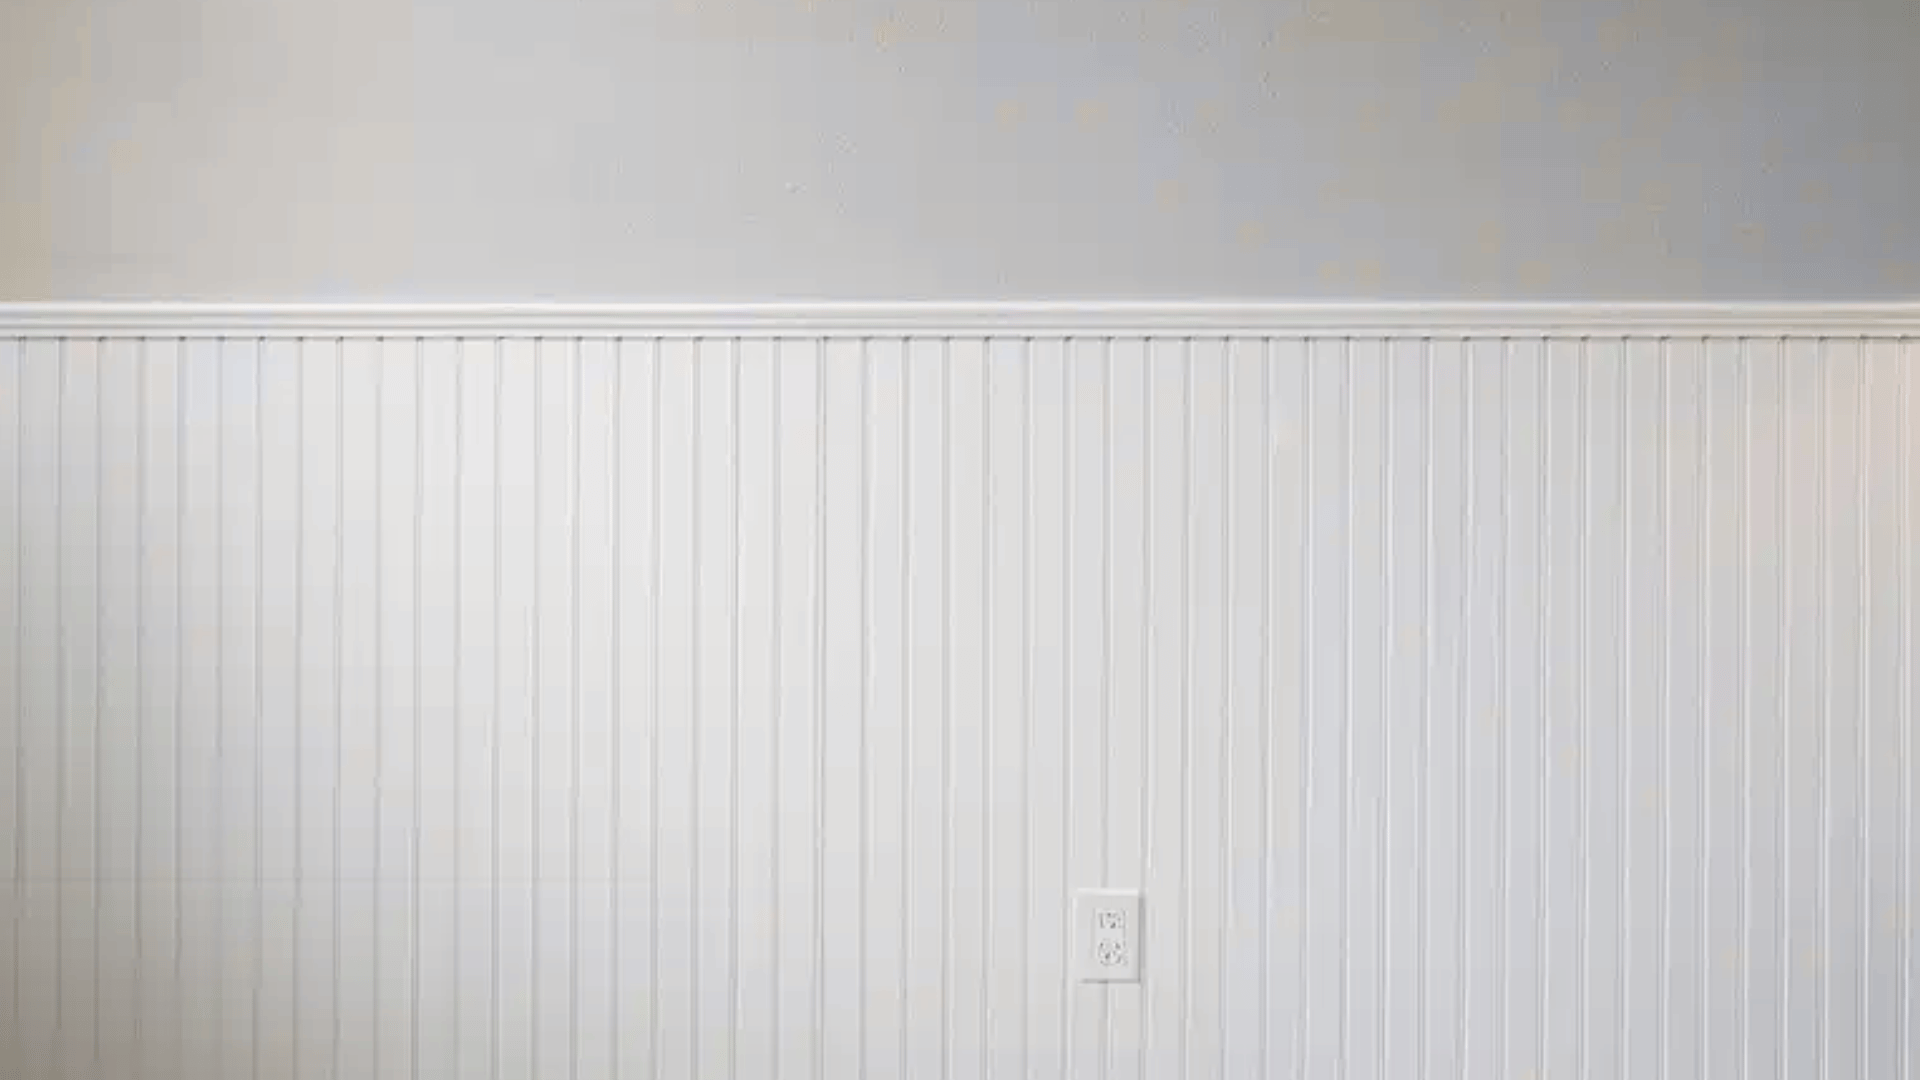
Your beadboard installation is now complete and ready for the final painting step to achieve a beautiful, professional finish.
Safety Tips to be Followed While Installing a Beadboard
Following basic safety practices protects you from common injuries when learning how to install beadboard in your home.
- Wear Safety Glasses: Protect eyes from flying debris when cutting or nailing panels.
- Use Hearing Protection: Reduce noise damage when operating power saws and nail guns.
- Work in Ventilated Areas: Open windows and doors when using adhesives and paints.
- Check Electrical Lines: Turn off power before cutting near outlets or light switches.
- Secure Ladders Properly: Place ladders on stable, level ground before climbing up.
- Keep Work Area Clear: Remove tripping hazards and maintain an organized, clean workspace.
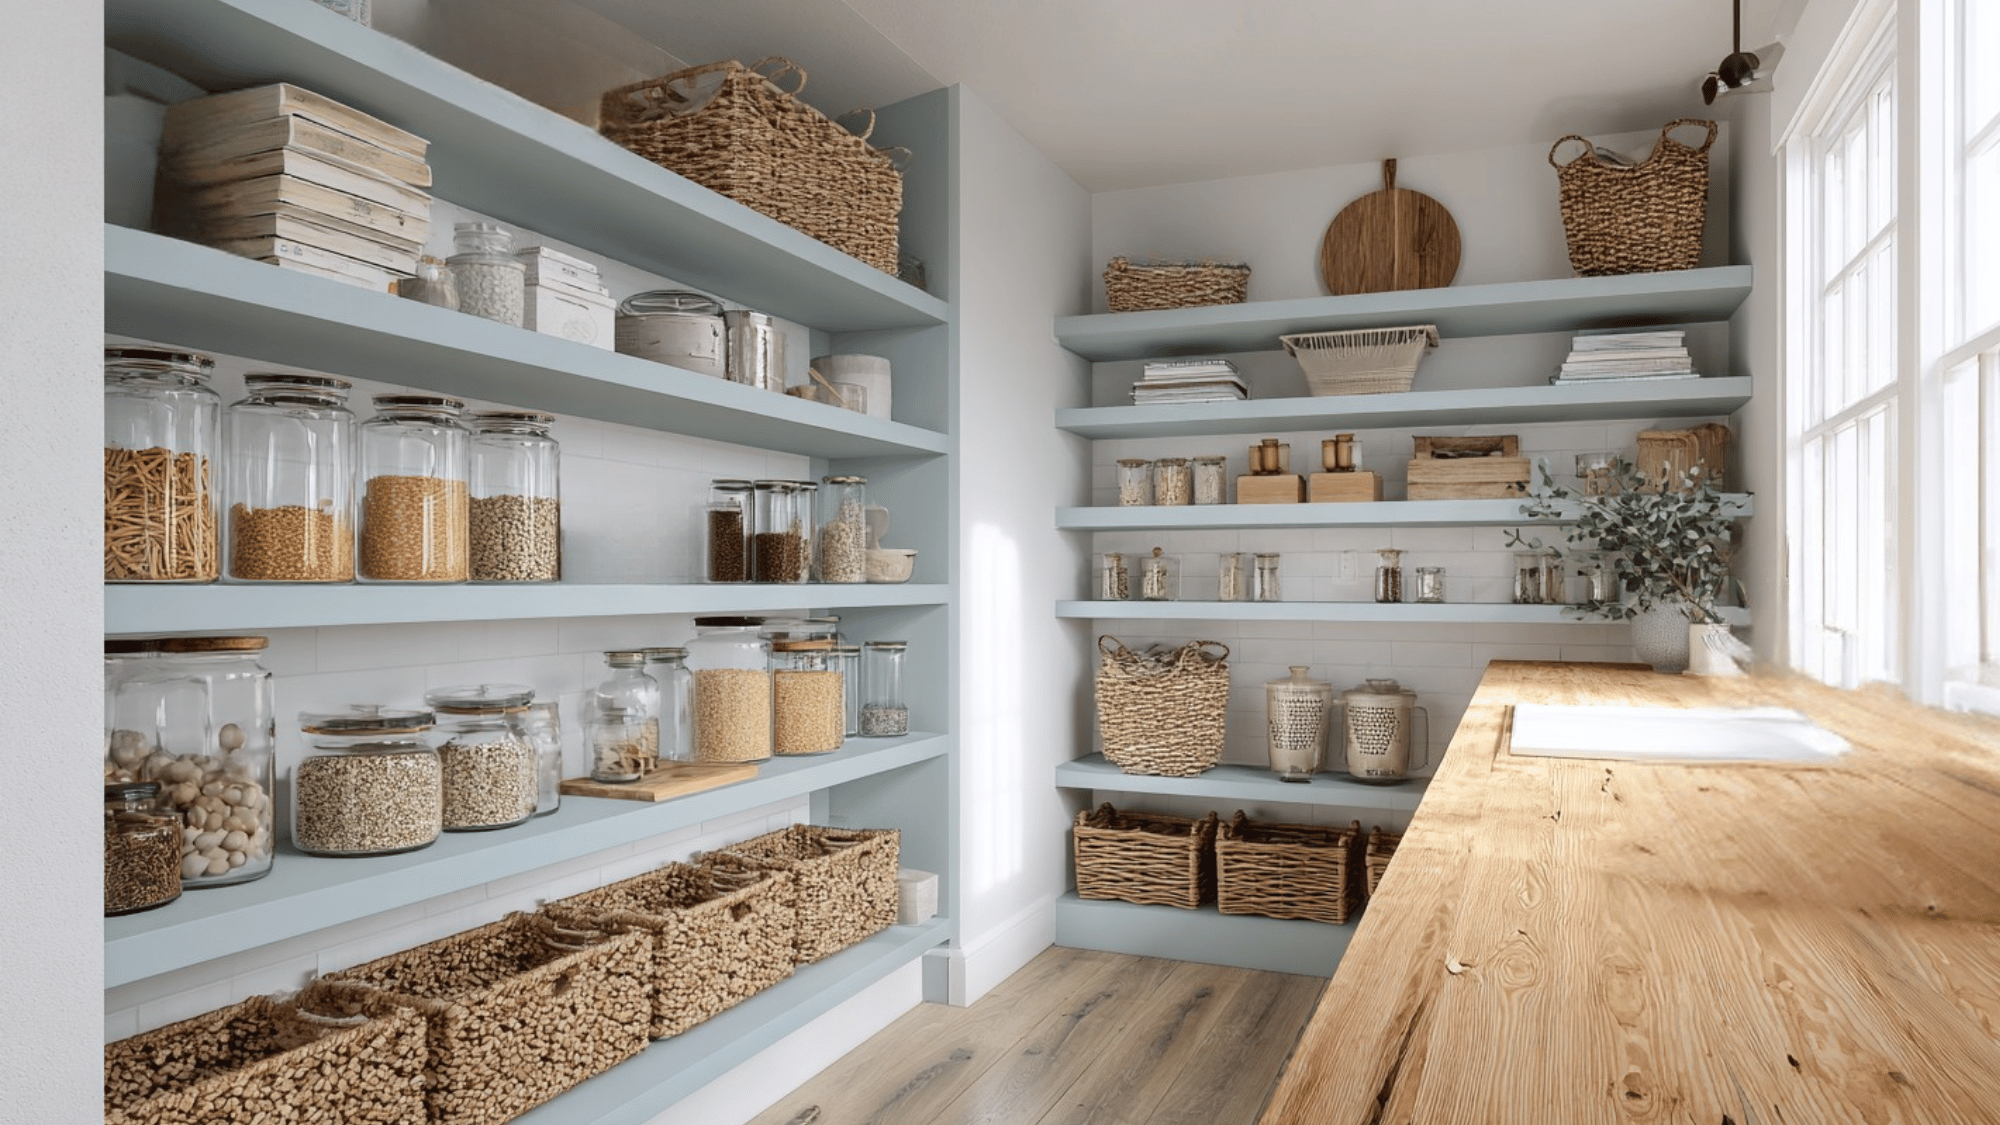
How Does Installing a Beadboard Improve Your Living Space?
Installing beadboard creates visual interest through texture and dimension that plain drywall cannot match in residential interiors.
The vertical lines make rooms appear taller by drawing the eye upward, particularly effective in spaces with lower ceilings needing height enhancement.
Bead board panel installations hide wall imperfections, damaged drywall, and outdated tile without expensive full-wall replacement or extensive repairs.
This classic treatment adds cottage beauty and traditional character that increases home value and appeals to buyers seeking homely design elements.
The durable surface withstands bumps and scuffs better than painted drywall alone, making it practical for high-traffic hallways and family bathrooms.
Conclusion
Mastering how to install beadboard gives you the skills to change ordinary rooms into beautiful spaces with classic-designed character and appeal.
This manageable project requires basic tools, careful measuring, and patience during installation for professional-looking results that amplify your home.
Ready to start your beadboard project? Gather your materials, follow these steps, and create beautiful walls that add lasting beauty to your home.