Want to grow amazing vegetables without spending a fortune on garden soil and supplies?
Creating proper layers for a DIY raised garden bed with affordable materials gives your plants the perfect growing environment.
The right combination of layers creates ideal conditions for vegetables, herbs, and flowers to thrive throughout the growing season.
Understanding what goes in each layer and why it matters helps you build productive planter boxes that deliver abundant harvests year after year, without overspending.
How to Pick the Right Depth for Raised Beds
The depth of your raised garden bed determines how plants grow and how you should structure your layers for the best results.
- 6–8 inches: Best for shallow-rooted plants like lettuce, spinach, or herbs.
- 12 inches: Ideal for most vegetables and flowers with medium root depth.
- 18–24 inches: Perfect for deep-rooted crops like tomatoes, carrots, and potatoes.
Deeper beds also allow more layering flexibility using inexpensive filler materials at the bottom. This helps you save money by using premium topsoil only where roots need it most, near the surface.
Tip: Plan what you’ll plant before building; adjusting depth later often means rebuilding the entire structure.
Tools and Materials Required for Filling a Raised Planter Box
| Category | Items Needed | Purpose |
|---|---|---|
| Supplies | Cardboard, newspaper, landscape fabric | Blocks weeds while allowing drainage |
| Logs, branches, leaves, straw, grass clippings | Provides bulk, drainage, and slow decomposition | |
| Organic Matter | Compost, aged manure, peat moss, coconut coir | Adds nutrients and improves soil structure |
| Topsoil | Garden soil, potting mix | Final planting layer for seeds and transplants |
| Tools | Shovel, rake, wheelbarrow, garden hose | Moving and spreading materials in layers |
| Optional Amendments | Bone meal, blood meal, worm castings | Boosts specific nutrients for plant growth |
Budget-Friendly Technique to Fill the DIY Raised Garden Bed Layers
Learn how to layer your raised garden bed affordably with smart material choices and resourceful techniques.
1. Hugelkultur Method
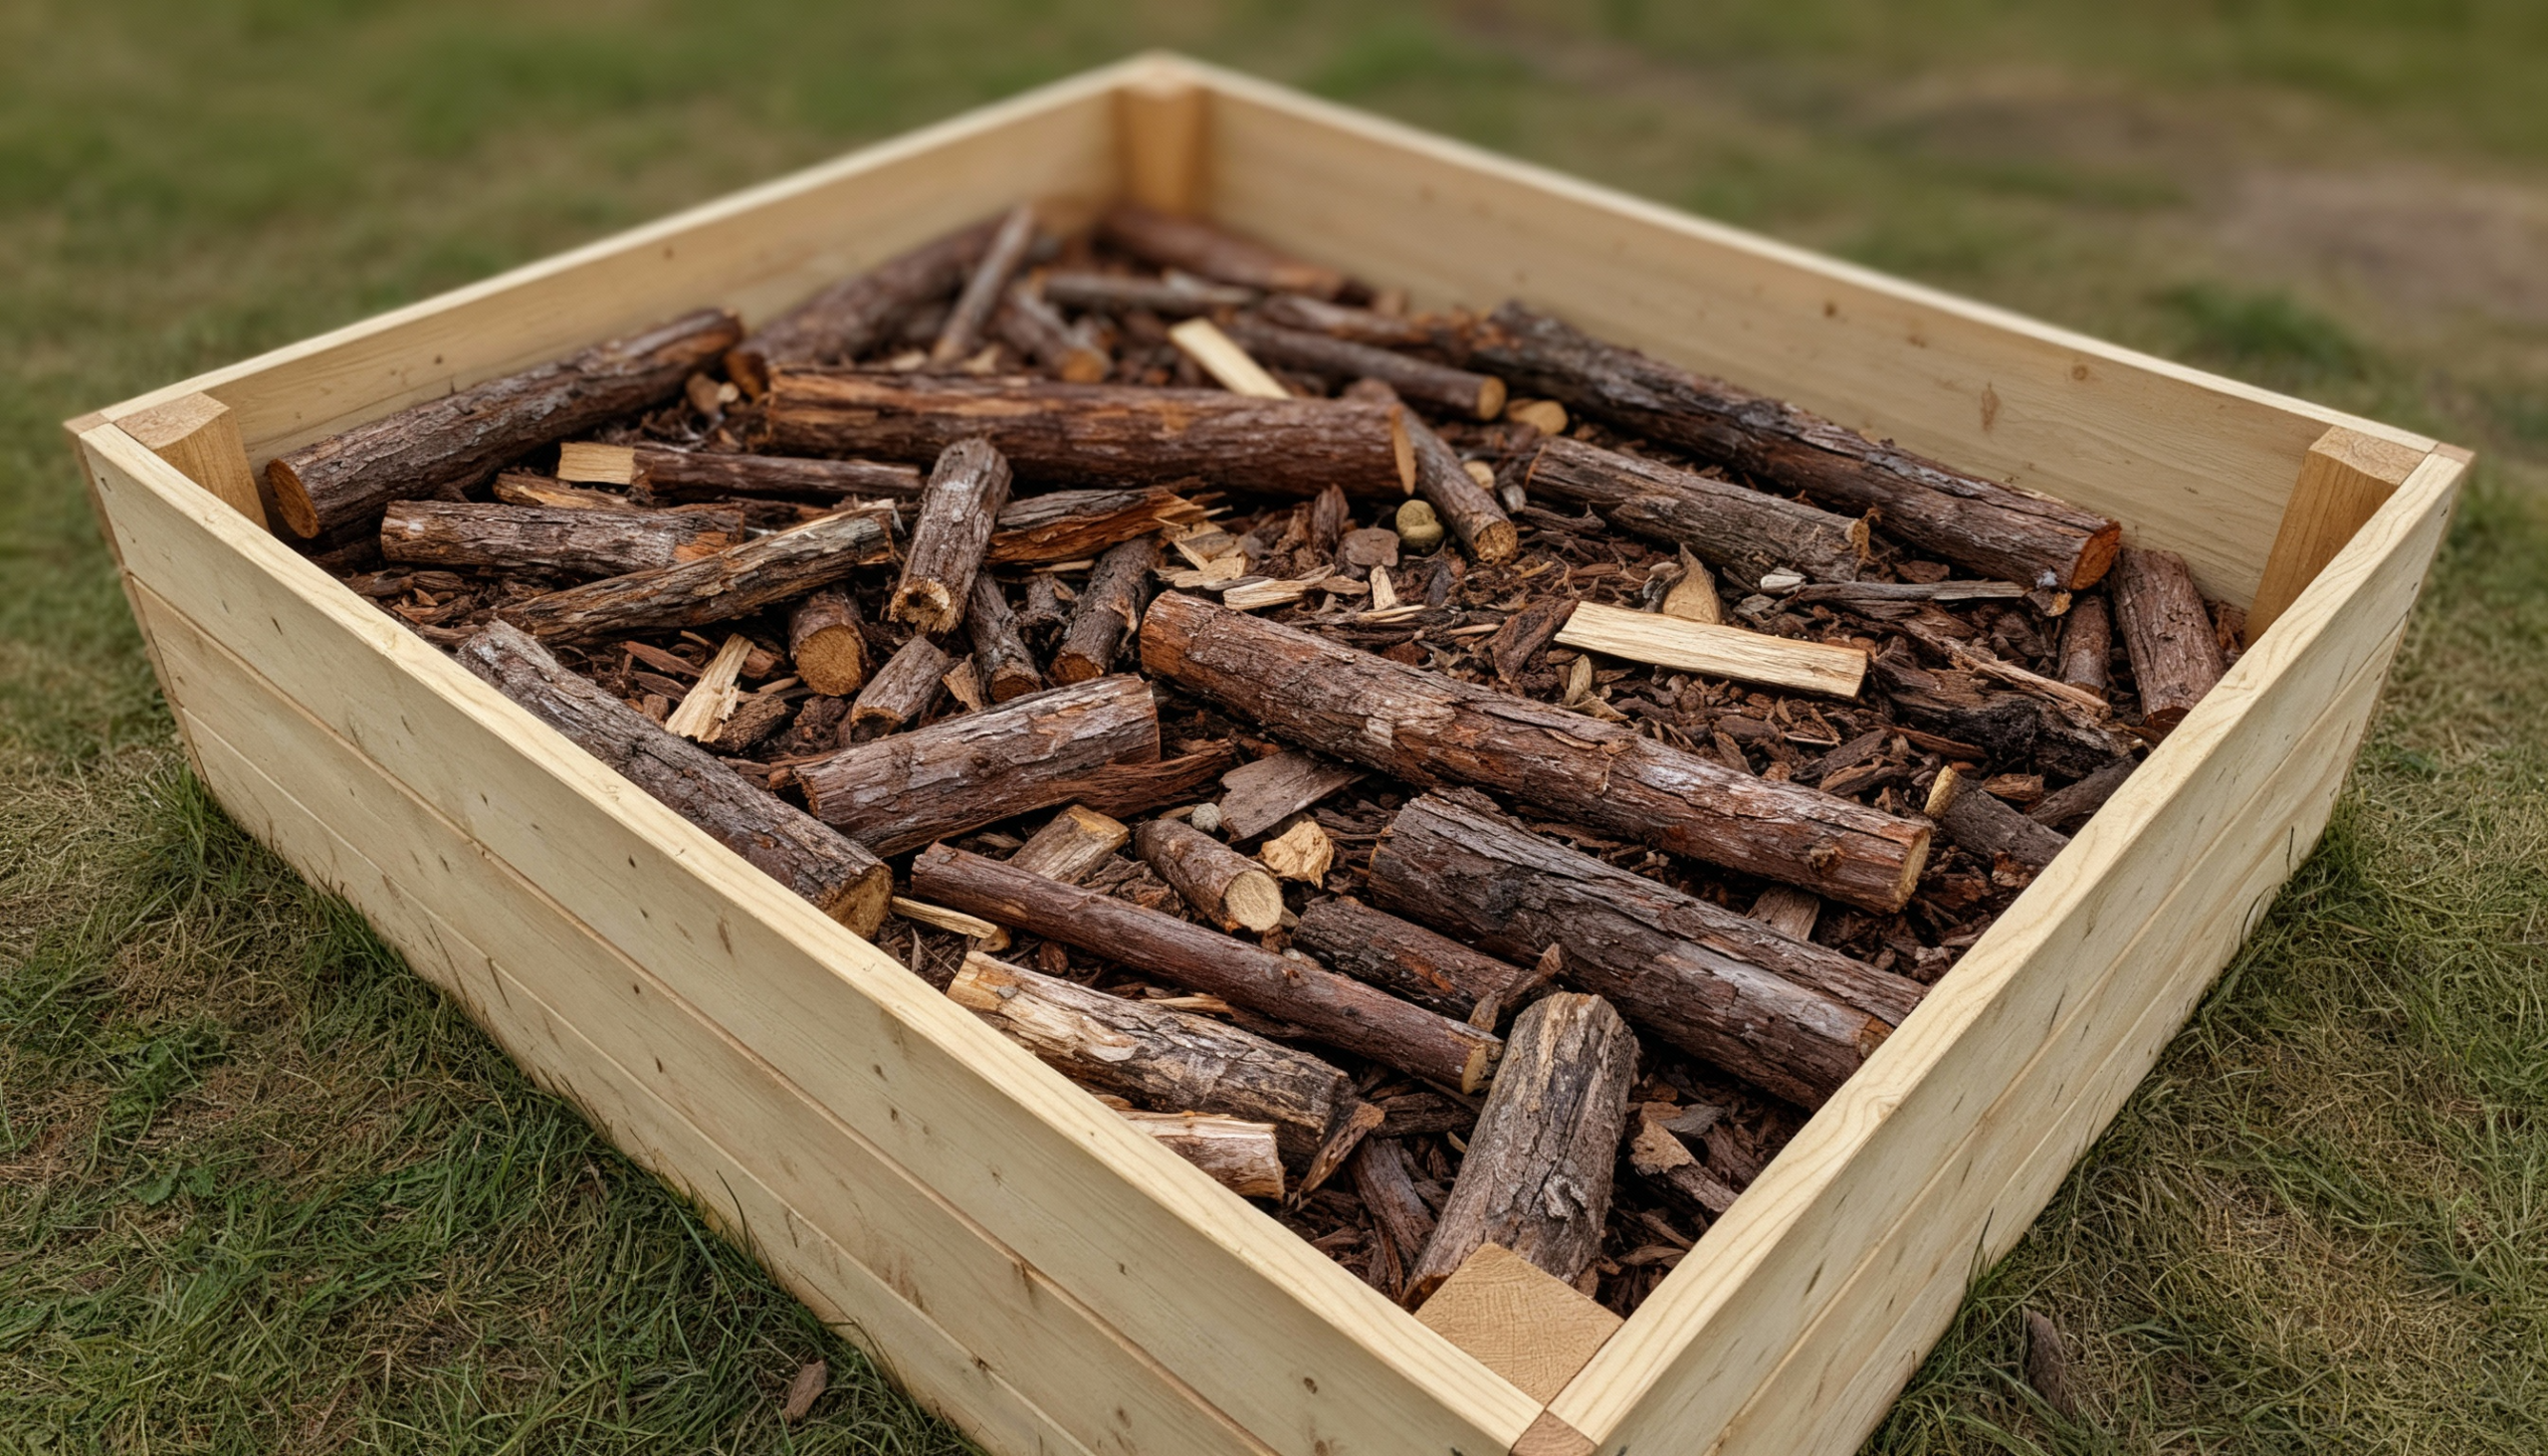
The Hugelkultur method uses logs and woody materials at the base of your raised bed, creating long-term fertility as they slowly decompose over the years.
Steps to Follow:
- Layer logs and branches at the bed bottom.
- Add smaller twigs and woody prunings next.
- Cover with leaves, grass clippings, or straw.
- Top with compost and quality planting soil.
Why it works: Hugelkultur builds rich soil slowly, reduces watering needs, and recycles organic waste efficiently.
2. Lasagna Gardening Technique
Lasagna gardening builds raised garden bed layers by alternating brown materials like cardboard with green materials like grass clippings and kitchen scraps.
Steps to Follow:
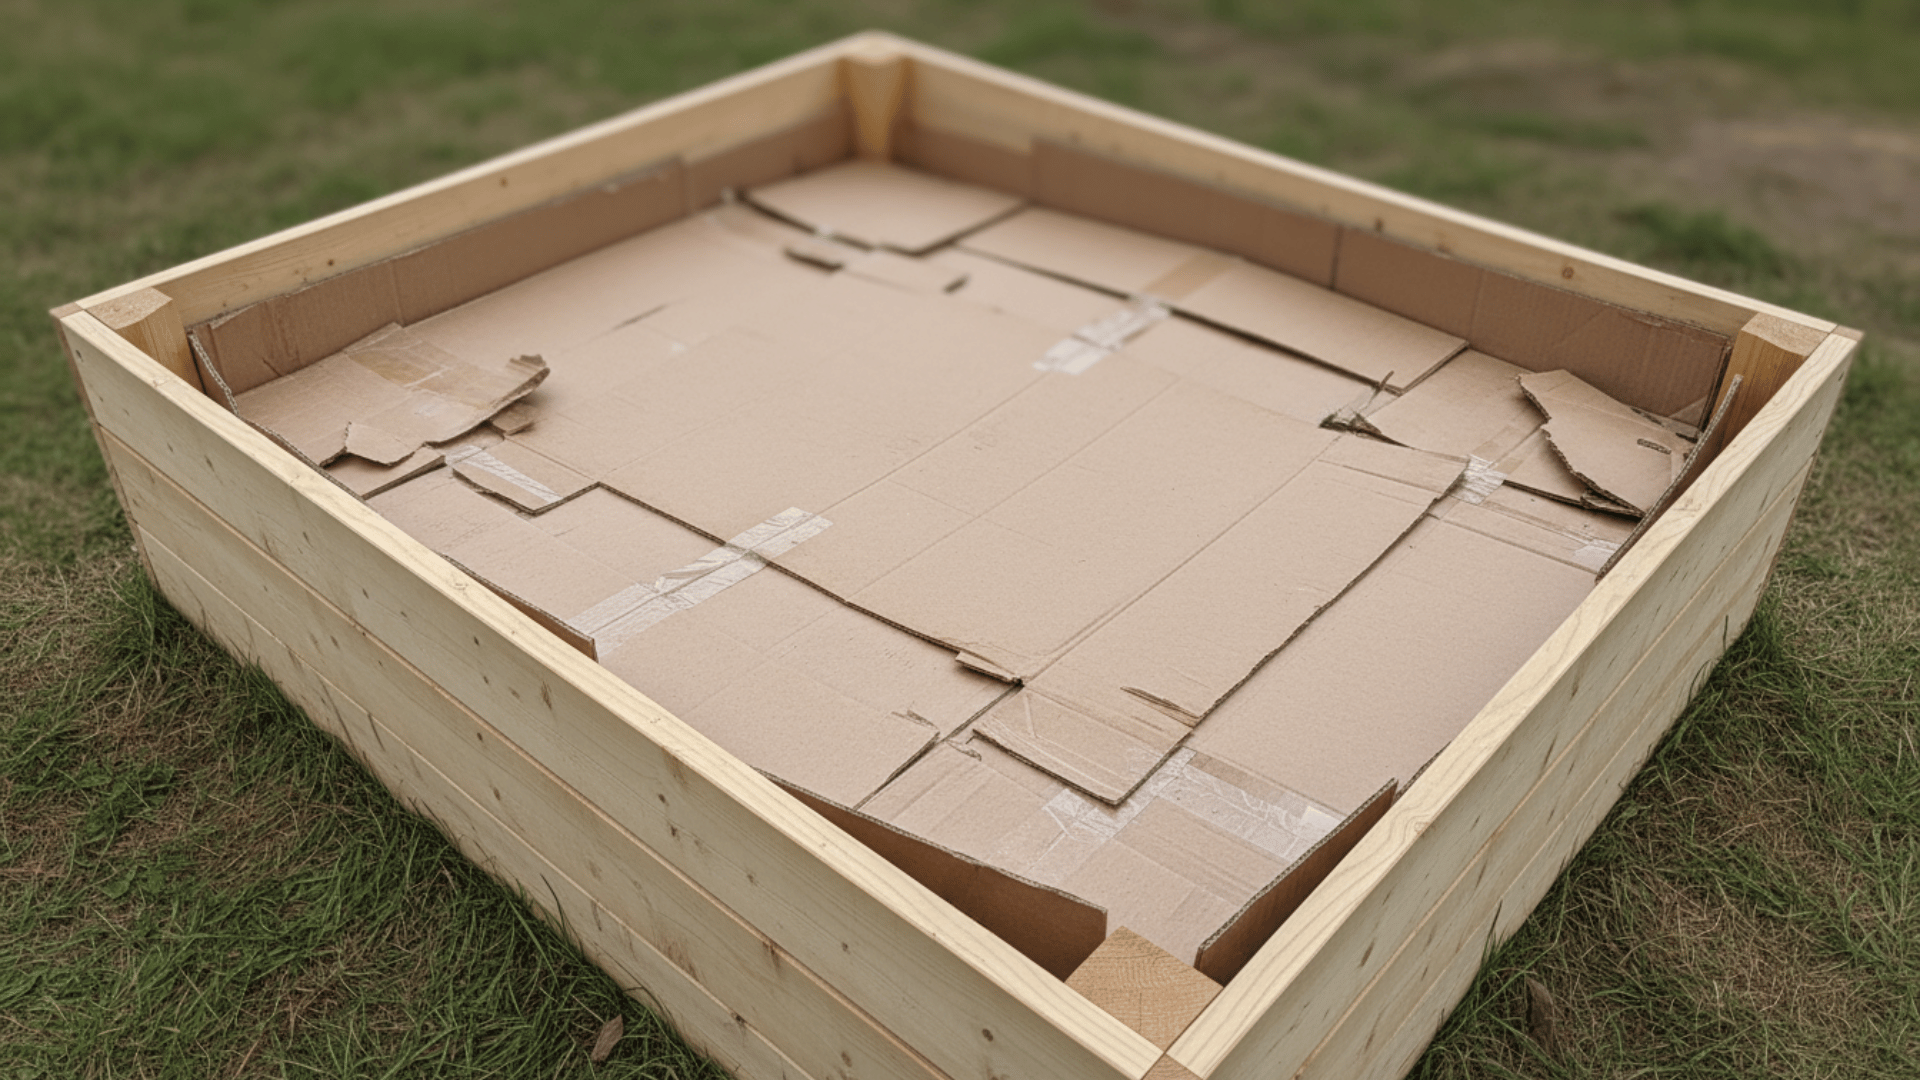
- Start with a cardboard weed barrier.
- Add a brown layer of dried leaves or straw.
- Layer green materials like grass or compost.
- Repeat the brown-green pattern until the bed fills completely.
Why it works: Alternating layers provide balanced nutrients and natural aeration for root growth.
3. Recycling Household and Yard Waste
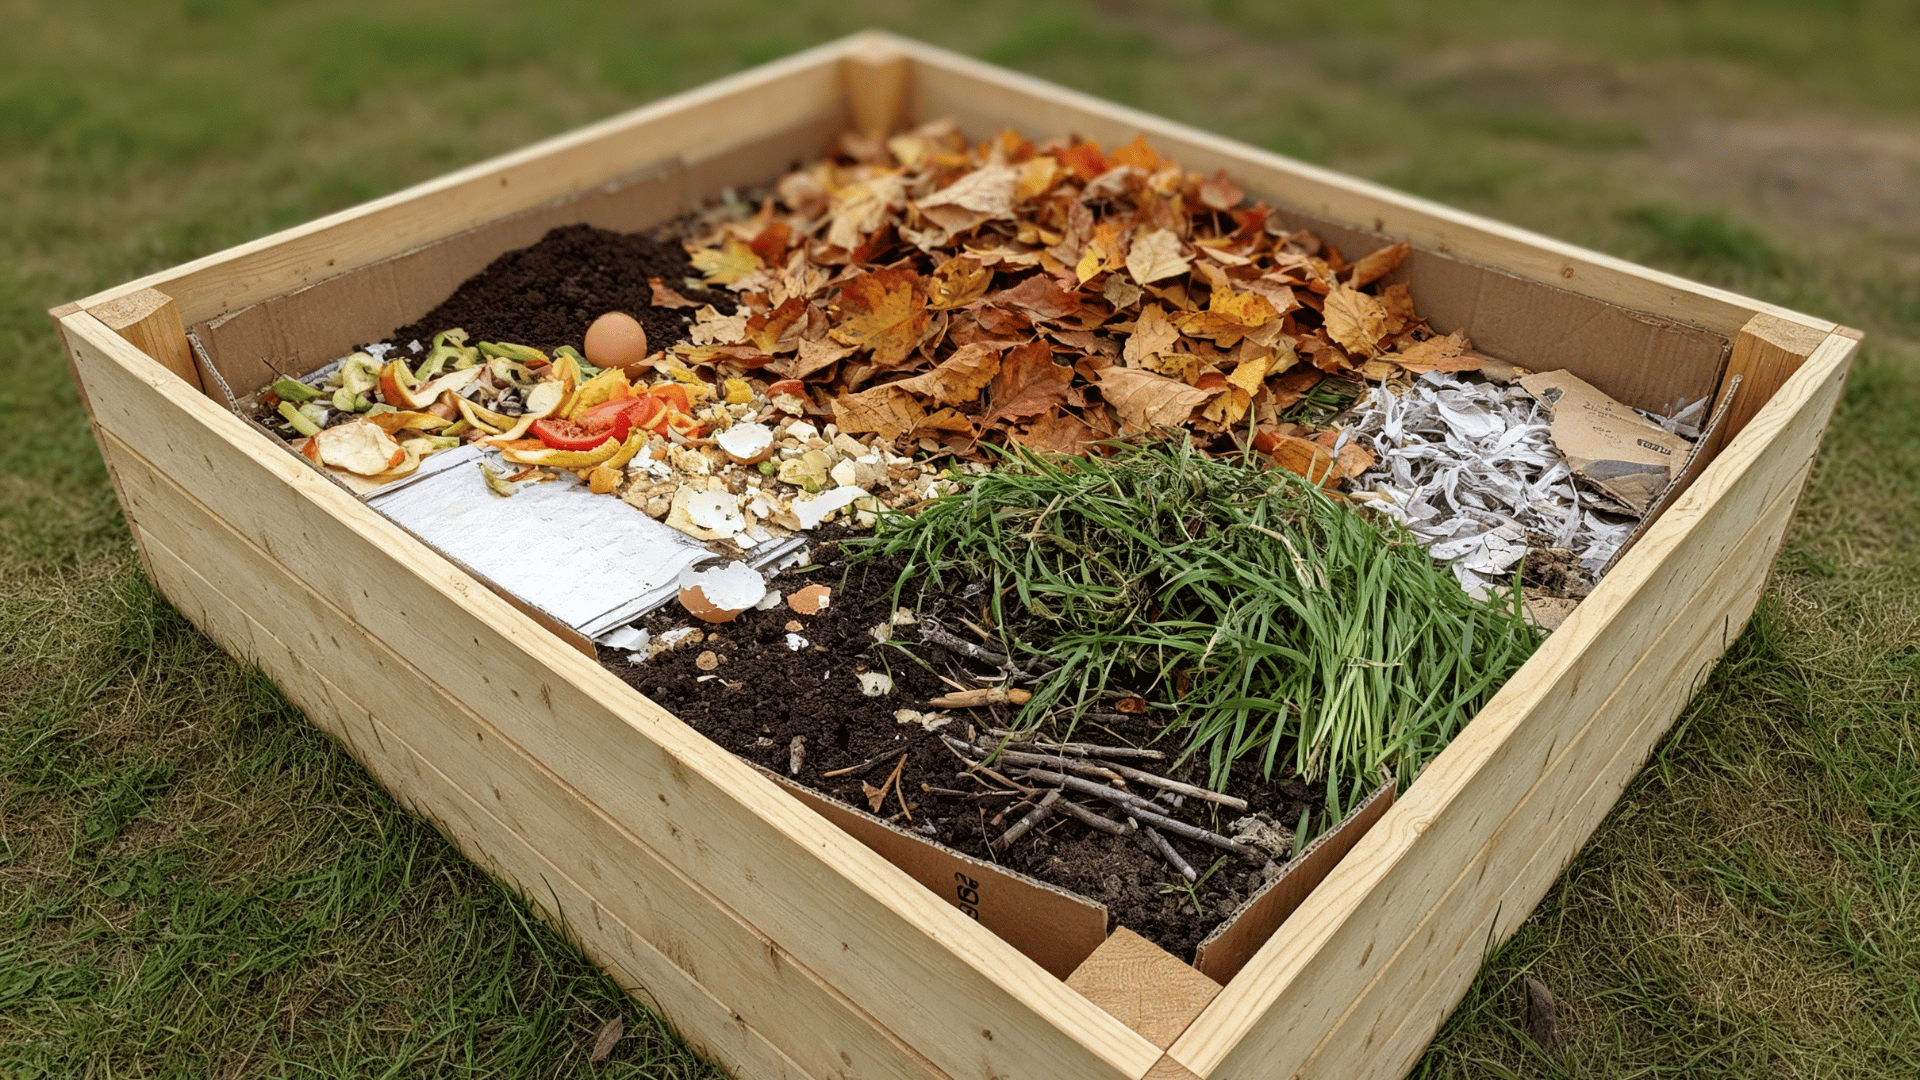
Change free household and yard waste into productive planter boxes raised by layering kitchen scraps, lawn clippings, and fallen leaves instead of buying expensive materials.
Steps to Follow:
- Collect kitchen scraps and coffee grounds regularly.
- Rake autumn leaves and save grass clippings.
- Shred cardboard boxes and newspaper for the carbon layer.
- Layer waste materials with the existing garden soil mix.
Why it works: This eco-friendly method keeps waste out of landfills while building nutrient-rich soil that improves with each season.
How to Maintain Healthy Soil Layers Over Time
Keeping your raised bed productive requires ongoing attention to soil health, drainage, and nutrient levels as materials decompose and settle naturally.
- Add Fresh Compost: Top-dress with 1–2 inches annually to replenish nutrients.
- Monitor Drainage: Ensure water drains within an hour after rain or watering.
- Replace Settled Material: Add organic matter if lower layers compress over time.
- Test Soil pH: Adjust acidity using lime or sulfur to maintain plant-friendly levels.
- Mulch Surface Layers: Use straw or leaves to lock in moisture and block weeds.
- Rotate Crops: Move plant types each season to prevent nutrient depletion and pest buildup.
Ideal Layer Thickness for Maximum Growth
Understanding proper layer proportions helps you avoid waste while creating ideal growing conditions for every type of raised garden bed.
- The weed barrier should be just one layer of cardboard or 6–8 sheets of newspaper, enough to block weeds while allowing drainage.
- The filler layer (logs, branches, straw, and leaves) should make up 40–60% of the bed’s total depth.
- The top planting layer (compost and soil mix) should always be at least 6 inches deep for most vegetables and 8–10 inches for root crops.
Here’s a quick reference table showing how to divide layers for different bed heights:
| Bed Height | Weed Barrier | Filler Layer (Branches, Leaves, Straw) | Organic + Topsoil Layer (Compost, Soil Mix) | Best For |
|---|---|---|---|---|
| 12 inches | 0.5 inch | 5 inches (40%) | 6.5 inches (60%) | Leafy greens, herbs, and small vegetables |
| 18 inches | 0.5 inch | 8 inches (45%) | 9.5 inches (55%) | Mixed vegetables and flowers |
| 24 inches | 0.5 inch | 12 inches (50%) | 11.5 inches (50%) | Deep-rooted plants like carrots, potatoes, and tomatoes |
Tip: Deeper beds allow for more filler material, helping reduce soil costs while maintaining strong drainage and long-term fertility.
Common Mistakes to Avoid When Layering Raised Beds
Learning from common errors helps you create productive garden beds without the frustration of poor drainage, nutrient deficiencies, or wasted materials and money.
- Using Fresh Manure: Fresh manure can burn plant roots with excessive nitrogen, so always use aged or composted manure instead.
- Skipping Weed Barrier: A Cardboard layer prevents grass from penetrating, saving hours of weeding throughout the entire growing season.
- Compacting Fill Layers: Avoid stepping on materials while filling, maintaining air pockets essential for drainage and root health.
- Adding Treated Wood: Pressure-treated lumber leaches chemicals into soil, contaminating food crops with potentially harmful substances over time.
- Insufficient Topsoil Depth: Shallow planting zones limit root development, resulting in stunted plants and consistently disappointing harvest yields.
Why Gardeners Layer Planter Boxes with Different Materials
Layering mimics the way soil forms naturally in forests and meadows. Each material serves a purpose, from drainage and aeration to nutrient release and water retention.
Different materials decompose at various rates, feeding the soil gradually throughout the growing season.
The varied textures also prevent compaction and create ideal habitats for earthworms and beneficial microbes.
By using free or low-cost materials at the bottom and saving premium soil for the top, gardeners can create thriving, cost-efficient raised beds with minimal waste.
Conclusion
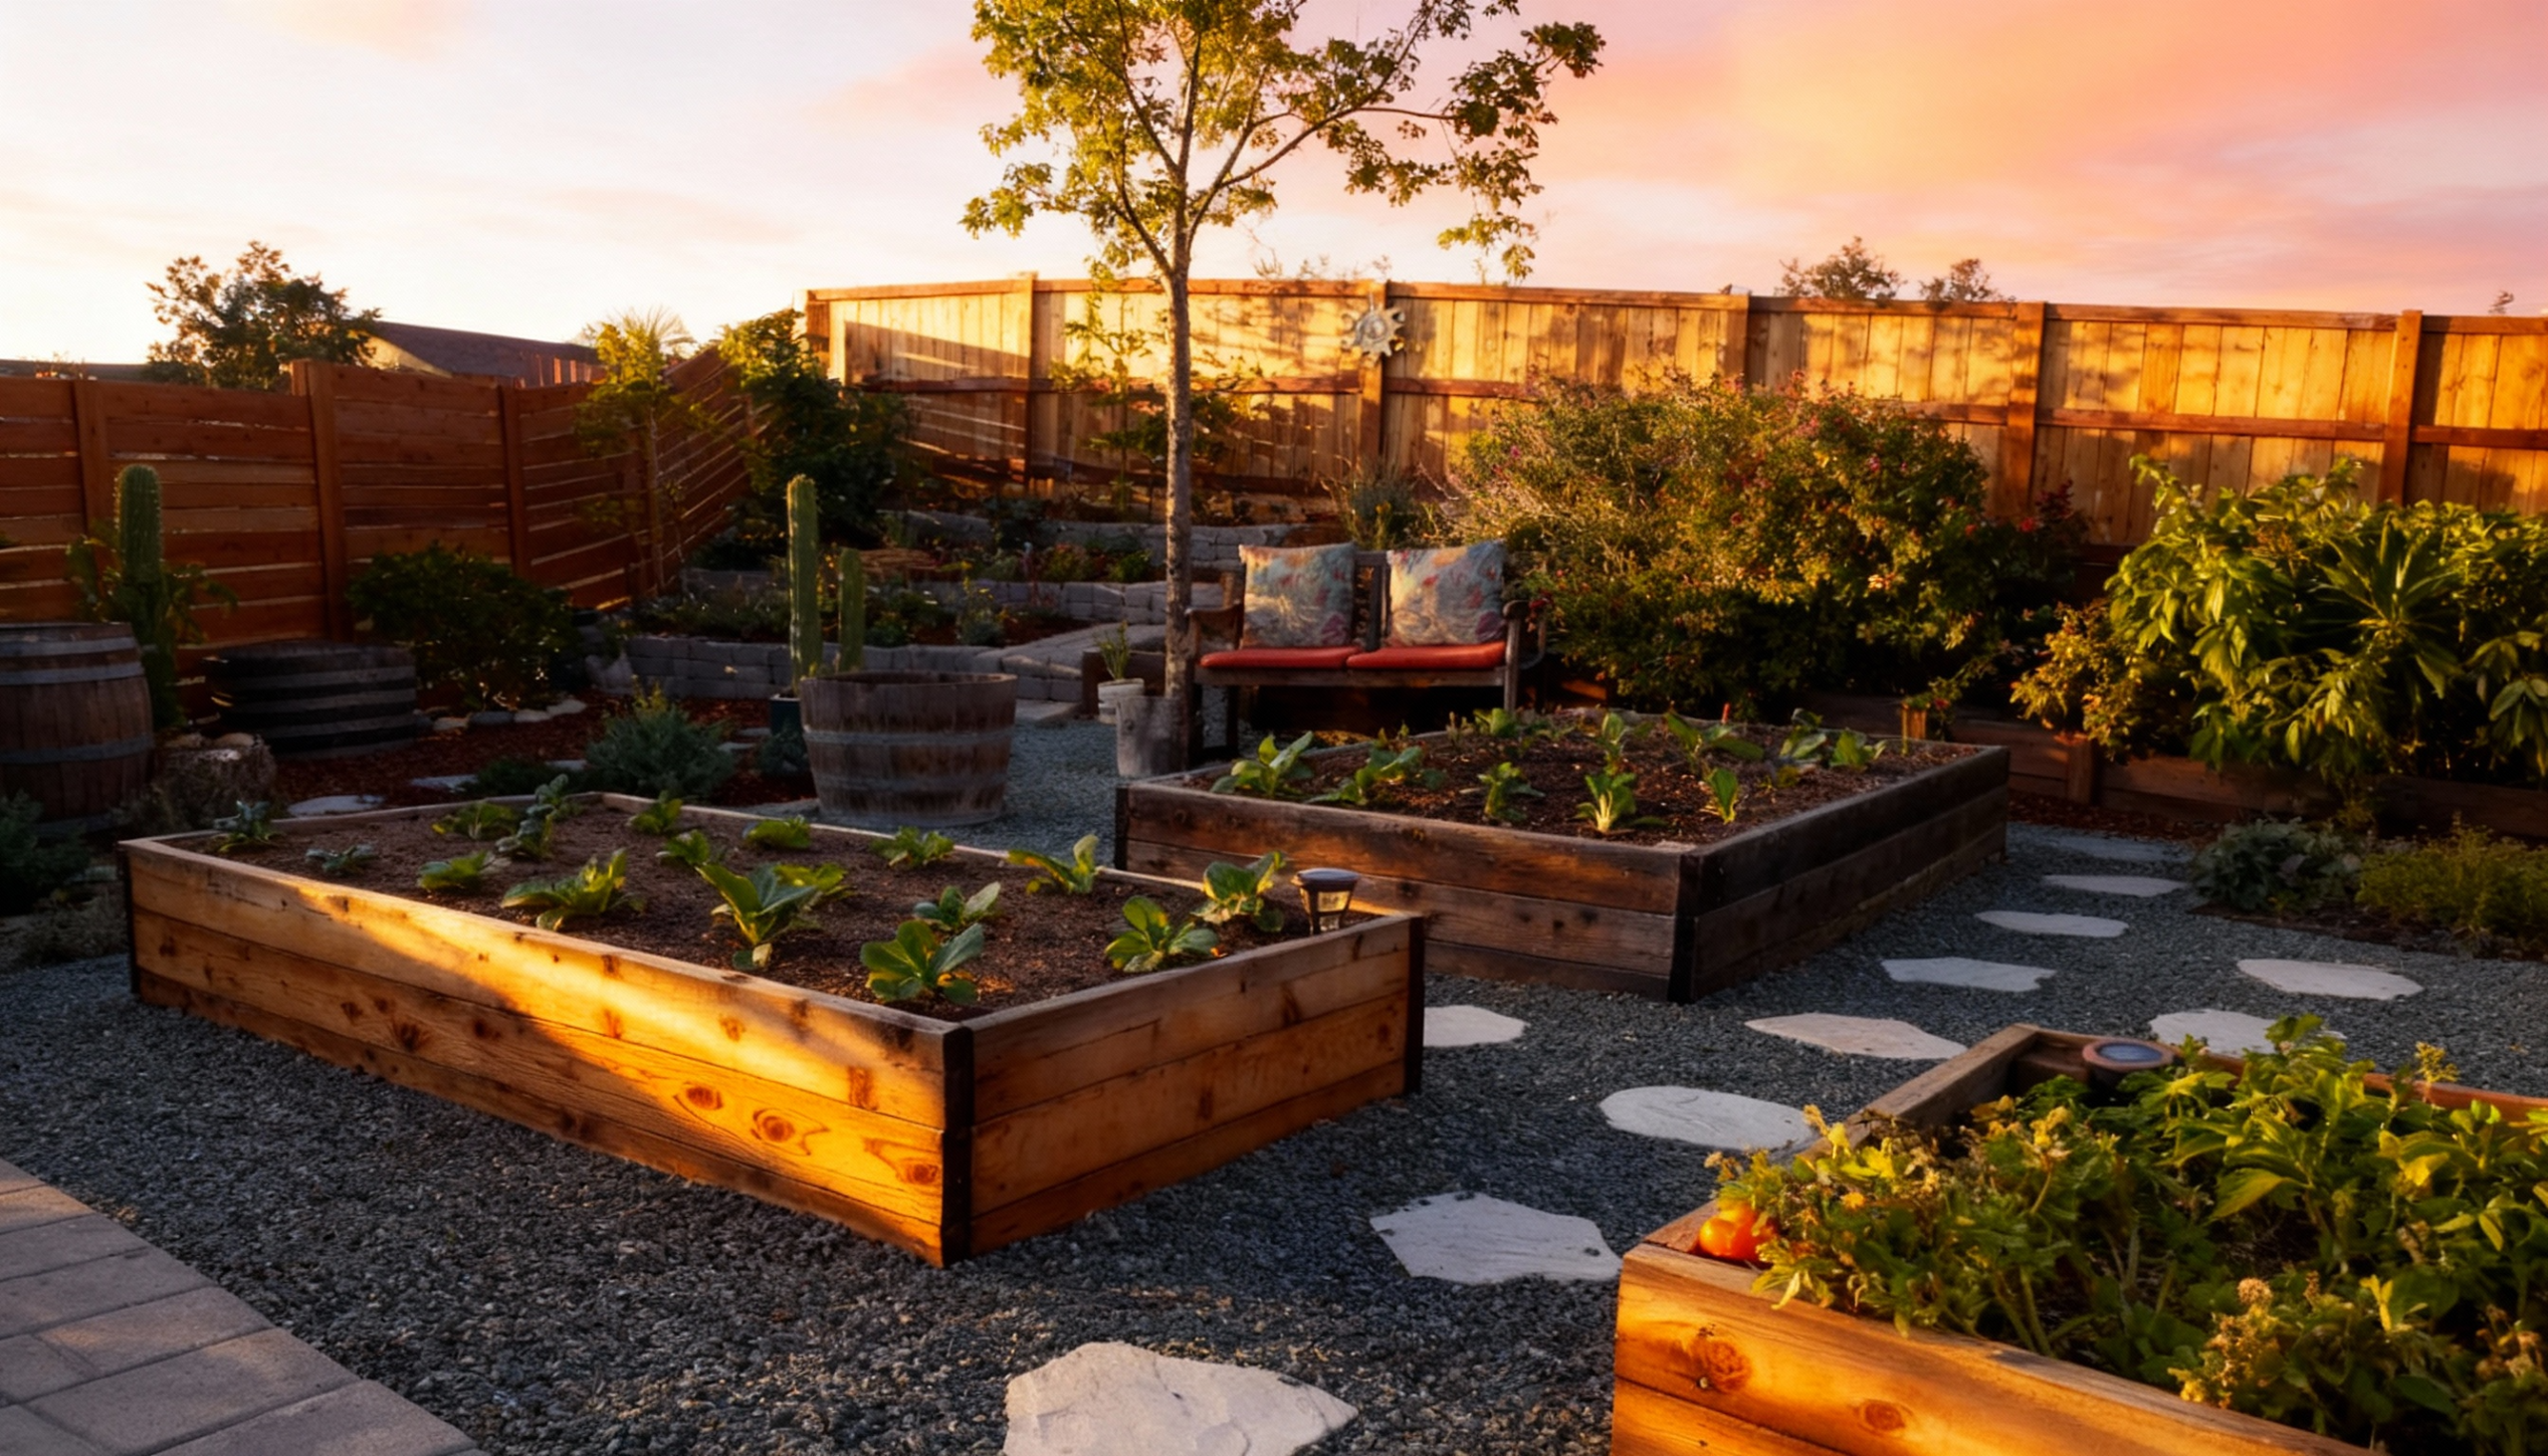
Building proper DIY raised garden bed layers using low-cost, natural materials creates healthy, high-yield gardens without straining your budget.
This method combines recycled organics with smaller amounts of purchased soil to improve drainage, fertility, and long-term sustainability.
Add compost regularly, refresh topsoil as needed, and your raised beds will continue producing for years.
Start today: gather free materials, layer them smartly, and enjoy a productive vegetable garden that’s affordable, eco-friendly, and easy to maintain.