Treated wood is everywhere. Decks, fences, outdoor furniture; it’s built to last.
But that weathered gray look isn’t for everyone. Most homeowners want to add a splash of color or protect their investment even further. That’s where painting comes in.
But can treated wood actually be painted? And if so, how do you do it right? Many people have tried and failed, ending up with peeling paint and wasted time.
The truth is, painting treated wood isn’t as simple as slapping on a coat and calling it a day. This blog will walk through everything needed to paint treated wood successfully. No guesswork, just proven practices that work.
What is Pressure-Treated Wood?
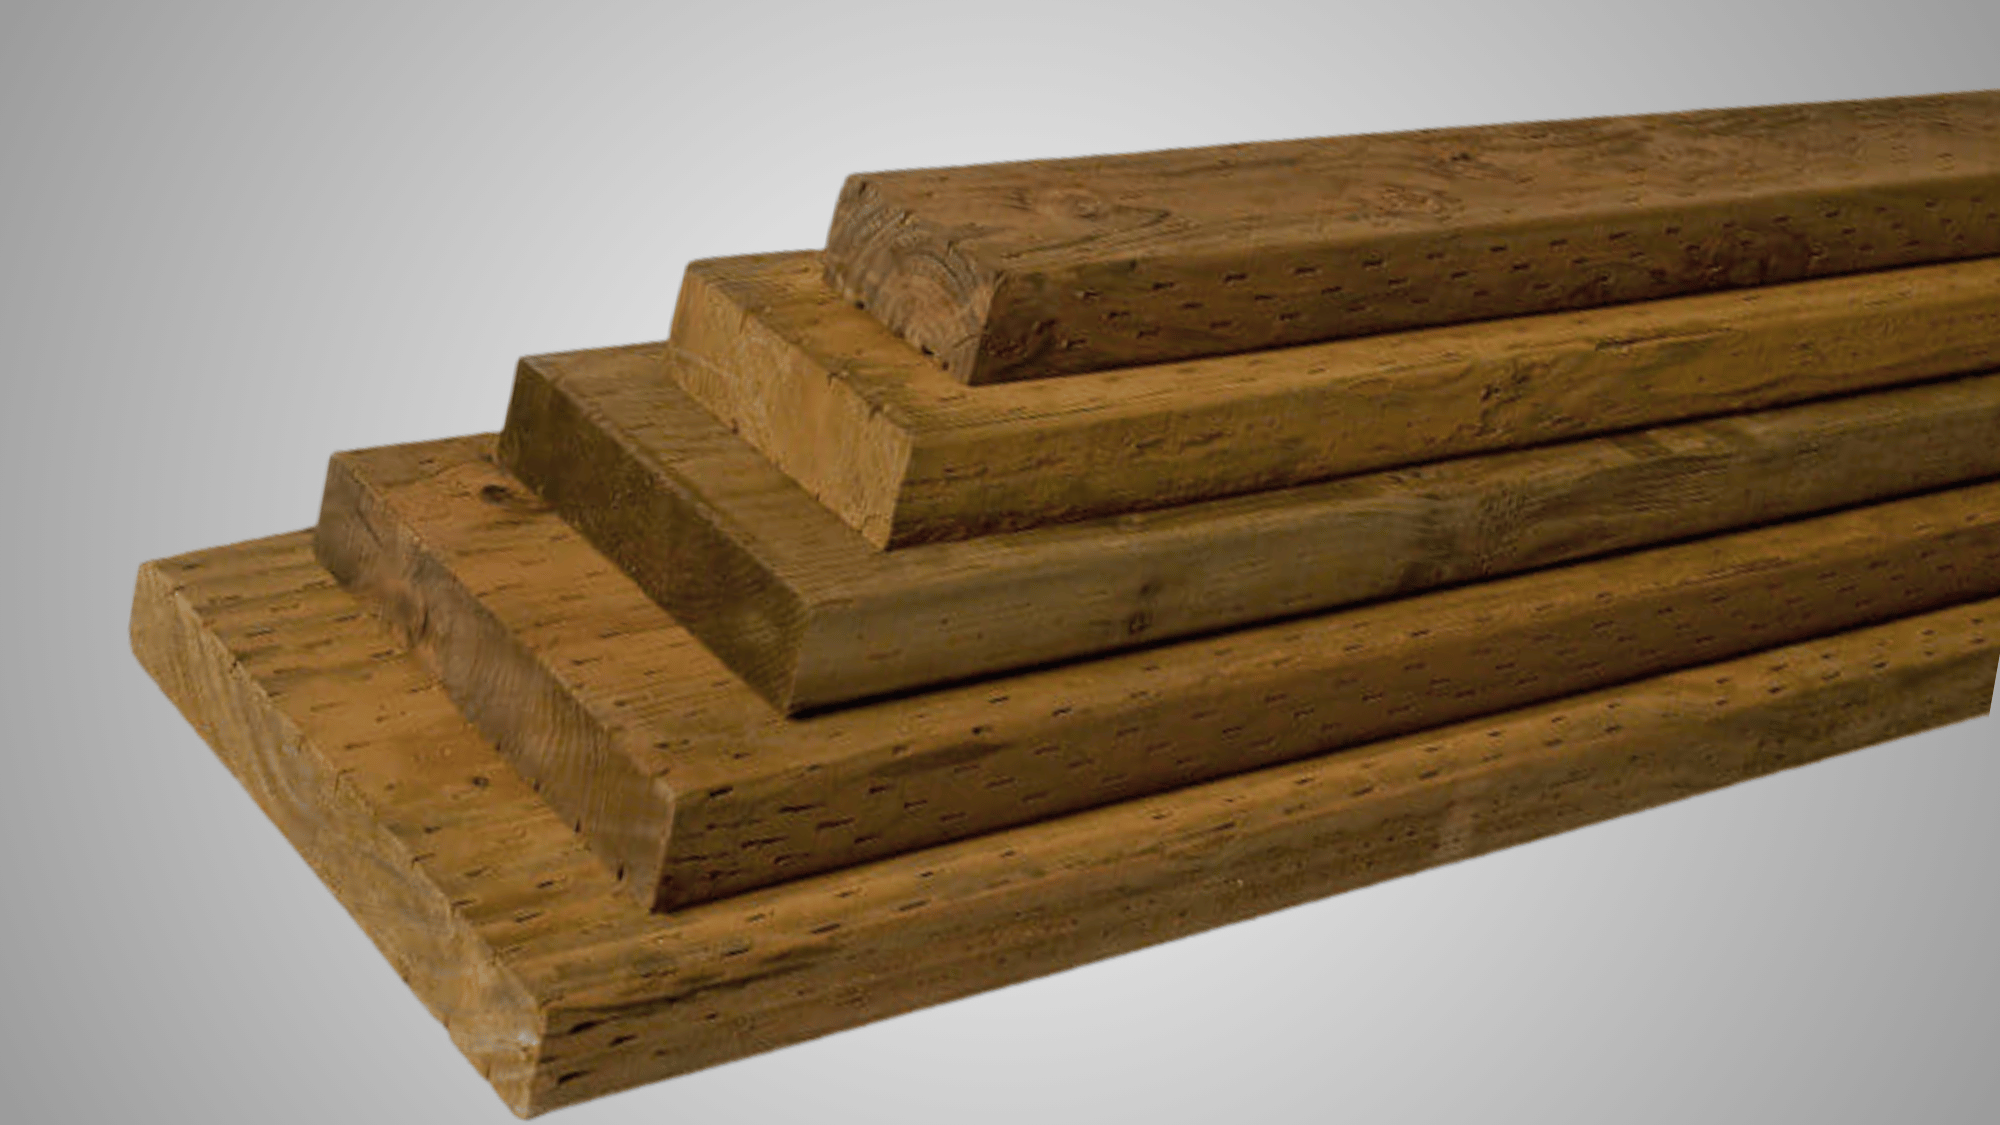
Pressure-treated wood is lumber infused with chemical preservatives that protect against rot, decay, and insect damage in outdoor applications.
Manufacturers force these protective chemicals deep into the wood fibers using high-pressure tanks, creating material suitable for decks, fences, and landscaping projects.
The treatment process leaves wood saturated with moisture and chemicals, which must dry completely before paint or stain can be applied properly.
Common preservatives include copper-based compounds that initially give the wood a greenish tint.
This lumber costs more than regular wood but lasts decades longer in ground contact and weather exposure, making it the preferred choice for outdoor construction projects requiring durability and longevity.
Can You Paint Pressure-Treated Wood?
Yes, painting treated wood is entirely possible and can change your outdoor structures beautifully.
Before picking up a paintbrush, ensure the wood has properly seasoned, which prevents the frustrating issues of bubbling and premature paint failure.
The treatment chemicals create a barrier that standard painting methods can’t overcome without correct primers formulated specifically for this material.
When approached correctly with appropriate products and techniques, painted treated wood performs exceptionally well, offering amplified protection against weather elements while maintaining the lumber’s inherent rot-resistance properties.
Best Practices for Painting Pressure-Treated Wood
Following proven techniques ensures your pressure-treated wood painting project delivers professional-looking, durable results that last for years.
- Wait patiently: Allow new pressure-treated wood to dry completely for two to six months before attempting any painting.
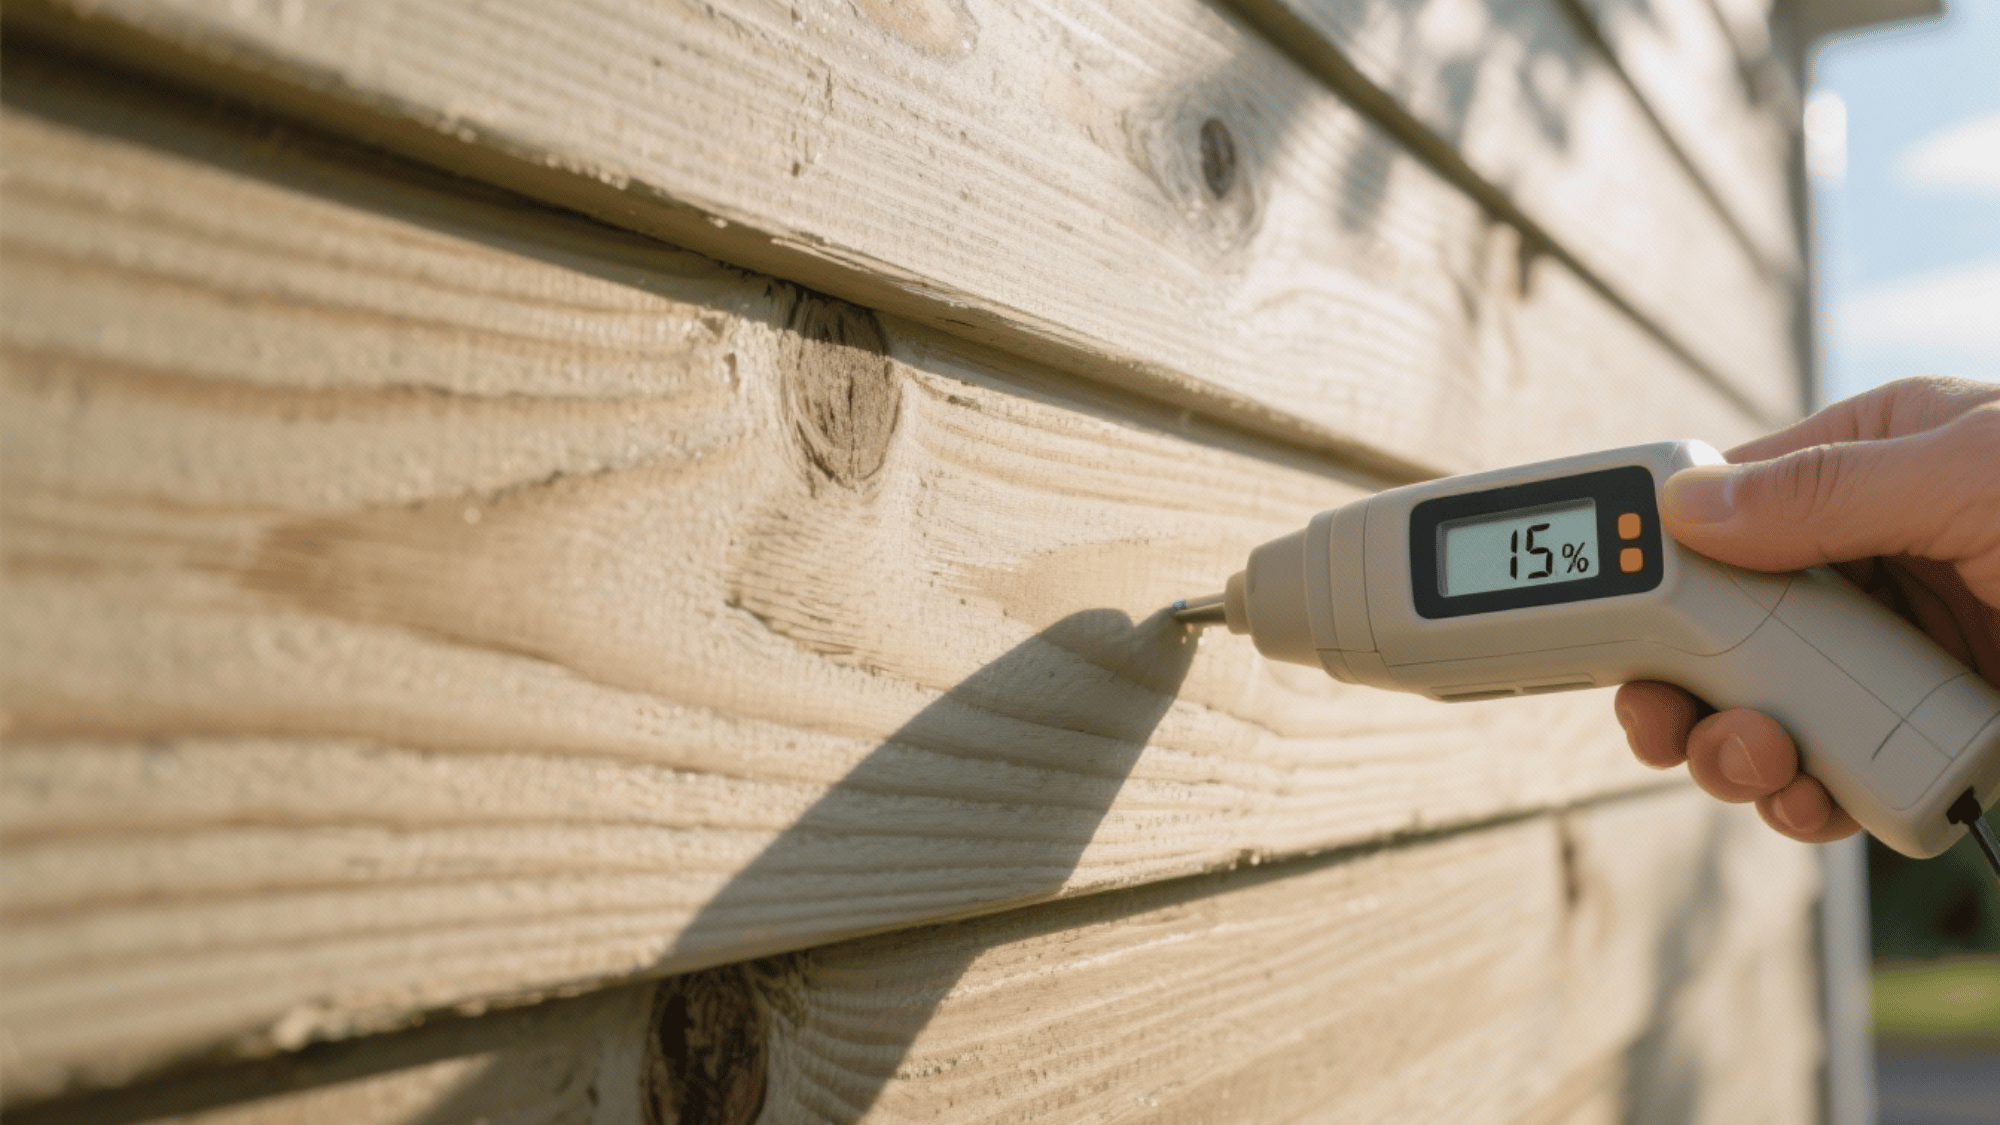
- Test moisture: Use a moisture meter to confirm the wood contains less than fifteen percent moisture content before starting.
- Clean thoroughly: Remove dirt, mildew, and surface contaminants with appropriate cleaners before applying primer or paint.
- Prime first: Always apply quality exterior primer designed specifically for treated wood before adding topcoat paint layers.
- Choose wisely: Select exterior latex or acrylic paints formulated to withstand outdoor weather conditions and UV exposure.
Step-by-Step Process of Preparing and Painting Pressure-Treated Wood
Proper preparation and application techniques ensure paint adheres correctly to pressure-treated wood, creating durable, attractive finishes.
Step 1: Allow Adequate Drying Time
New pressure-treated lumber contains excessive moisture from the treatment process that prevents proper paint adhesion if applied too soon.
Wait at least two to six months after installation before painting, depending on climate conditions and wood exposure.
Use a moisture meter to test that the wood contains less than fifteen percent moisture content.
Step 2: Clean the Wood Surface Thoroughly
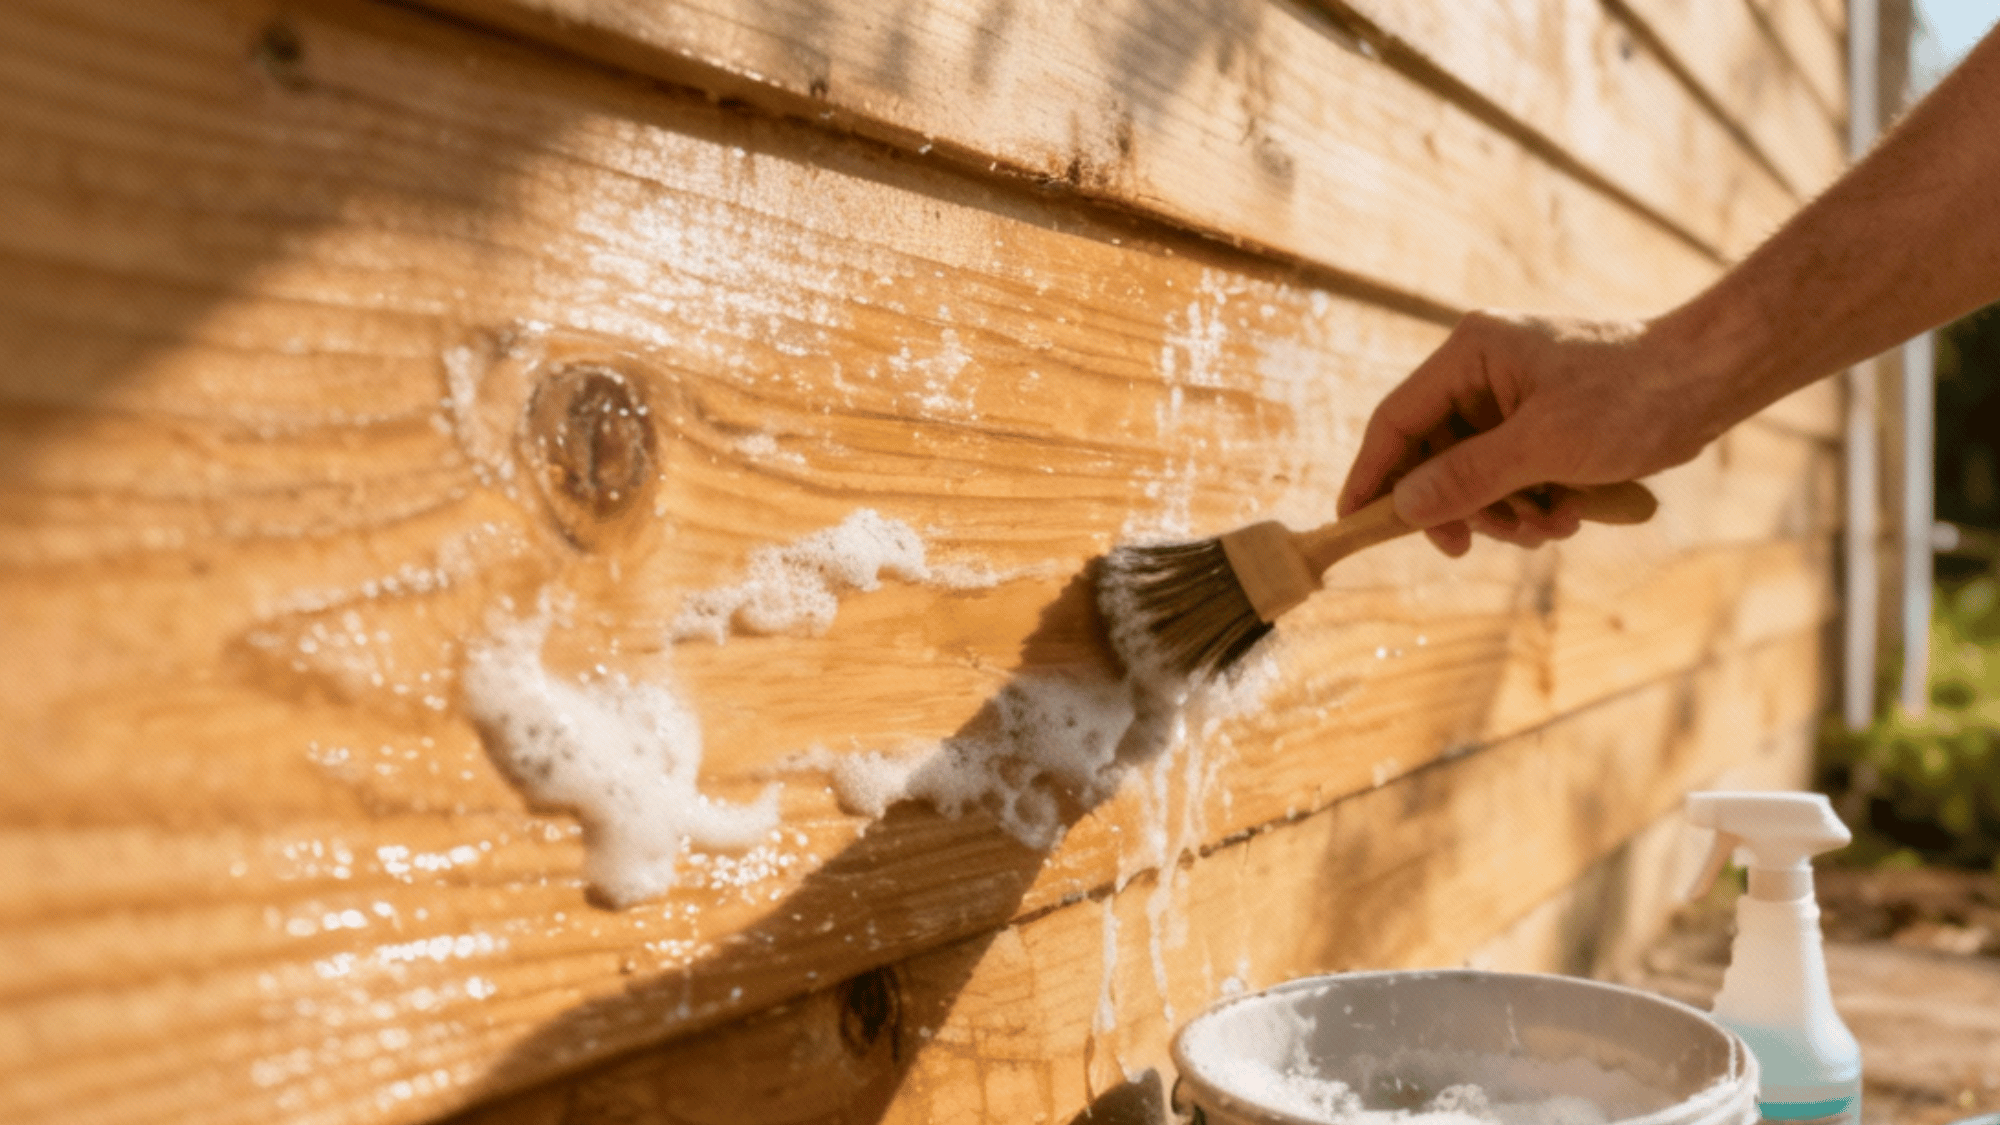
Scrub pressure-treated wood with a stiff brush and soapy water to remove dirt, dust, pollen, and surface contaminants that interfere with paint bonding.
For older wood with mildew or algae growth, use a solution of bleach and water or a commercial deck cleaner, following the product instructions carefully.
Rinse thoroughly with a garden hose and allow the wood to dry completely for at least two days before proceeding.
Step 3: Sand Rough Areas Smooth
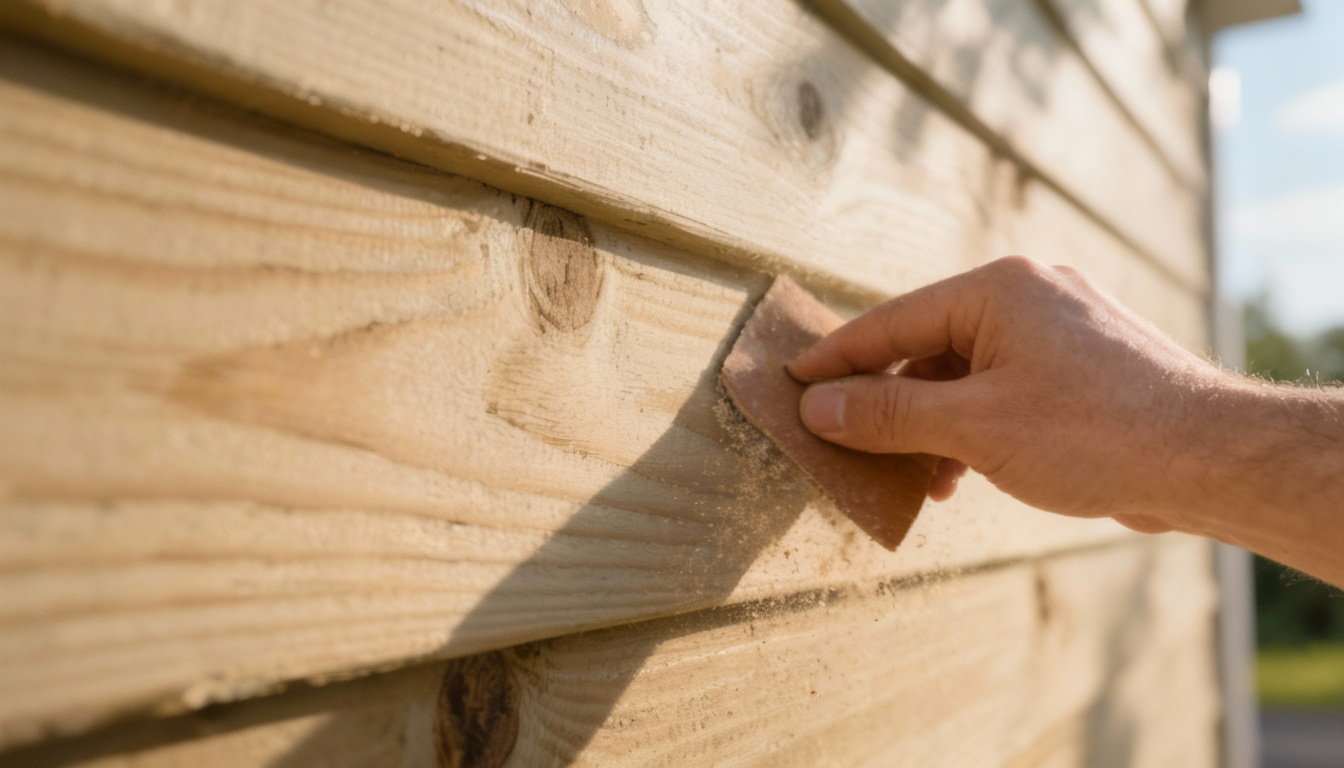
Use medium-grit sandpaper or a power sander to smooth any rough spots, splinters, or raised grain on the pressure-treated wood surface.
Focus on areas where paint might catch or bubble due to surface irregularities. Sanding also helps open wood pores slightly, improving primer penetration and adhesion.
Wipe away all sanding dust with a damp cloth before moving to the priming step.
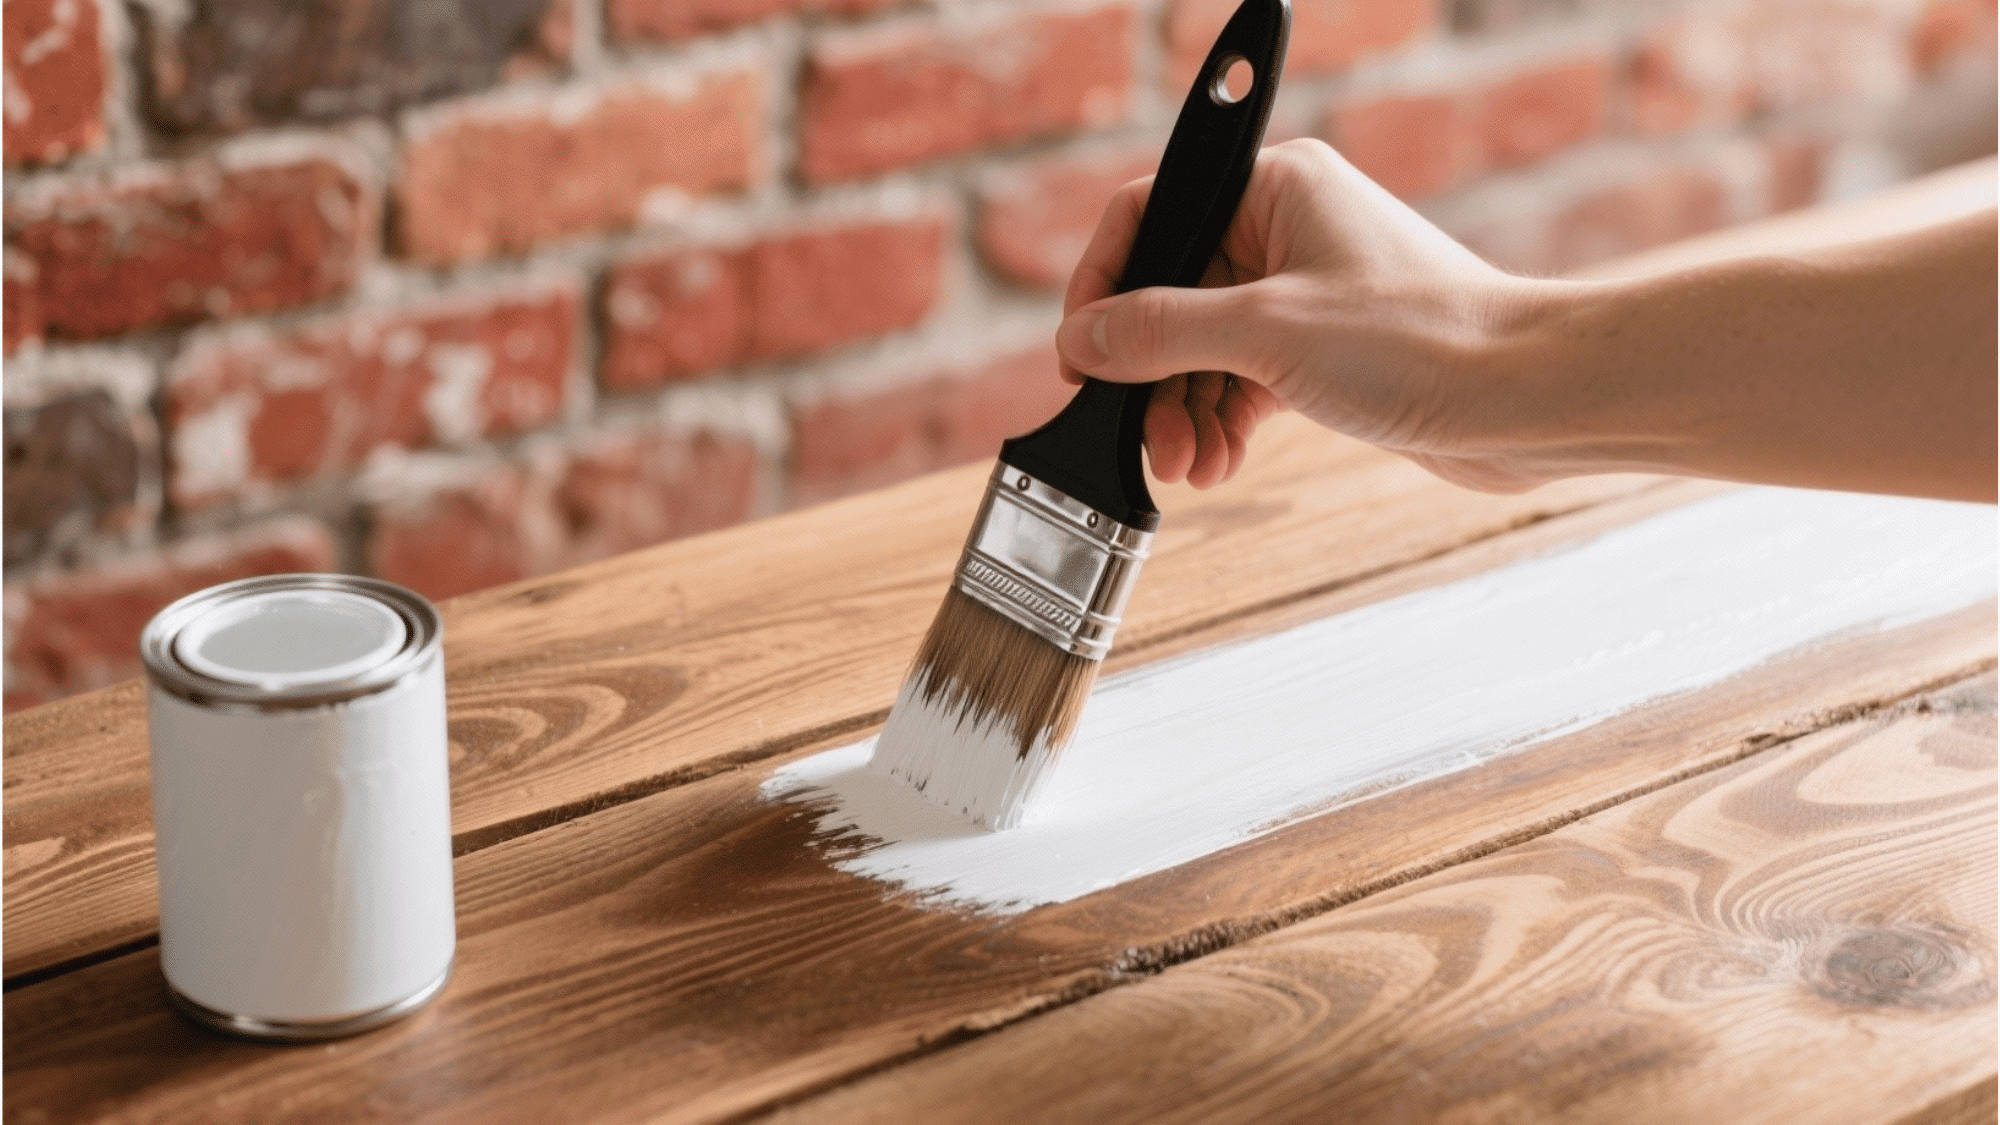
Step 4: Apply Quality Exterior Primer
Brush or roll a thick coat of exterior primer specifically formulated for pressure-treated wood across all surfaces you plan to paint.
Primers designed for treated lumber contain special bonding agents that grip chemically-treated wood better than standard products.
Cover all sides of boards, including edges and ends that will be exposed to the weather.
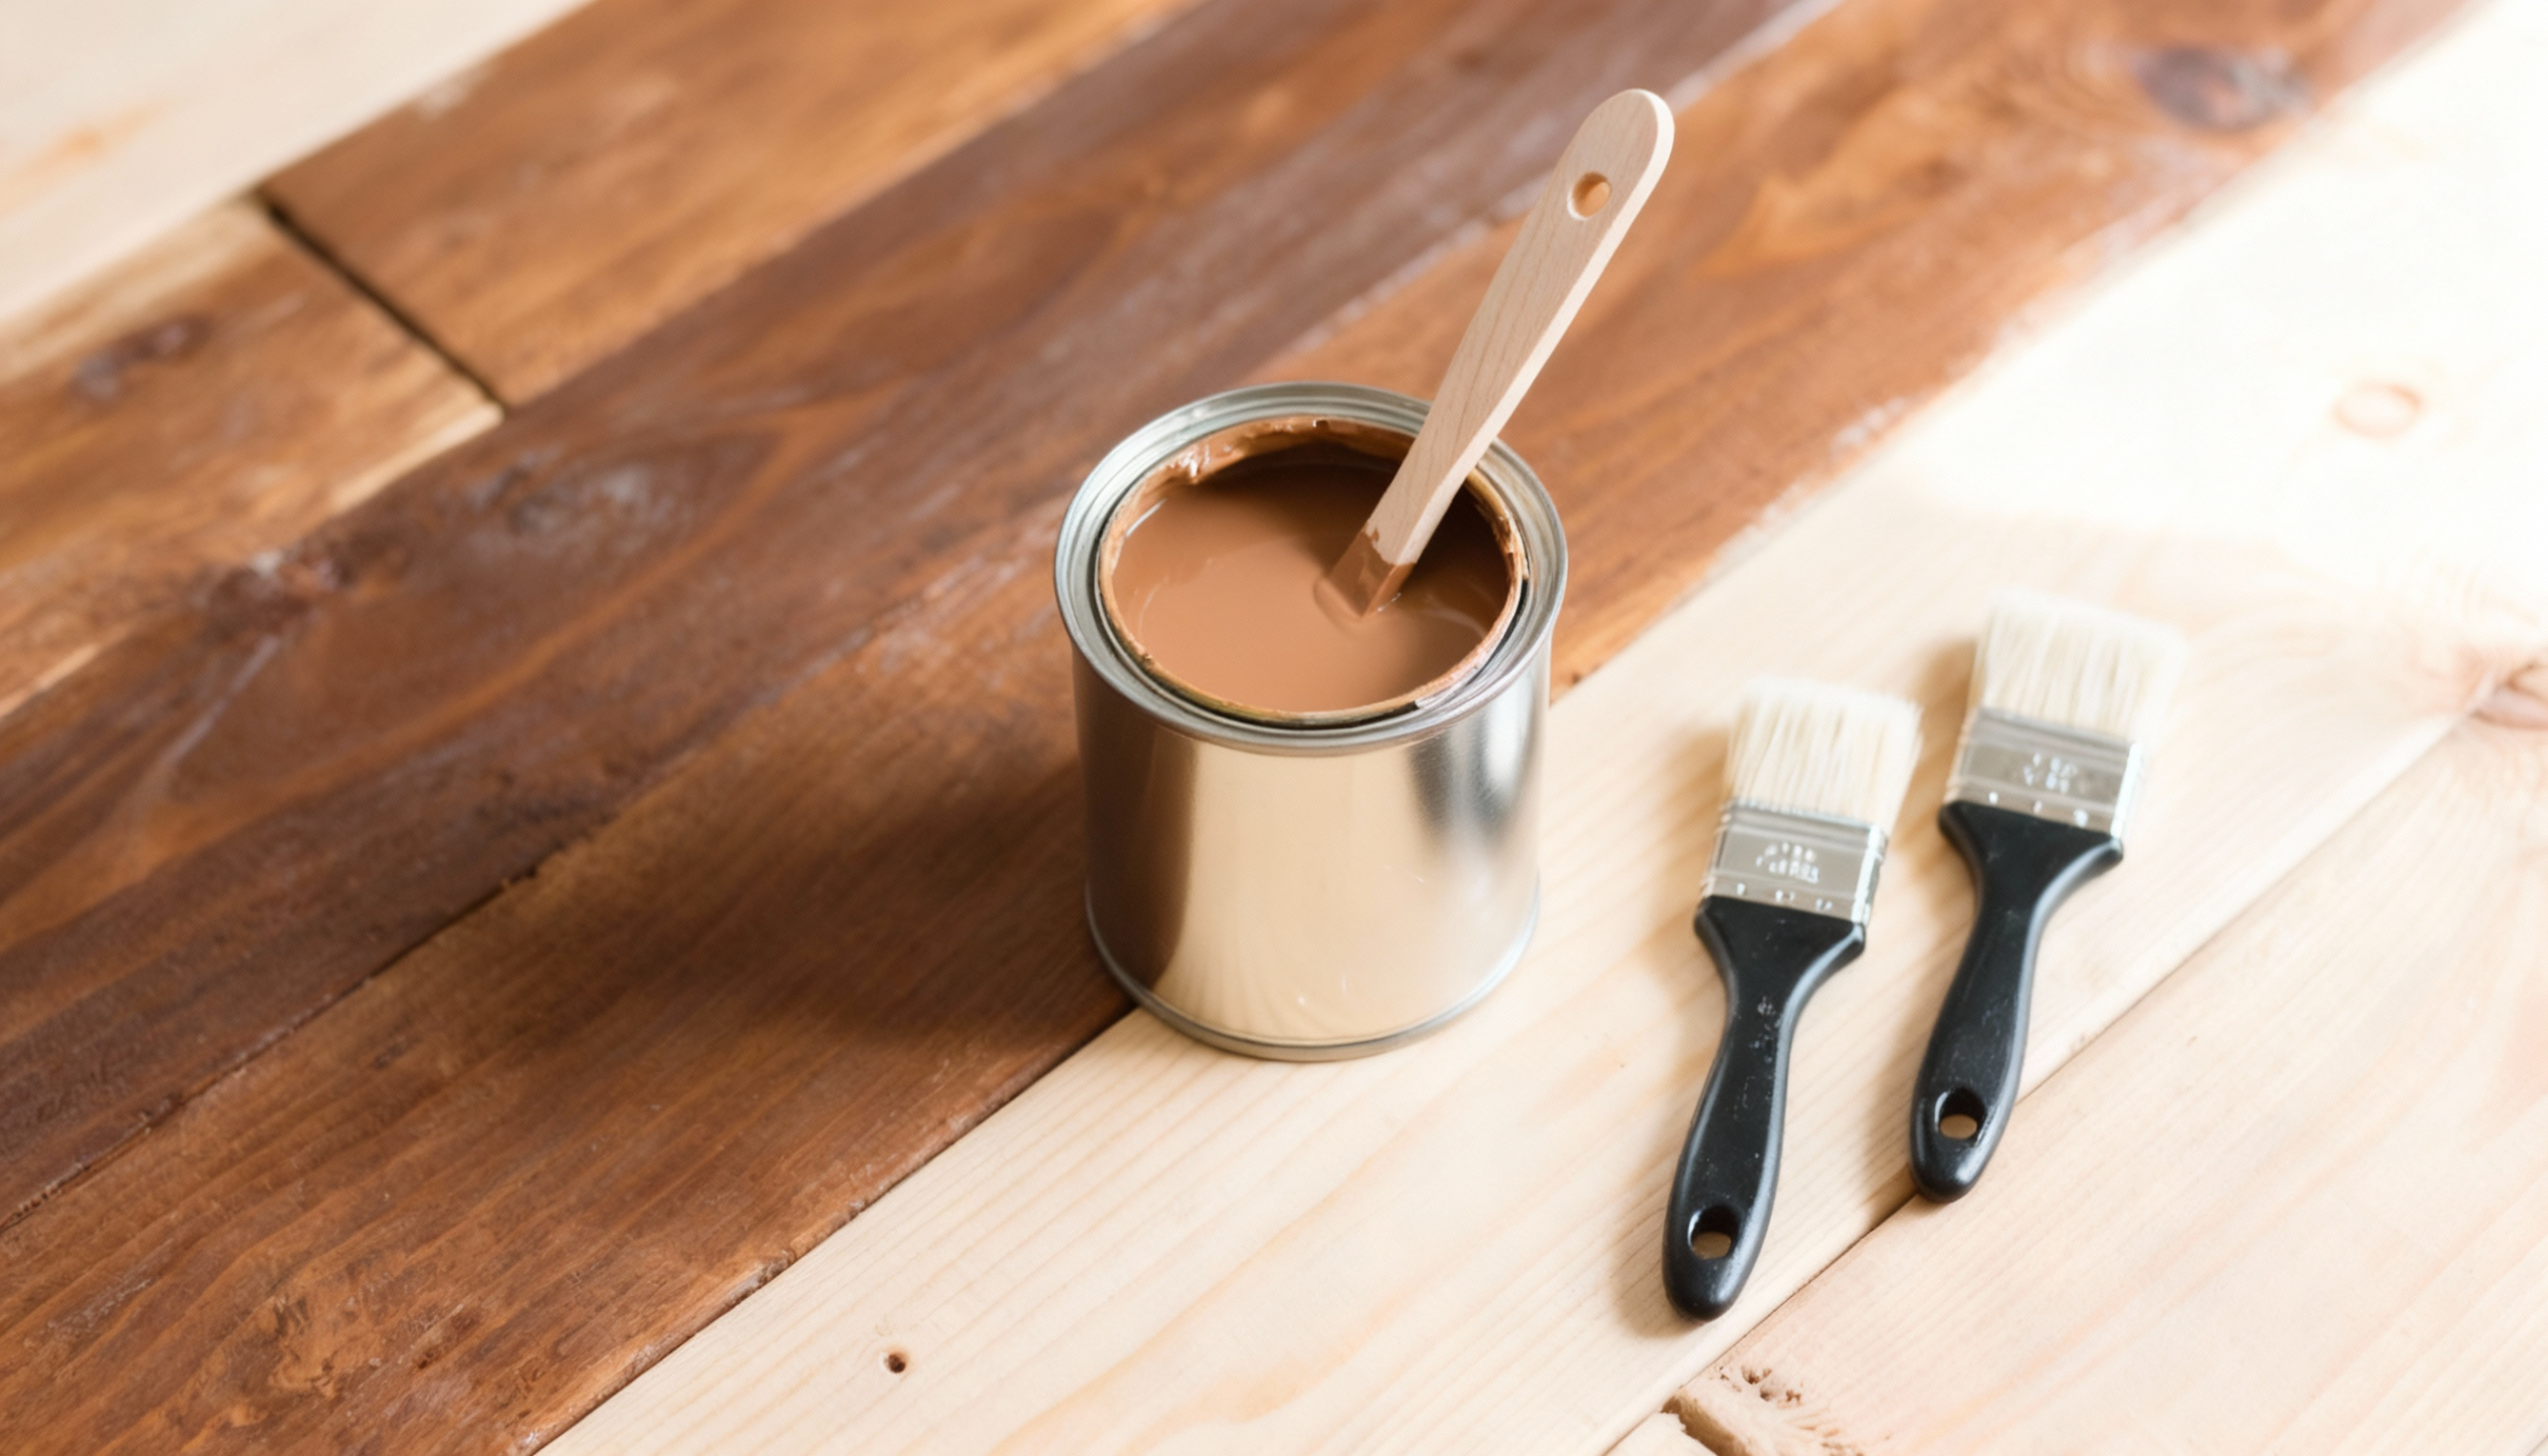
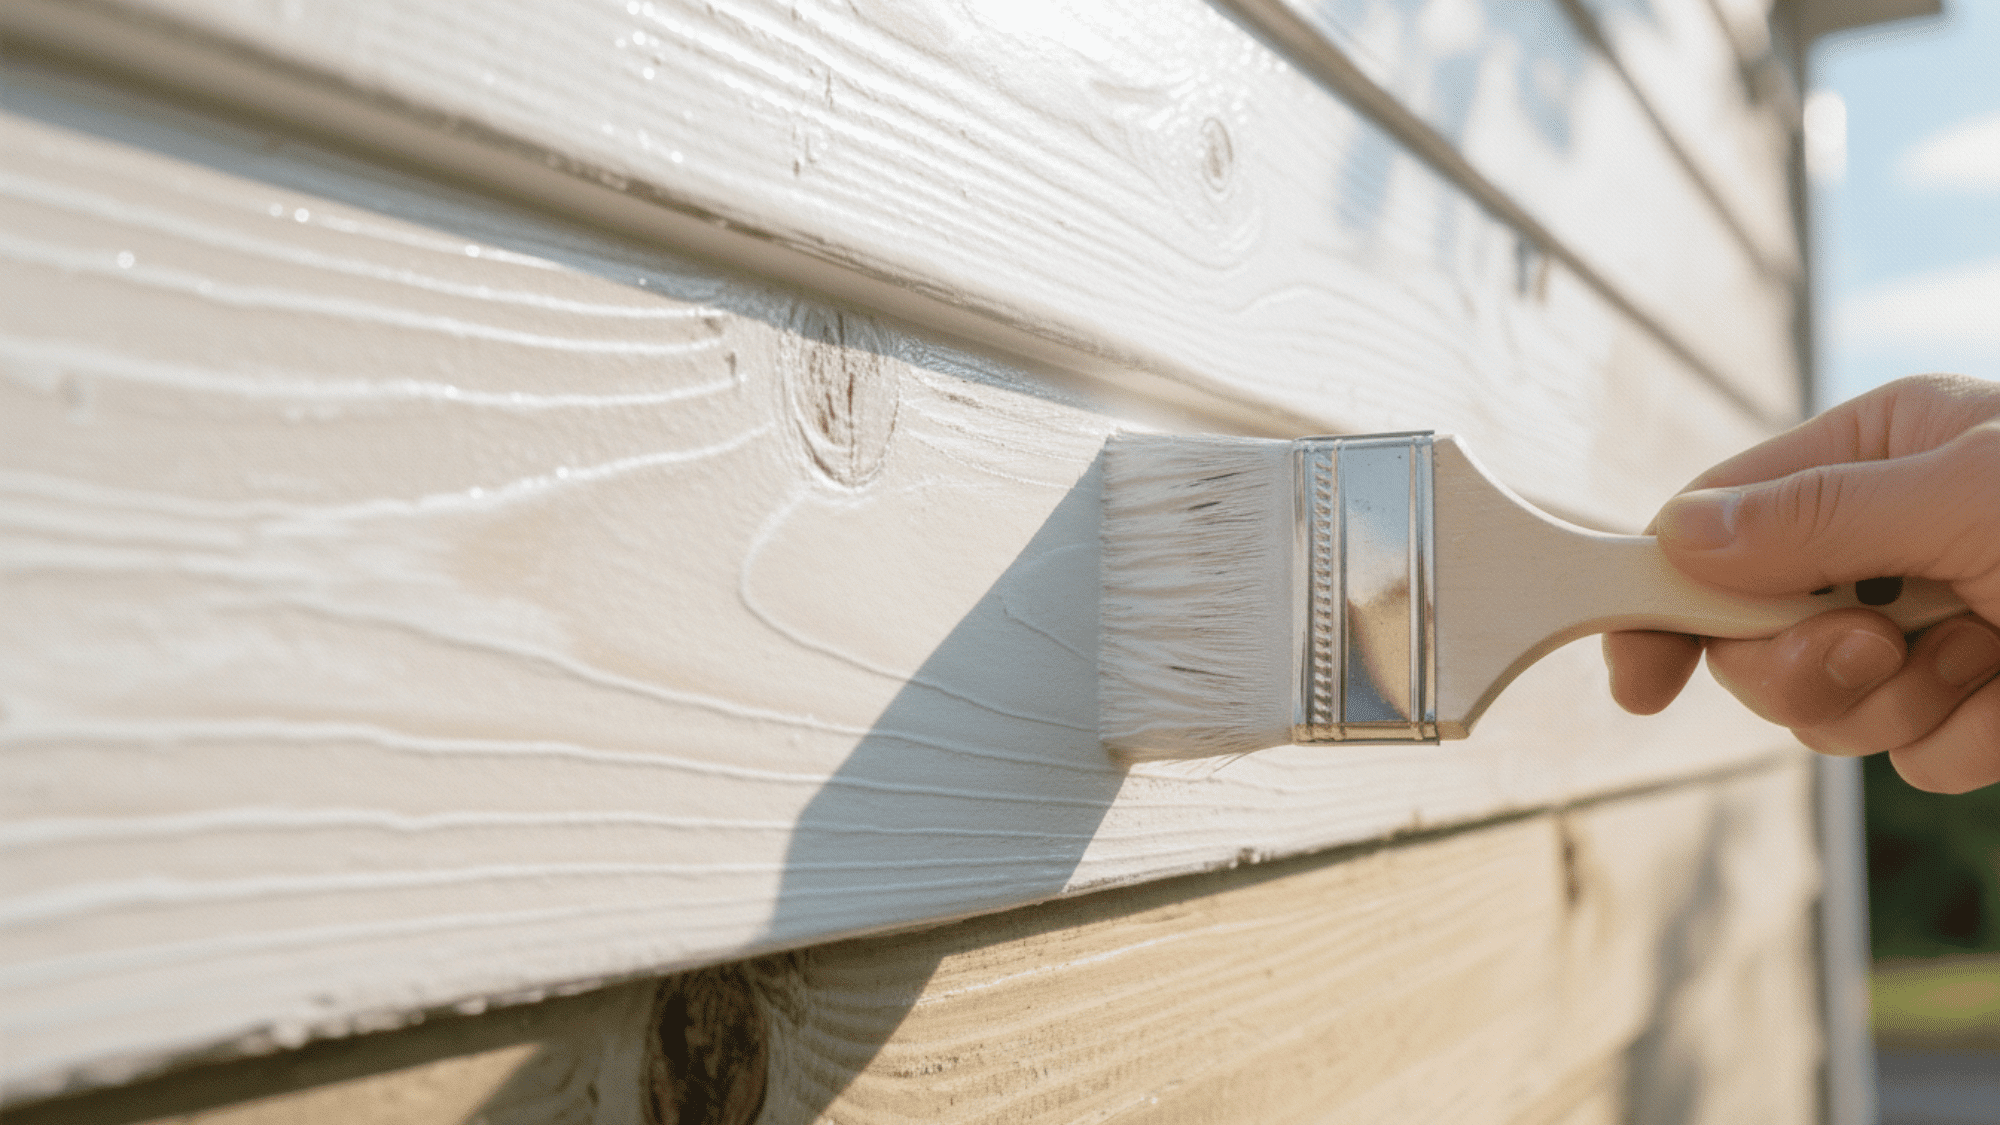
Step 5: Paint with Exterior-Grade Paint
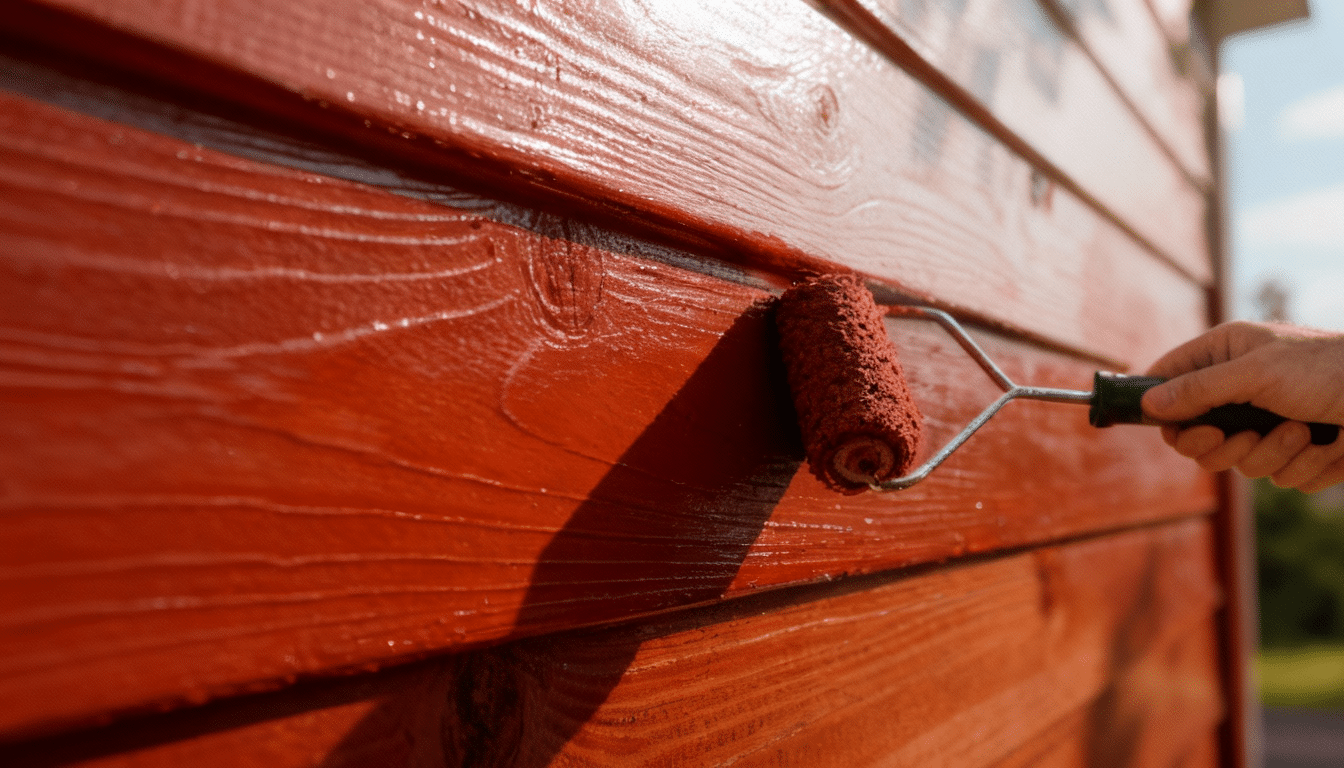
Apply your first coat of exterior latex or acrylic paint using a brush for detailed areas and a roller for larger flat surfaces. Work paint into all crevices and grain patterns for complete coverage.
When using proper exterior-grade products designed for weather exposure.
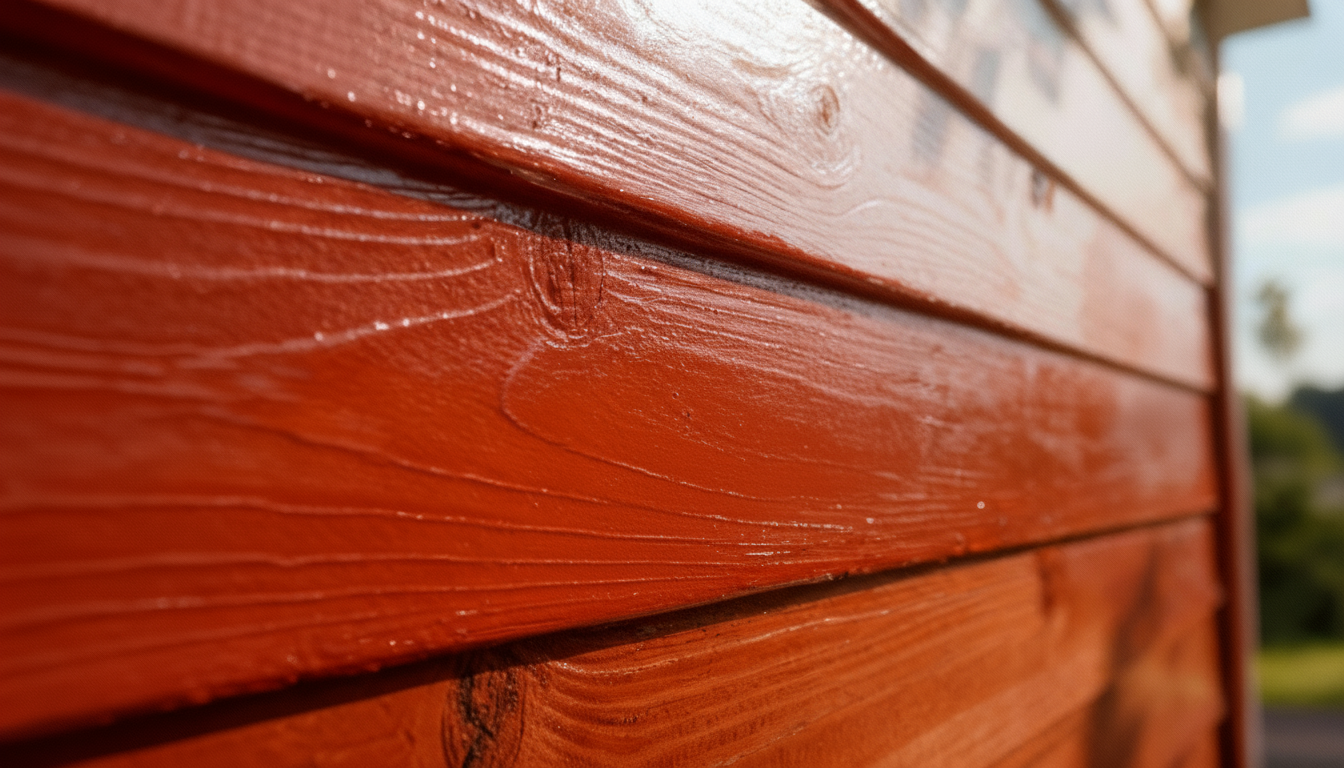
Allow the first coat to dry completely, then apply a second coat for optimal protection and color depth. Two coats provide better coverage and longer-lasting protection than single applications.
Step 6: Allow Proper Curing Before Use
Let the painted pressure-treated wood cure completely for at least forty-eight to seventy-two hours before subjecting it to heavy use or furniture placement.
Full paint curing may take up to two weeks, depending on temperature and humidity conditions in your area. Avoid washing or exposing painted surfaces to excessive moisture during this initial curing period.
Proper curing time ensures paint bonds completely with the wood, creating durable surfaces that resist chipping, peeling, and weather damage for years.
Best Paints and Primers for Pressure-Treated Wood
Selecting appropriate primers and paints designed for treated lumber ensures proper adhesion, durability, and long-lasting outdoor performance.
| Product Type | Best For | Price Range | Longevity |
|---|---|---|---|
| Exterior Primer | All-purpose adhesion on treated lumber | Around $30-$40 per gallon | 2-3 years (as base coat) approximately |
| Acrylic Paint | Decks, fences, and outdoor structures | Around $30-$50 per gallon | 3-5 years approximately |
| Latex Paint | Long-lasting color and weather protection | Around $30-$70 per gallon | 5-7 years approximately |
| Specialty Paint | Combination stain and protective sealant | Around $40-$55 per gallon | 4-6 years approximately |
Note: Longevity depends on proper surface preparation, application technique, weather exposure, and maintenance. High-traffic areas like deck floors may require more frequent recoating than vertical surfaces.
Is it Possible to Stain Pressure-Treated Wood?
You can stain pressure-treated wood just as successfully as painting it when following proper preparation steps and timing requirements.
Staining offers advantages for homeowners who prefer the natural wood grain visibility over the solid color coverage that paint provides.
Semi-transparent and solid stains both work well on treated lumber after adequate drying periods of two to six months following installation.
Stains penetrate wood fibers differently than paint, often requiring less surface preparation but benefiting from the same cleaning and drying protocols.
Choose exterior stains specifically for use on pressure-treated wood for best longevity in outdoor conditions.
Conclusion
Successfully painting pressure-treated wood comes down to patience, thorough preparation, and choosing products specifically designed for outdoor durability.
By allowing proper drying time, cleaning surfaces meticulously, applying high-quality primer, and selecting exterior-grade paints, you create a finish that truly lasts.
This comprehensive process ensures your decks, fences, and outdoor structures maintain their beauty while resisting rain, sun, and temperature fluctuations for years.
Change your outdoor spaces with confidence by gathering your materials, following these proven techniques, and giving your pressure-treated wood the long-lasting finish it deserves.
Frequently Asked Questions
What happens if you paint the Pressure-Treated Wood Immediately?
Paint will peel, bubble, and fail quickly because excess moisture prevents proper adhesion to the wood surface.
What is the Best Time of Year to Paint Pressure-Treated Wood?
Late spring through early fall, when temperatures stay between fifty and eighty-five degrees with low humidity.
Can you Spray Paint Pressure-Treated Wood, or is Brushing Better?
Both methods work well, but brushing pushes paint deeper into the wood grain for better penetration and coverage.