Building a coffee table by hand is one of the most satisfying home projects for anyone who enjoys crafting something useful and beautiful.
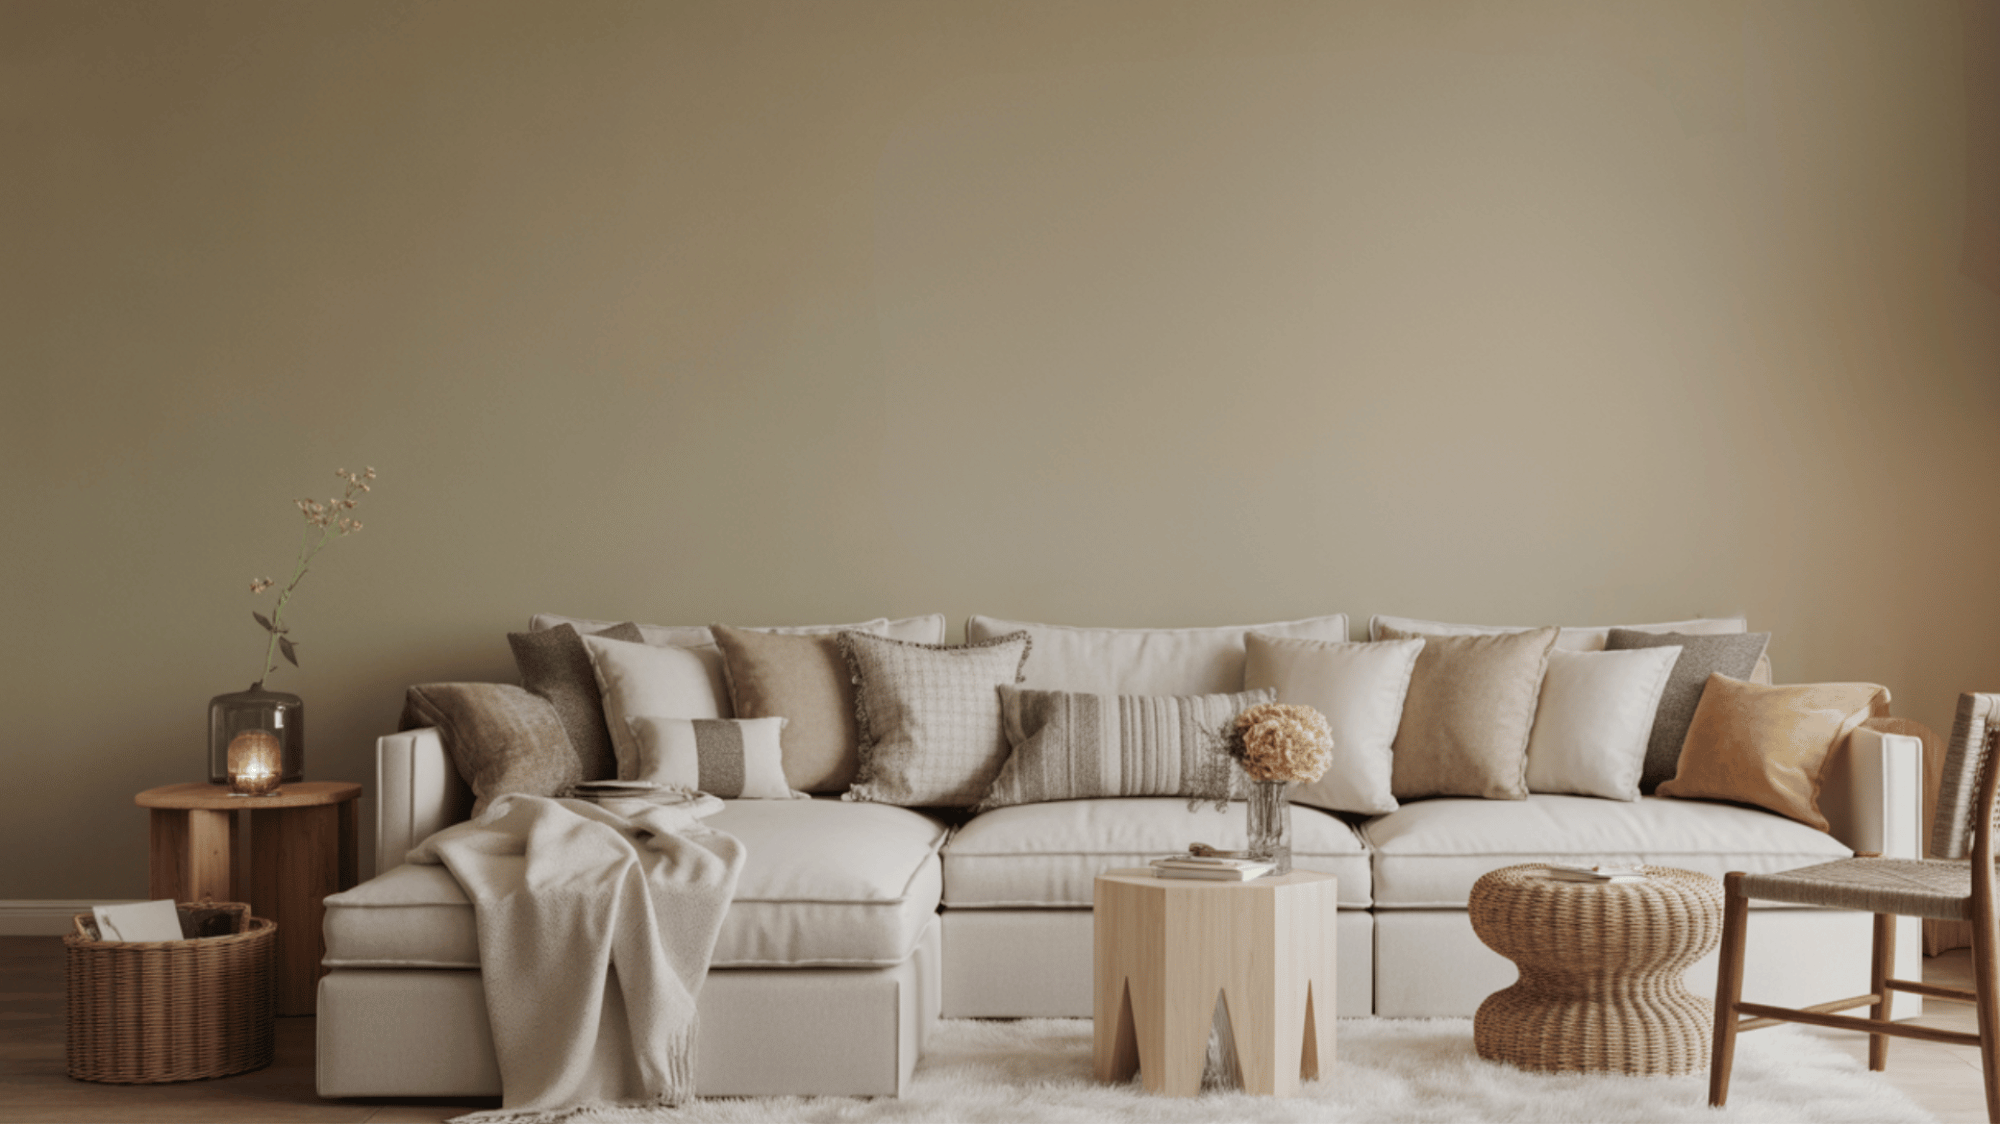
A coffee table isn’t just furniture; it’s the centerpiece of a living room, bringing both style and purpose.
With the right plan, tools, and guidance, creating a DIY coffee table from scratch is easier than it looks.
This guide walks you through every step, from choosing materials to finishing touches, so you can build a custom coffee table that perfectly fits your space and adds a personal touch to your home.
Why Build Your Own Coffee Table?
Creating your own coffee table gives you something store-bought furniture never can, a sense of pride and ownership.
Every piece you cut, sand, and join becomes a part of something that reflects your personal style.
DIY projects are also budget-friendly. A handmade coffee table can cost far less than retail versions, yet offer higher quality and custom design.
You control everything, from size and shape to finish and materials, making it a perfect fit for your space and personality.
Types of Coffee Table Design
Choosing the right coffee table design sets the tone for your space, balancing style, functionality, and personal creativity perfectly.
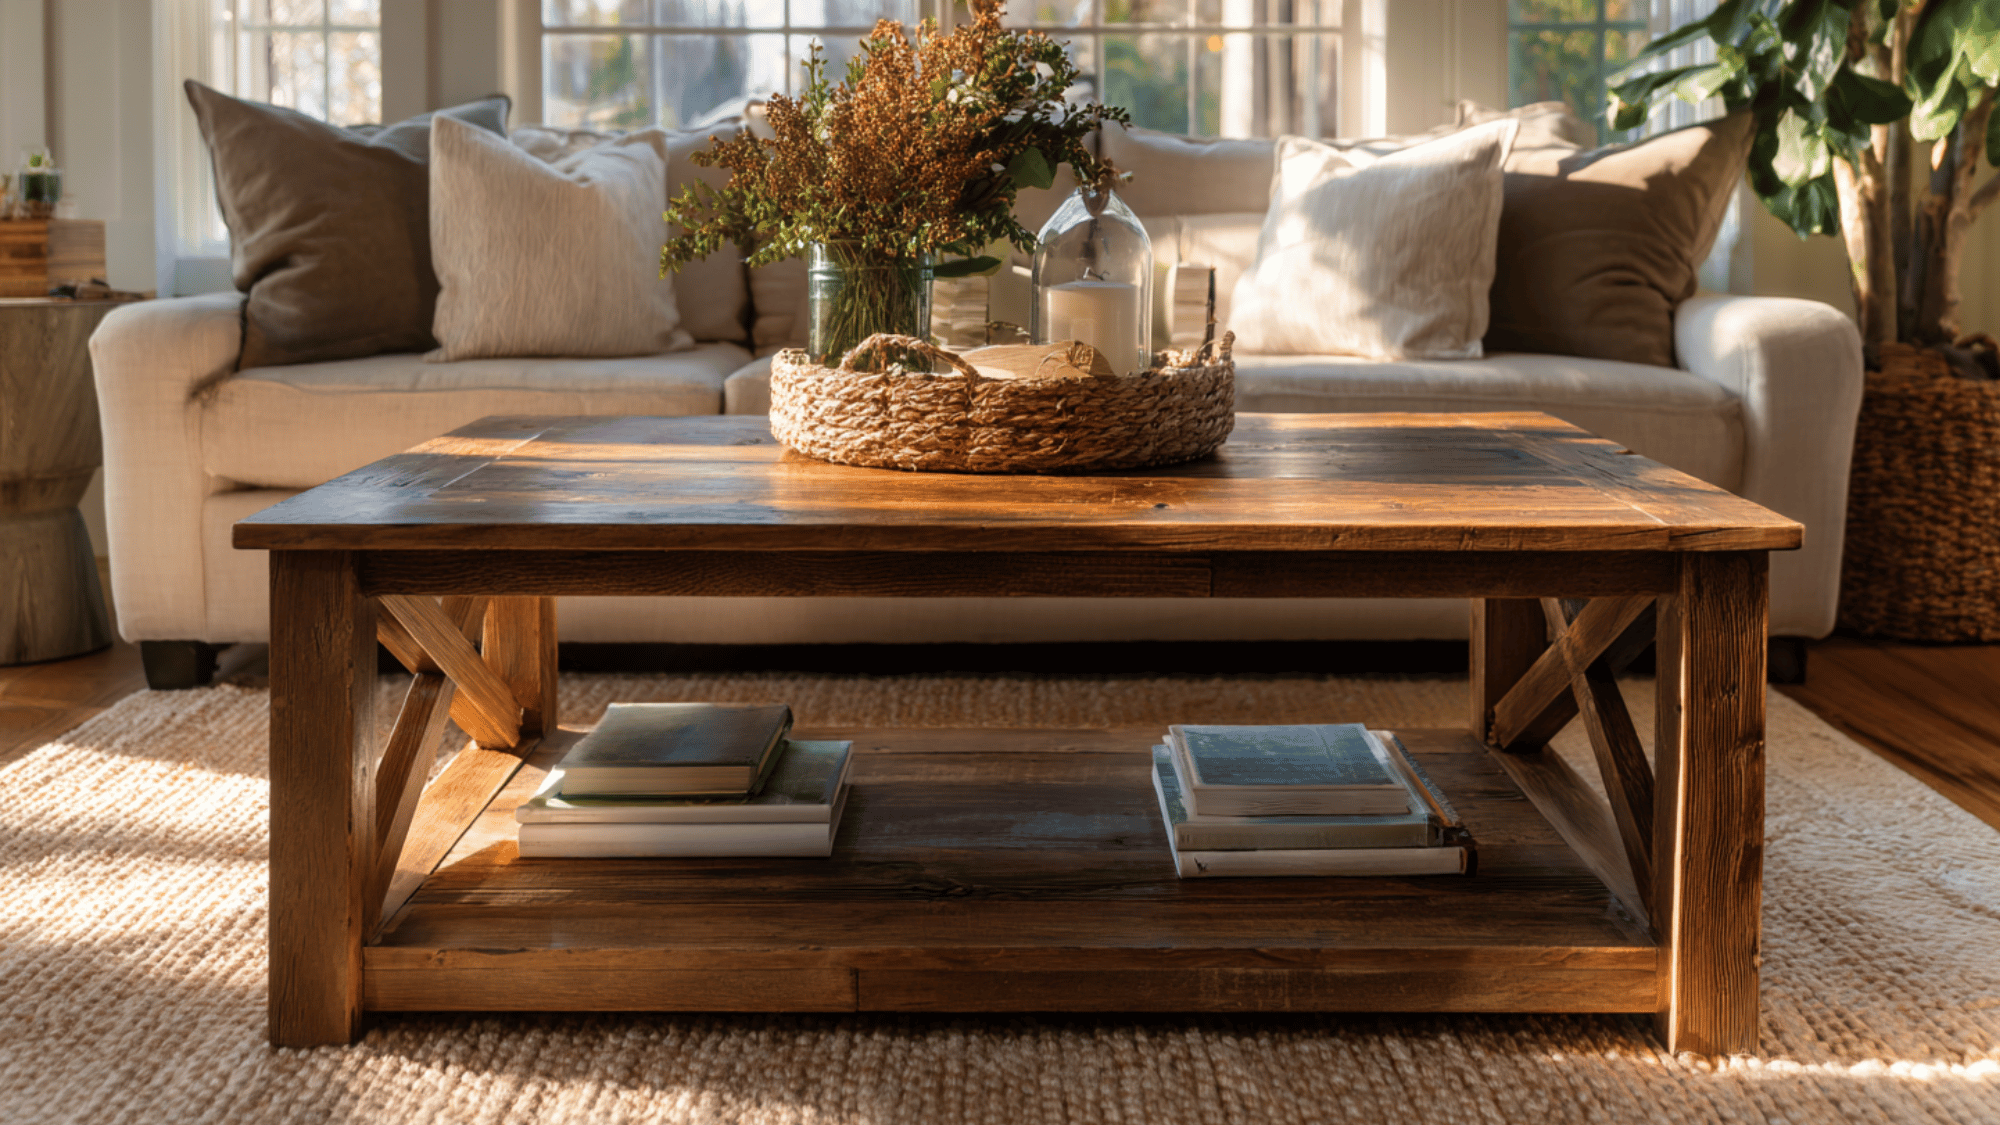
- Rustic Farmhouse: Combines natural wood textures and warm tones for a cozy, lived-in look that adds country warmth.
- Modern Minimalist: Features clean lines and simple shapes, focusing on functionality with a sleek, uncluttered stylish.
- Industrial Metal-Leg Design: Blends wood and metal elements, creating a sturdy, urban-inspired table with a raw, contemporary edge.
- Pallet or Reclaimed-Wood Look: Uses recycled materials for an eco-friendly, budget-conscious design that showcases rustic character and creativity.
- Custom Fit for Any Space: Adjust the size, height, and shape to match your room’s layout and furniture proportions.
- Sketch Before Starting: Drawing a rough plan helps visualize the design, measure accurately, and avoid mistakes during the build.
Tools and Materials Required
| Tools | Materials |
|---|---|
| Drill: For fastening screws and assembling the frame. | 2×6 and 2×2 lumber: For frame and tabletop construction. |
| Circular Saw or Miter Saw: For cutting lumber precisely. | Wood Glue: Strengthens joints and ensures durability. |
| Measuring Tape: Ensures accurate dimensions for a perfect fit. | 2½-inch Trim Screws: Used for secure assembly without pre-drilling. |
| Sander: Smooths rough edges and prepares surfaces for finishing. | Wood Stain or Paint: Adds color and enhances the wood’s look. |
| Square: Keeps all joints and corners perfectly aligned. | Clear Sealant: Protects the surface and adds a lasting finish. |
How to Build a DIY Coffee Table
Building a coffee table is a fun, budget-friendly project that transforms simple materials into a stylish, functional centerpiece.
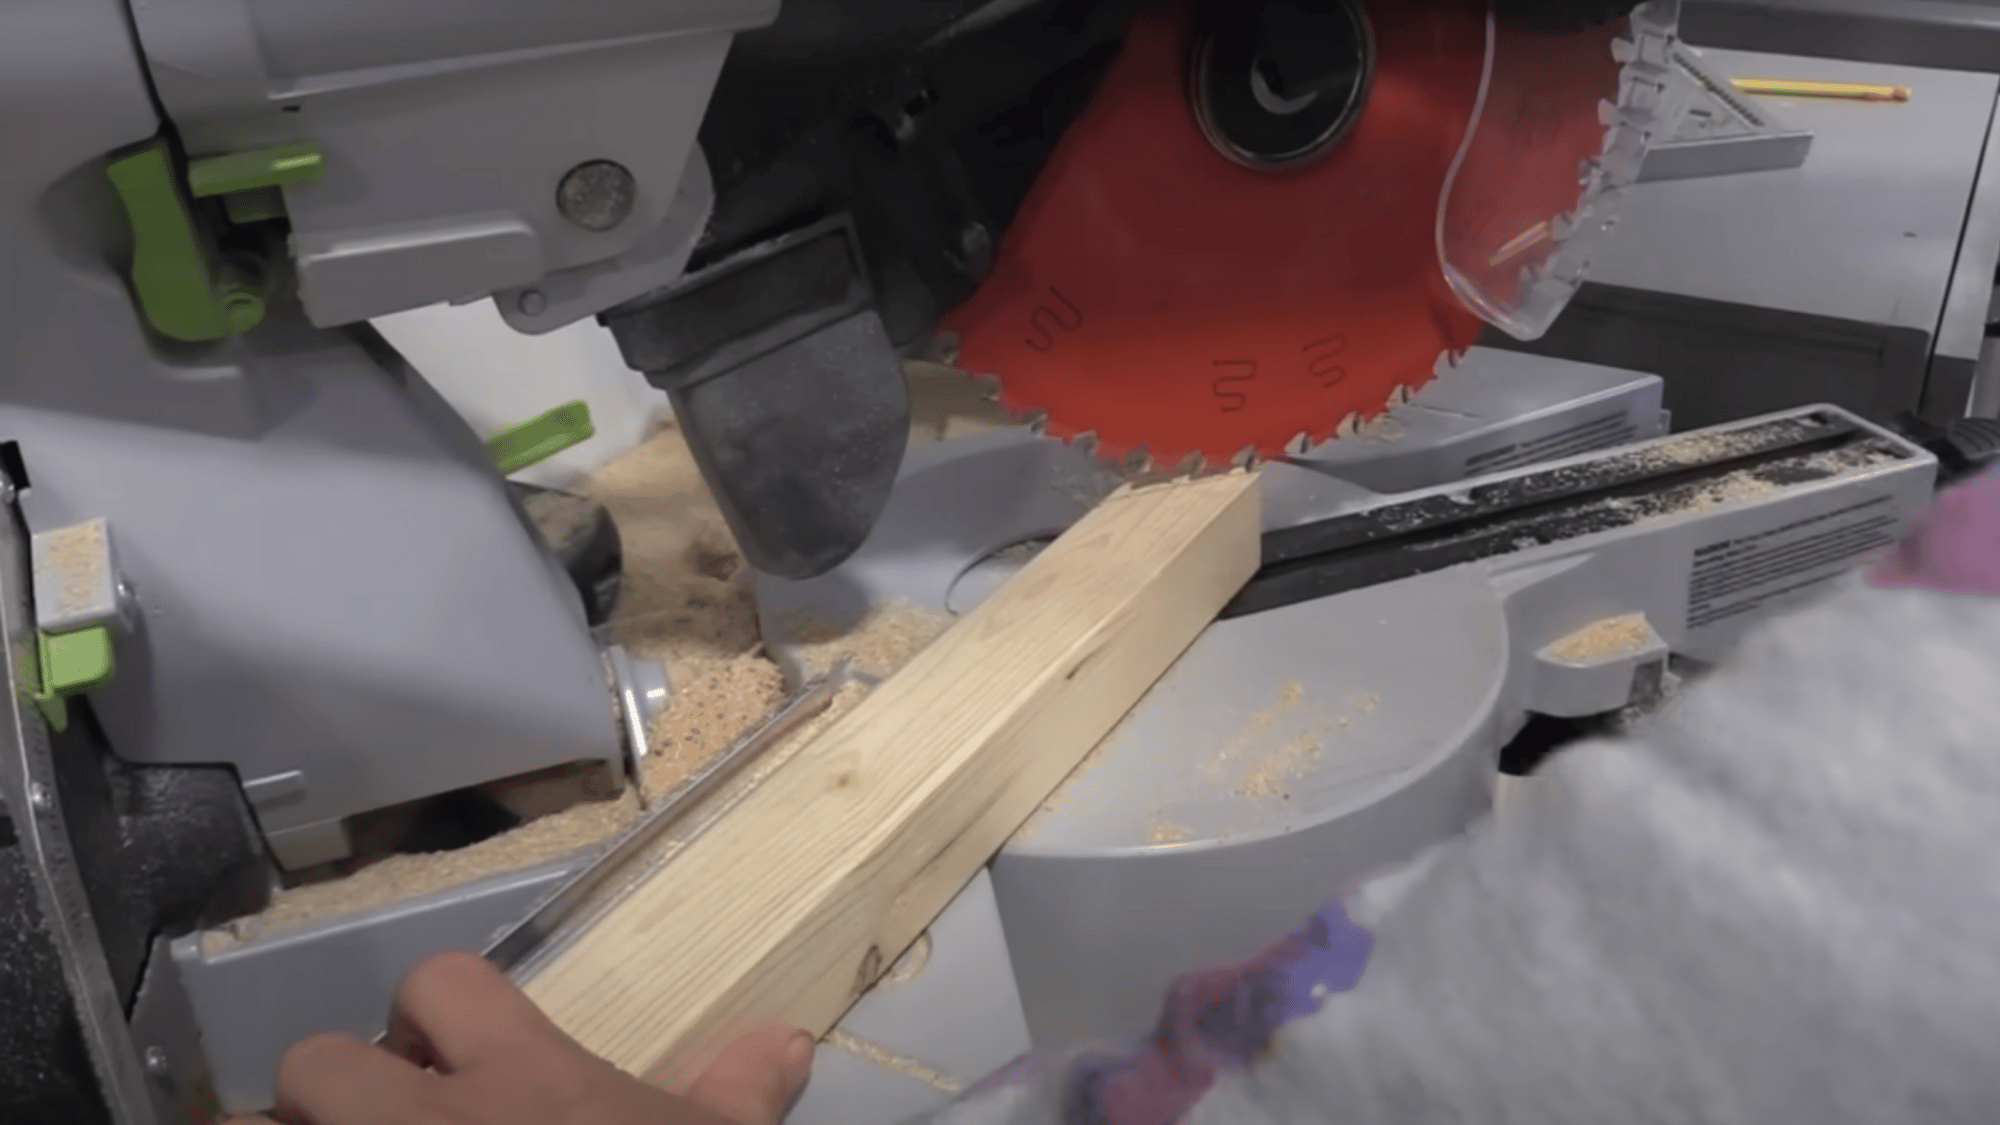
Step 1: Cut All the Boards to Size
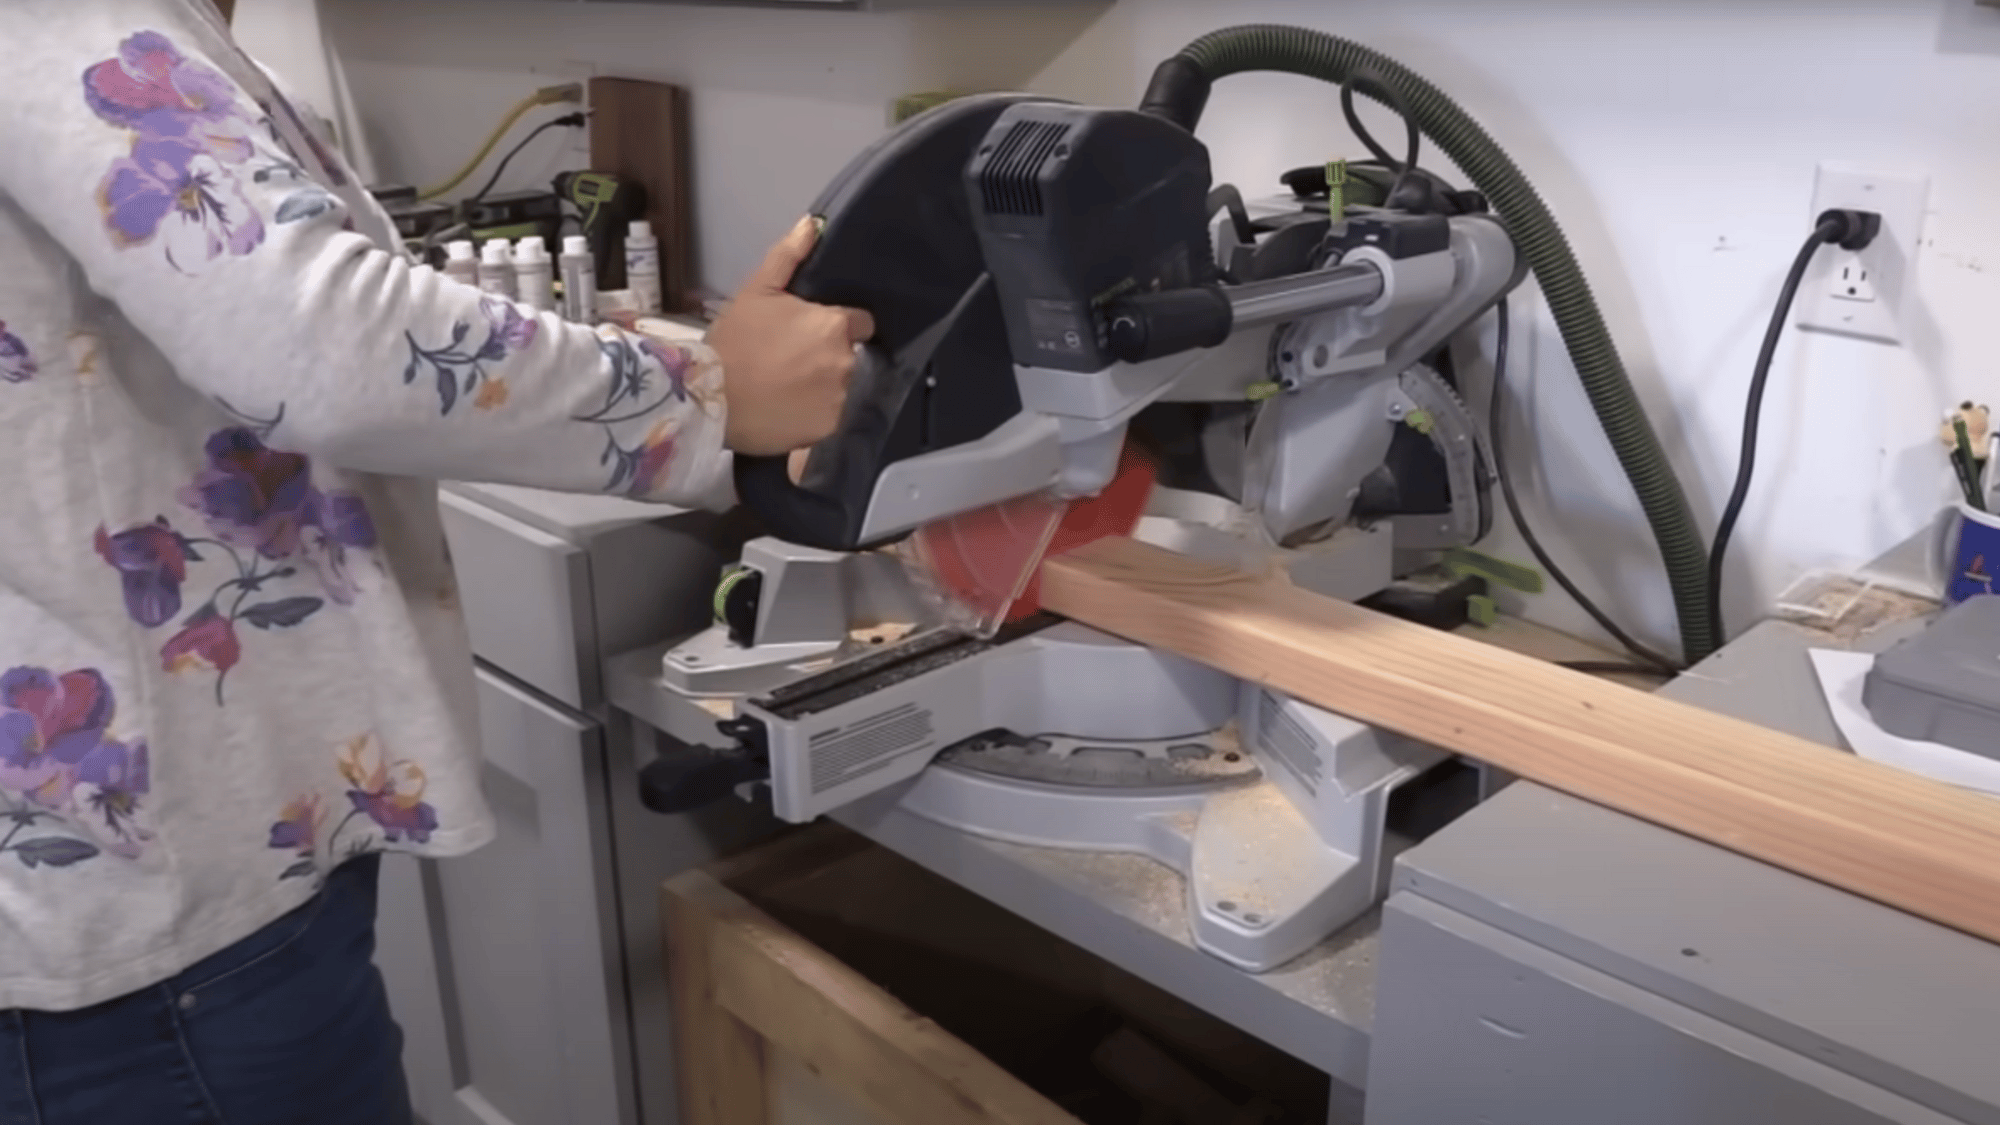
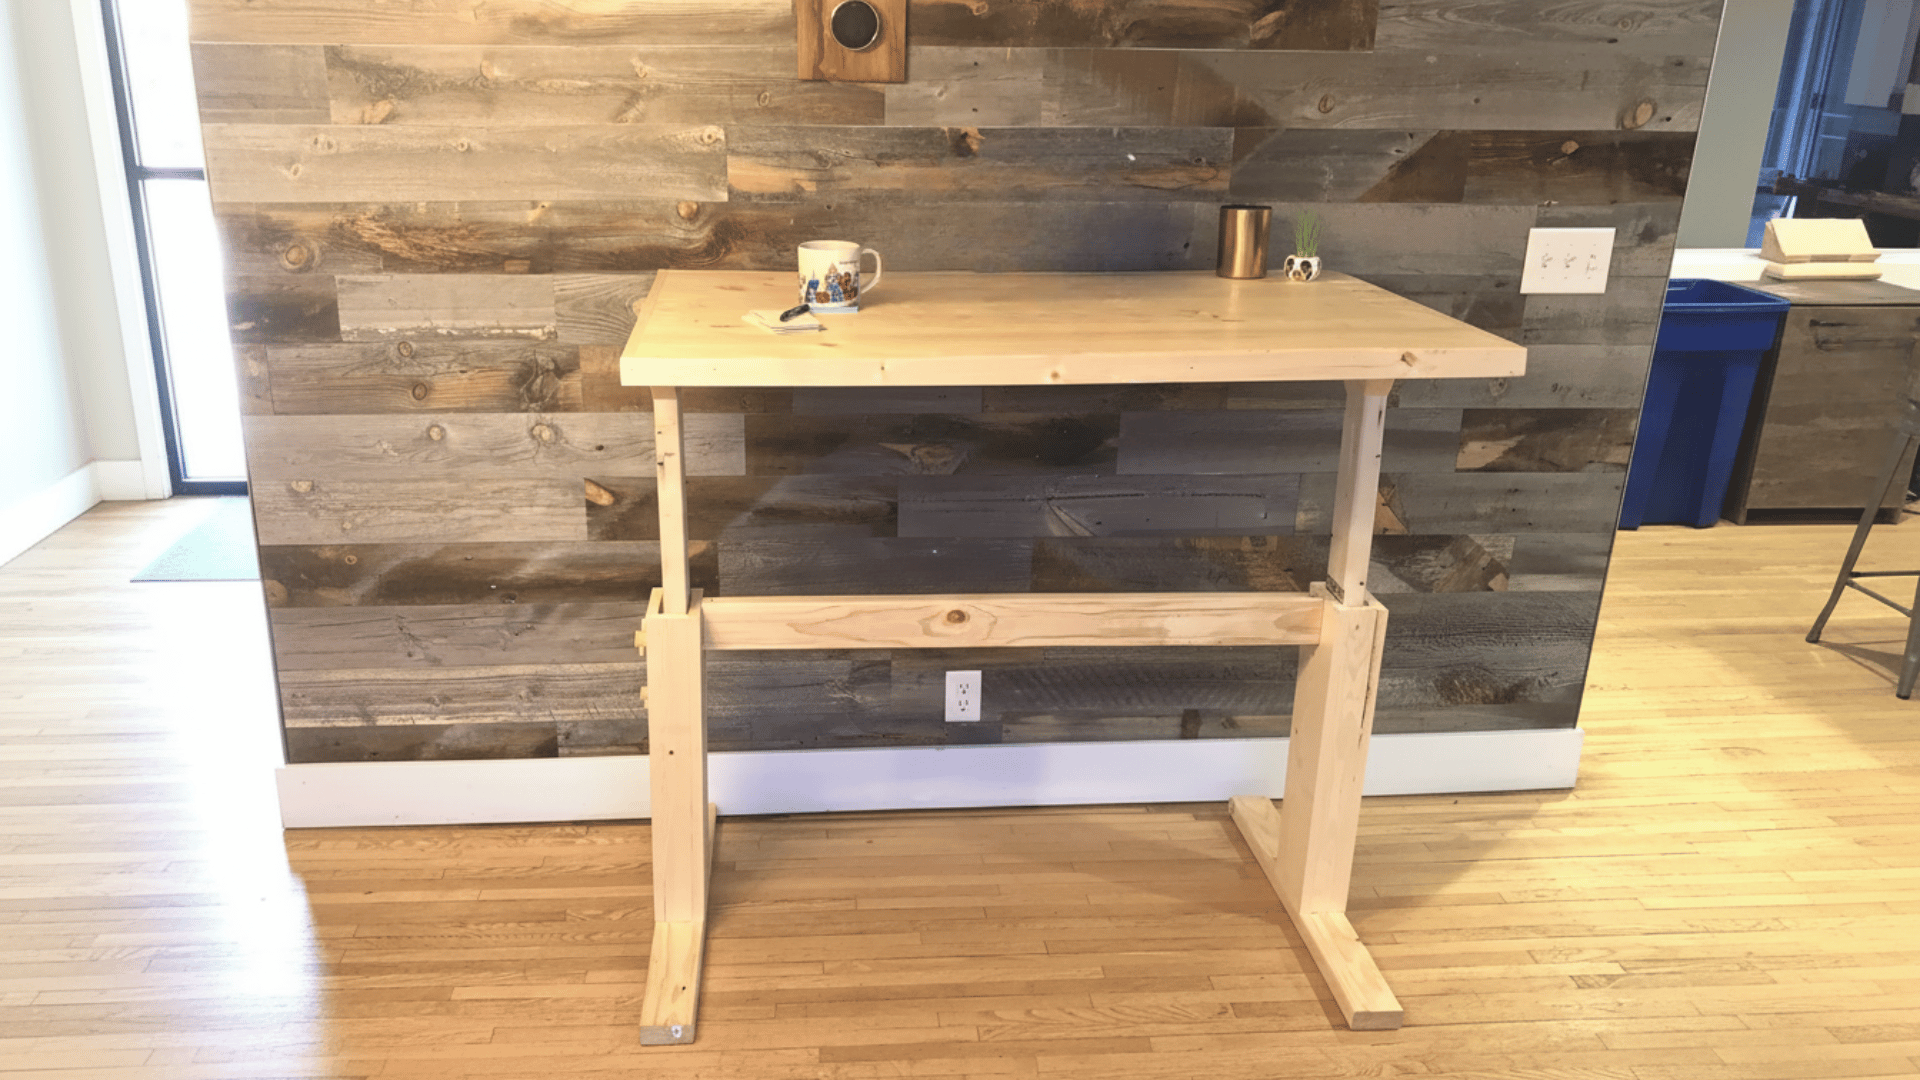
Start by cutting all your lumber pieces according to your plan. The creator uses a sliding compound miter saw, but a circular saw works just as well for beginners.
Be sure to double-check your measurements before cutting each piece. Label your parts (legs, cross braces, and tabletop boards) to stay organized.
This preparation ensures smooth assembly later and helps avoid mistakes when aligning the table’s frame.
Step 2: Build the Two End Frames
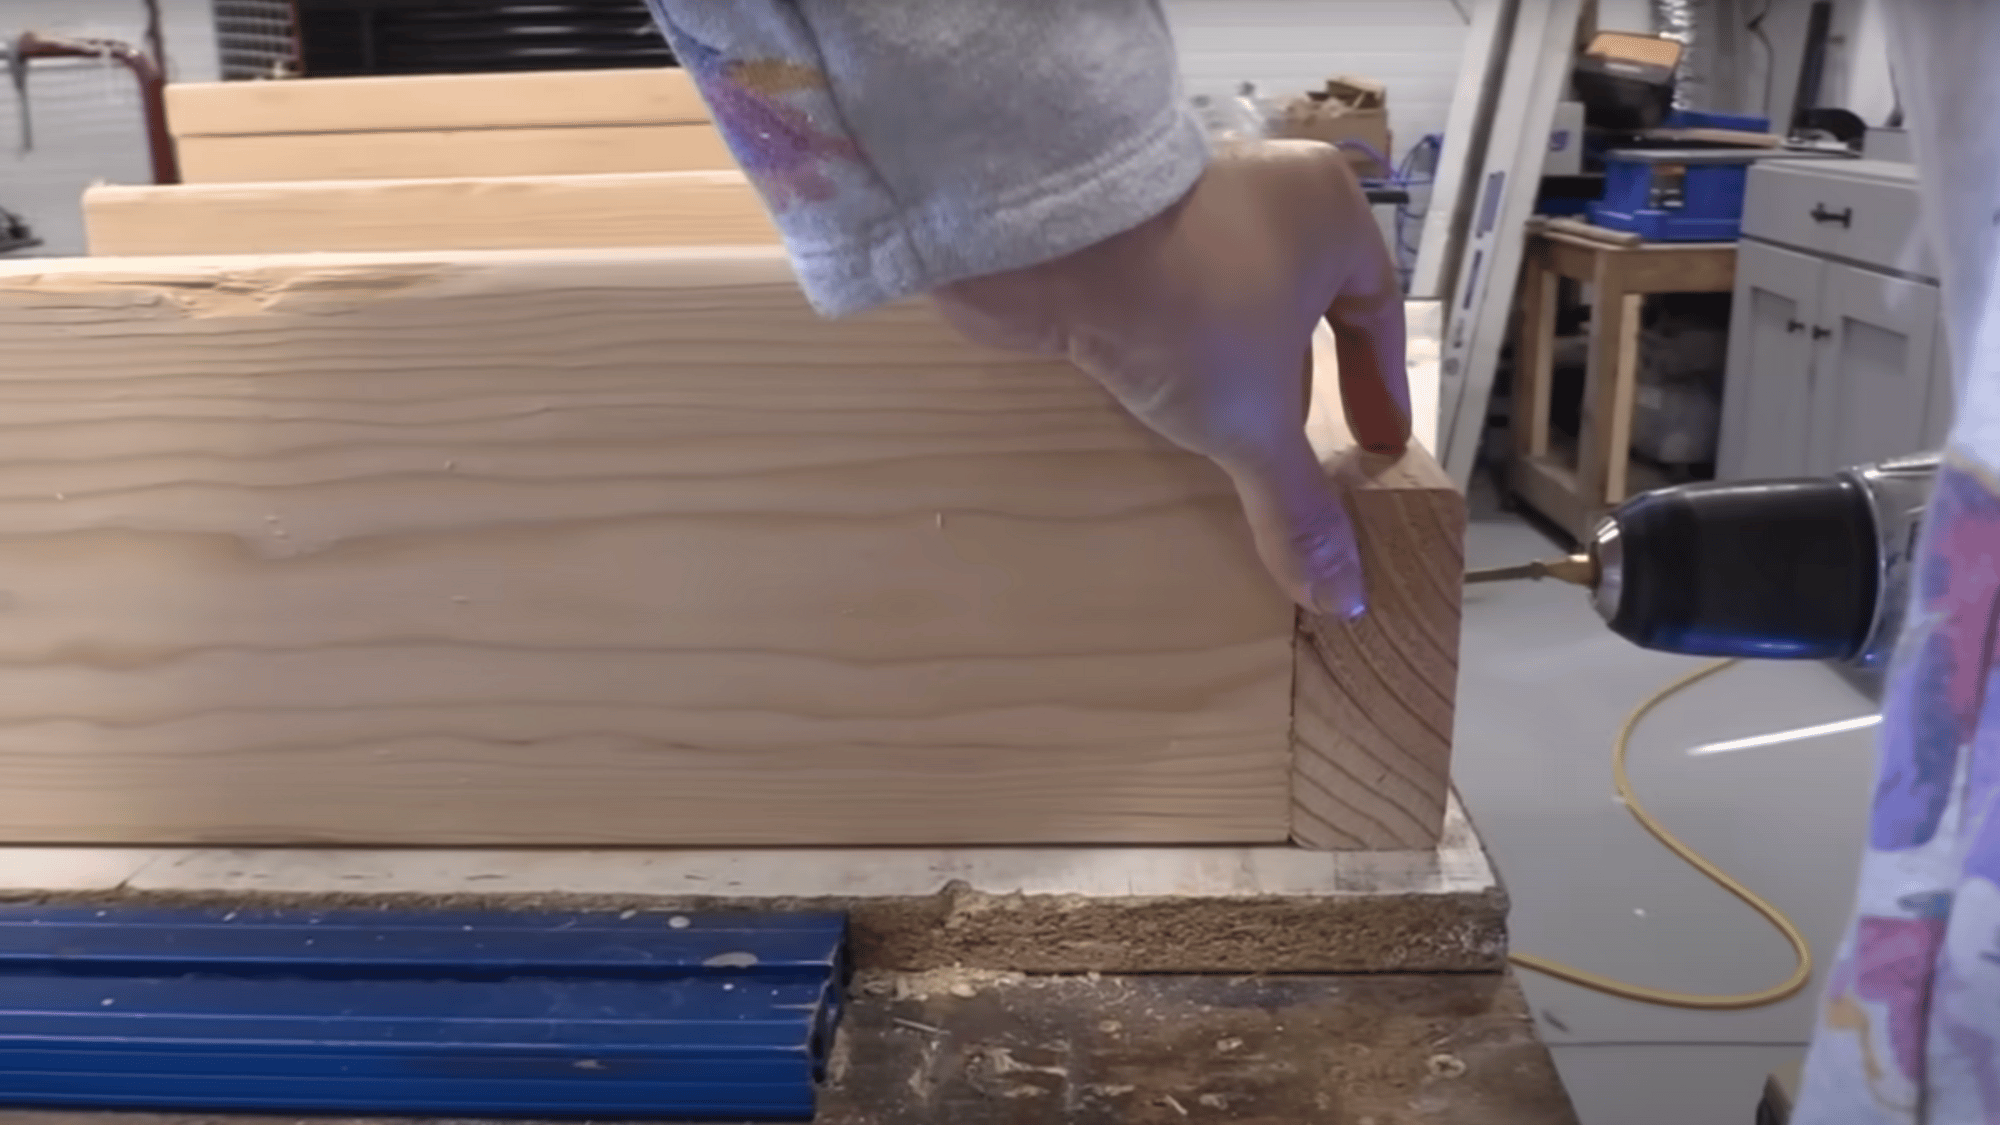
Begin constructing the two end sections of the coffee table. These will form the side supports.
Use wood glue at each joint and secure the pieces with 2½-inch trim screws. The benefit of these screws is that you don’t need to pre-drill, and the small heads hide easily for a clean finish.
Assemble both ends identically and make sure they are square and level. The 2×6 top beam provides a strong anchor for the table’s frame.
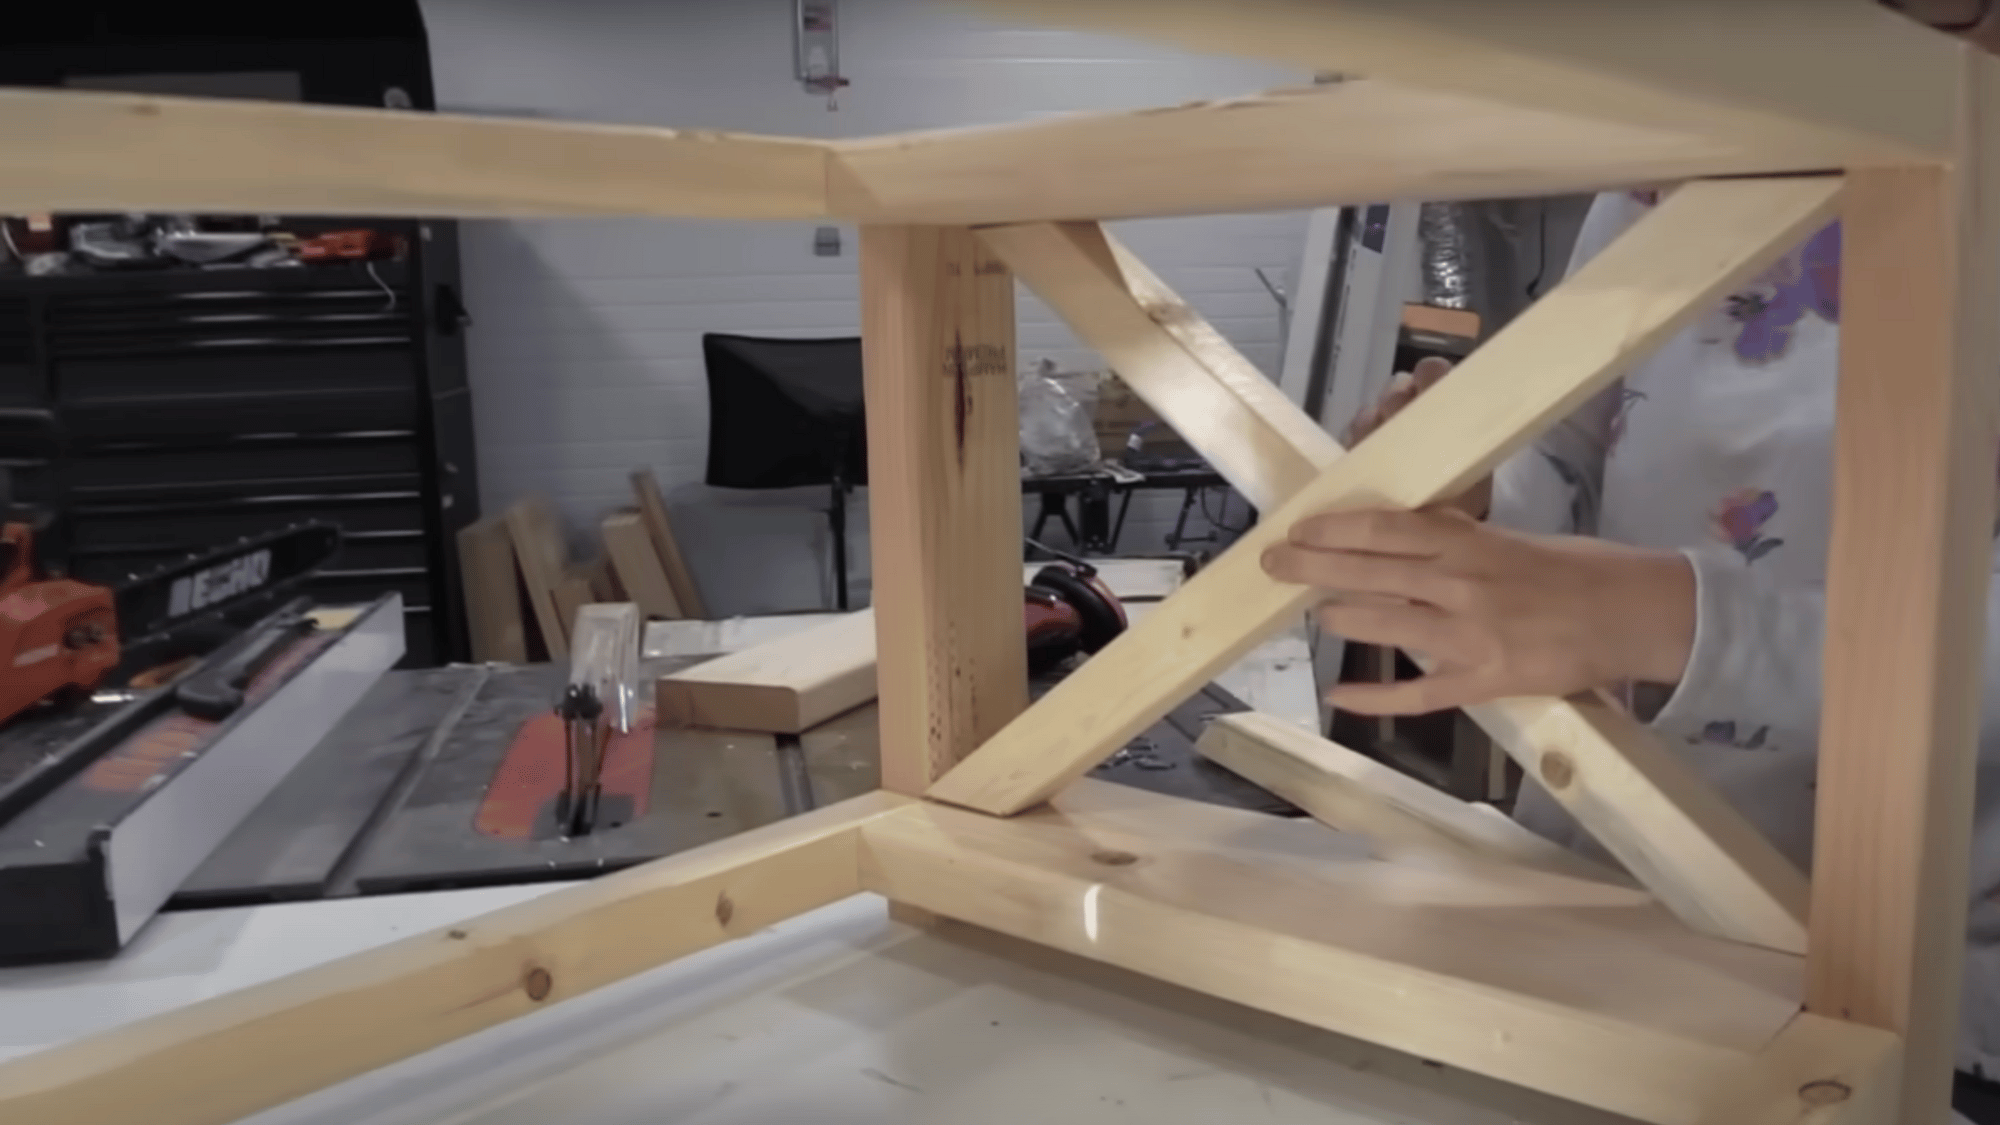
Step 3: Add the Decorative X-Detailing
Now it’s time to add the classic farmhouse “X” design to each end frame. Use leftover 2×2 scraps from earlier cuts.
Hold one piece diagonally across the frame and mark where it overlaps. This will guide your cutting angle. Cut, fit, and repeat until both sides match perfectly.
These crossed pieces aren’t structural, so don’t worry about making tight joinery. Slightly recess the X pieces (about ¼ inch) for a dimensional, finished look.
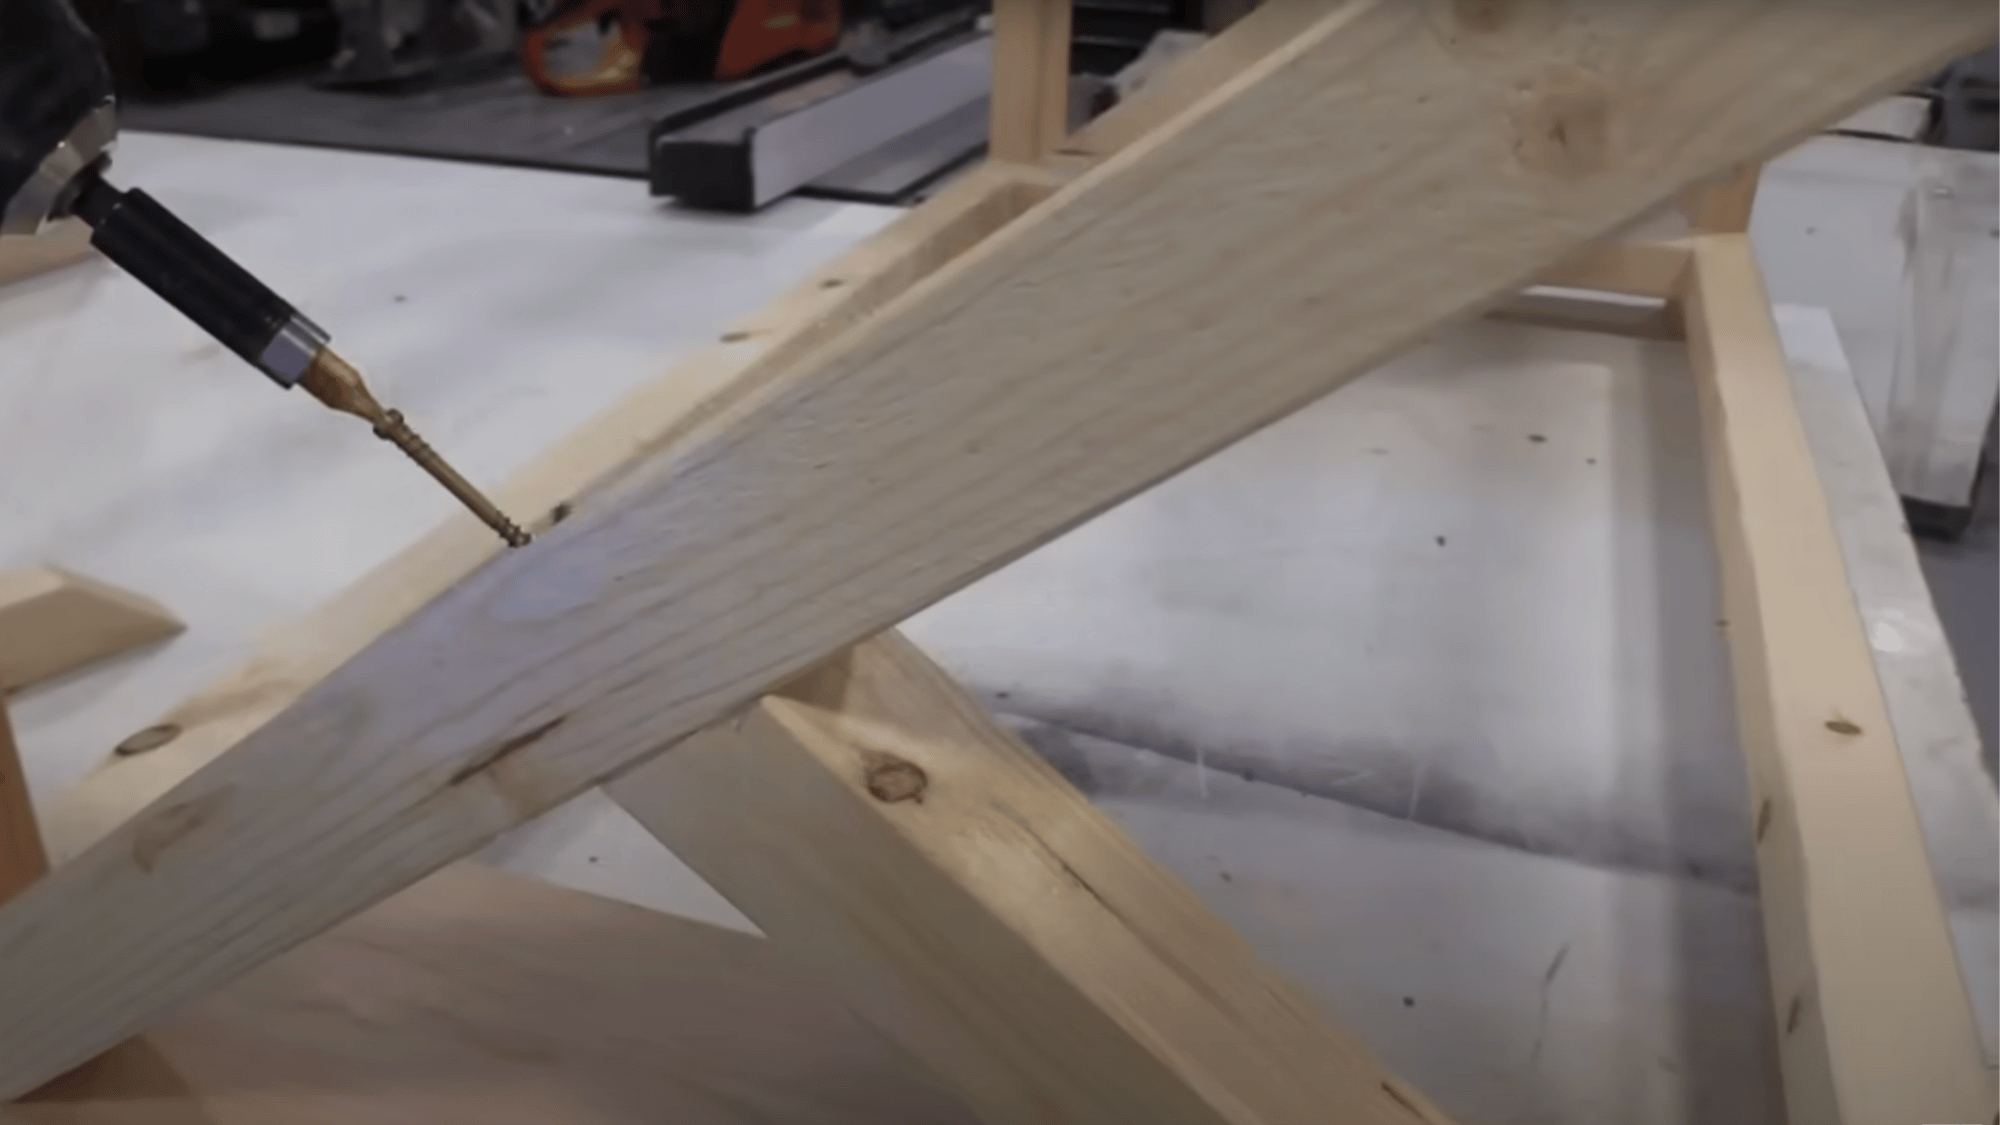
Step 4: Assemble the Main Frame
Once the sides are complete, connect them using horizontal 2x2s between the top and bottom.
This step brings your coffee table’s frame to life. Ensure all joints are flush and even before driving screws. At this stage, the table will be sturdy but lightweight.
Adding a center brace across the middle improves stability and gives you more support for attaching the tabletop later.
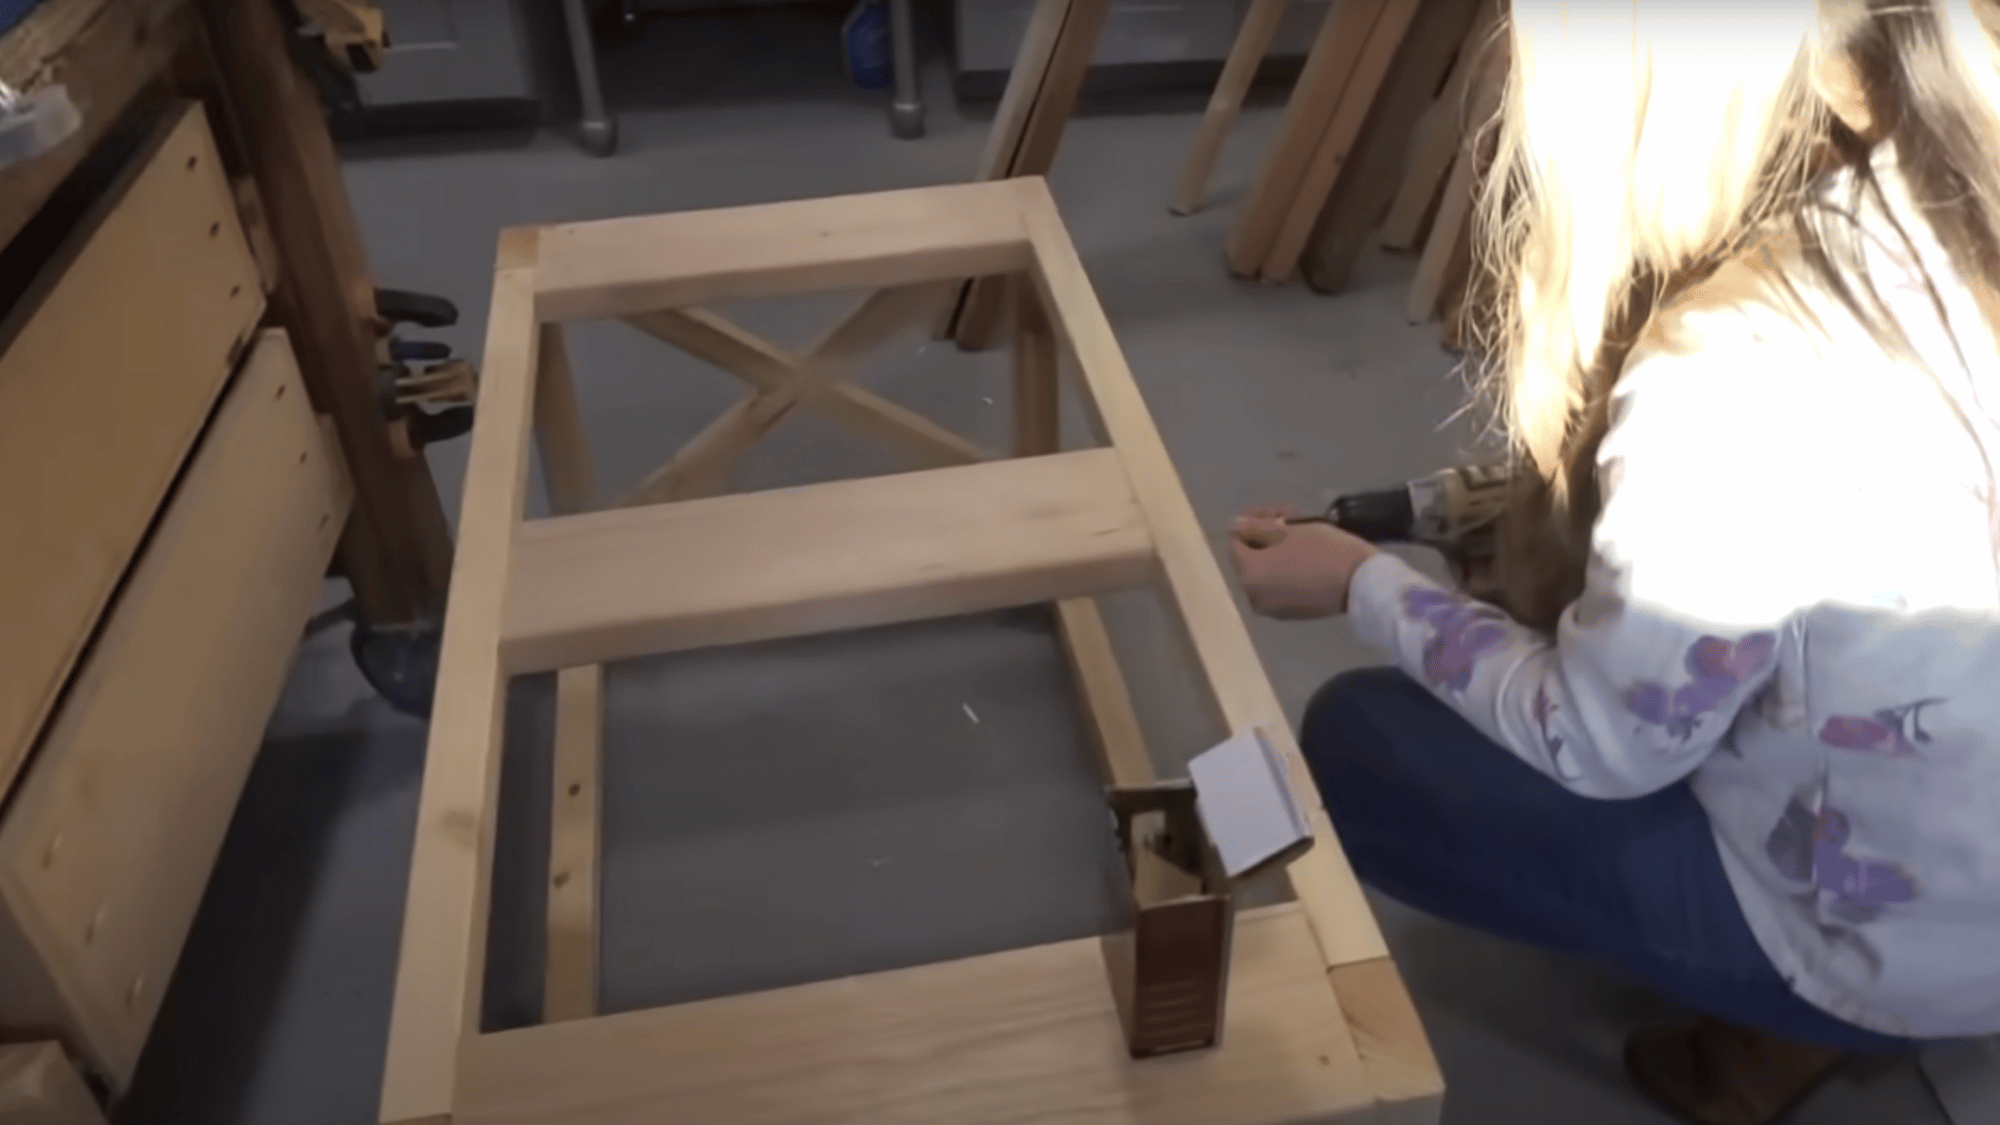
Step 5: Attach the Tabletop Boards
Lay the top boards flat and position the frame upside down on them. Align everything evenly, leaving slight overhangs if desired.
If you own a pocket hole jig, you can pre-join your tabletop boards for a smoother finish. Otherwise, screw the boards from underneath through the frame to hide visible holes.
Start fastening from the center and move outward to keep all boards tight and aligned.
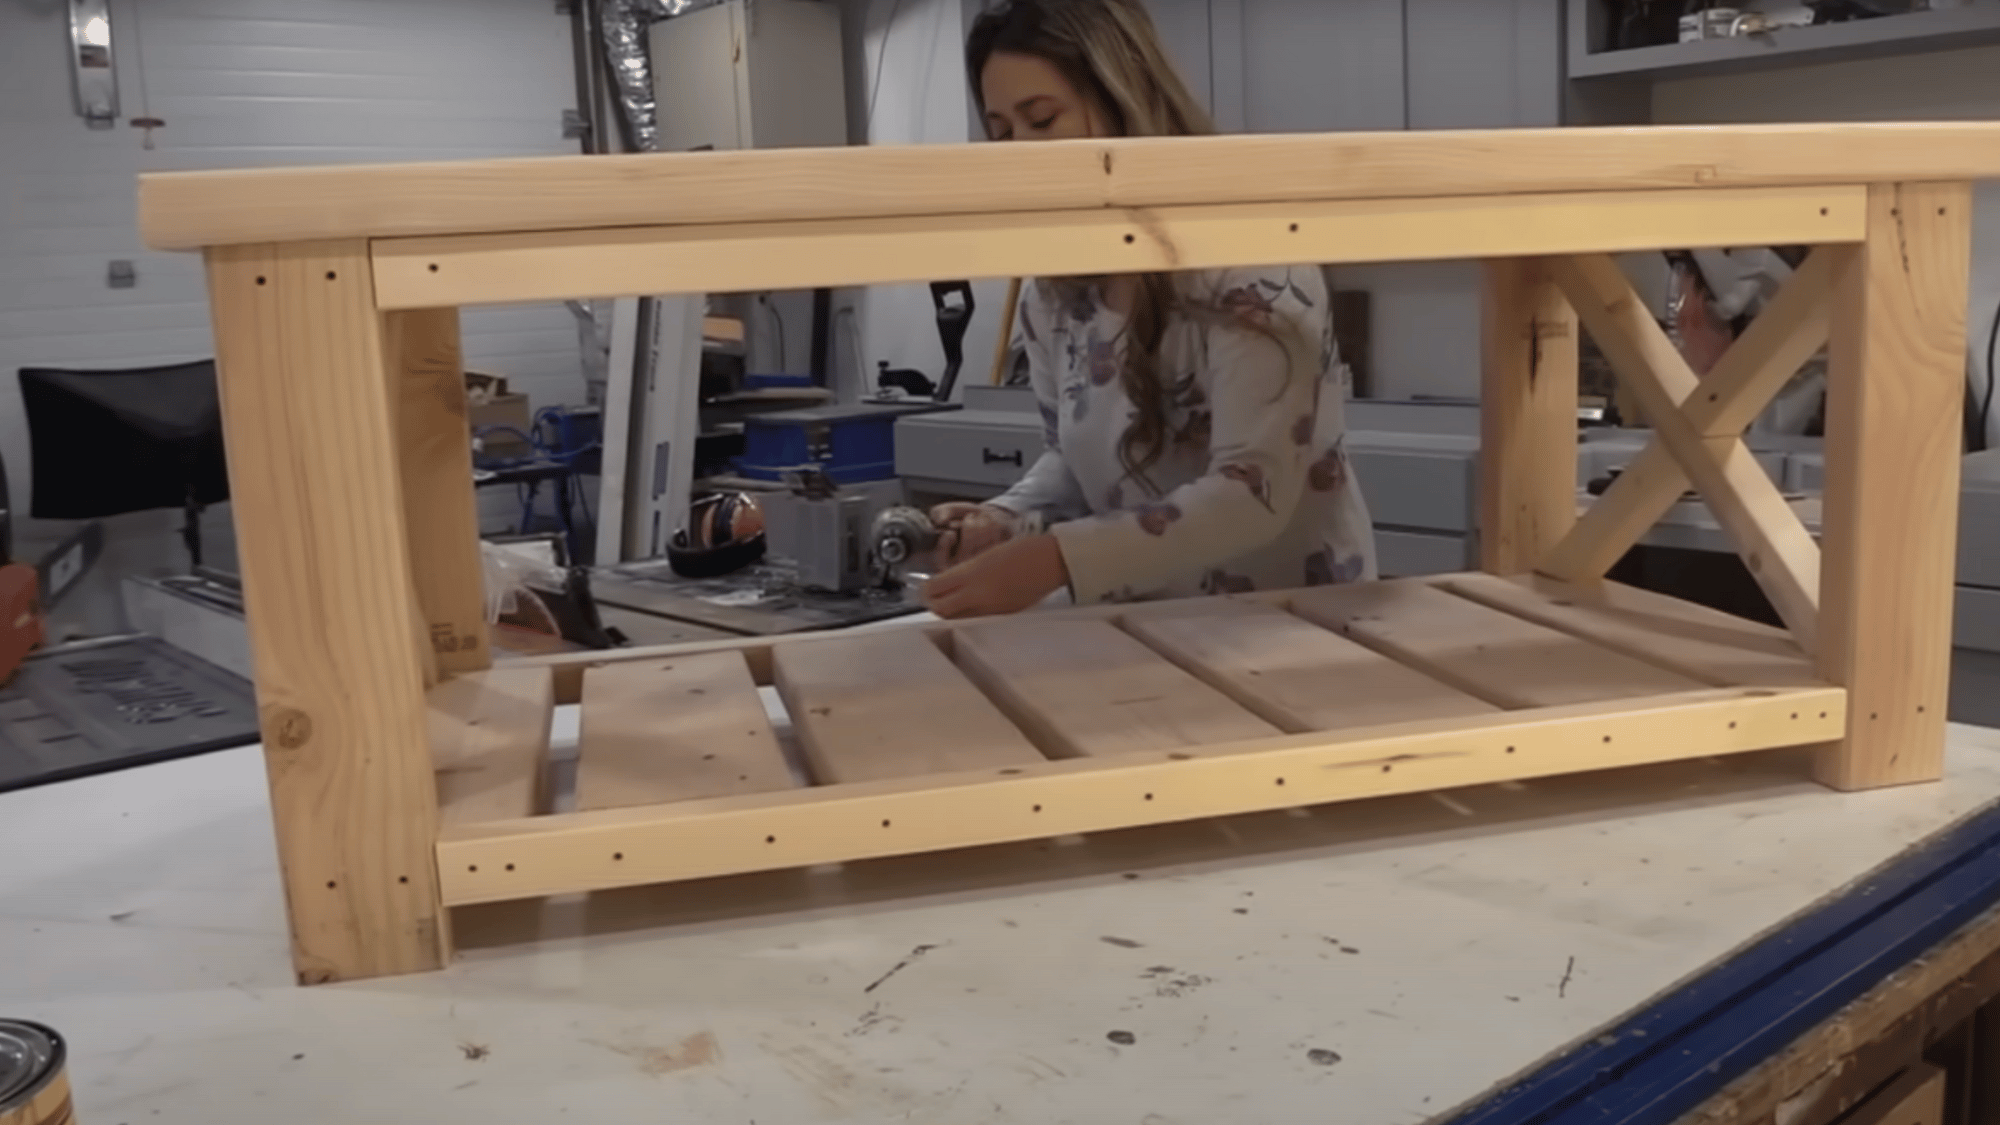
Step 6: Add the Bottom Shelf
The lower shelf is both decorative and practical. Leave about a 1½-inch gap beneath it to create balance and ease of cleaning.
Begin with the center shelf board and attach it using screws, then work outward. Consistent spacing between boards enhances the design.
This lower platform is perfect for baskets, books, or extra décor, making your DIY coffee table both stylish and functional.
Step 7: Sand, Finish, and Add Final Touches
Once the structure is complete, sand the entire piece thoroughly to remove rough edges and splinters. Apply your choice of stain or paint to match your room.
Allow it to dry overnight before sealing it with a protective clear coat. Optional metal brackets on the corners can add an extra farmhouse flair.
When dry, move your new farmhouse coffee table into place and admire your handiwork, a custom-built piece for under approx. $40!
For more information, watch the video:
Common Mistakes to Avoid When Doing DIY
Even the best DIY projects can go wrong. Avoid these common mistakes to make sure your DIY coffee table turns out perfect.
- Uneven Cuts: Inaccurate measurements cause wobbling. Always double-check dimensions and use a square for straight, even cuts.
- Unstable Leg Placement: Poor alignment weakens structure. Secure legs with screws and ensure each side sits level before tightening.
- Skipping Pre-Sanding: Rough surfaces ruin finishes. Lightly sand every piece before assembly for a smoother, professional-looking result.
- Not Letting Stain Dry: Rushing the finish leads to sticky surfaces. Allow each coat to dry completely before applying another.
- Using Untreated Wood: Unsealed wood absorbs moisture. Always apply a clear sealant to protect your DIY coffee table from damage.
Conclusion
Building your own coffee table is more than a simple weekend project; it’s a chance to create something meaningful and lasting.
With basic tools, a clear plan, and a bit of patience, you can transform plain lumber into a piece that adds warmth, character, and style to your home.
Each cut and finish reflects your effort and creativity, resulting in a table that’s uniquely yours.
Now that you know how to build a coffee table from scratch, gather your materials, follow the steps, and enjoy the pride of completing a project that blends function and craftsmanship beautifully.