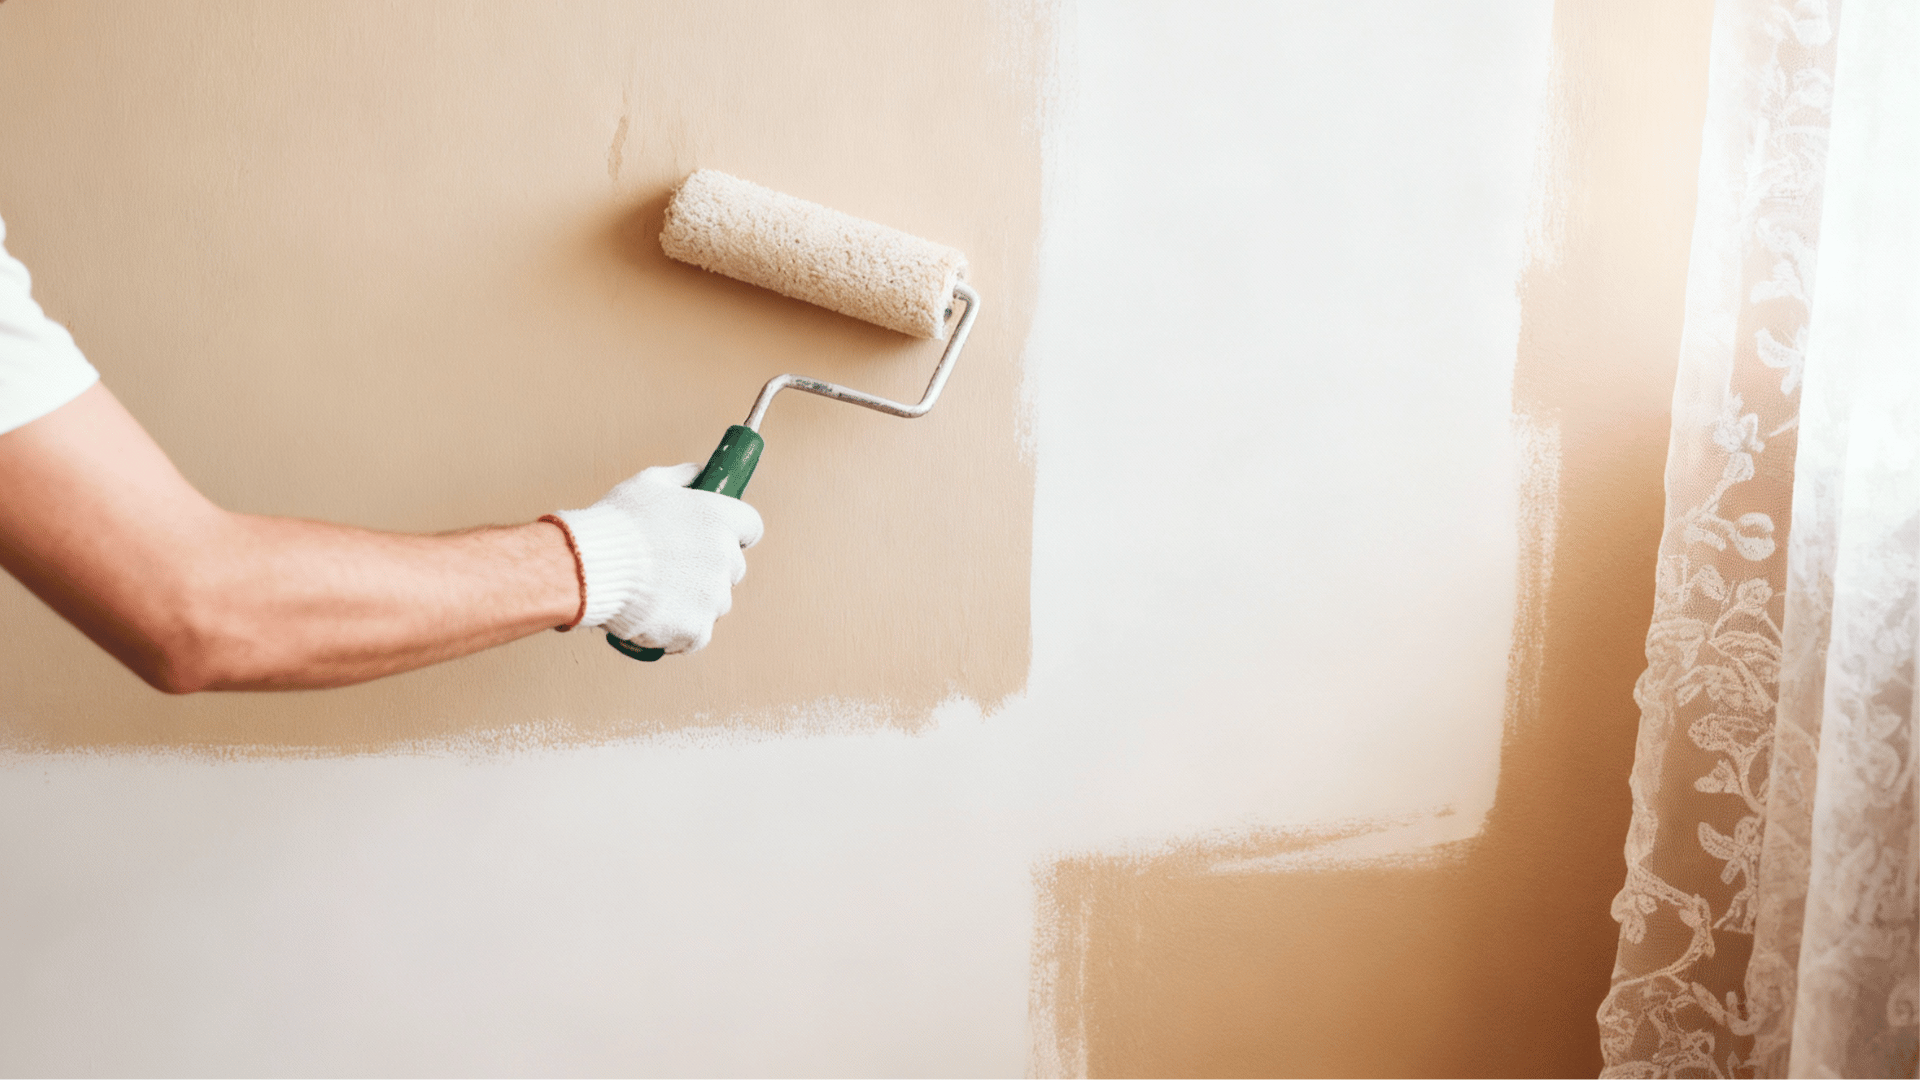
Painting over stained wood can refresh old furniture or brighten up a room, but it often raises questions about the right way to do it.
Many people want to know if it’s possible and what it really involves. With the right information, it can be a simple project that changes the look of wood surfaces.
Before starting, it helps to understand what affects the results and how to plan ahead.
This article explains the basics, helping readers feel confident about taking on the task.
It focuses on what to know before beginning, so the process feels clear, simple, and easy to follow.
Can You Paint Over Stained Wood?
Yes, you can paint over stained wood, but the outcome depends on how well the surface is prepared.
Stained wood often has a glossy or sealed finish that can prevent paint from sticking properly.
To get a smooth, durable result, the surface should be cleaned, lightly sanded or deglossed, and primed before painting.
Using a good-quality, stain-blocking primer helps the paint adhere evenly and prevents dark stains from bleeding through.
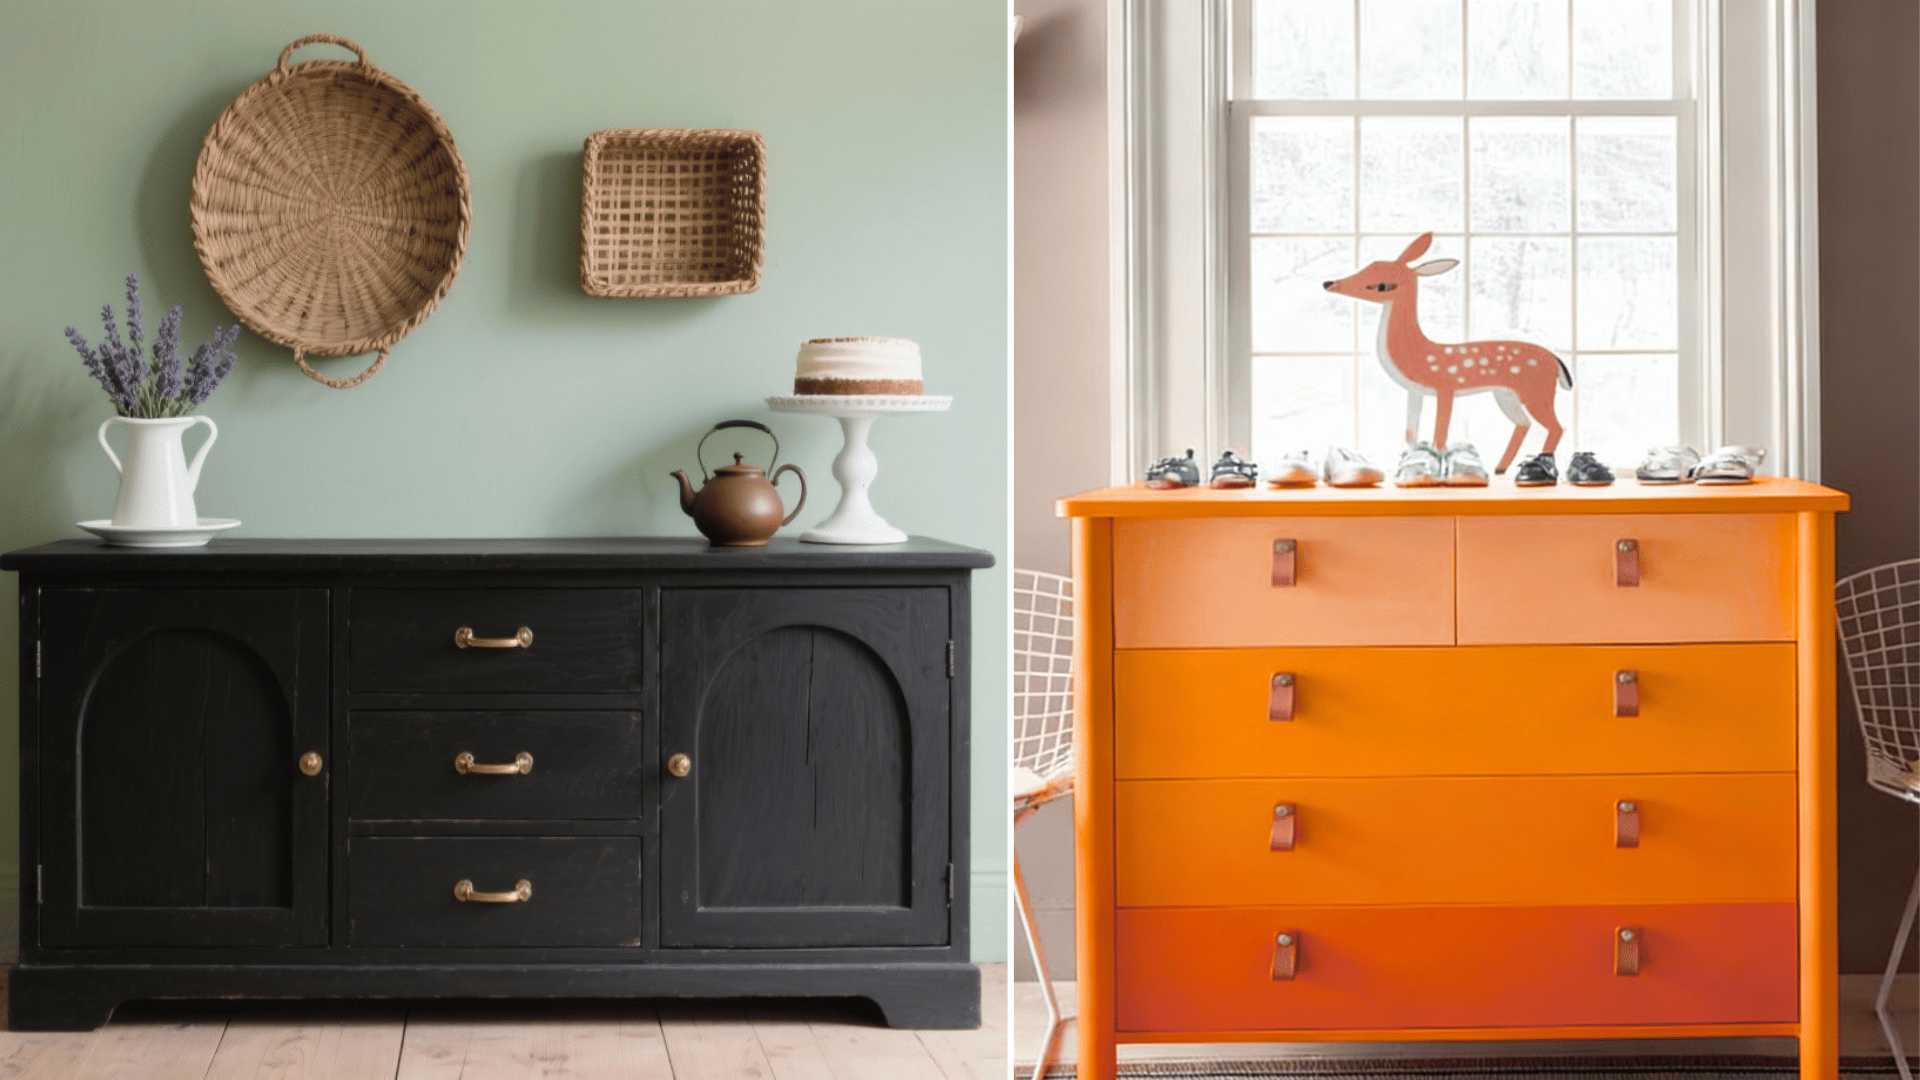
With the right products and steps, painting over stained wood can completely change furniture, trim, or cabinets, giving them a fresh and updated appearance without the need to strip away.
Tools and Materials Required
| Tool / Material | Use |
|---|---|
| Cleaner | Removes dirt and grease before painting. |
| Sandpaper | Smooths the surface for better paint adhesion. |
| Primer | Blocks stains and helps paint stick. |
| Paint | Adds color and finish. |
| Brush/Roller | Applies paint evenly. |
| Painter’s Tape | Protects edges and surfaces from paint. |
Step-by-Step Process: Painting Over Stained Wood
Painting over stained wood is simple with the right steps. Follow this easy process to achieve a smooth, lasting finish.
1. Clean the Surface
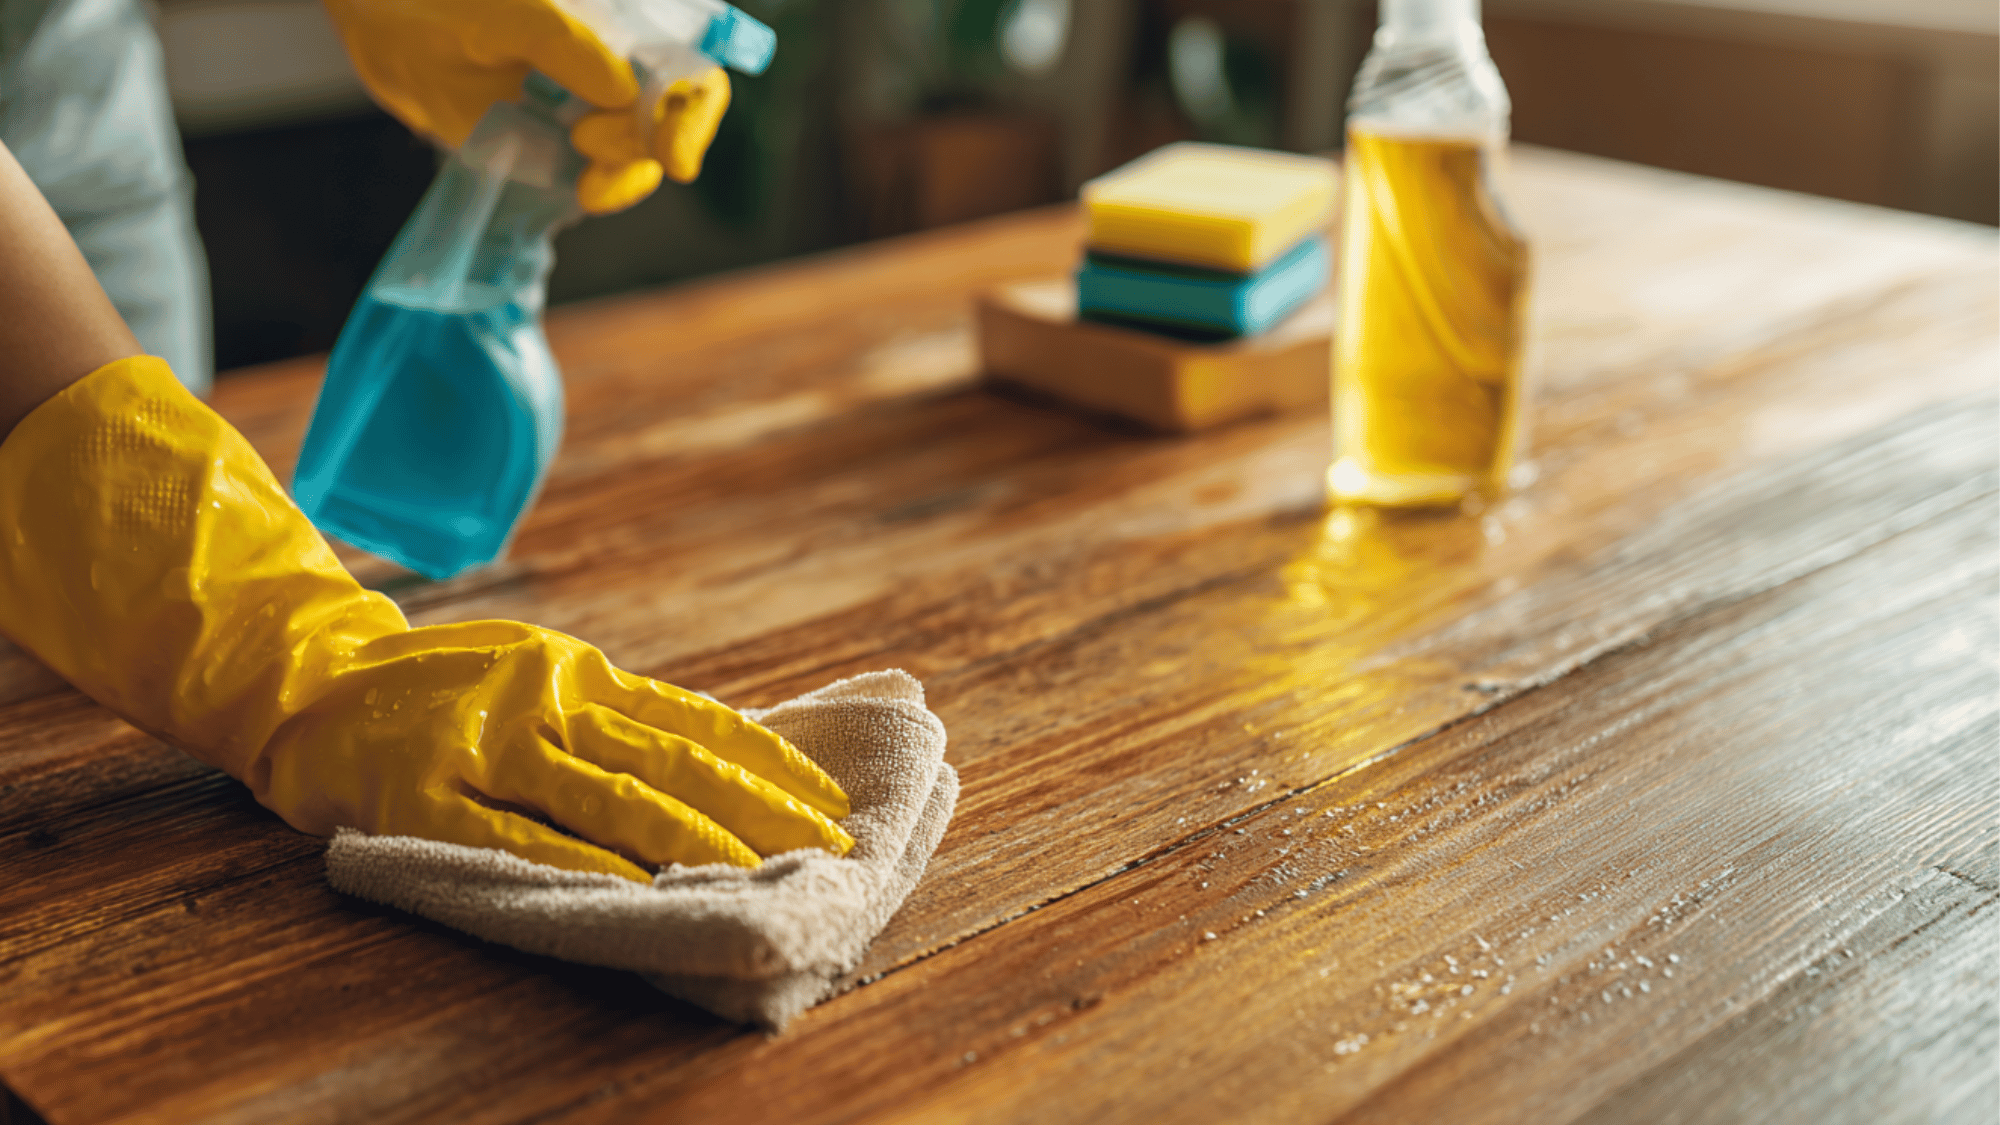
Before painting over stained wood, start by cleaning the surface thoroughly.
Use a mild cleaner or degreaser to remove dust, oils, and residue that could prevent paint from sticking. Wipe down all areas with a damp cloth, then let the surface dry completely.
A clean base ensures the primer and paint adhere evenly and helps avoid bumps or streaks once the painting process begins.
2. Lightly Sand or Degloss
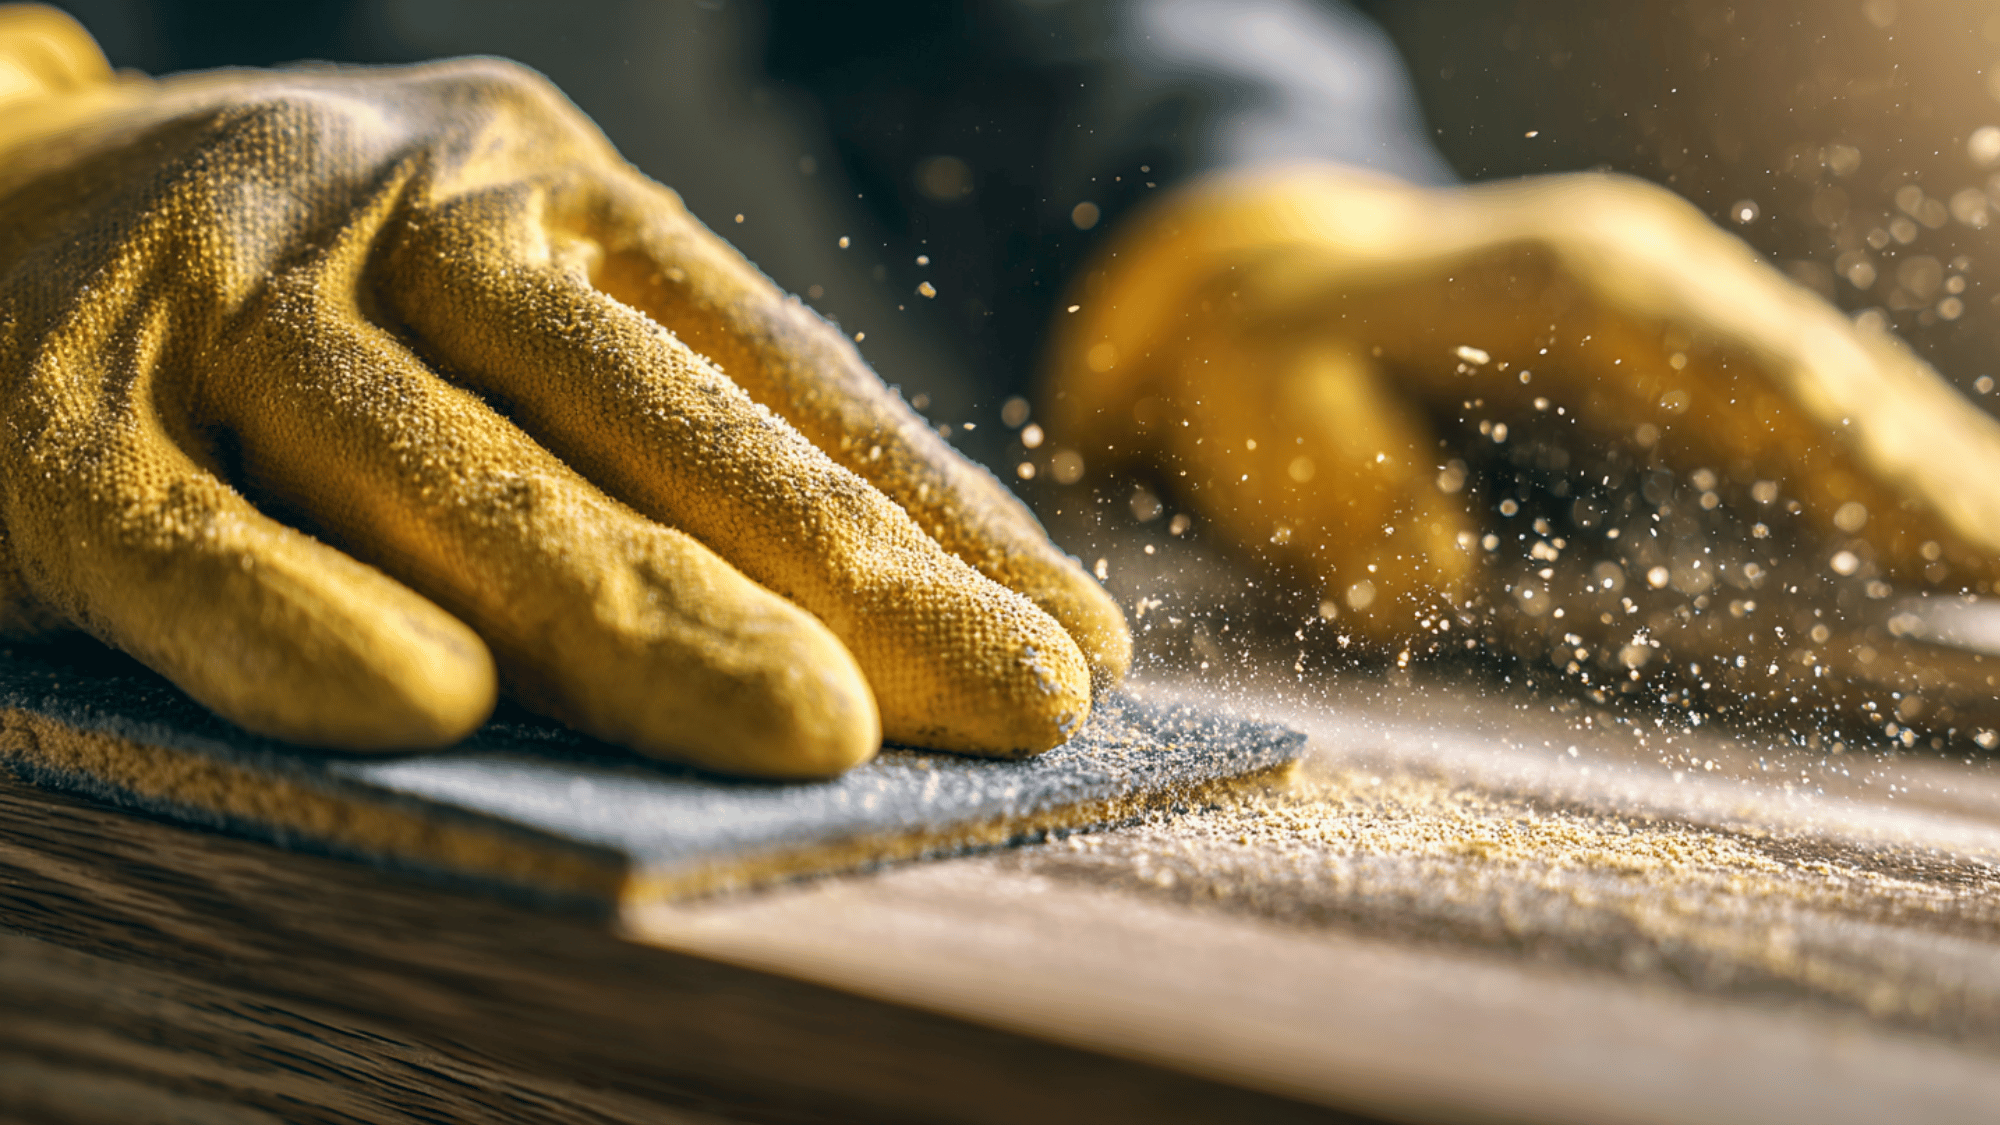
Next, lightly sand the stained wood using fine-grit sandpaper or apply a liquid deglosser.
This step removes the glossy top layer that can stop primer from bonding properly.
You don’t need to strip the wood completely, just roughen the surface enough to create texture. After sanding, wipe away the dust with a soft cloth so the surface is clean and ready for primer.
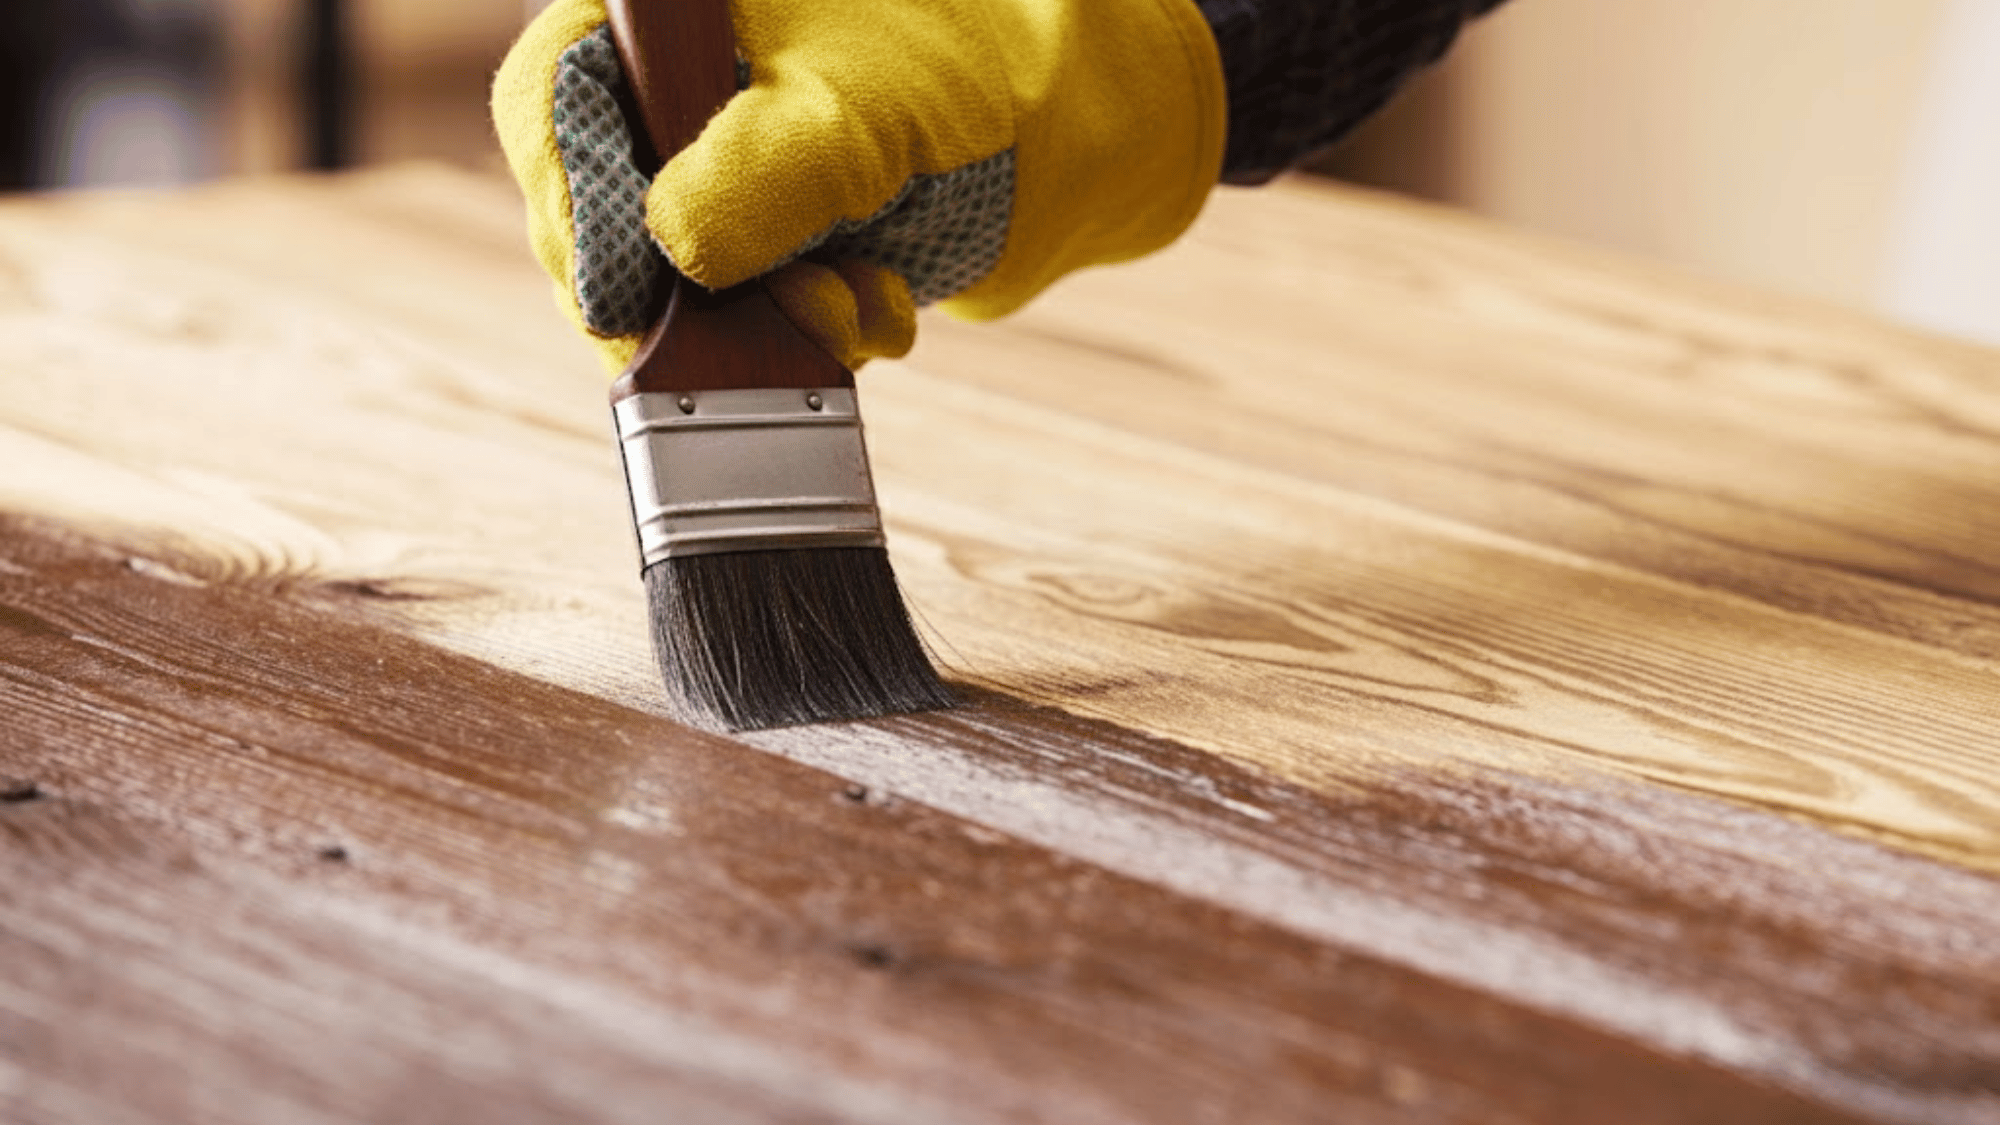
3. Apply a Stain-Blocking Primer
Using a high-quality, stain-blocking primer is essential when painting over stained wood.
Choose an oil- or shellac-based primer to prevent dark stains or tannins from bleeding through. Apply one even coat and let it dry as directed on the label.
This layer not only seals the wood but also creates a strong foundation for the paint to adhere smoothly and last longer.
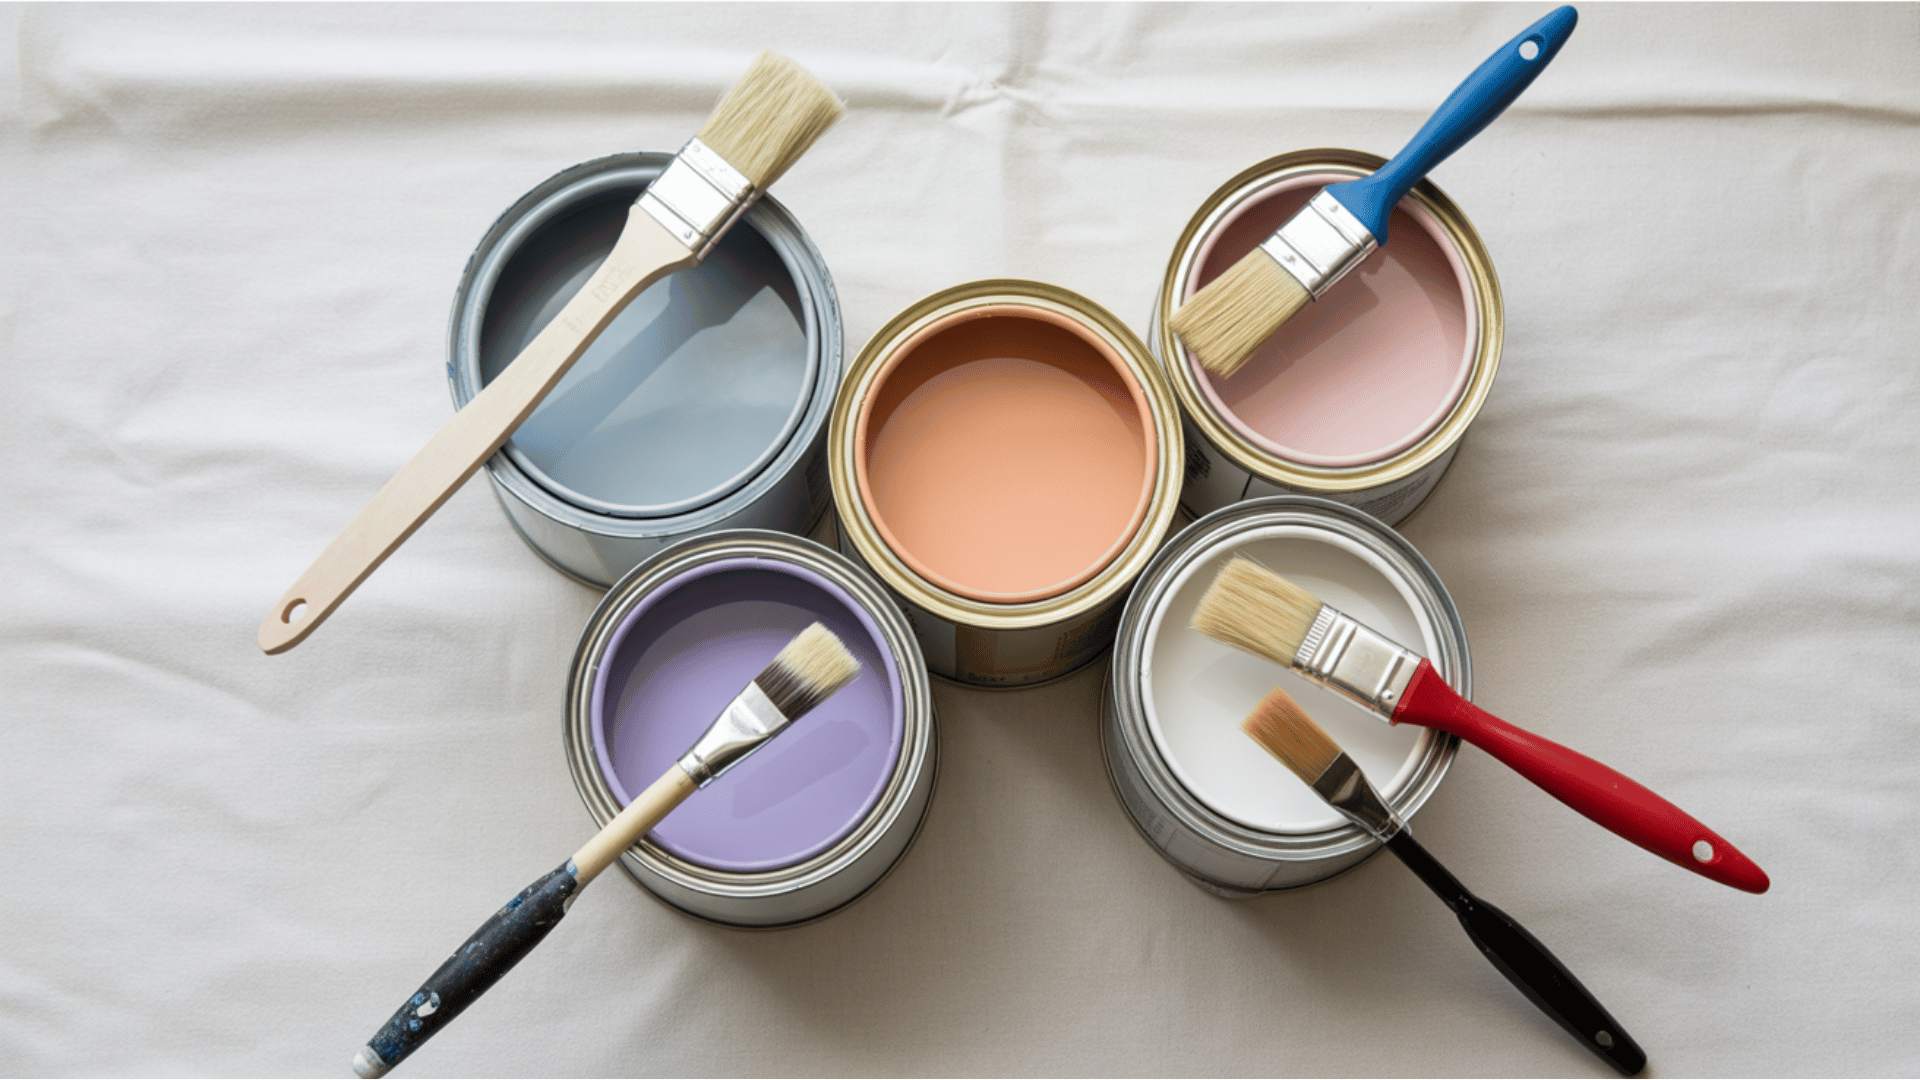
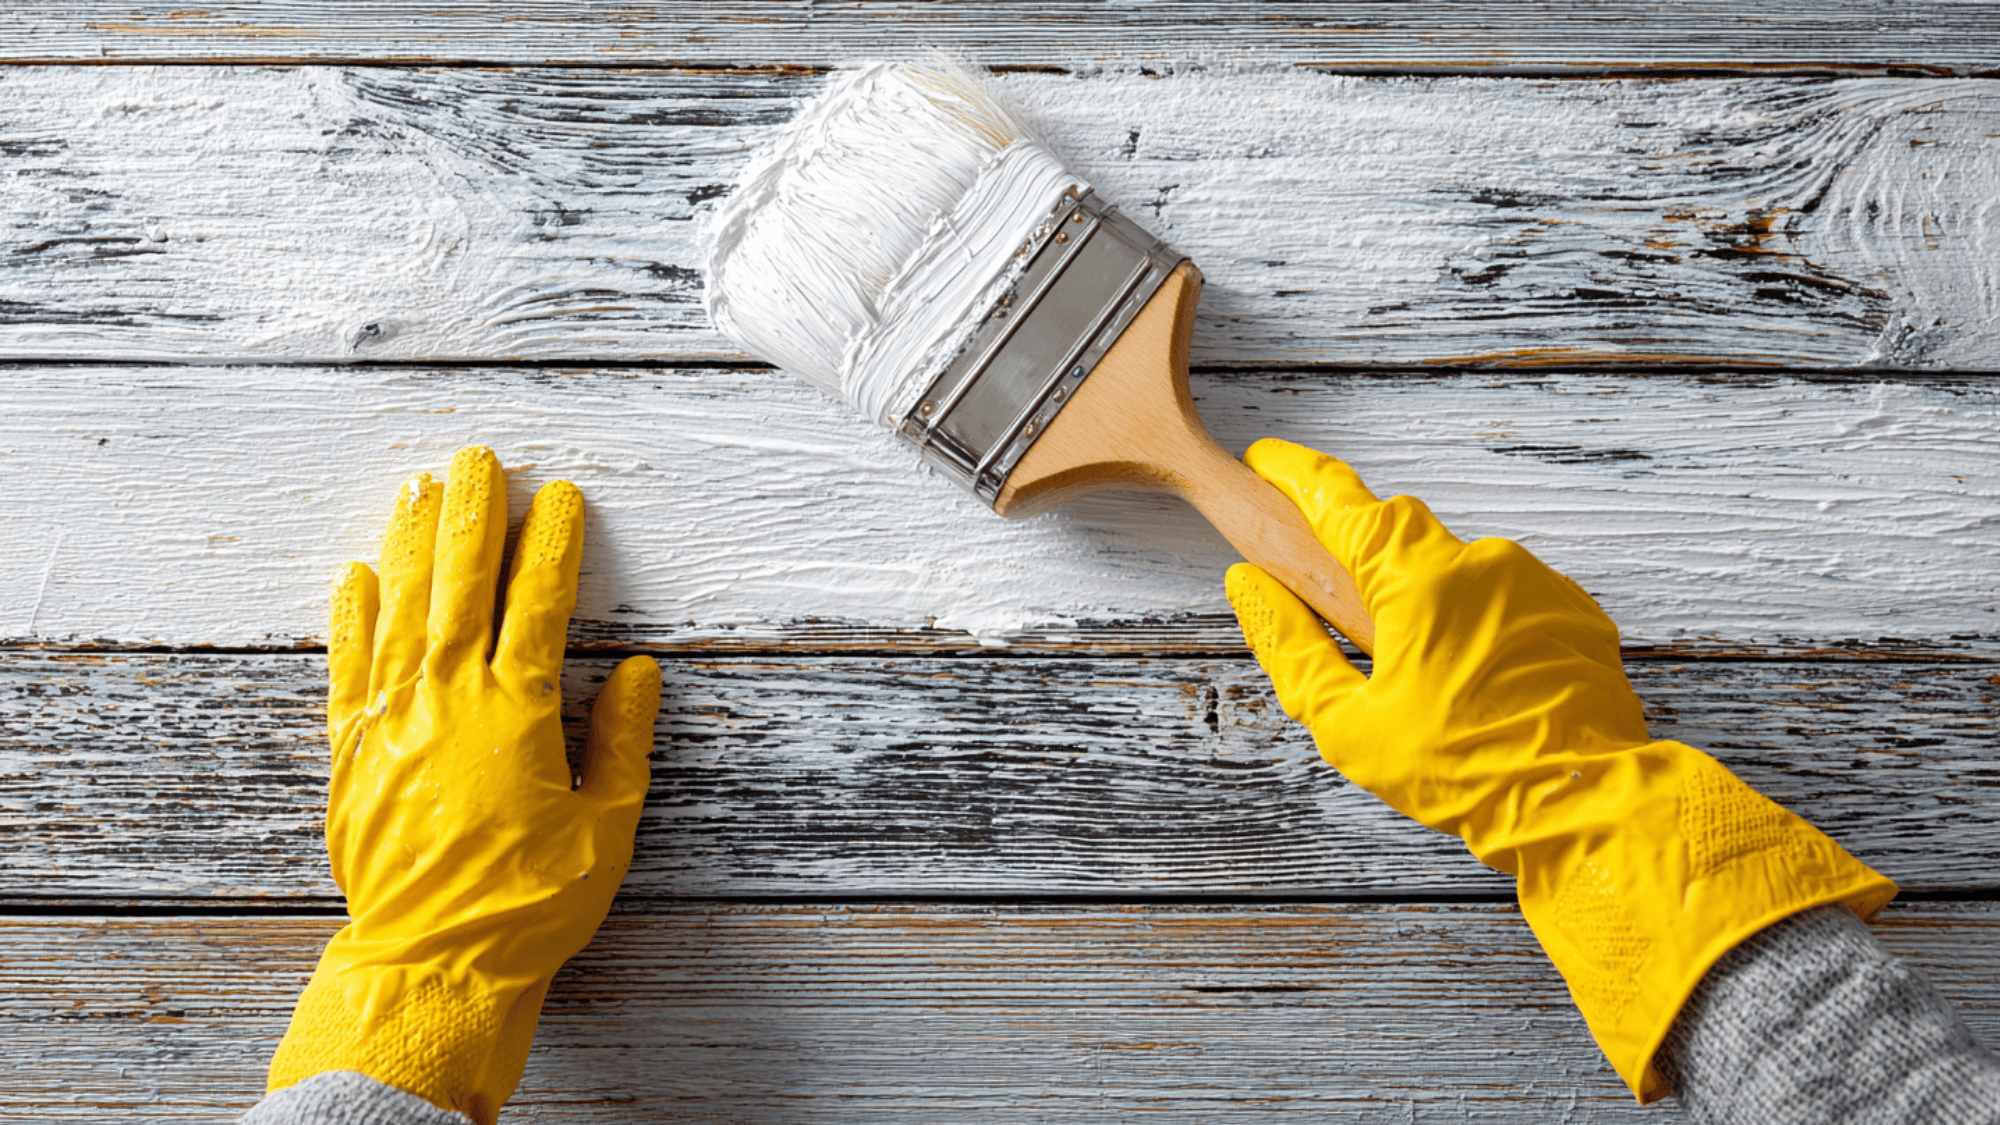
4. Paint in Thin Layers
Once the primer is fully dry, apply your first coat of paint using a brush or roller. Use thin, even layers to avoid drips or uneven coverage.
Allow each coat to dry before applying the next. Usually, two coats give the best results.
This gradual layering helps the color look smooth, rich, and professional while reducing the chance of peeling later.
5. Seal for Durability
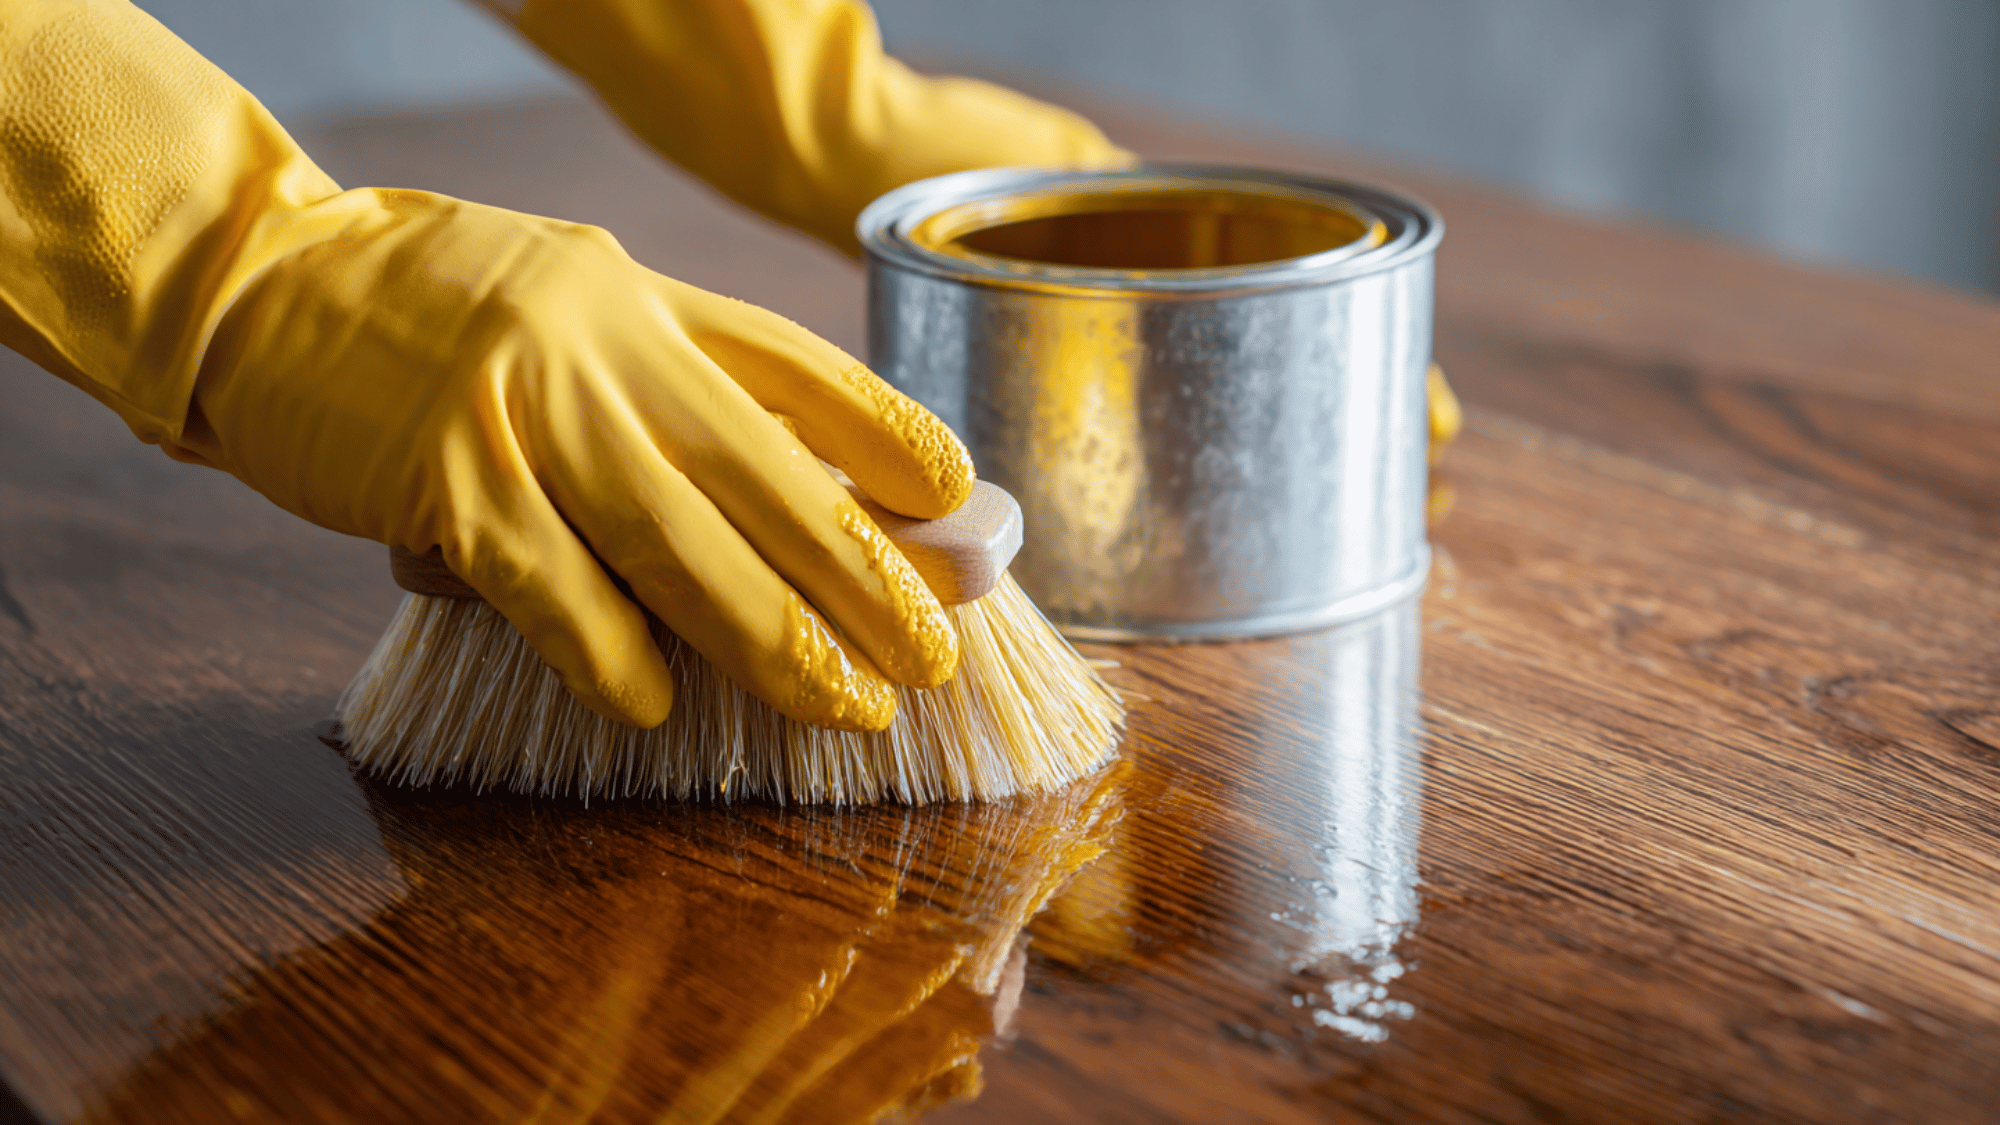
If the painted wood will be used frequently, such as furniture or cabinets, finish it with a clear protective sealant.
A polyurethane or polycrylic topcoat adds durability, preventing chips and scratches. Choose a matte or glossy finish based on your preference.
Let the sealant cure completely before using the item to ensure a long-lasting, clean finish that stays beautiful over time.
How to Keep Your Painted Wood Looking Fresh
To keep painted wood looking fresh and flawless, gentle care is key. Regularly dust surfaces with a soft cloth or microfiber duster to prevent buildup that can dull the finish.
For deeper cleaning, use mild soap mixed with water and wipe gently; never soak the surface. Avoid abrasive sponges or harsh chemicals that could scratch or fade the paint.
Place pads or mats under décor or dishes to prevent marks and chips. If small scratches appear, lightly sand the area and touch up with matching paint.
Reapplying a protective topcoat every few years keeps the surface sealed and vibrant, ensuring your painted wood maintains its smooth, beautiful appearance for the long term.
Common Mistakes to Avoid While Painting Stained Wood
Even simple paint projects can fail without proper prep. Avoid these common mistakes to ensure smooth, lasting results on stained wood.
- Skipping Primer: Without primer, paint won’t stick properly, and stains may bleed through, ruining the finish.
- Painting on Dusty Surfaces: Dust or grease prevents smooth paint adhesion, leading to uneven texture and peeling later.
- Ignoring Drying Times: Rushing between coats causes bubbles, streaks, or cracking; always let each layer fully dry.
- Using the Wrong Paint Type: Applying latex paint over oily stains without primer leads to poor bonding and peeling.
- Skipping Light Sanding: Failing to sand glossy areas prevents primer and paint from gripping the wood effectively.
Conclusion
Painting over stained wood can completely change the look, but also, with proper cleaning, sanding, priming, and patience, anyone can achieve a professional-quality finish.
Whether the goal is to brighten a dark surface or refresh a dated piece, understanding how to paint over stained wood helps ensure lasting results.
The process might take time, but the reward is a smooth, durable finish that looks brand new and enhances any room’s style.
With careful preparation, painting over stained wood becomes a simple and satisfying home improvement project.