A shiplap half wall is the perfect DIY project for you! This trendy wall treatment has taken the design world by storm, and it’s easier to install than you might think.
Shiplap half walls create beautiful focal points in any room, from entryways and dining rooms to bedrooms and bathrooms.
If you’re a beginner or an experienced DIYer, installing a vertical shiplap is a manageable project that delivers impressive results.
In this, we’ll walk you through every step of the process, from planning and measuring to the final paint coat.
What is a Shiplap Half Wall?
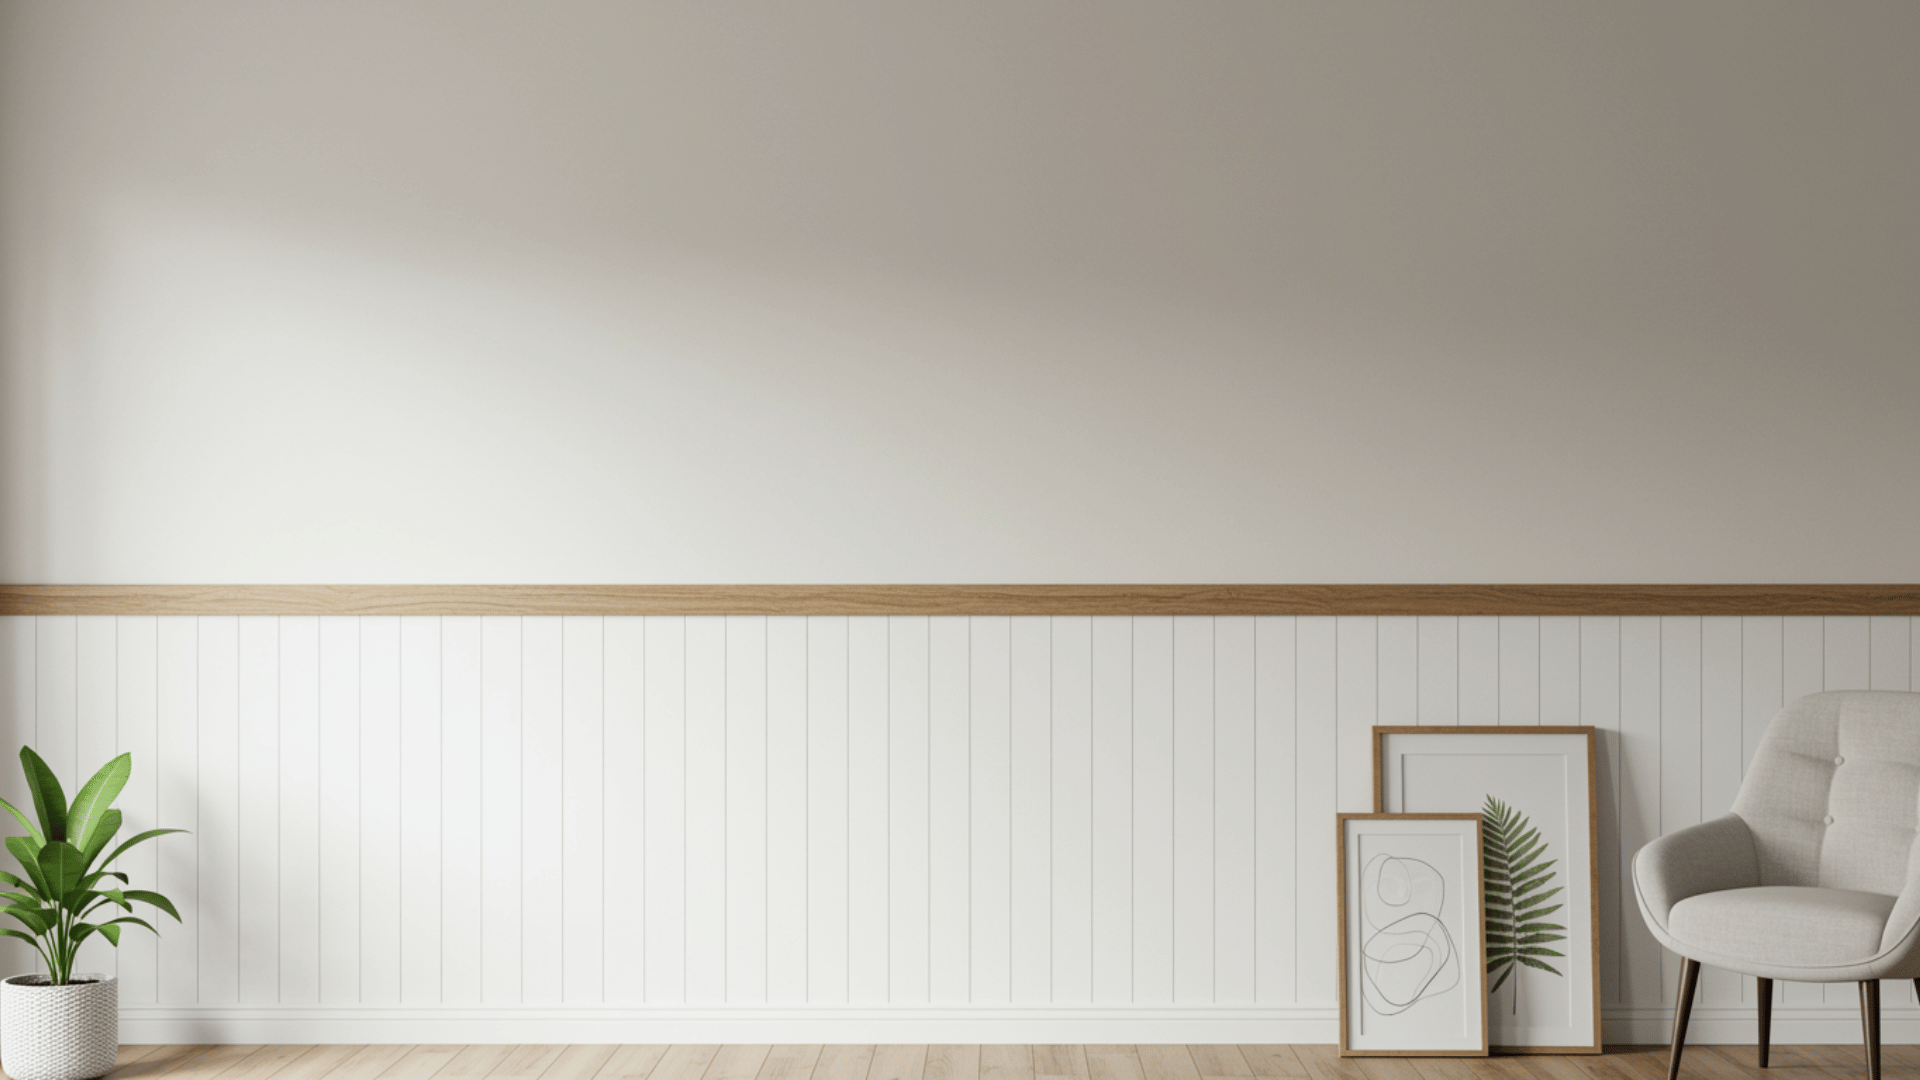
A shiplap half wall is a decorative wall treatment where wooden boards with overlapping edges (known as shiplap) cover only the lower portion of a wall, typically up to chair-rail height.
Shiplap boards are installed horizontally with slight gaps between them, creating clean, defined lines that amplify both modern farmhouse and coastal interiors.
The half-wall approach offers a balanced aesthetic, protecting the wall from scuffs while keeping the upper section open for paint, wallpaper, or artwork.
A vertical shiplap half wall is a stylish wall treatment featuring wooden boards with interlocking edges. They are installed vertically along the lower portion of a wall, making ceilings appear taller and rooms feel more spacious.
Commonly used in bathrooms, entryways, and dining rooms, shiplap half walls can be painted white for a crisp, classic look or in darker tones for contrast and depth.
What Kind of Board is Used for Shiplap?
Shiplap boards are typically made from wood or engineered materials designed with a groove and rabbet joint that allows each board to overlap seamlessly. The most common options include:
- Pine: Affordable, easy to cut, and ideal for painting or staining.
- Cedar: Naturally moisture-resistant and great for bathrooms or accent walls.
- MDF (Medium-Density Fiberboard): Smooth, pre-primed, and cost-effective for interior use.
- PVC or vinyl shiplap: Perfect for humid areas like basements or laundry rooms due to its water resistance.
- Poplar or oak: Premium hardwood options offering durability and a refined finish.
Boards generally range from 5 to 8 inches wide and can be installed horizontally or vertically. The choice of material depends on the room’s environment, desired finish, and budget.
Tools and Materials You’ll Need
| Tools | Materials Needed |
|---|---|
| Tape measure | Shiplap boards (pine or MDF) |
| Level | Wood glue |
| Stud finder | Finishing nails (18-gauge) |
| Circular saw or miter saw | Primer |
| Nail gun (or hammer) | Sandpaper (120-grit) |
| Spacers (nickels or pennies) | Paint or stain |
| Caulk gun | Paintable caulk |
| Pencil | Wood filler |
| Safety glasses | Chair rail or cap molding |
Step-By-Step Installation Process for DIY Vertical Shiplap Half Wall
Make your space with ease. Follow this simple, step-by-step installation process to create a stylish DIY vertical shiplap half wall.
Step 1: Plan and Measure Your Wall
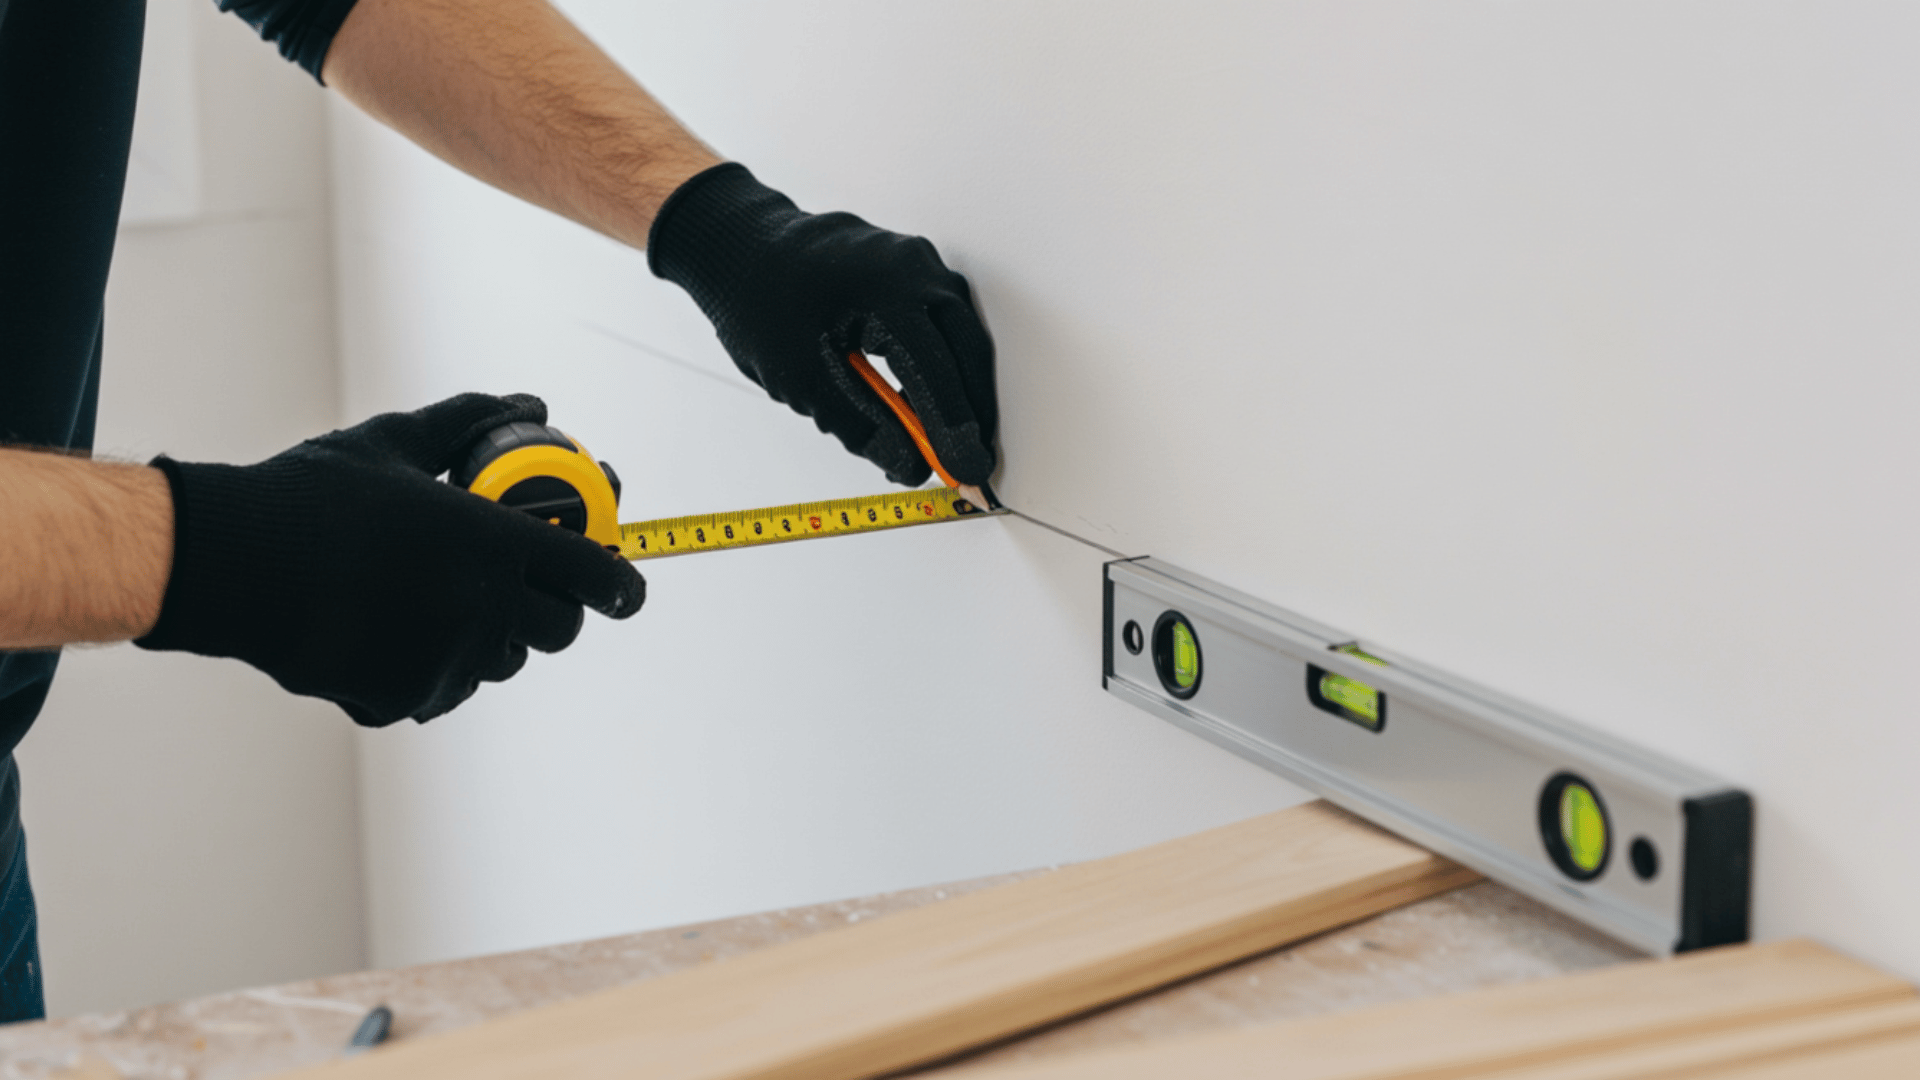
Decide how high you want your half wall. Typically, 32 to 48 inches works best. Use a tape measure to determine the wall’s width and your chosen height.
Mark a level horizontal line across the wall at your desired height using a pencil and level.
Measure the vertical distance from the floor to your line to calculate how many shiplap boards you’ll need, accounting for spacing between boards.
Step 2: Locate and Mark Wall Studs
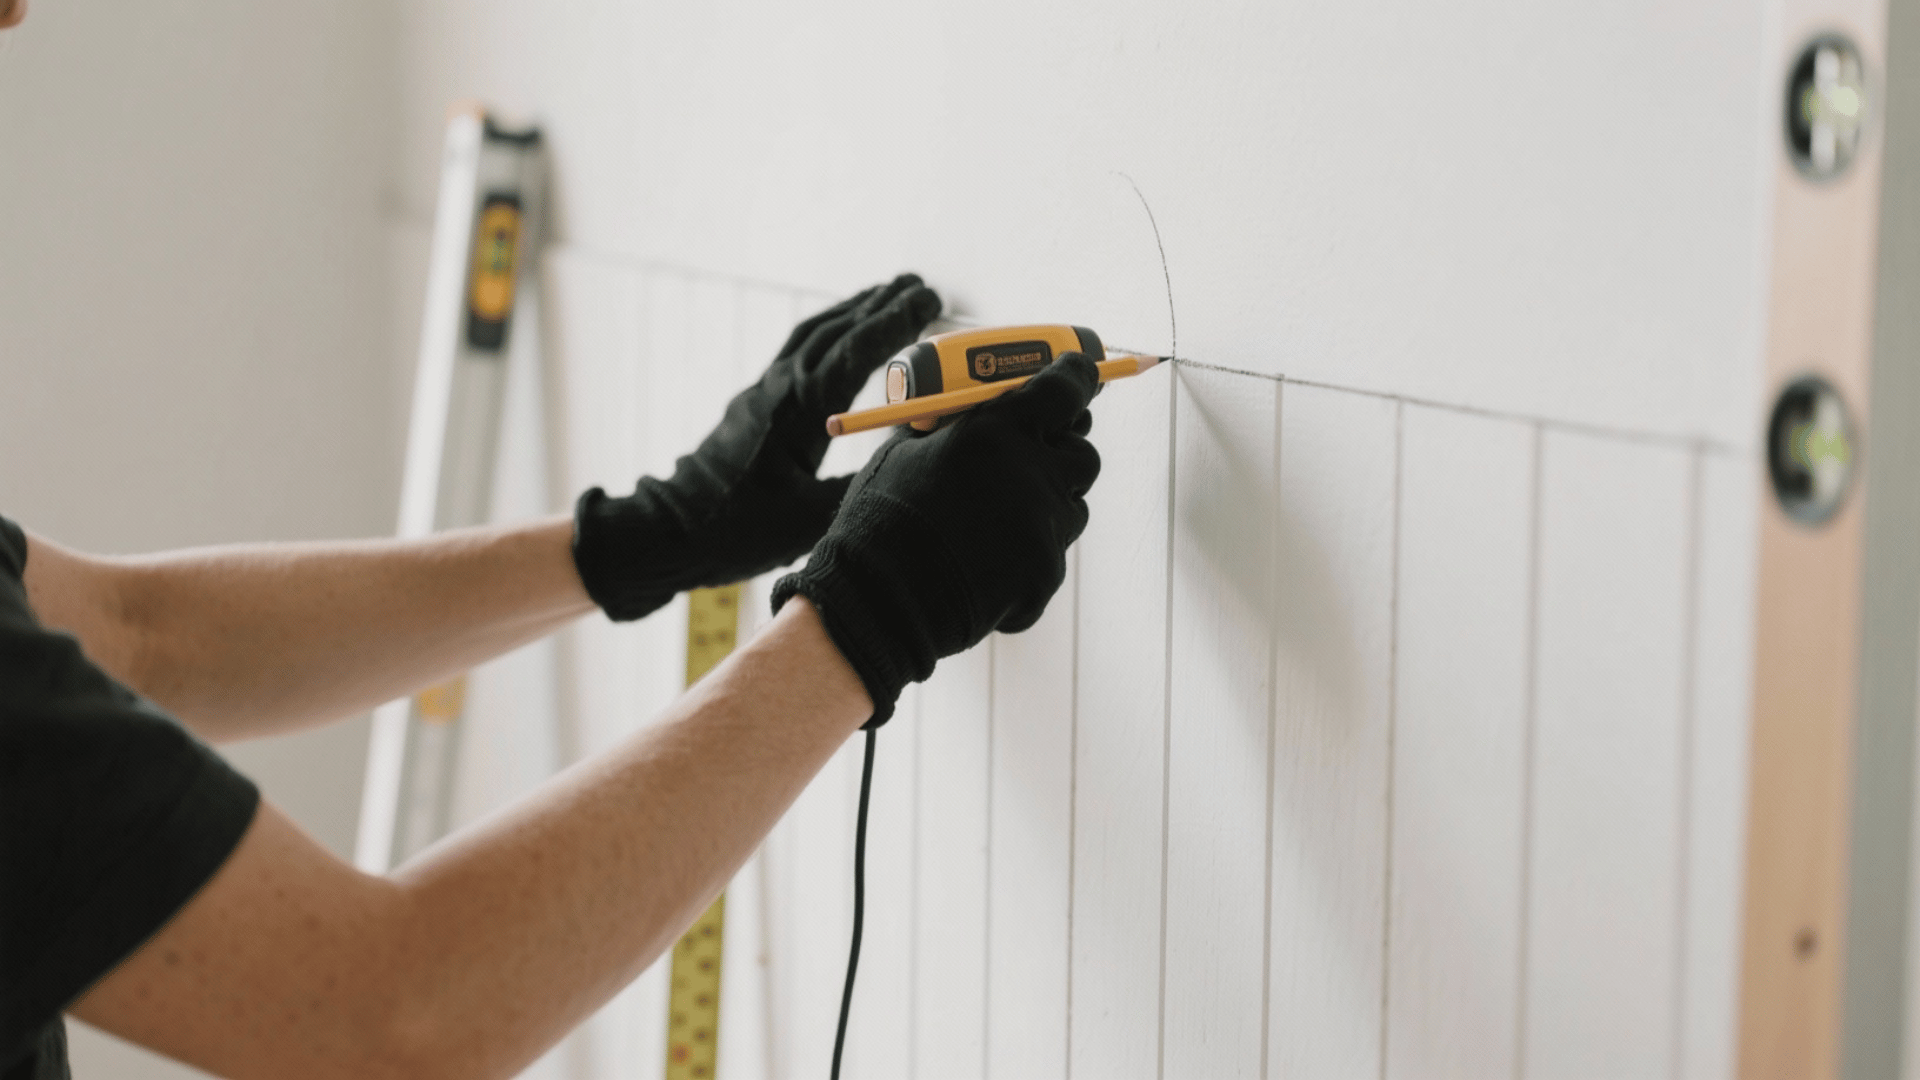
Use a stud finder to locate all vertical studs along your wall section. Mark each stud location with a light pencil mark above your height line, where it will be covered later.
Studs are typically spaced 16 inches apart. Marking studs ensures you nail into solid backing for secure installation.
This step is crucial for preventing boards from pulling away from the wall over time and ensuring a professional, long-lasting result.
Step 3: Cut Shiplap Boards to Length
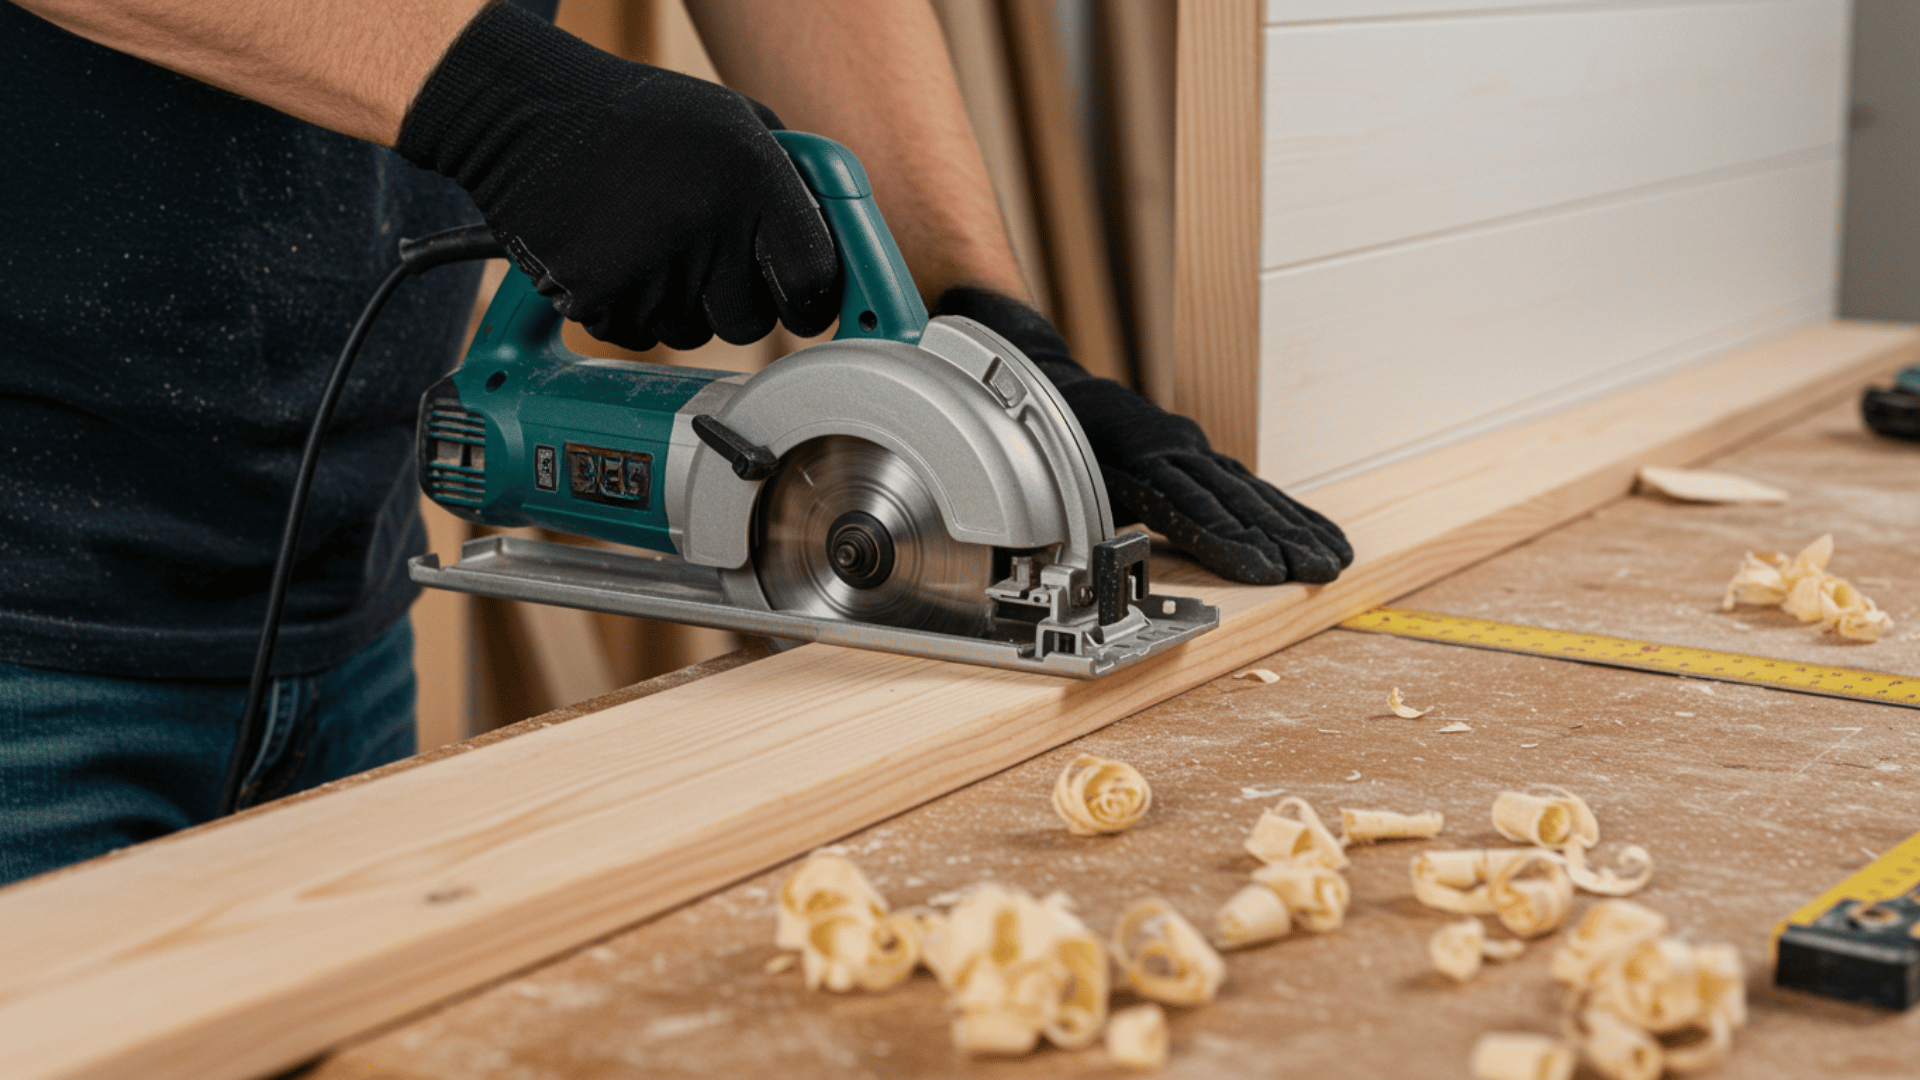
Measure from the floor to your marked line and subtract 1/4 inch for expansion. Cut all shiplap boards to this exact length using a circular saw or miter saw.
Make cuts slowly for clean, straight edges. Sand any rough edges with 120-grit sandpaper.
Cut enough boards to cover your wall width, remembering to account for the spacing between each board. Safety glasses are essential during cutting.
Step 4: Install First Board Level and Plumb
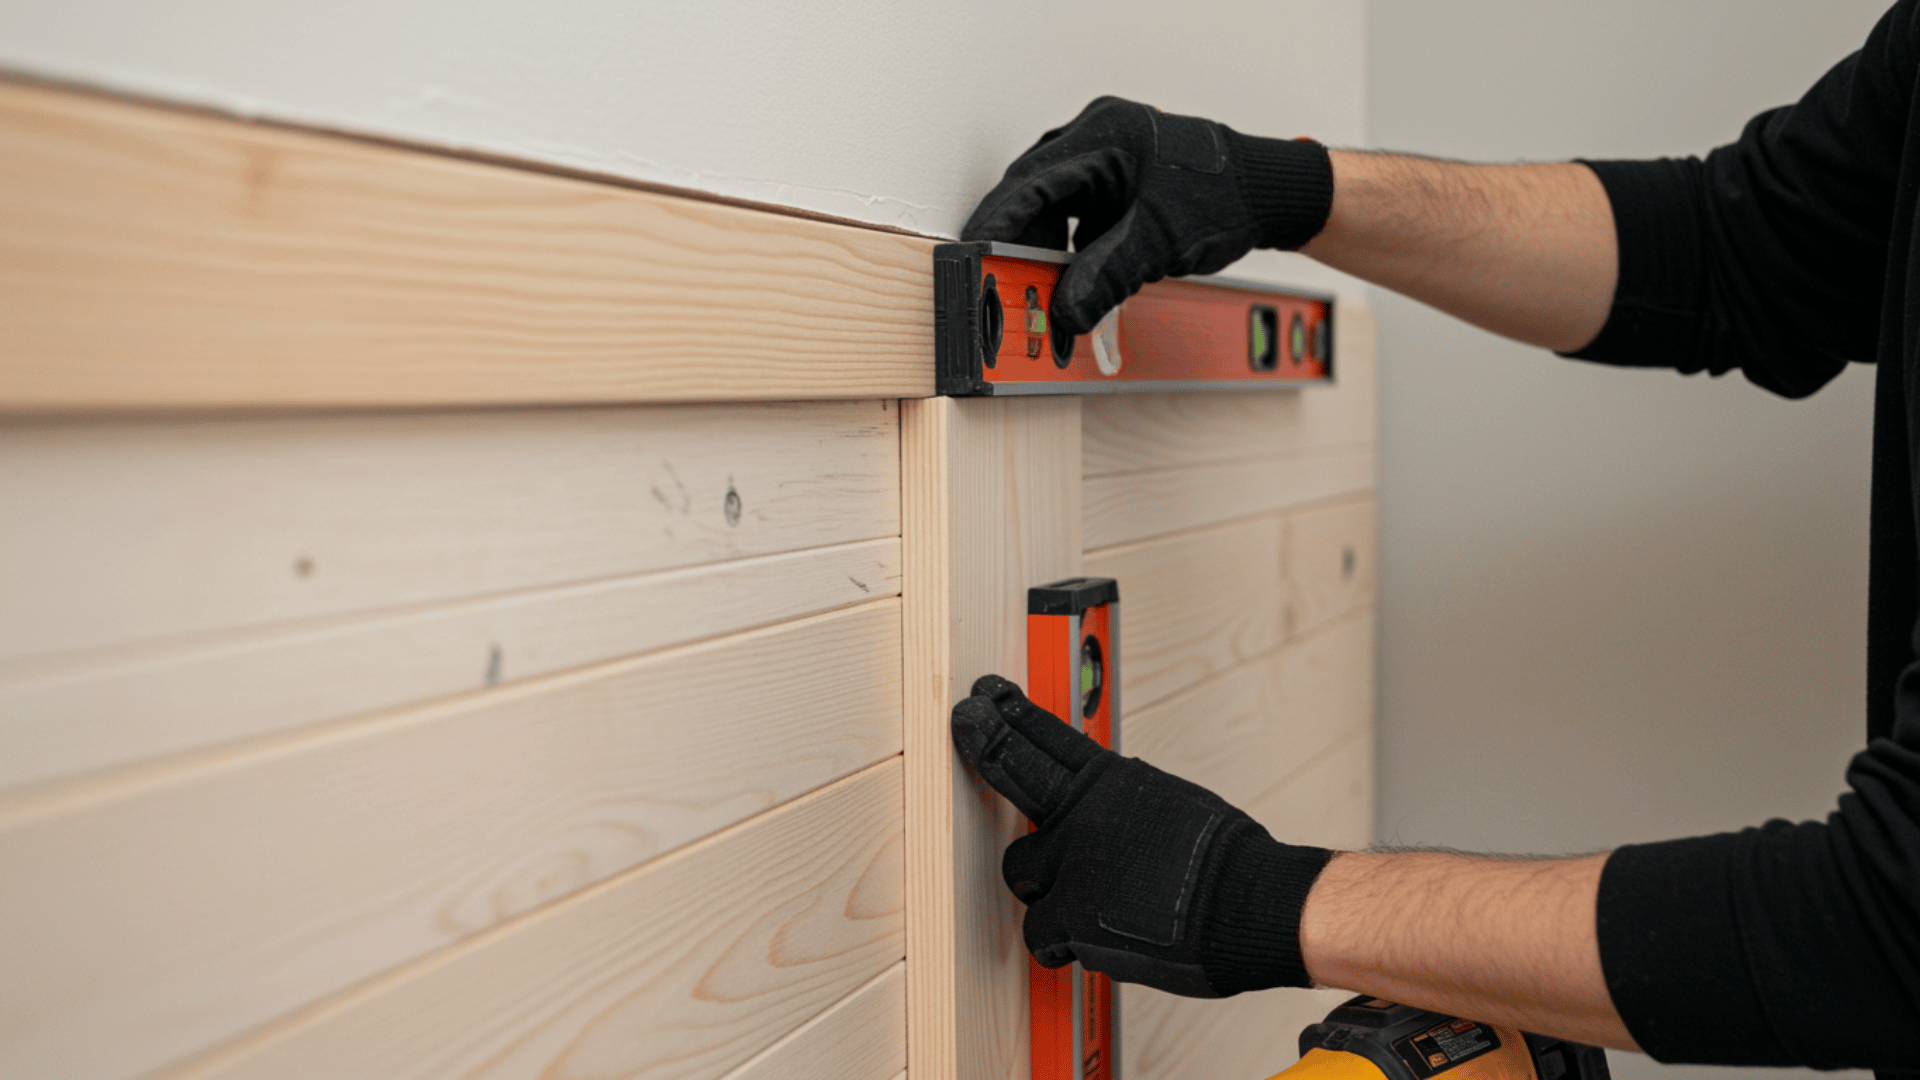
Start in the most visible corner. Place your first board vertically against the wall, using a level to ensure it’s perfectly plumb (straight up and down).
This first board sets the standard for all others, so accuracy matters.
Apply wood glue to the back, then nail into studs every 16 inches using your nail gun. Use two nails per stud location—one near each edge of the board for maximum hold.
Step 5: Add Spacing and Continue Installation
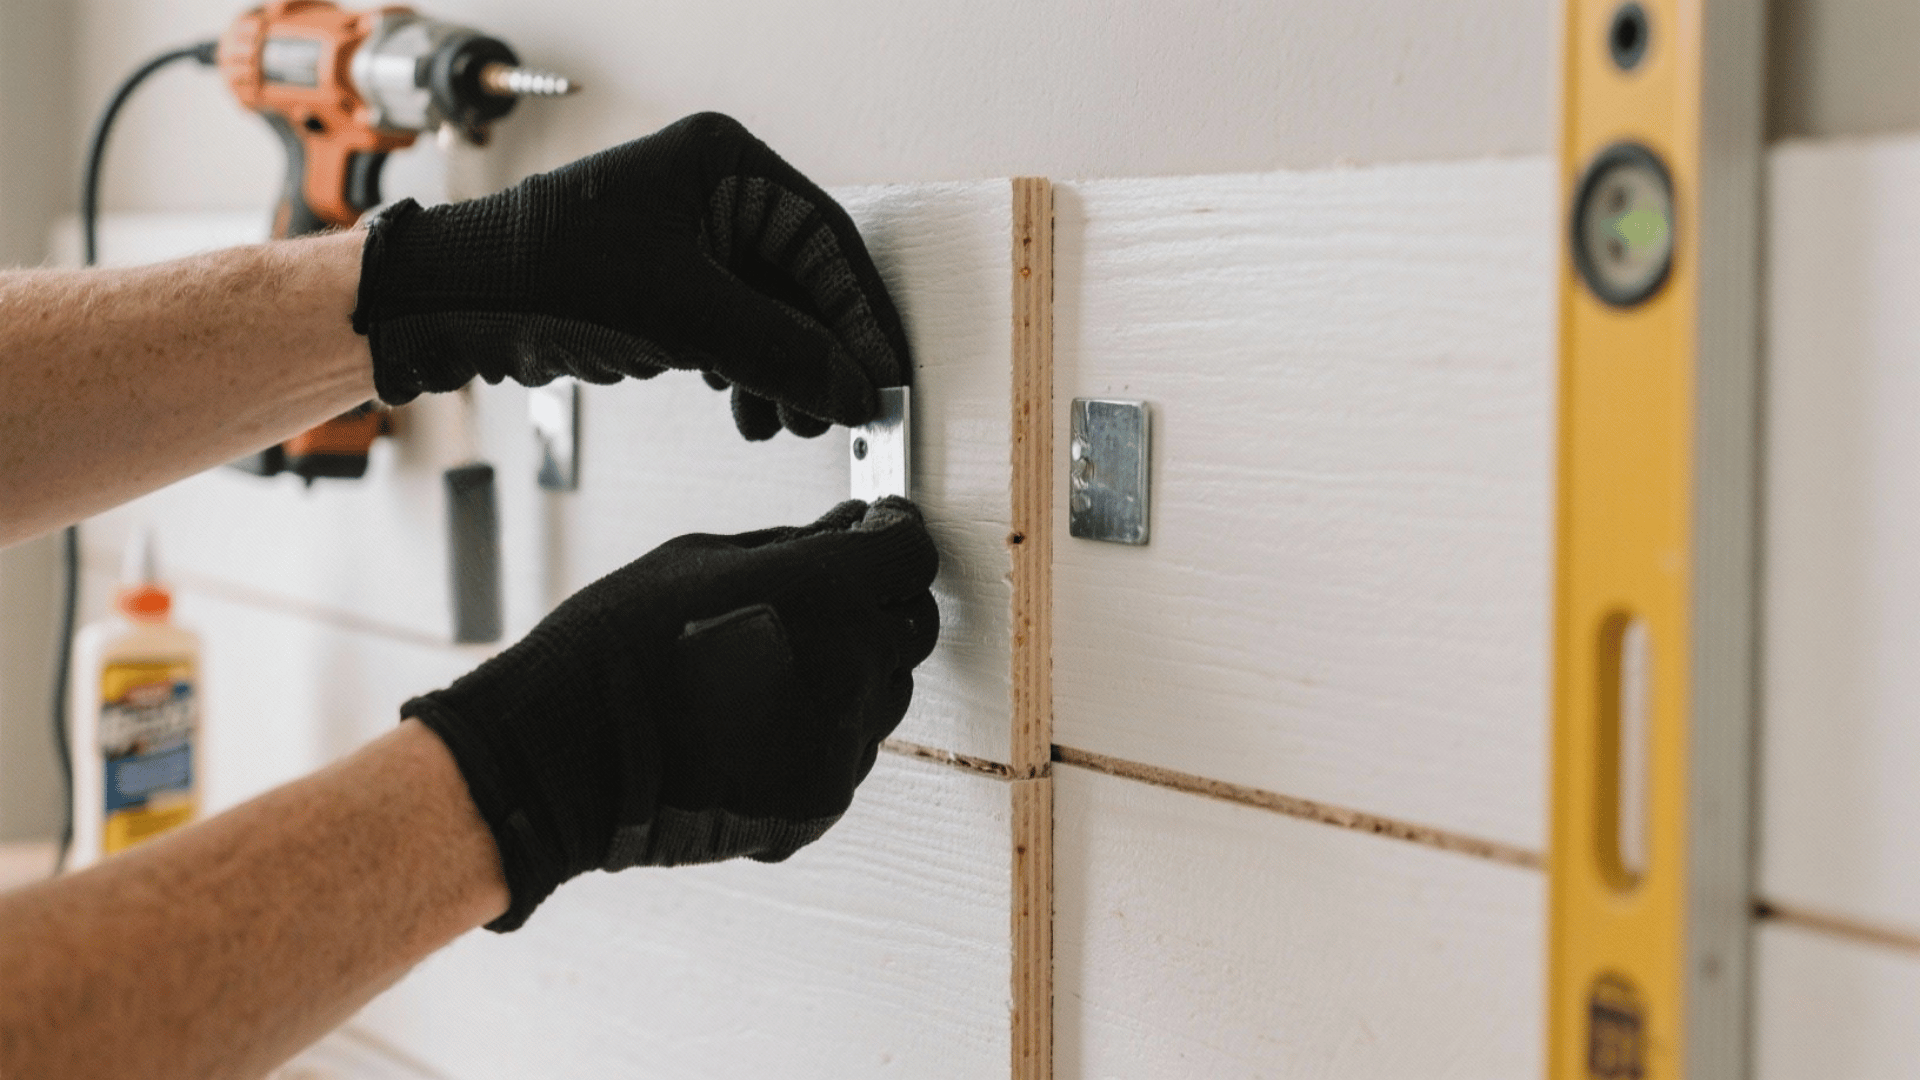
Place spacers (nickels for 1/16-inch gaps or pennies for thinner spacing) along the edge of your installed board.
Position the next board against the spacers and check for plumb with your level. Apply glue and nail into studs. Continue this process across the wall, maintaining consistent spacing.
The spacers create uniform shadow lines that give shiplap its characteristic look. Remove spacers after each board is secured before moving forward.
Step 6: Fill Holes and Apply Finishing Touches
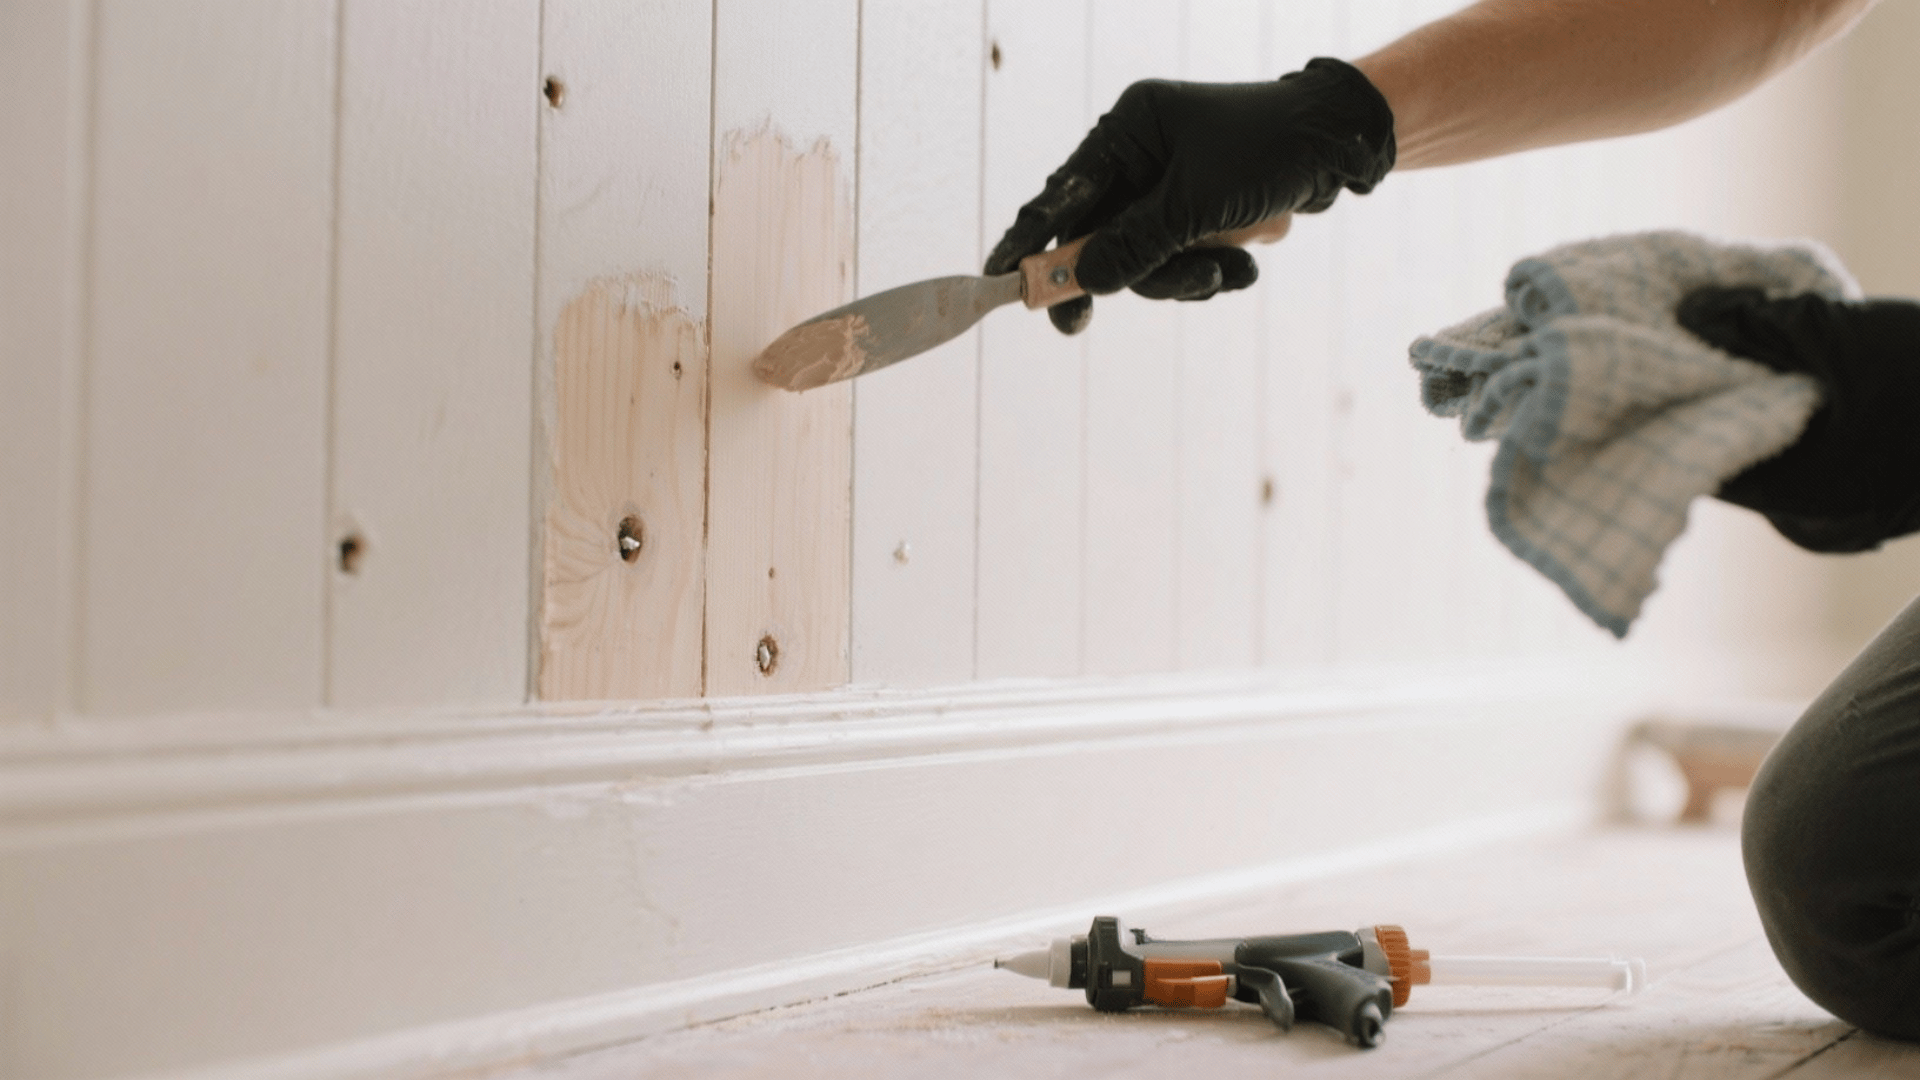
Fill all nail holes with wood filler using your finger or a putty knife. Let dry completely, then sand smooth with 120-grit sandpaper.
Install chair rail or cap molding along the top edge of your shiplap to create a finished look and cover the cut edge.
Use caulk to fill any gaps where boards meet corners, baseboards, or the top trim. Wipe away excess caulk with a damp cloth immediately.
Step 7: Prime and Paint Your Shiplap
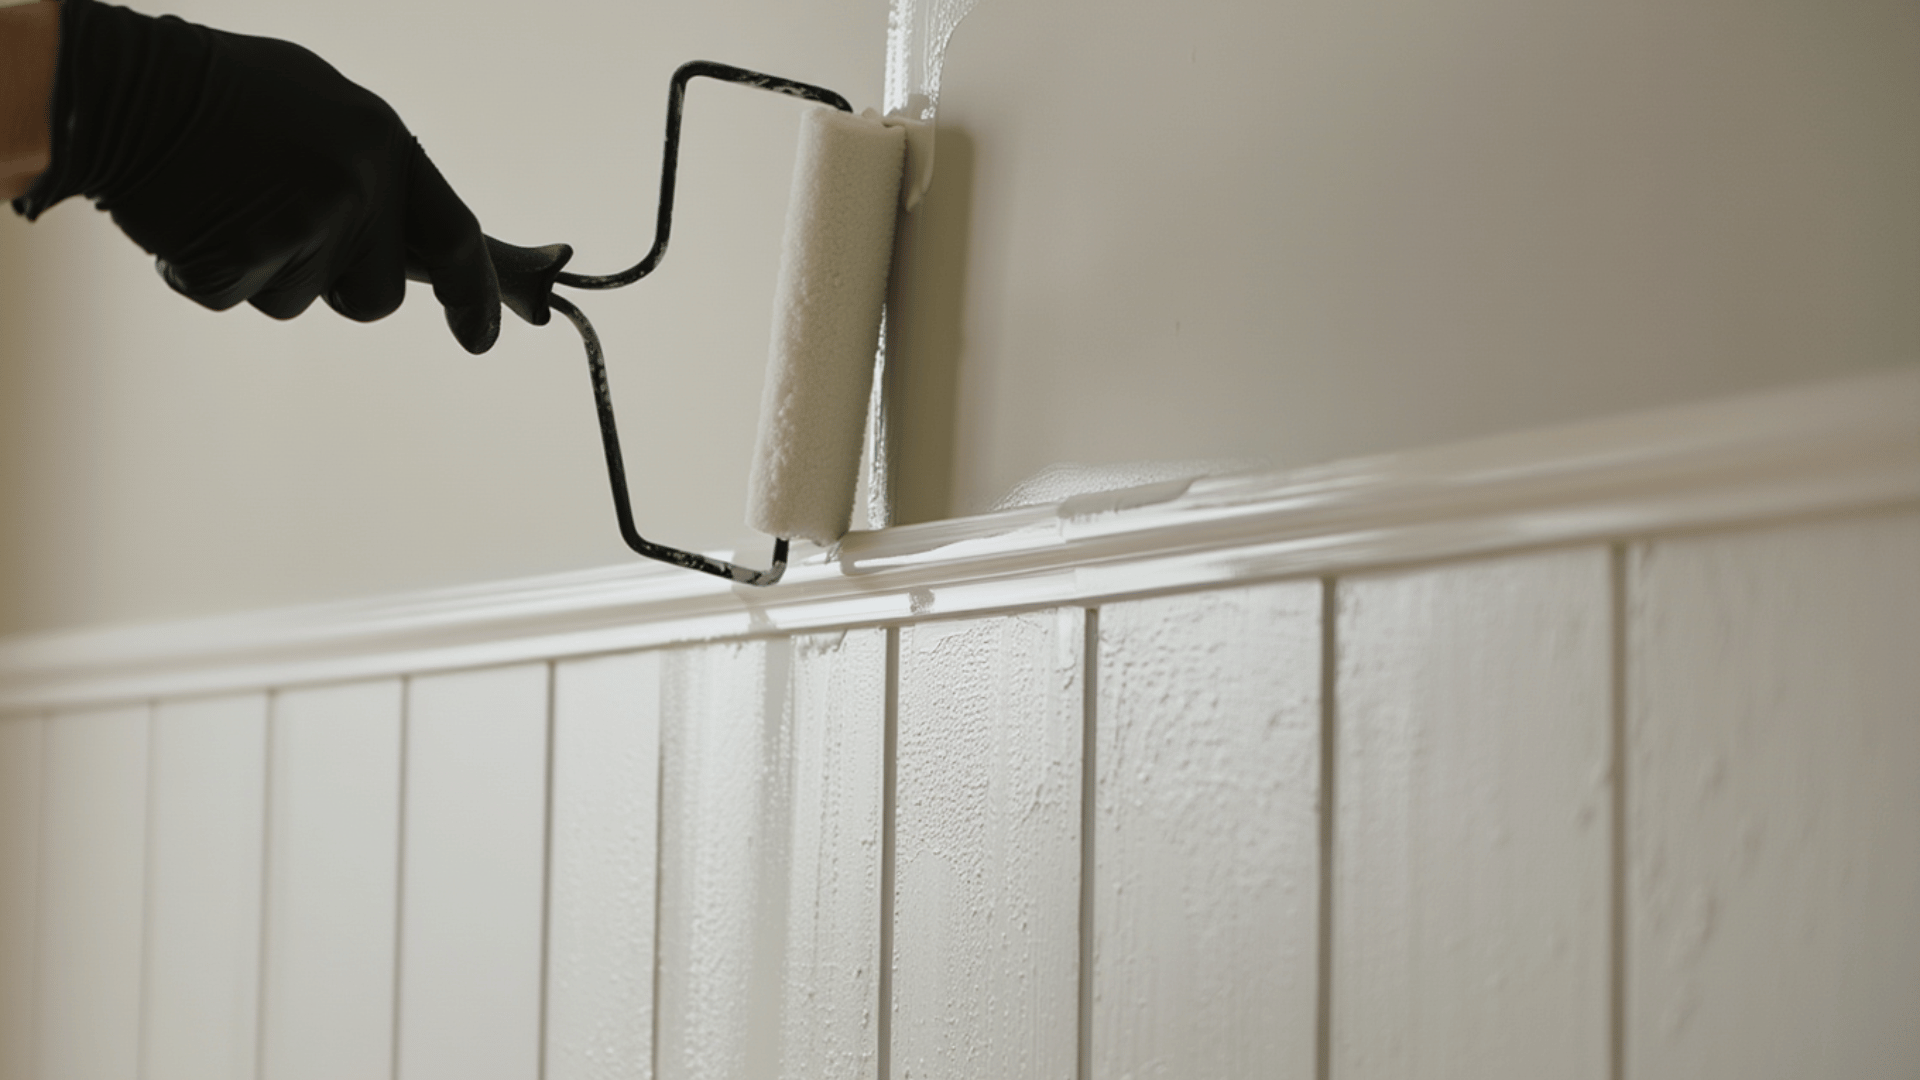
Apply primer to all shiplap boards, allowing it to dry according to the manufacturer’s instructions. Primer ensures even paint coverage and better adhesion.
Once dry, apply two coats of your chosen paint color, allowing proper drying time between coats. Use a brush for edges and a small roller for board faces for smooth, professional results.
White and light colors showcase shiplap texture beautifully, though any color works for your design vision.
Smart Cost and Maintenance Tips for Shiplap Walls
A little regular care goes a long way in keeping your shiplap walls looking new, durable, and cost-effective.
1. Set a realistic budget: The average cost ranges from $2 to $7 per square foot for materials, depending on which you choose: pine, MDF, or PVC.
2. DIY vs. professional help: Installing shiplap yourself can cut labor costs in half, but hiring a pro ensures perfect alignment and finishing, especially for large or uneven walls.
3. Seal and paint properly: A good-quality primer and paint protect the boards from moisture, stains, and scratches.
4. Regular cleaning: Wipe with a damp cloth or mild soap solution; avoid harsh chemicals that strip paint.
5. Touch-ups matter: Repaint or caulk small gaps every few years to maintain a crisp, seamless look.
6. Prevent damage early: Use furniture bumpers or chair rails to avoid dents or scuffs on the lower panels.
Common Mistakes to Avoid
To achieve a clean, polished vertical shiplap half wall, watch out for these common mistakes that can easily be overlooked during installation.
- Skipping wall preparation: Failing to clean, smooth, or level the wall can lead to uneven boards.
- Ignoring proper spacing: Not leaving a small gap for wood expansion can cause warping or buckling over time.
- Incorrect measurements: Inaccurate height or board cuts can disrupt the visual balance and symmetry.
- Using the wrong nails or adhesive: Lightweight or improper fasteners may not hold boards securely.
- Neglecting priming and sealing: Unsealed wood can absorb moisture, especially in bathrooms or kitchens.
- Forgetting the top trim or cap moulding: Skipping the finish trim can make the design look incomplete.
- Overlooking electrical outlets: Not planning for cutouts can delay installation and create messy edges.
Conclusion
You now have all the knowledge you need to create a beautiful vertical shiplap half wall in your home.
As you’ve learned, this project is completely doable with basic tools, patience, and attention to detail. The step-by-step process we’ve covered will take you from start to finish.
Don’t rush through the preparation steps; they make all the difference in your final results. Your careful work will pay off with a stunning accent wall that adds value and style to your home.
You’ll be amazed at how this simple DIY project can completely change the look and feel of your room. Your beautiful new shiplap half wall is waiting to be built!