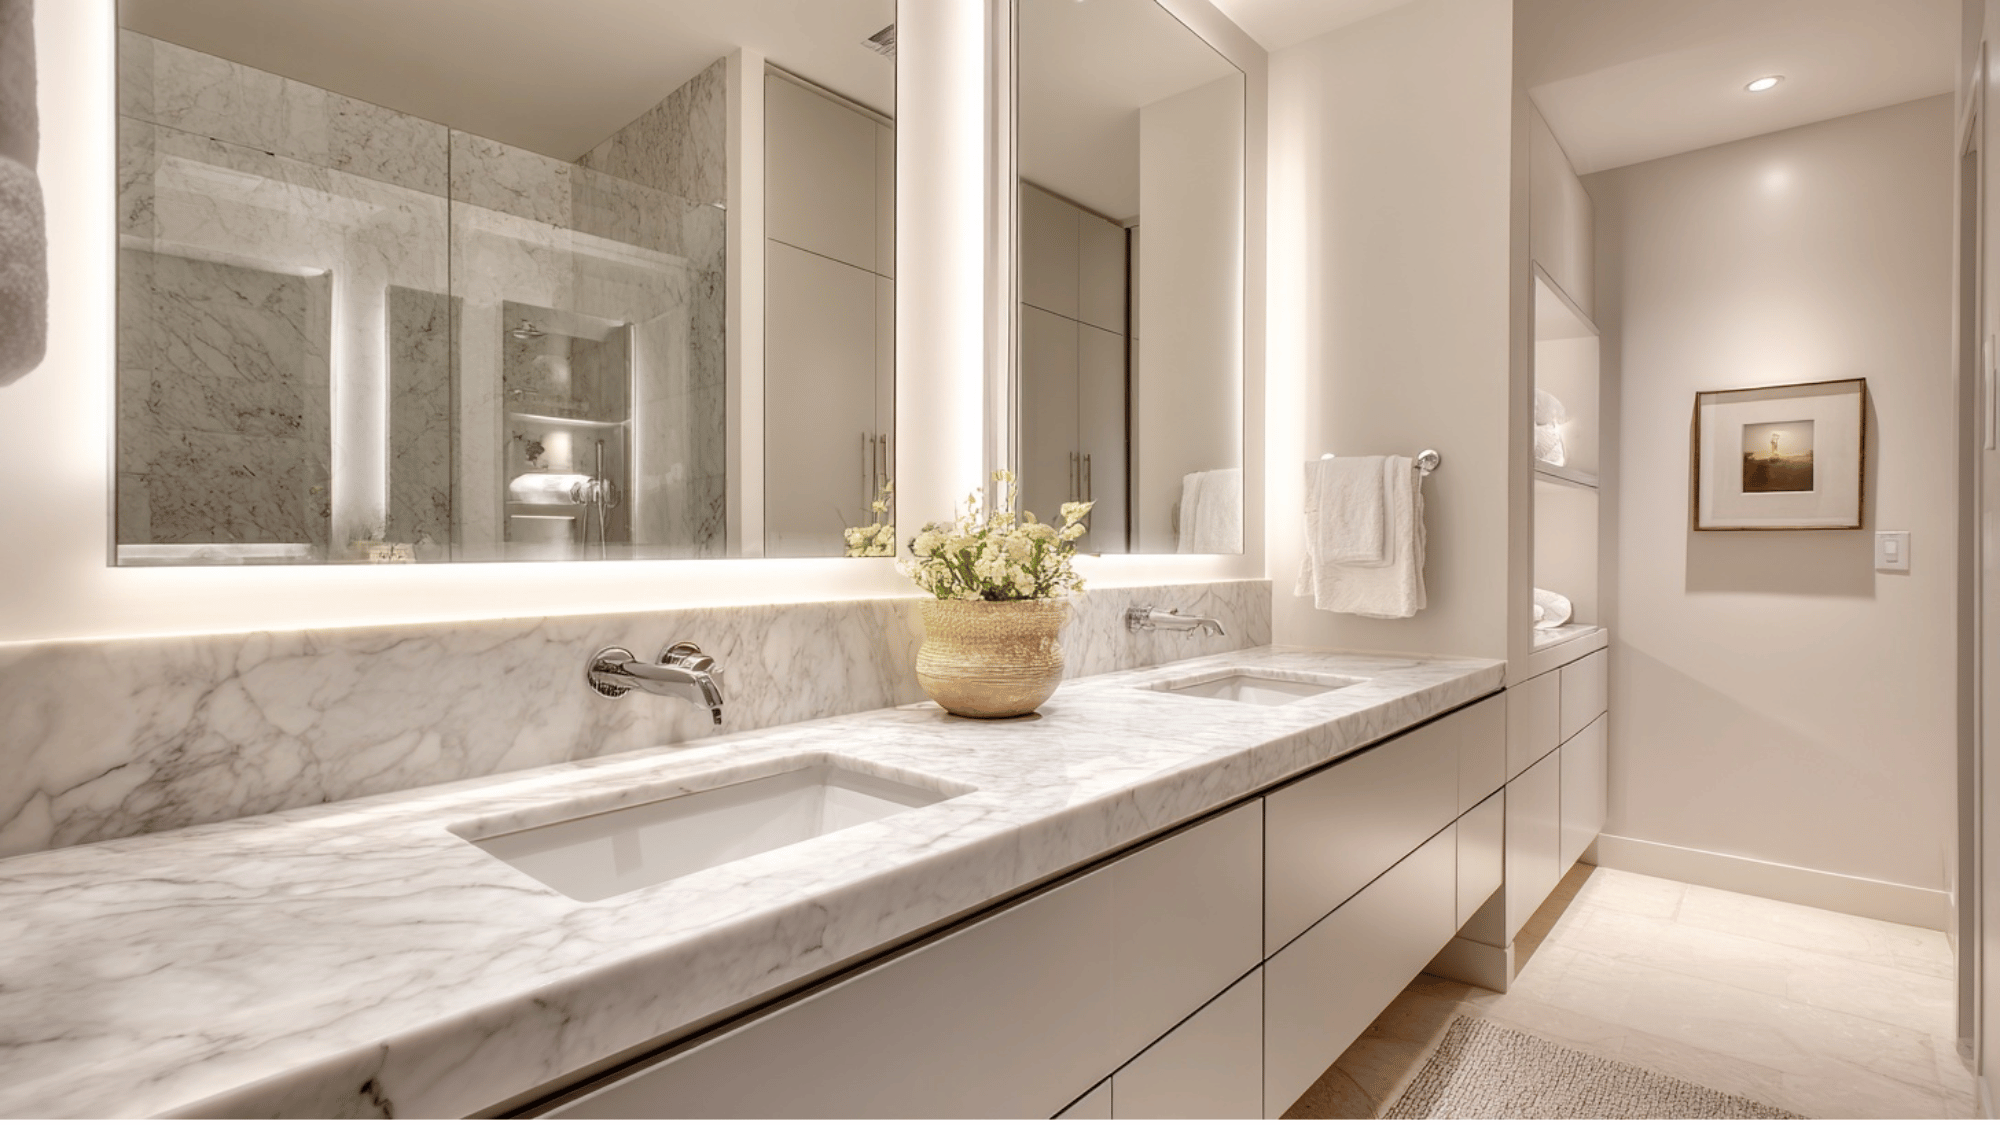
A DIY bathroom remodel is more than a weekend project; it’s a creative, cost-effective way to breathe new life into your home.
With thoughtful planning, the right tools, and a bit of patience, homeowners can achieve a refreshed, modern space that feels uniquely personal.
DIY remodeling encourages hands-on learning, boosts confidence, and allows complete control over design choices.
From painting walls and upgrading fixtures to adding stylish finishes, it proves that you don’t need a huge budget to make a big impact.
With imagination and effort, any bathroom can become a practical, comfortable, and beautiful retreat.
How to Plan a Practical Bathroom Remodel
Before starting your remodel, take time to plan carefully so your bathroom looks great and functions smoothly. Follow these simple steps to design a space that fits your needs perfectly:
- Assess your current space: Note what works and what doesn’t. Identify issues such as poor lighting, limited storage, or awkward fixture placement.
- Set clear priorities: Decide on must-have features before selecting tiles, colors, or accessories.
- Create a layout plan: Sketch by hand or use free online design tools to explore new arrangements.
- Check key systems: Keep plumbing lines, ventilation, and electrical points in mind before finalizing your design.
- Plan for functionality: Ensure there’s enough space to move comfortably and that storage solutions fit your daily routine.
- Think long-term: Choose designs and materials that are durable, low-maintenance, and timeless in style.
Tools and Materials Required
| Tools | Materials |
|---|---|
| Screwdriver set, drill | PEX-A pipes & fittings |
| Pry bar, hammer | Tile adhesive & grout |
| Skill saw, utility knife | Waterproof backer board & drywall |
| Level, measuring tape | Schluter shower pan & membrane |
| Trowel set, caulk gun | Ceramic or porcelain tiles |
| Shop vac | Paint, sealant & fixtures (sink, toilet, tub, lighting) |
Step-by-Step DIY Bathroom Remodel
A step-by-step bathroom remodel DIY helps homeowners transform outdated spaces into functional, stylish retreats with careful planning and simple techniques.
Step 1: Demolition and Removal of Old Fixtures
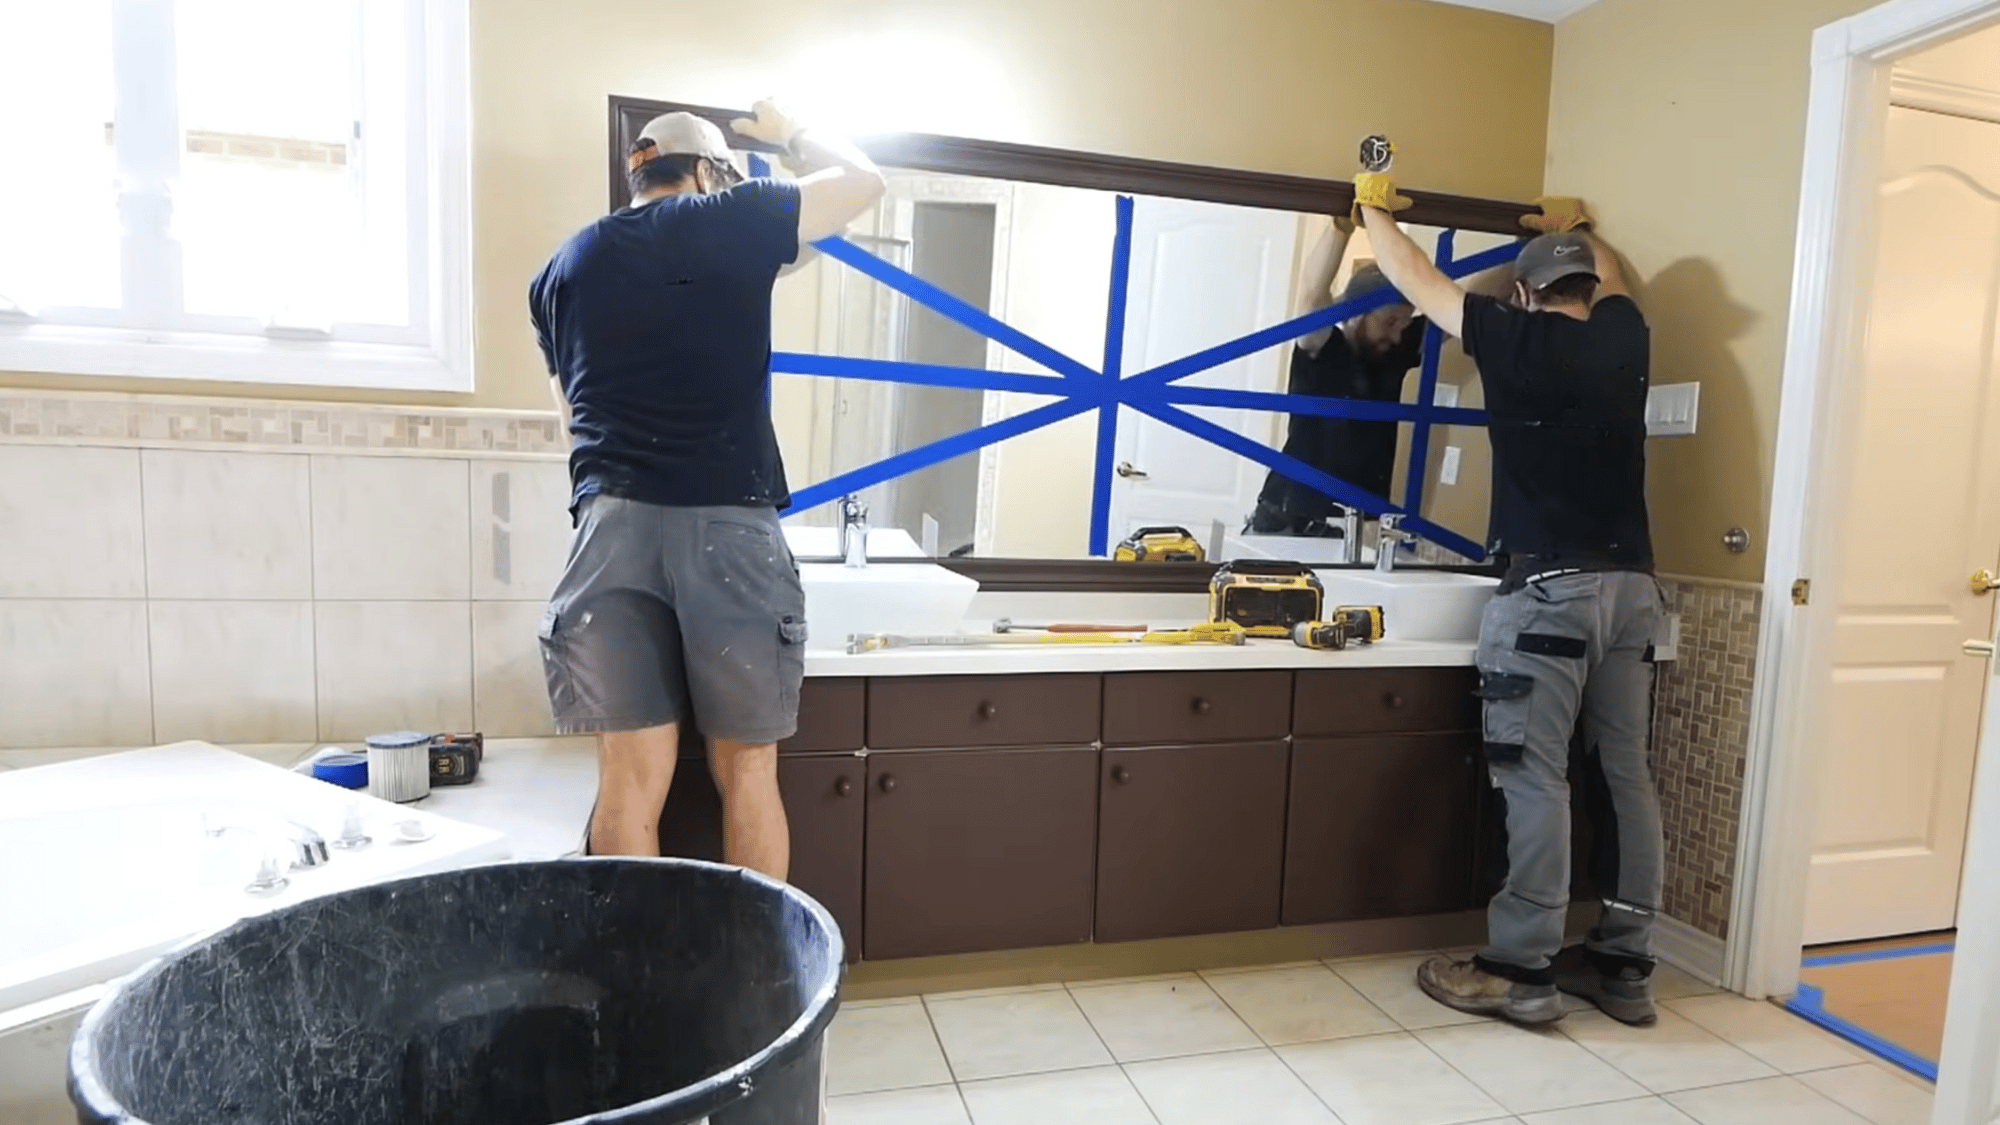
Begin your DIY bathroom remodel by clearing out the old fixtures and surfaces.
Shut off the water supply, remove the toilet, vanity, and mirrors, then disconnect the plumbing and remove the bathtub and shower walls.
Use a pry bar and skill saw to lift old flooring and subfloor sections for plumbing access. This thorough demolition creates a clean, open workspace for your remodel’s next phase.
Step 2: Frame the New Walls and Niches
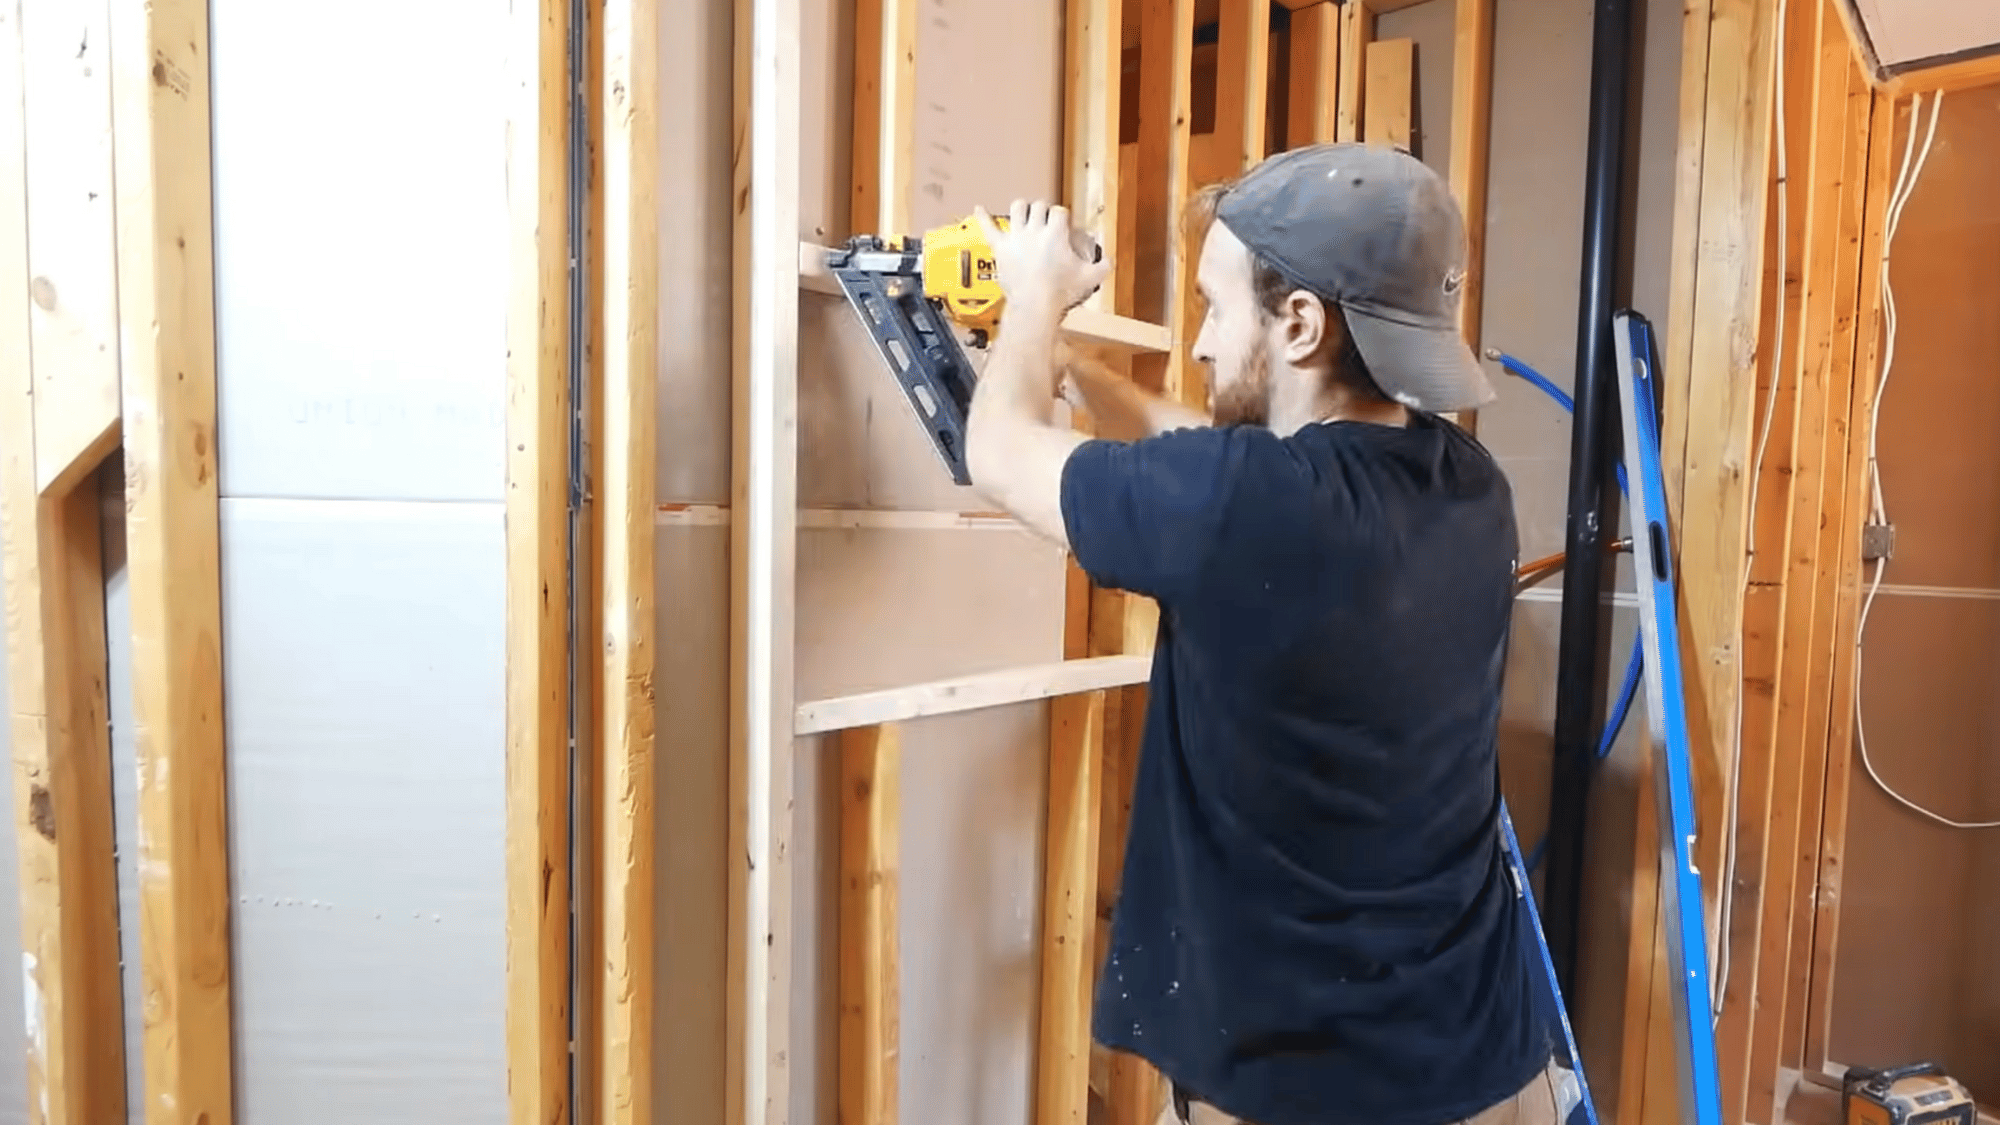
Begin framing to accommodate the new bathroom layout. Construct walls for shower enclosures, half walls, or built-in shelves using 2×4 lumber.
Ensure studs are plumb and flat. Frame shower niches slightly taller than needed, so tiles can align perfectly later.
These frames will support plumbing, fixtures, and design features like recessed shelving and custom half-walls.
Step 3: Update Plumbing and Electrical Systems
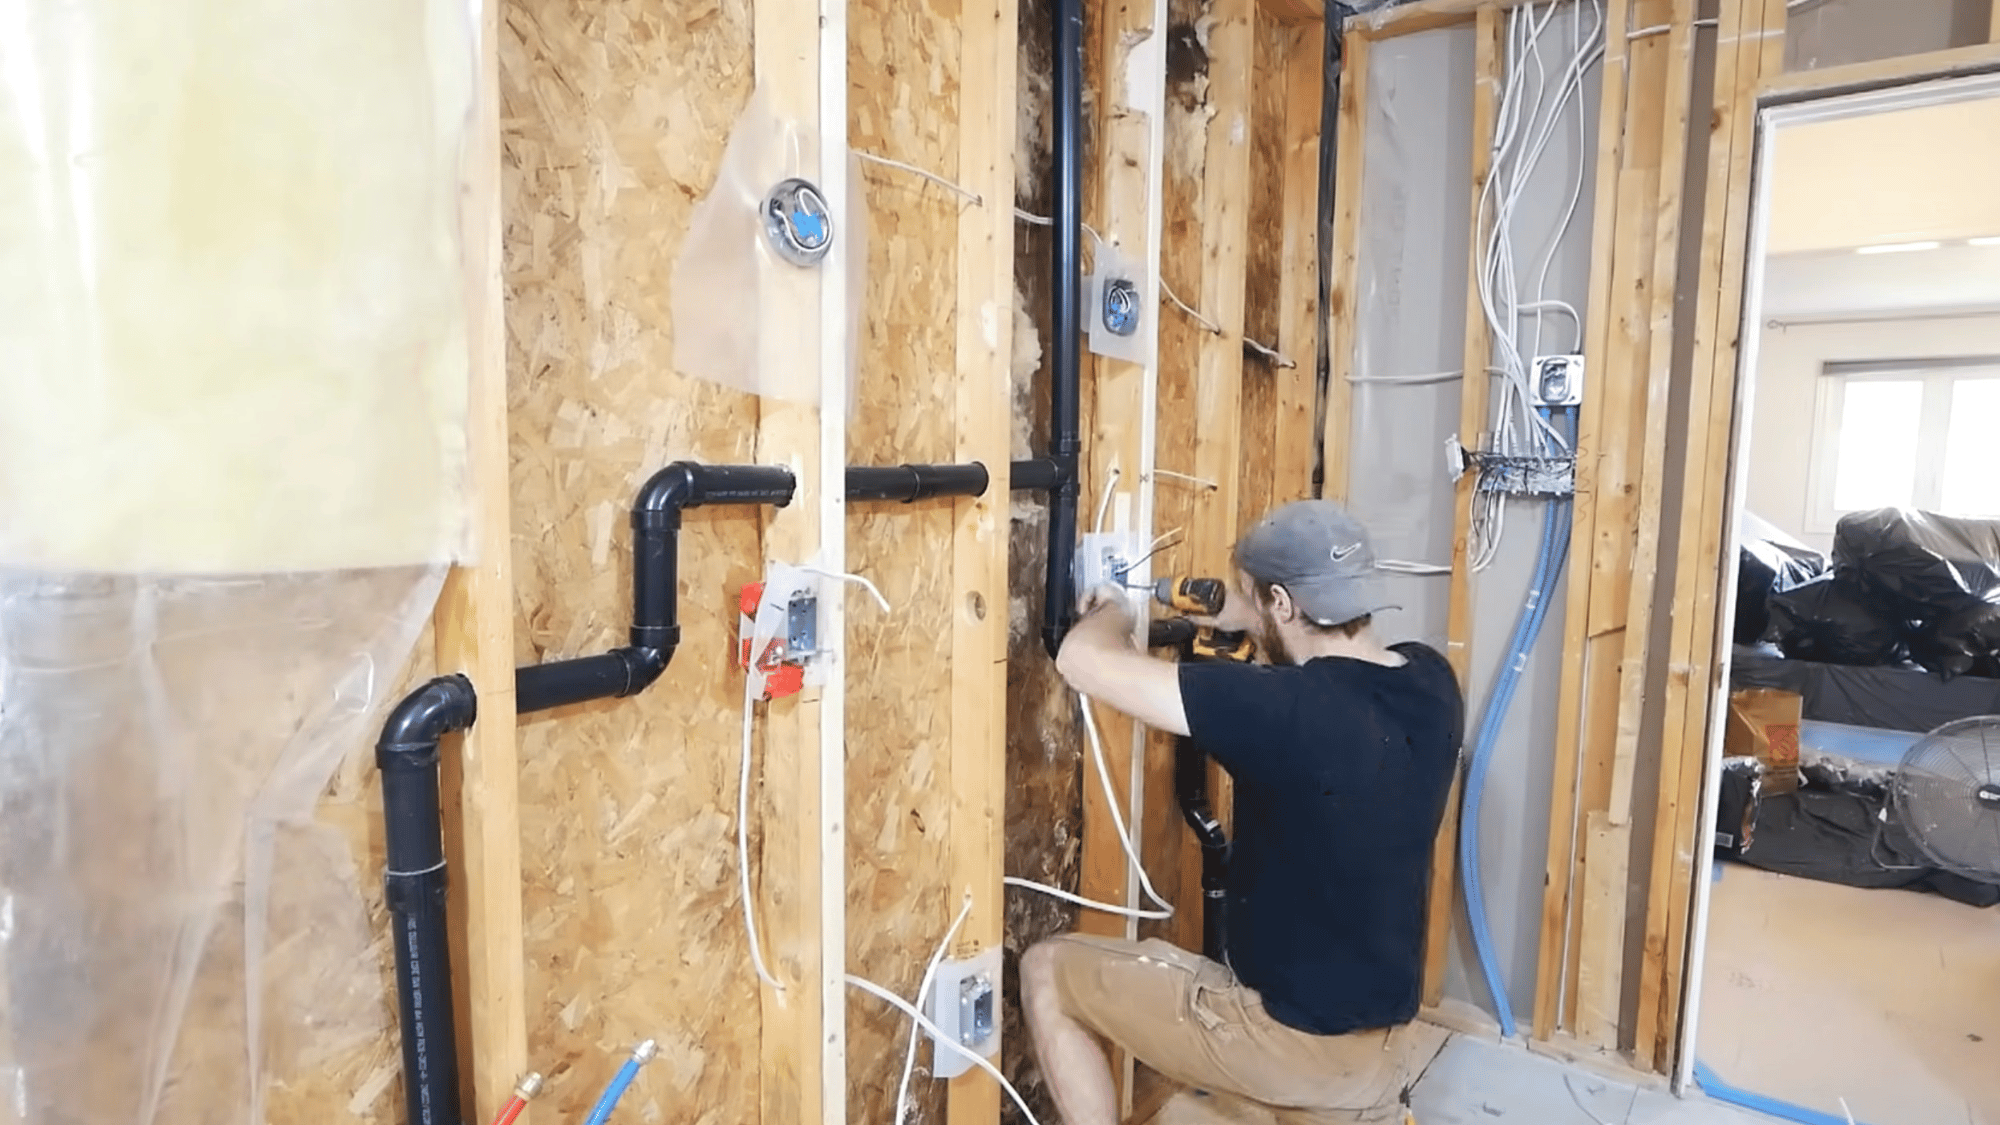
Use PEX-A piping for plumbing; it’s flexible and durable. Center the mixing valve and showerhead with the drain for a professional look.
Install vapor-sealed electrical boxes for outlets and lighting. Move or add plugs for convenience near vanities.
Proper electrical and plumbing updates ensure functionality, safety, and compliance with building standards before wall installation resumes.
Step 4: Install Insulation, Vapor Barriers, and Subfloor
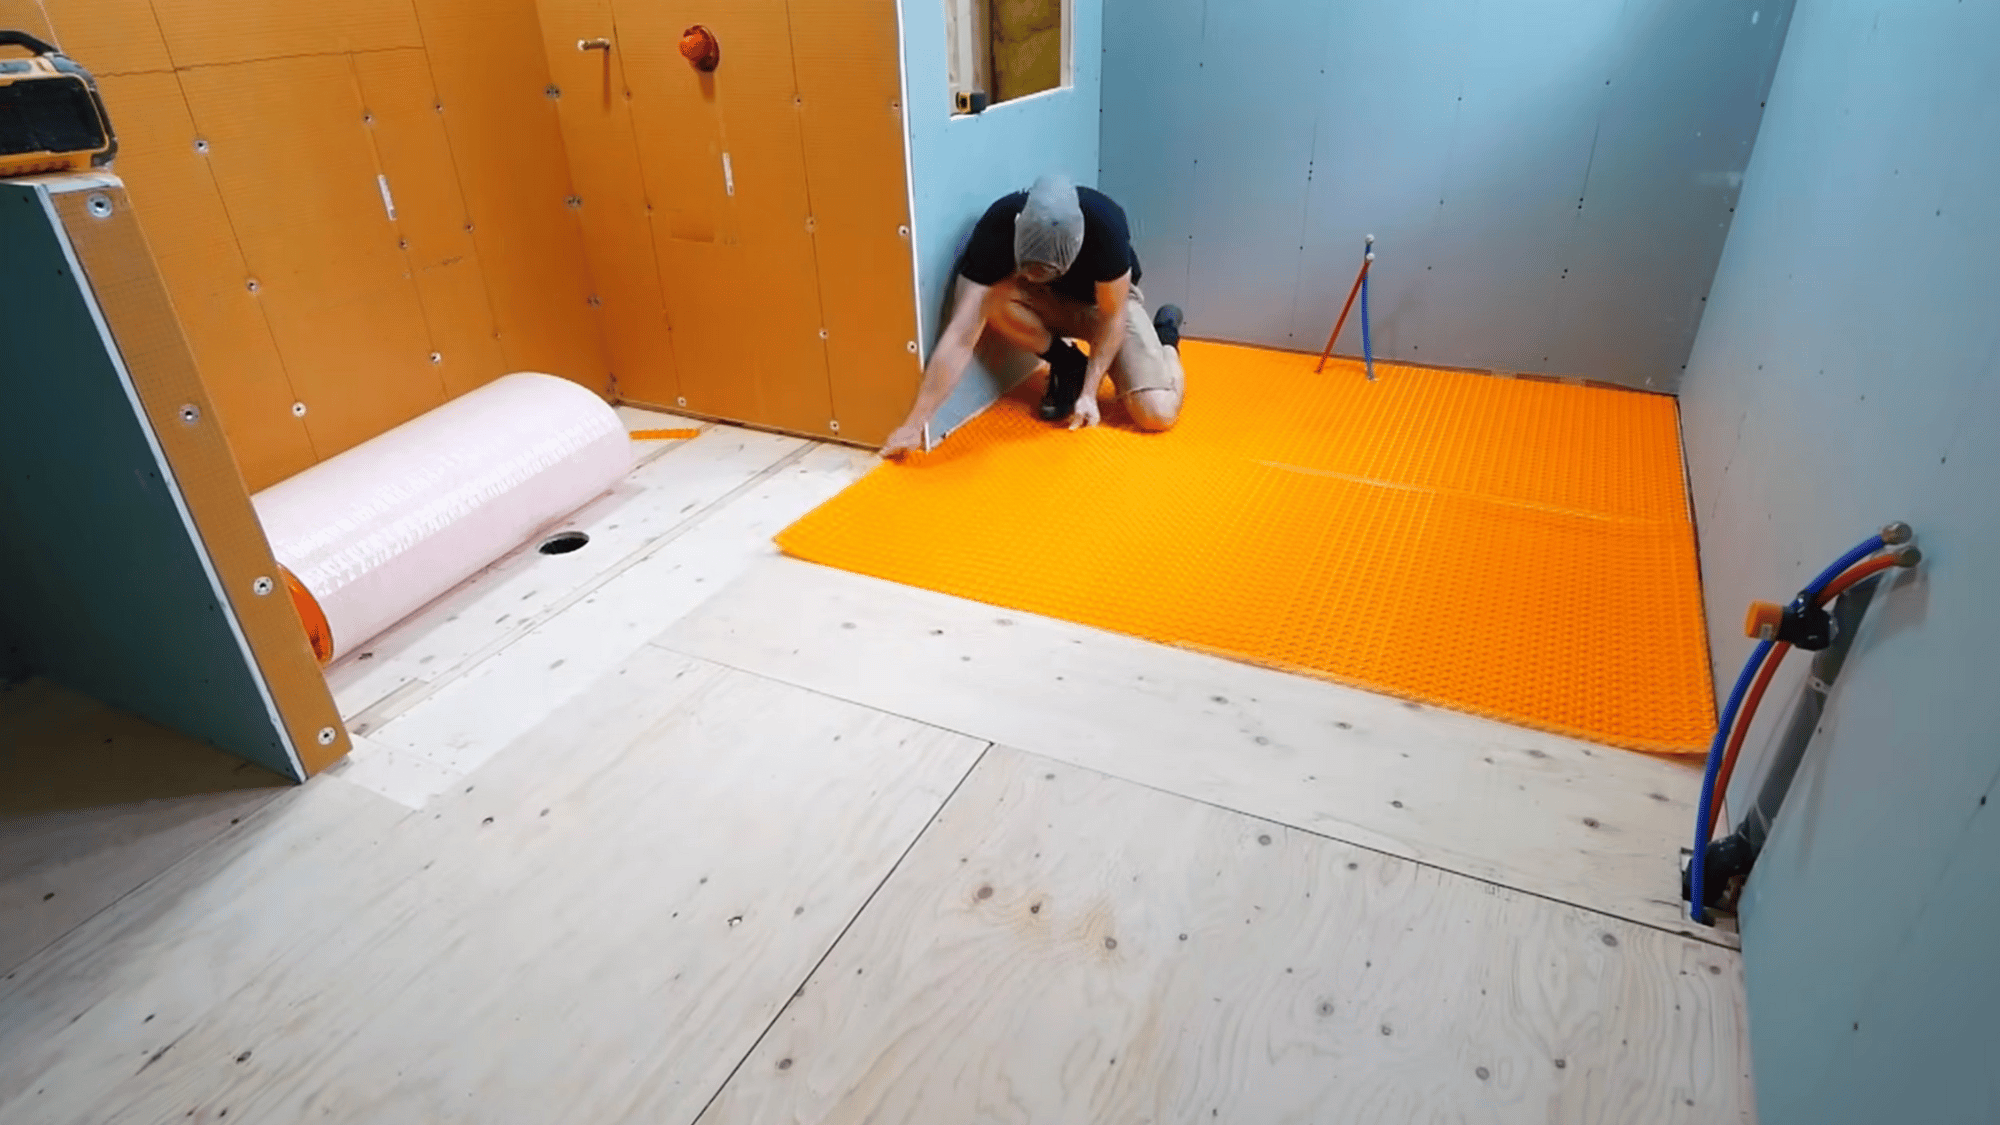
After demolition and framing, insulate both interior and exterior walls to maintain temperature and reduce noise.
Apply a vapor barrier and seal all seams with tuck tape to prevent moisture buildup. Then reinstall and level the subfloor before laying Schluter-DITRA heat mats and heating cables.
This combination ensures comfort, efficiency, and long-term protection in your DIY bathroom remodel.
Step 5: Hang Drywall and Cement Boards

Use half-inch greenboard drywall for moisture resistance. In the shower, switch to CIE waterproof backer boards secured with washers and screws.
Lightweight and beginner-friendly, these boards form the foundation for tiling.
Once hung, tape all seams and fill gaps with joint compound. This stage marks real progress as your bathroom starts to take shape.
Step 6: Waterproof the Shower Area
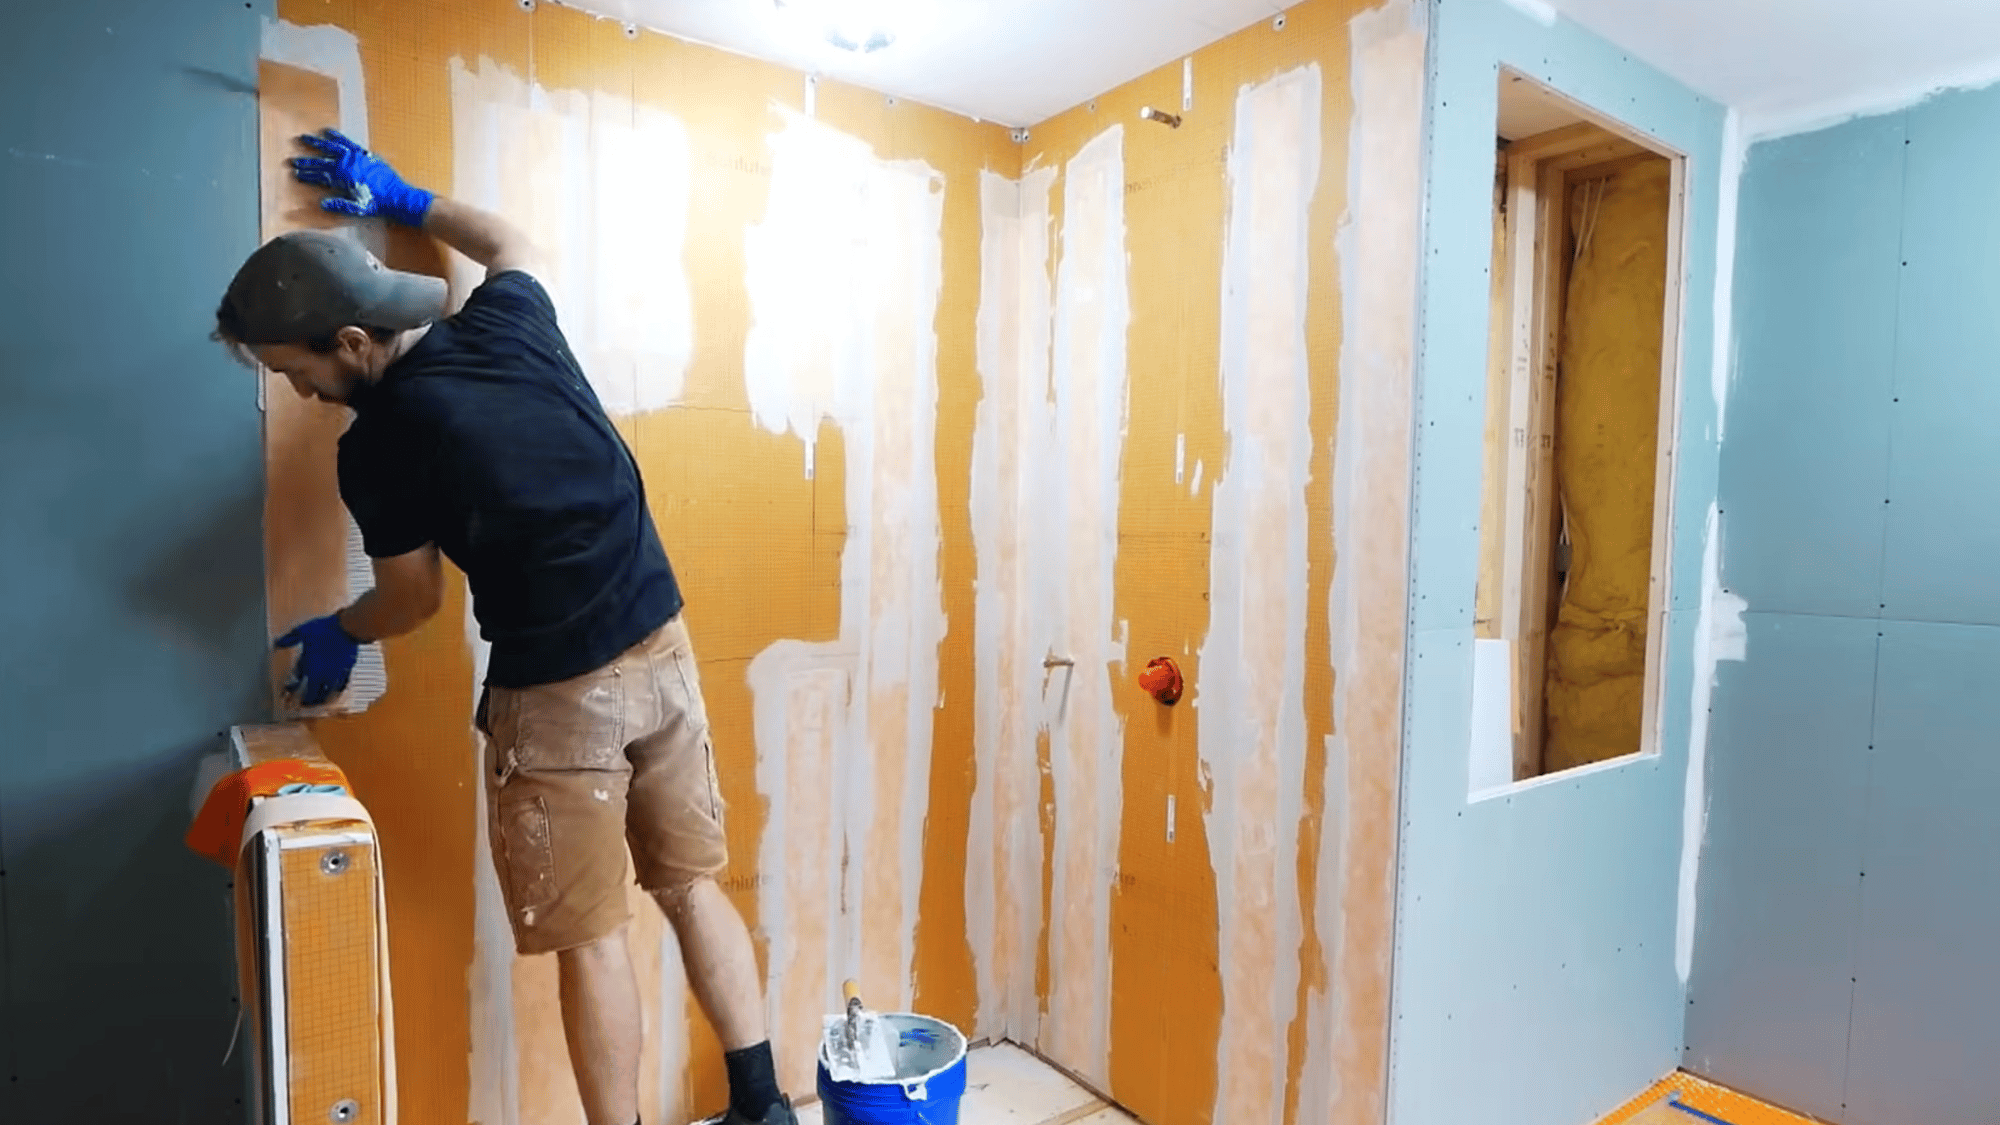
Apply Schluter membranes over all joints, washers, and corners using thin-set mortar.
Ensure complete coverage, especially where walls meet the pan. Install the pre-sloped shower pan and glue the drain securely.
Waterproof a few feet beyond the shower boundary to protect adjacent flooring. Proper waterproofing is essential for preventing leaks and ensuring long-term durability.
Step 7: Tile the Floors and Walls
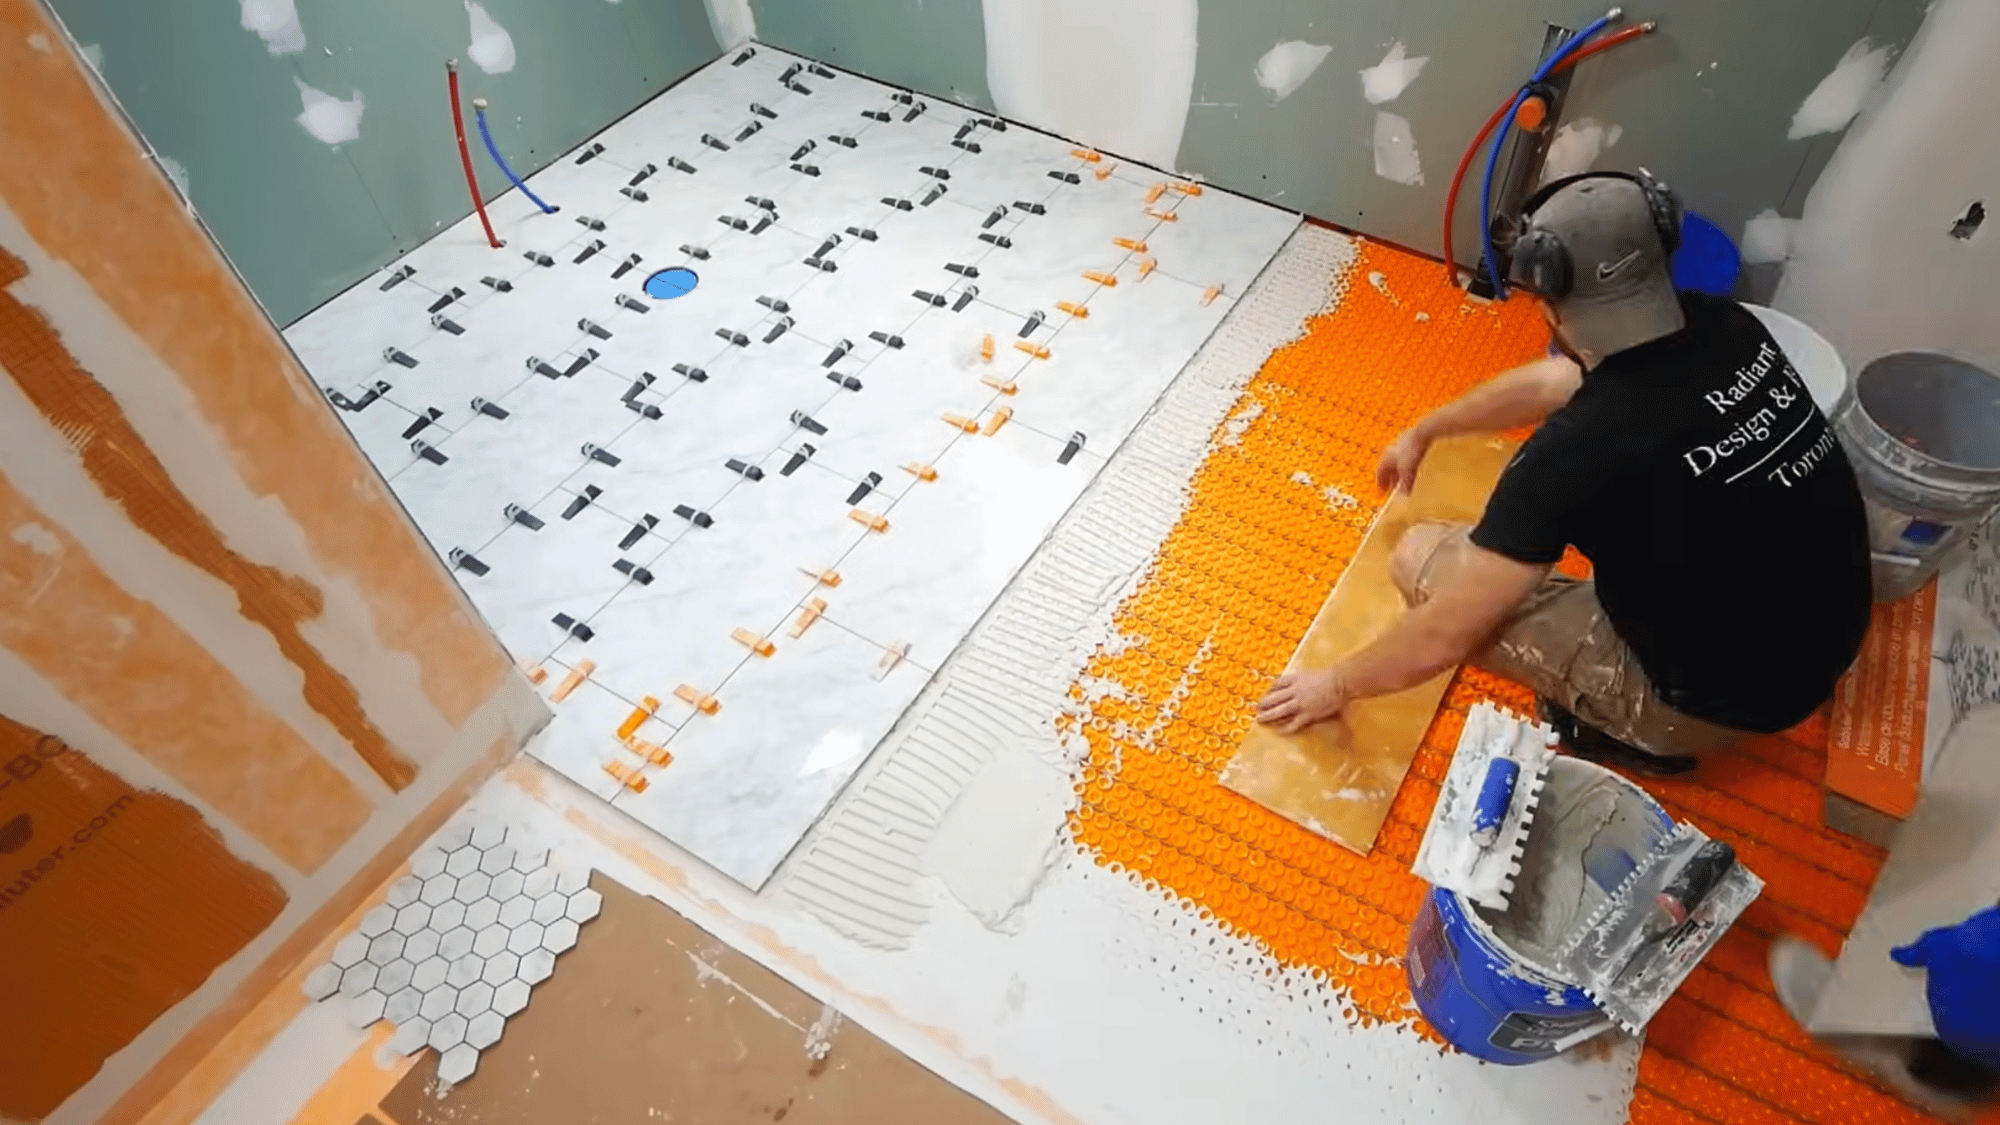
Begin with the floor tiles using a ½-inch square-notch trowel. Apply thin-set, back-butter tiles, and use wedge spacers for consistent gaps.
On walls, use 12×24 glossy tiles in a stacked pattern for a sleek look. Align grout lines with niches for a clean, beautiful look.
Use clamps or ledgers to support tiles as adhesive sets, maintaining even lines throughout.
Step 8: Finishing Touches and Fixture Installation
Complete your DIY bathroom remodel by grouting, painting, and installing final fixtures. Use high-quality grout and color-matched silicone for clean, durable joints.
After the surfaces cure, sand, prime, and paint with a warm shade. Then, install vanities, mirrors, lighting, and polished nickel fixtures.
Add trim, molding, and seal edges for protection. These details create a polished, modern, and professional-looking finish.
For more information, watch out the video:
Budget-Friendly Ideas for DIY Bathroom Remodeling
These budget-friendly ideas for DIY bathroom remodeling help change your kitchen with affordable upgrades, creative touches, and smart, cost-effective design choices.
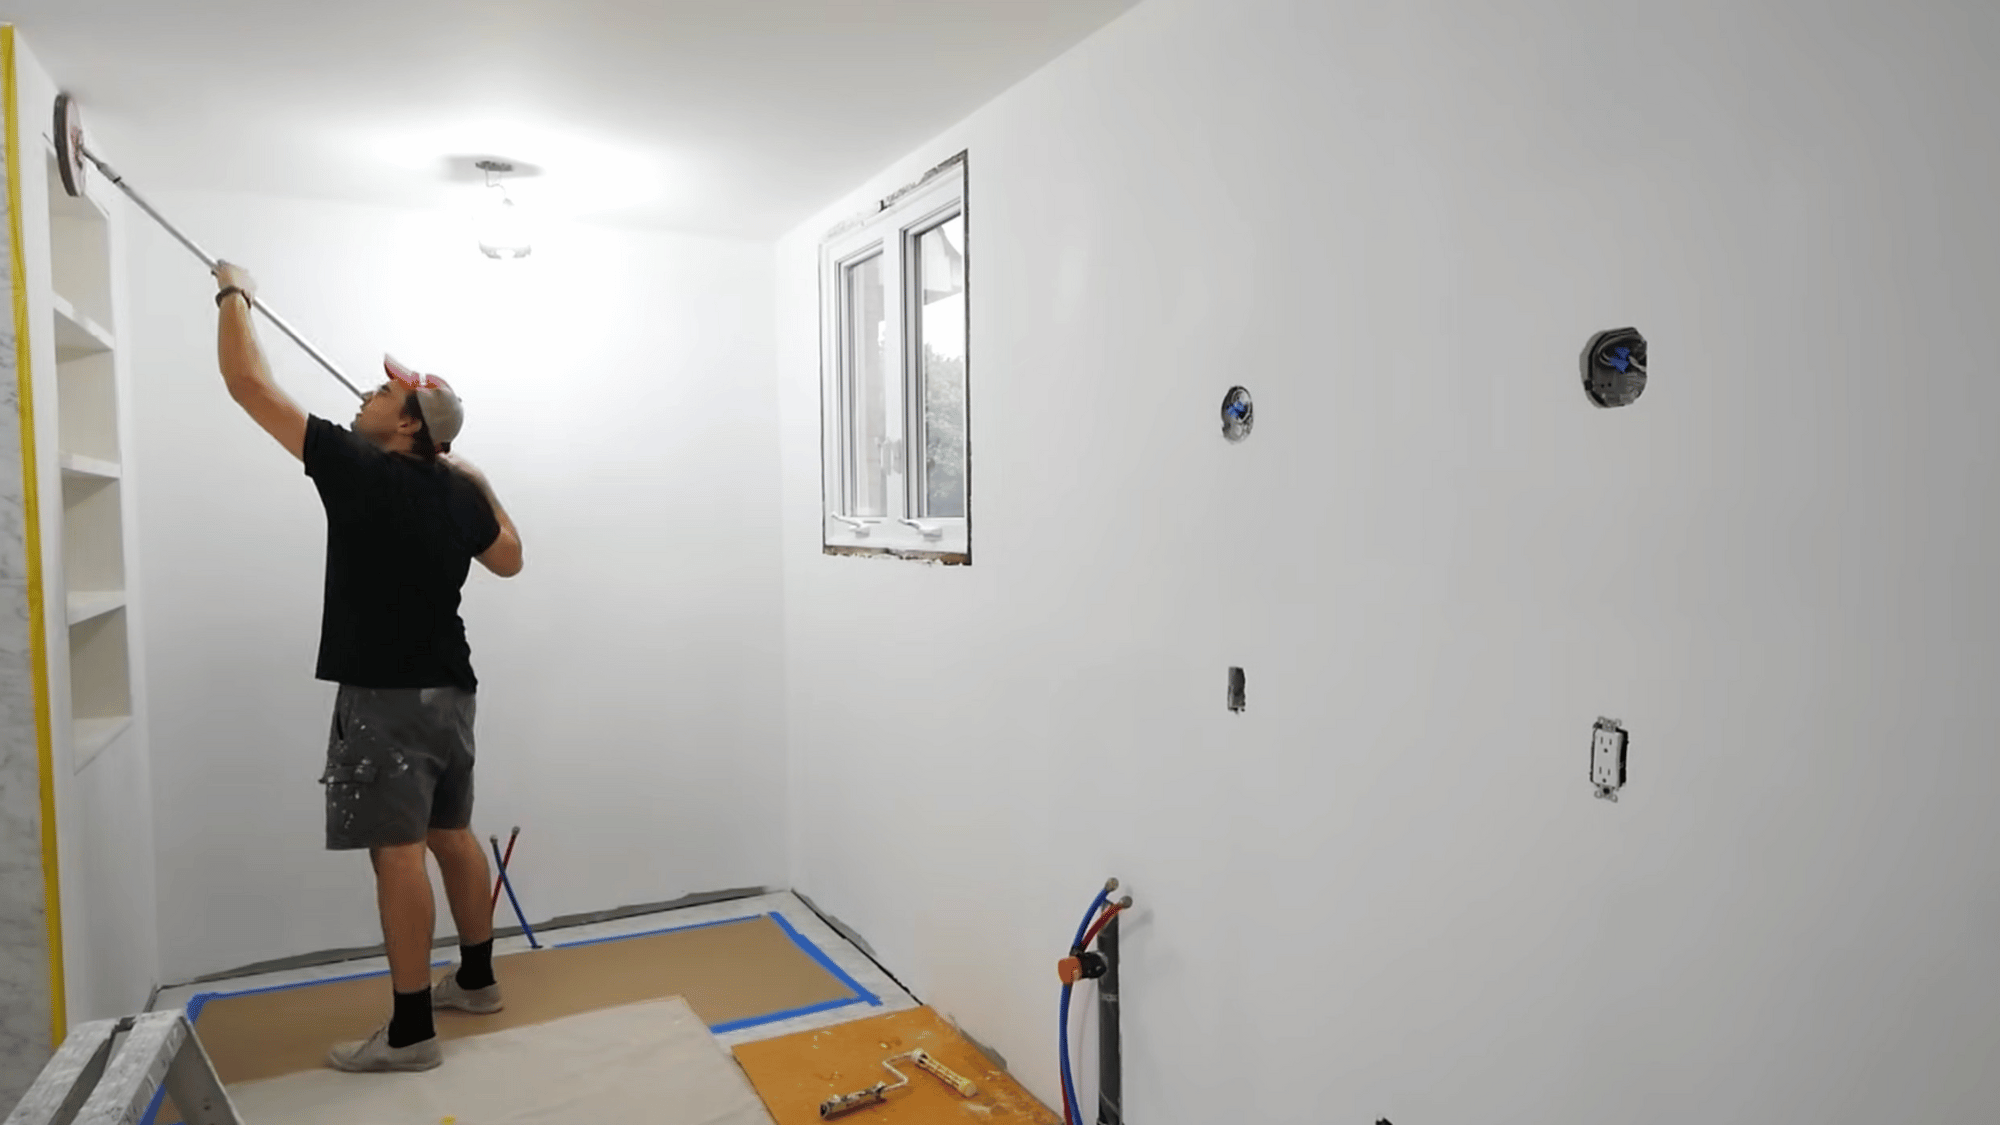
1. Repaint Walls with Moisture-Resistant Paint
A fresh coat of paint can instantly rejuvenate any bathroom. Use moisture- and mildew-resistant paint in soothing tones like light gray, aqua, or off-white to create a spa-like vibe.
Properly prep the walls by cleaning and priming them before painting.
This affordable DIY upgrade brightens the space, hides imperfections, and sets the foundation for other stylish changes.
2. Upgrade Bathroom Lighting
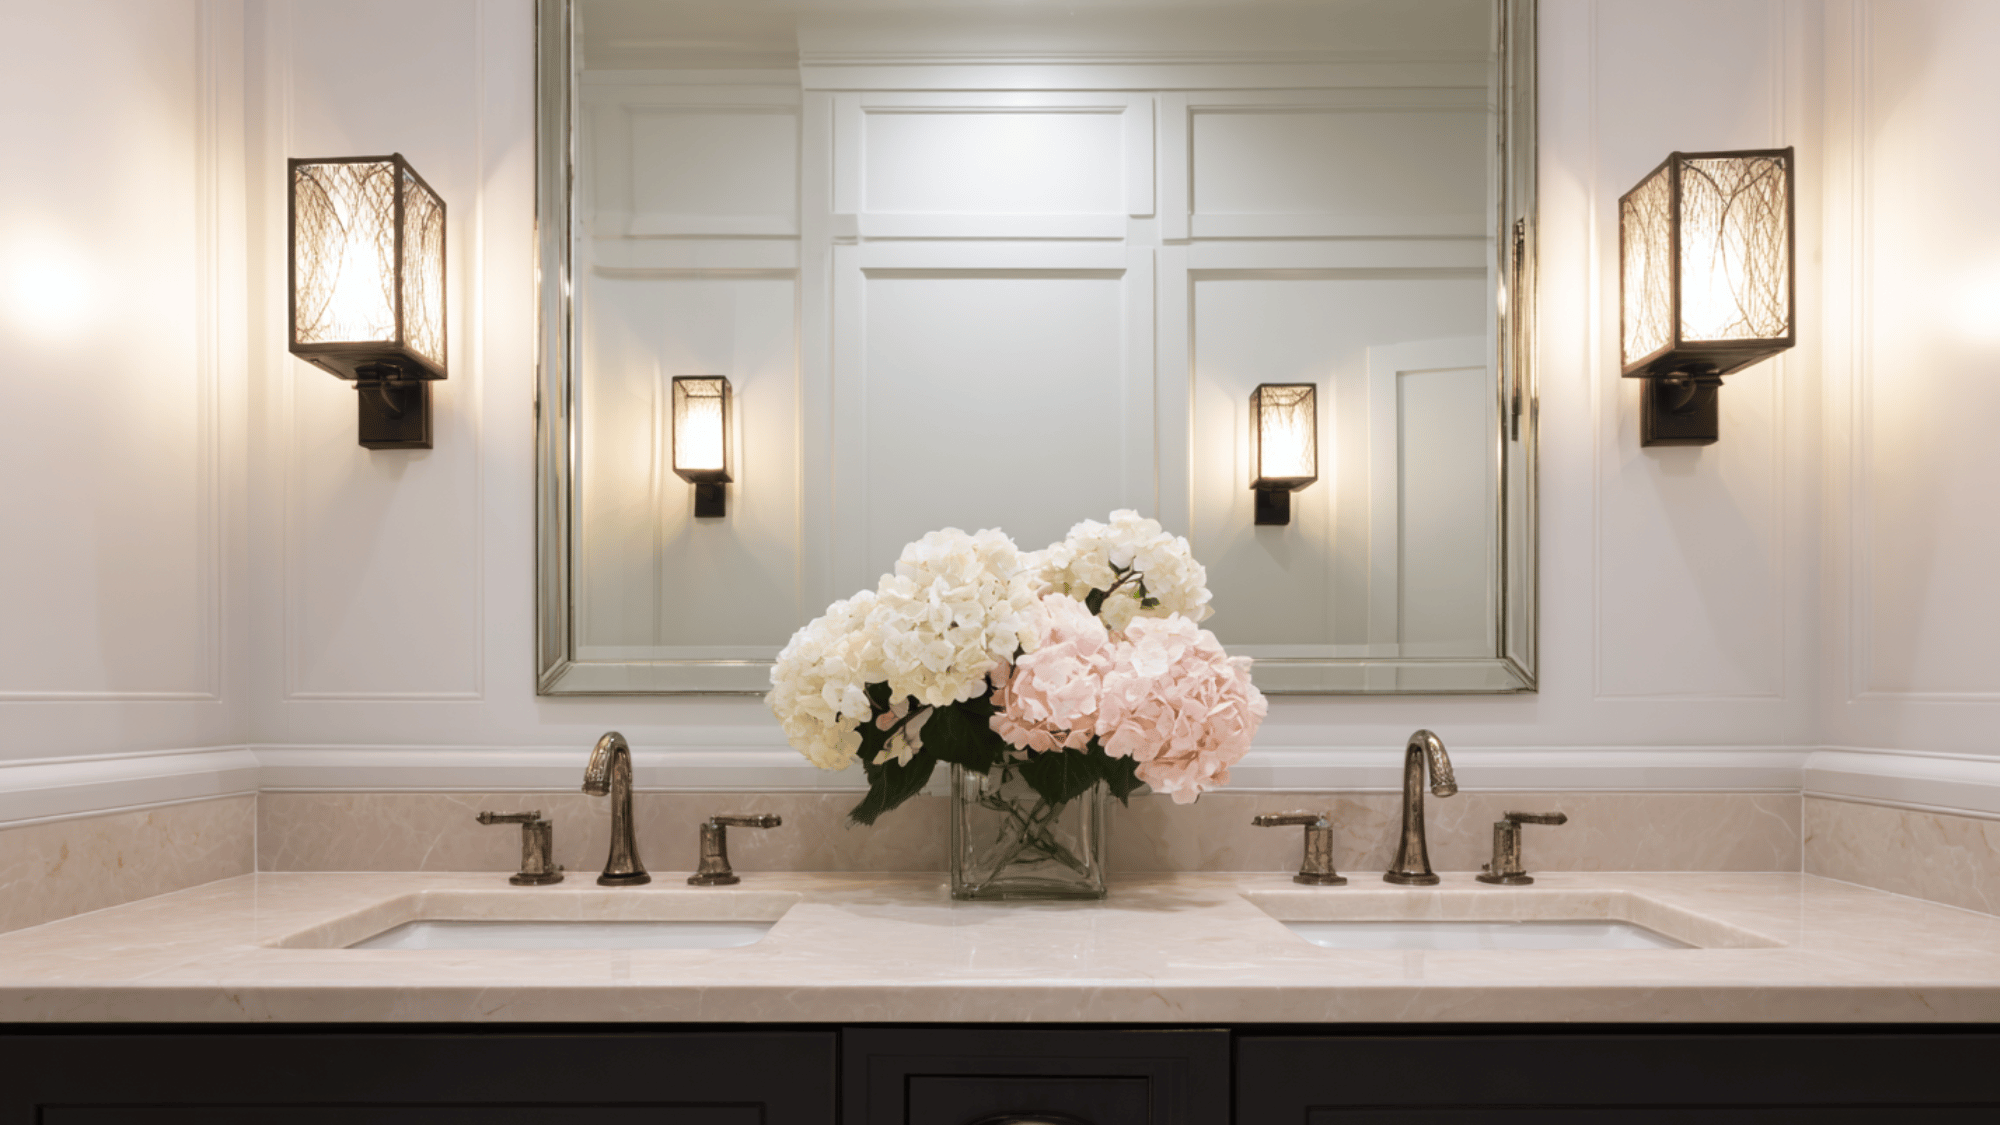
Swapping out outdated light fixtures dramatically improves both function and mood.
Choose LED vanity lights, wall sconces, or a modern overhead fixture to enhance brightness and energy efficiency.
Opt for warm white bulbs for a cozy ambiance or daylight bulbs for clarity while grooming. Proper lighting elevates the overall look without a major expense or complicated installation.
3. Install Peel-and-Stick Flooring

Peel-and-stick vinyl flooring is a cost-effective option for bathrooms, offering durability and water resistance.
Choices mimic wood, stone, or ceramic finishes. They are easy to cut and install.
These tiles refresh flooring texture and style quickly without professional help, brightening the bathroom with minimal effort.
4. Add a Frame Around the Mirror

Framing a plain bathroom mirror adds instant polish and personality.
Use wood trim, molding, or even PVC framing kits available at hardware stores.
Paint or stain the frame to complement your vanity or walls. This easy DIY detail turns a builder-grade mirror into a custom statement piece with minimal cost and effort.
5. Upgrade the Shower Curtain or Door
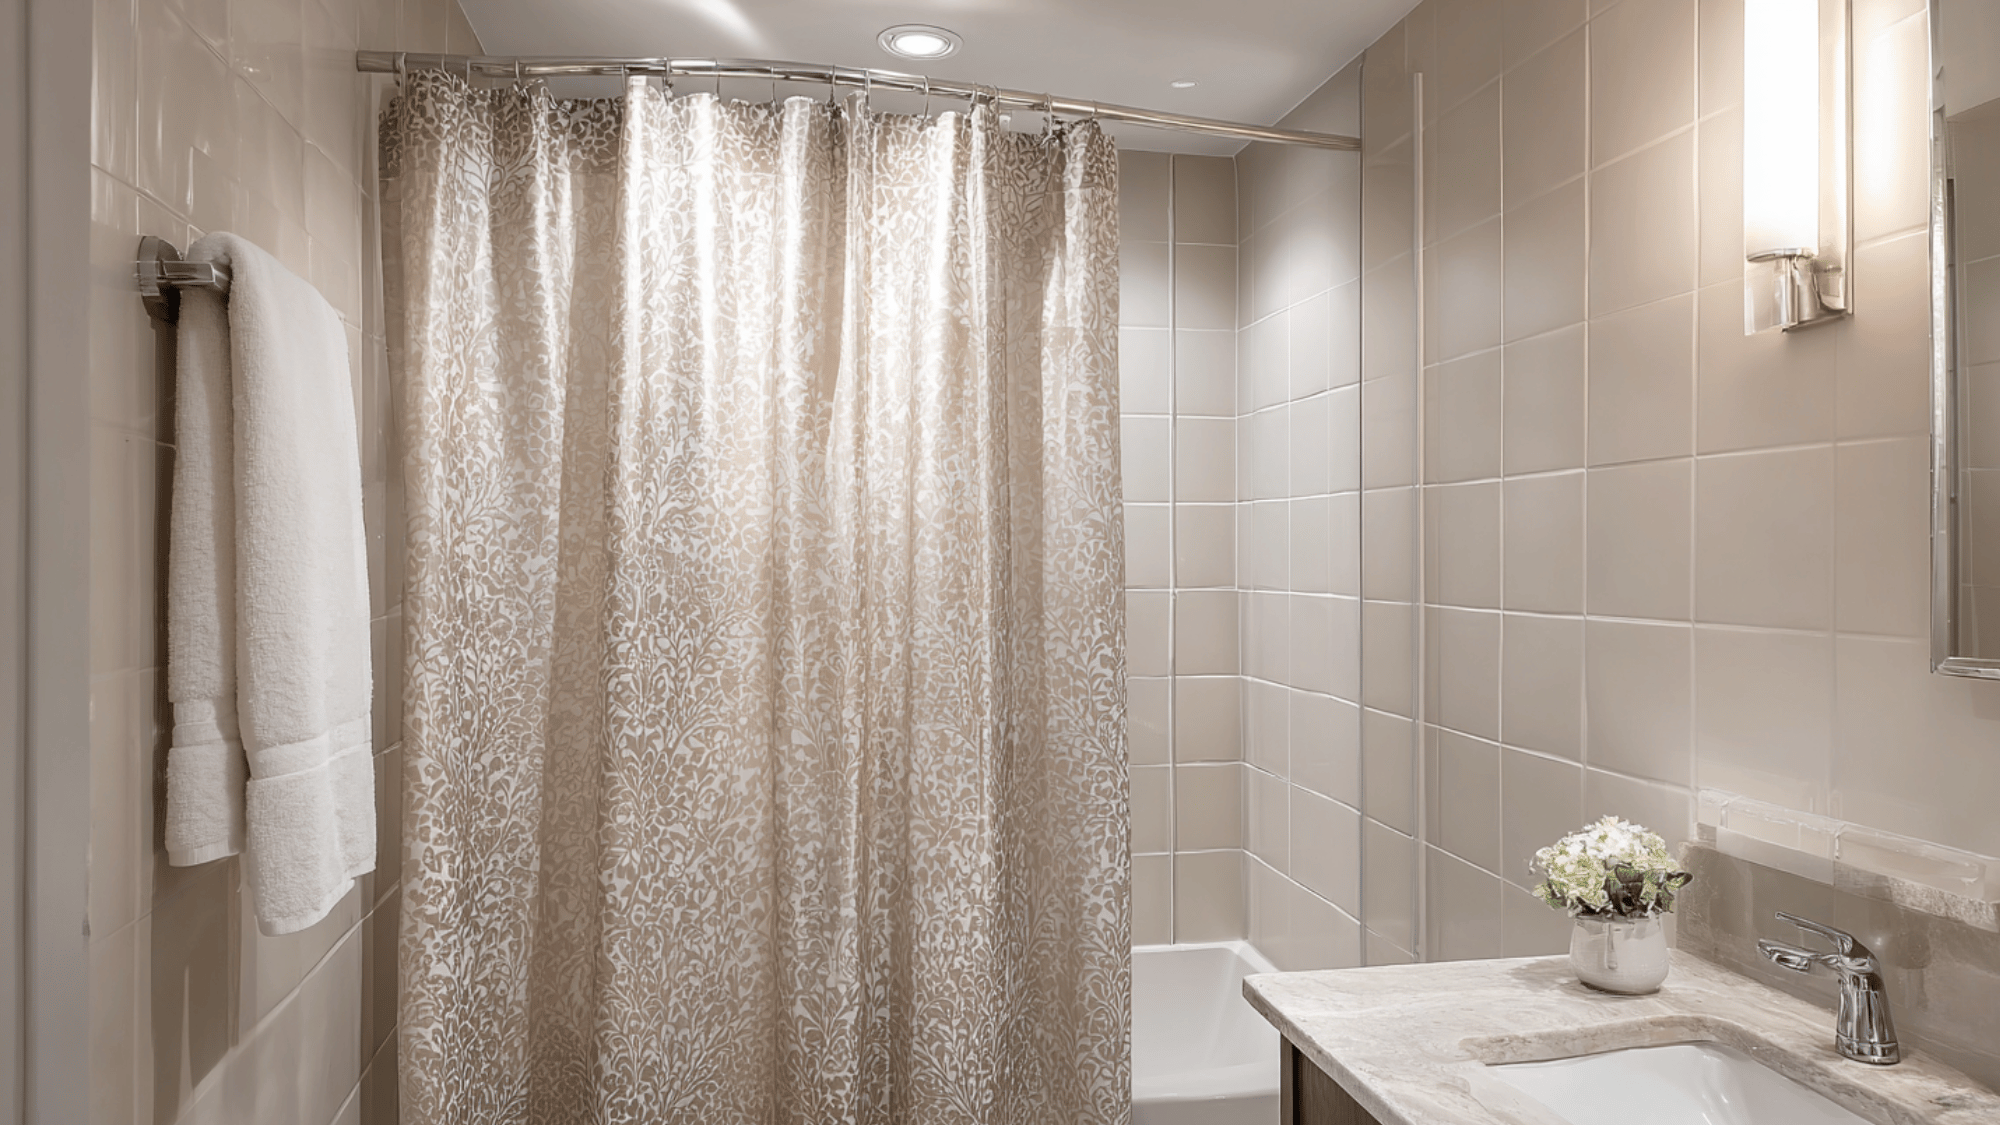
A new shower curtain can change the entire mood of your bathroom.
Choose high-quality, mildew-resistant fabric with patterns or neutral tones to match your decor.
For a more permanent upgrade, replace the curtain with a glass shower door for a sleek, modern touch. Both options improve style and functionality effortlessly.
6. Install Floating Shelves
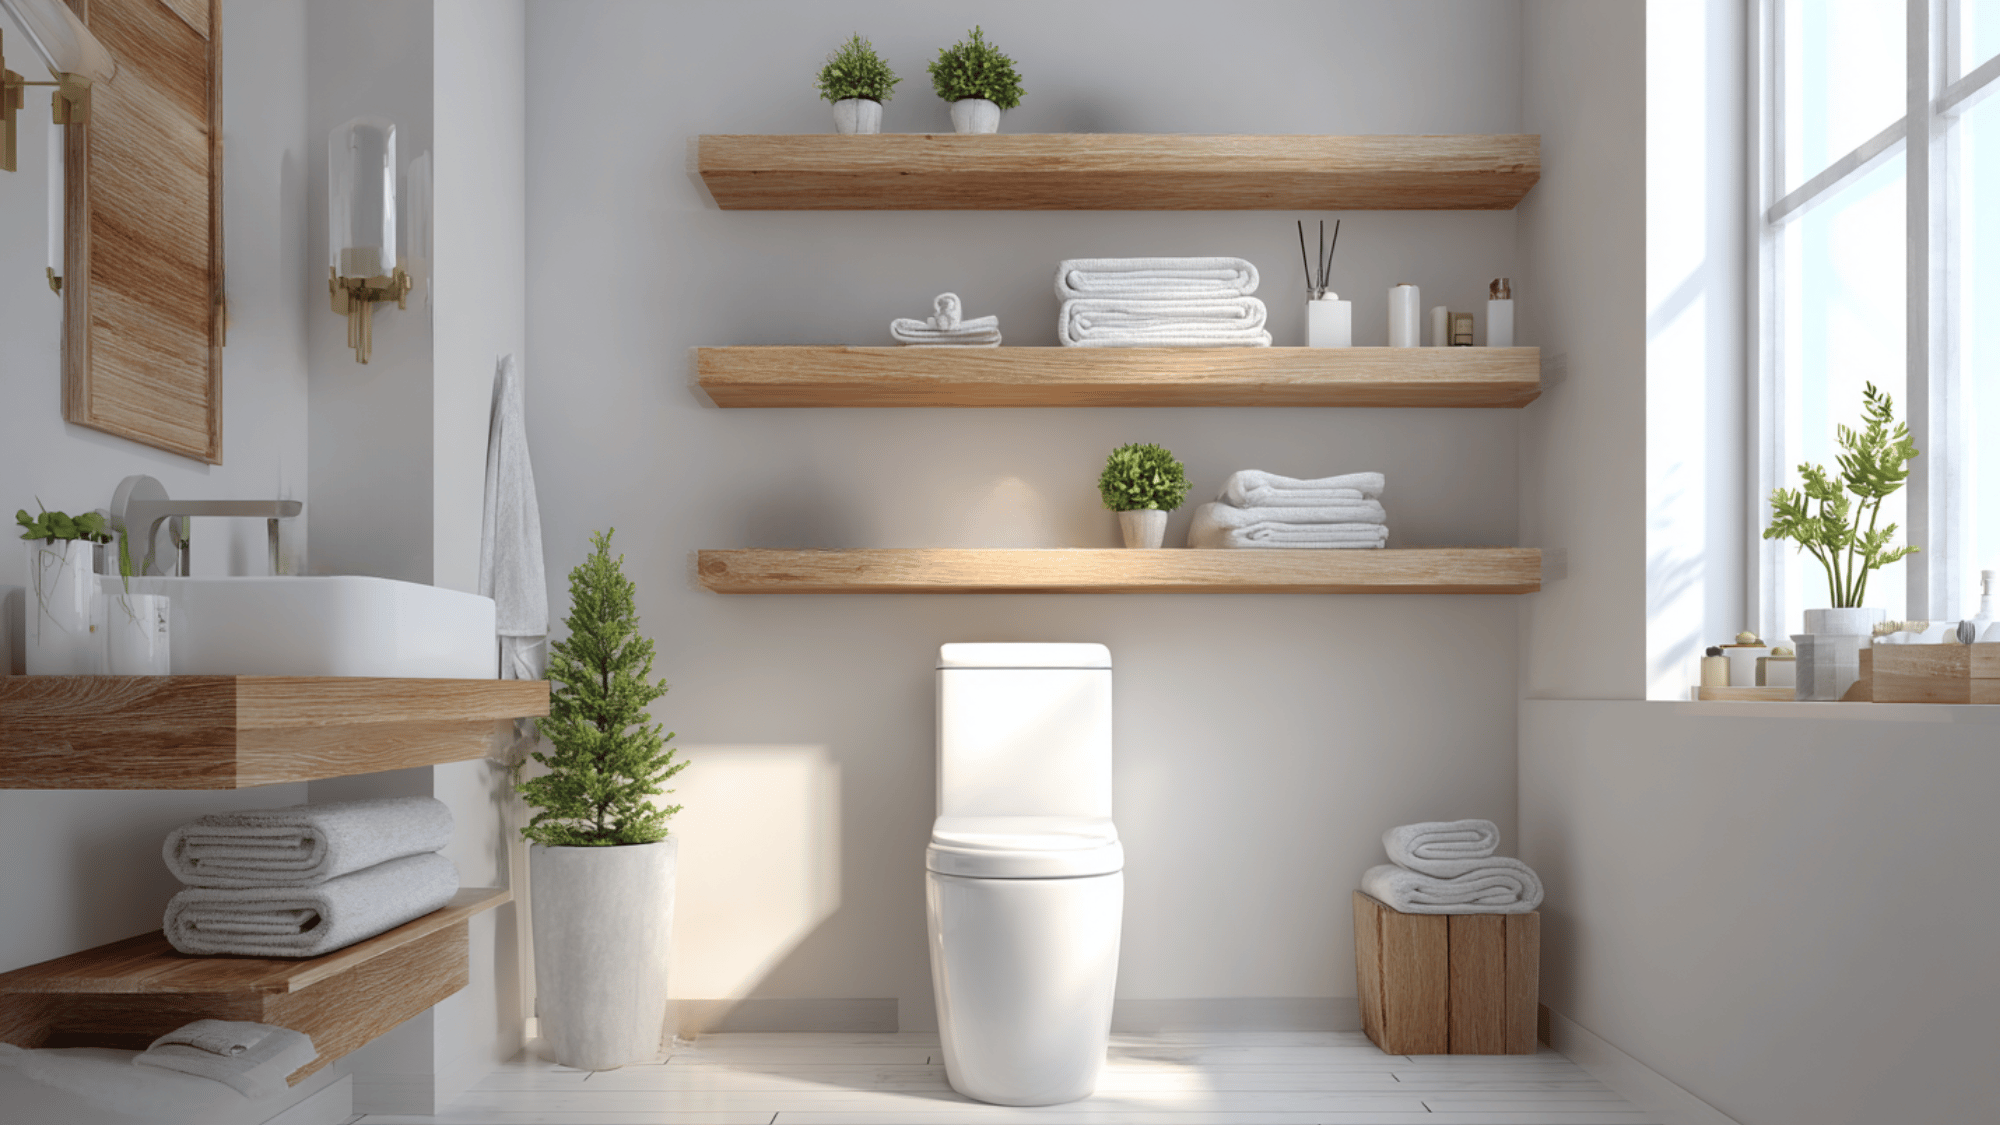
Floating shelves provide extra storage while adding visual interest.
Mount them above the toilet or beside the vanity to store towels, toiletries, or decor.
Choose wood or metal shelves depending on your style: modern, rustic, or minimalist. They’re practical, affordable, and make your bathroom feel organized and thoughtfully designed.
7. Add Plants for a Fresh Look
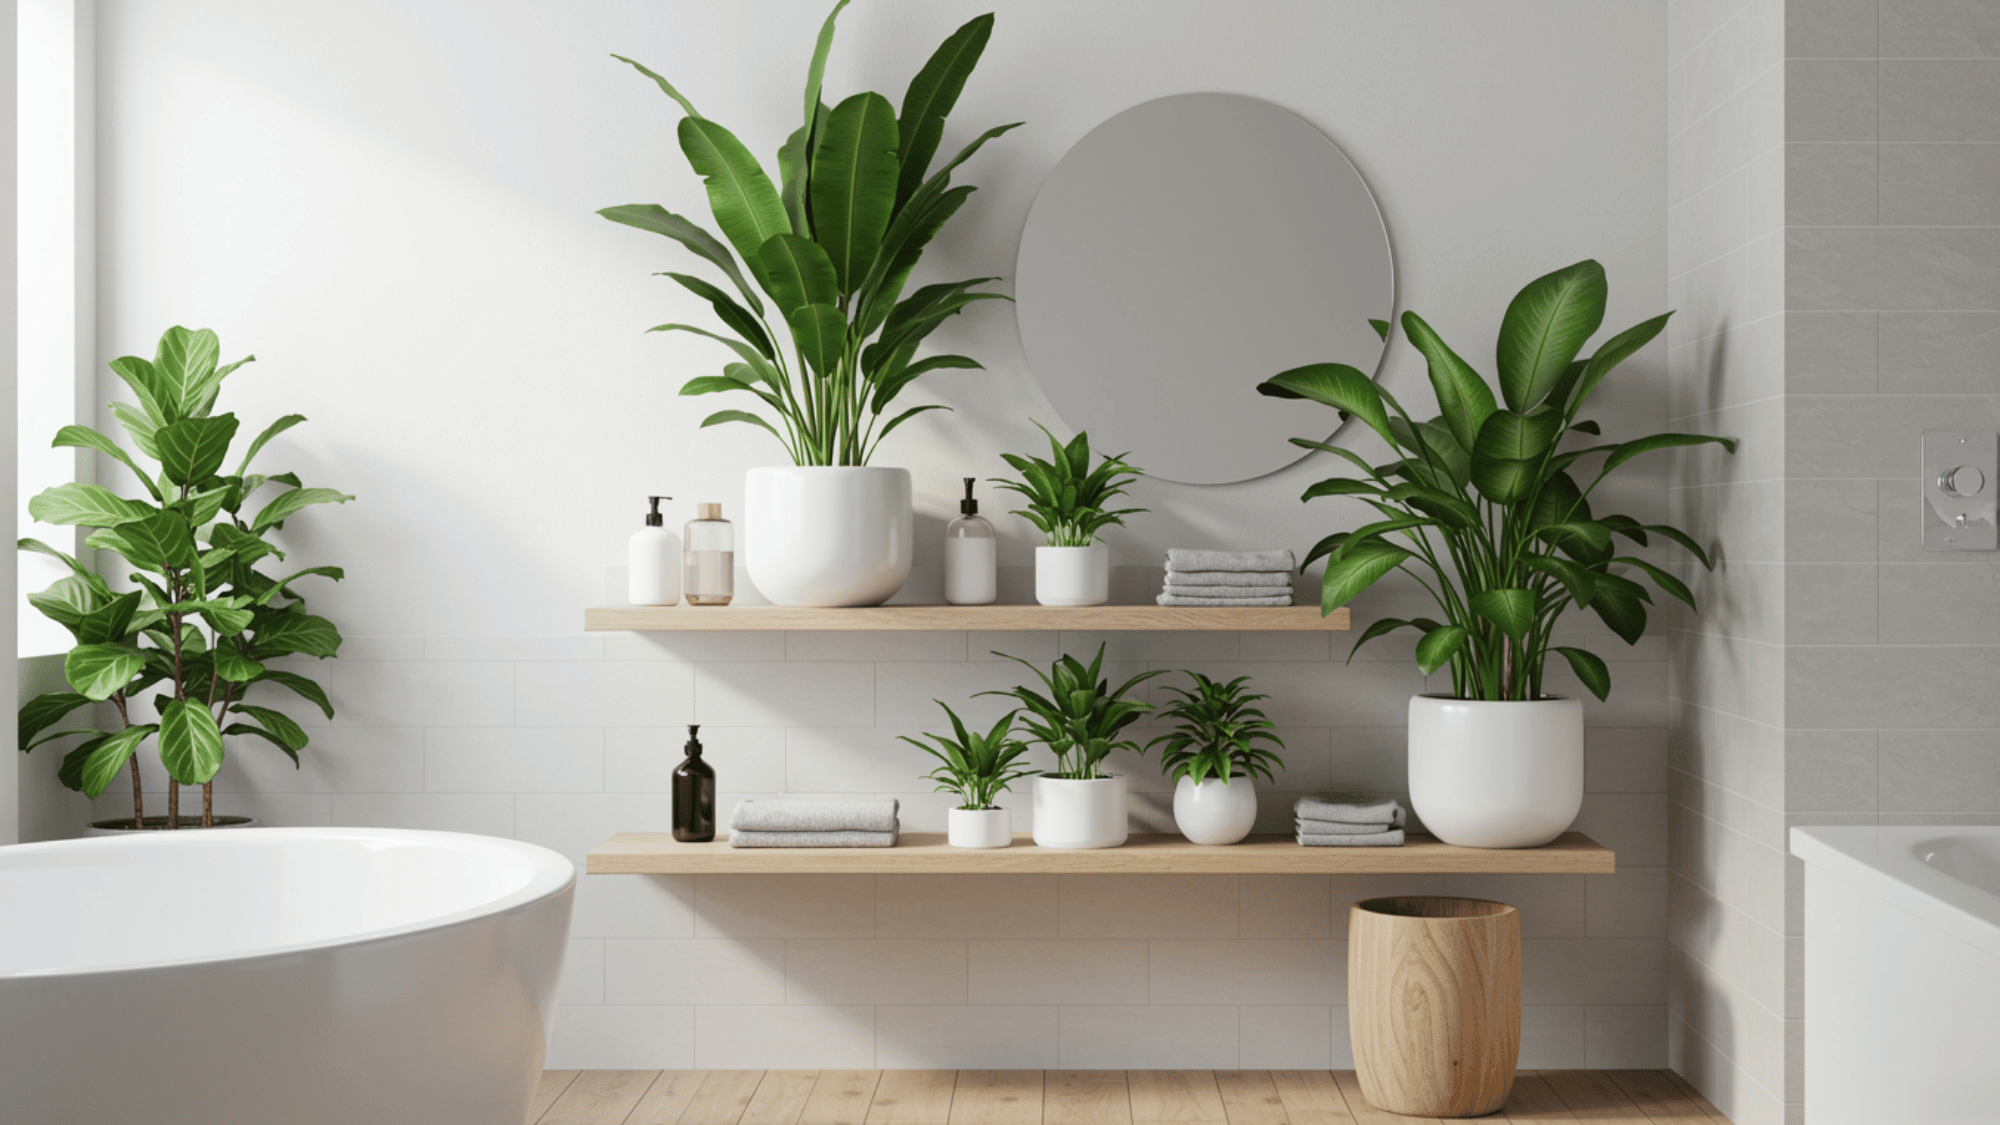
Incorporating low-maintenance houseplants like pothos, peace lilies, or snake plants adds freshness and natural attraction to any bathroom.
These plants thrive in humidity and low light, making them perfect for this space.
Placing them on shelves, countertops, or window ledges not only purifies the air but also introduces a relaxing, spa-like ambiance that enhances the bathroom’s overall style.
8. Upgrade Storage with Stylish Baskets
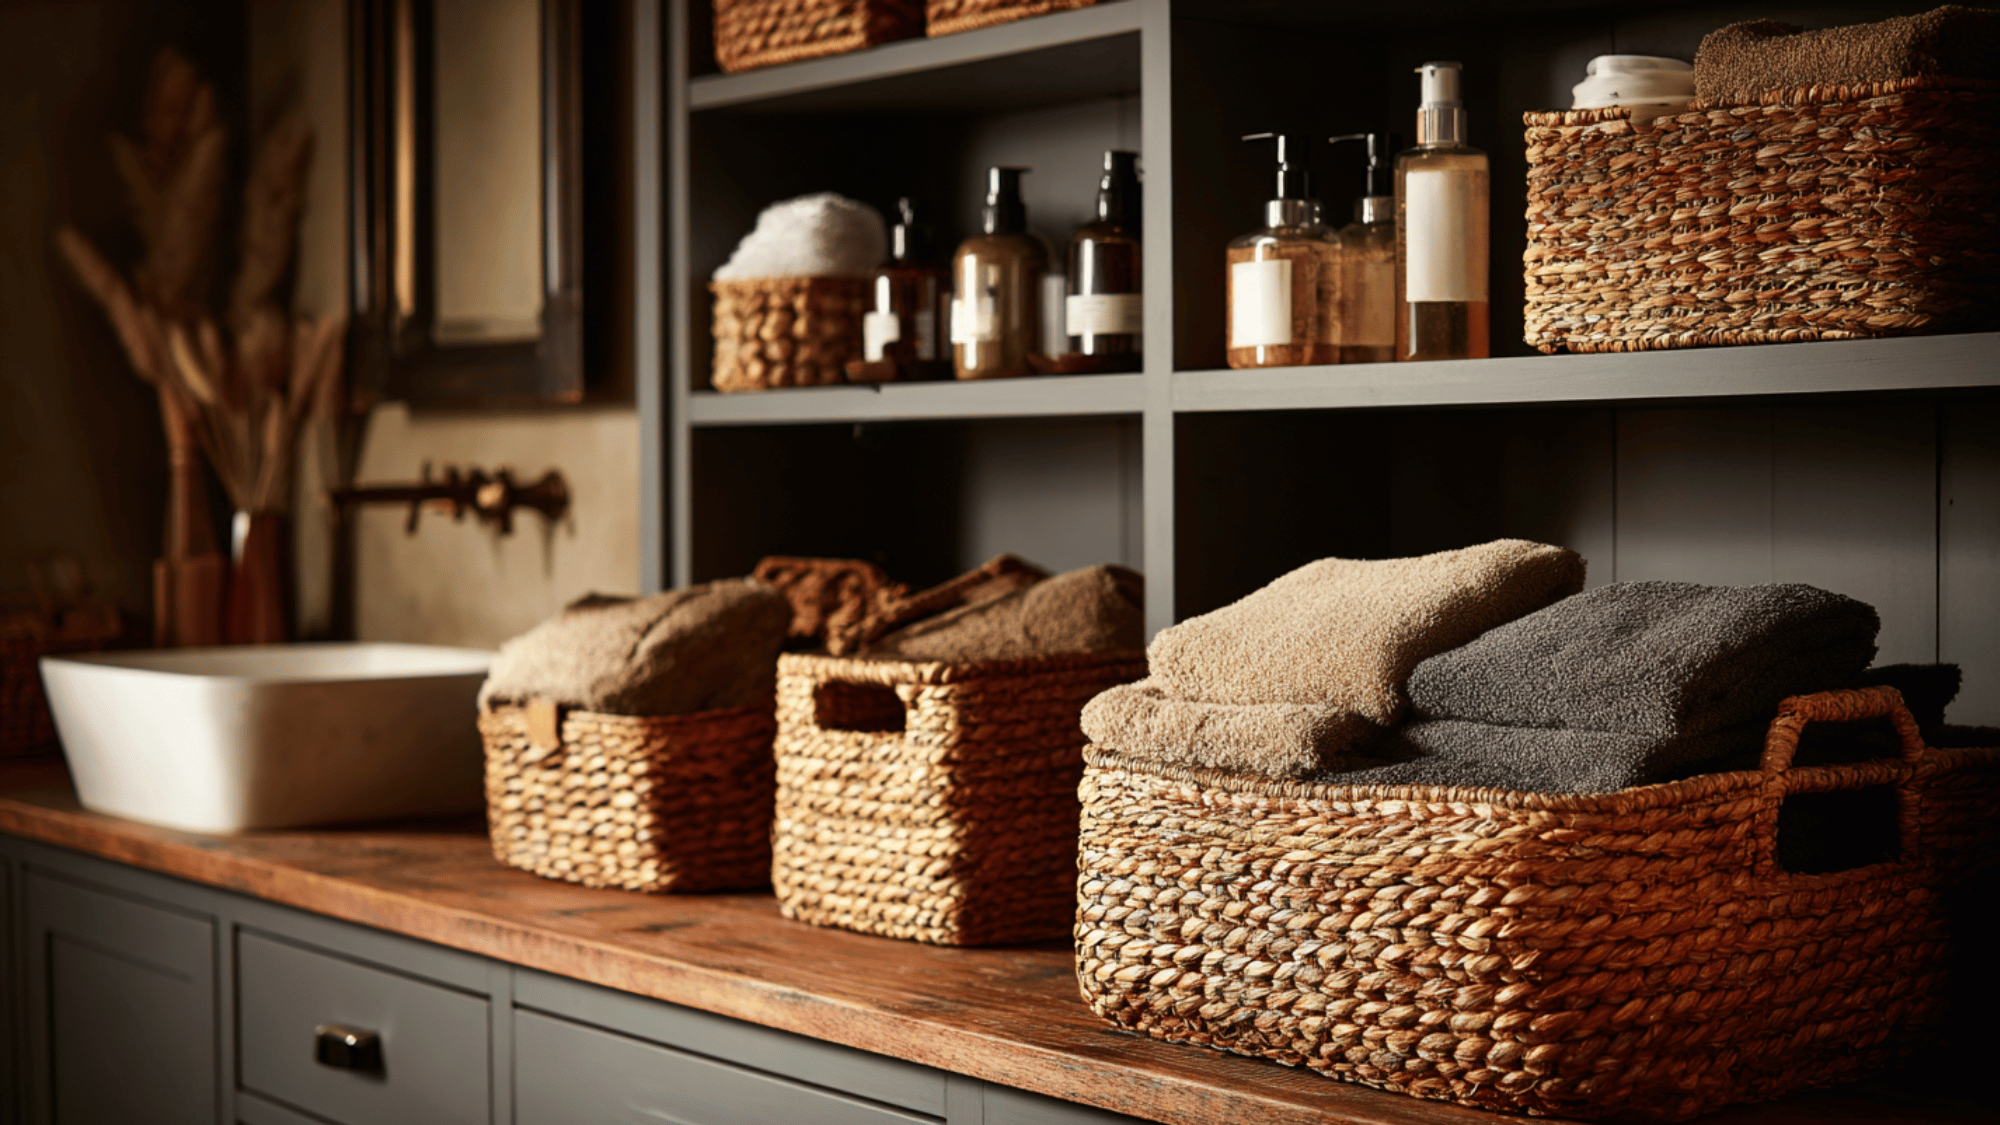
Using woven baskets or bins is a stylish and practical way to organize bathroom essentials like towels, toiletries, and cleaning supplies.
Place them under the sink, on shelves, or in corners to keep the space tidy and clutter-free.
The natural texture of baskets adds warmth and beauty while enhancing functionality, offering an affordable solution that beautifully combines design and organization.
9. Replace Towel Bars and Hardware
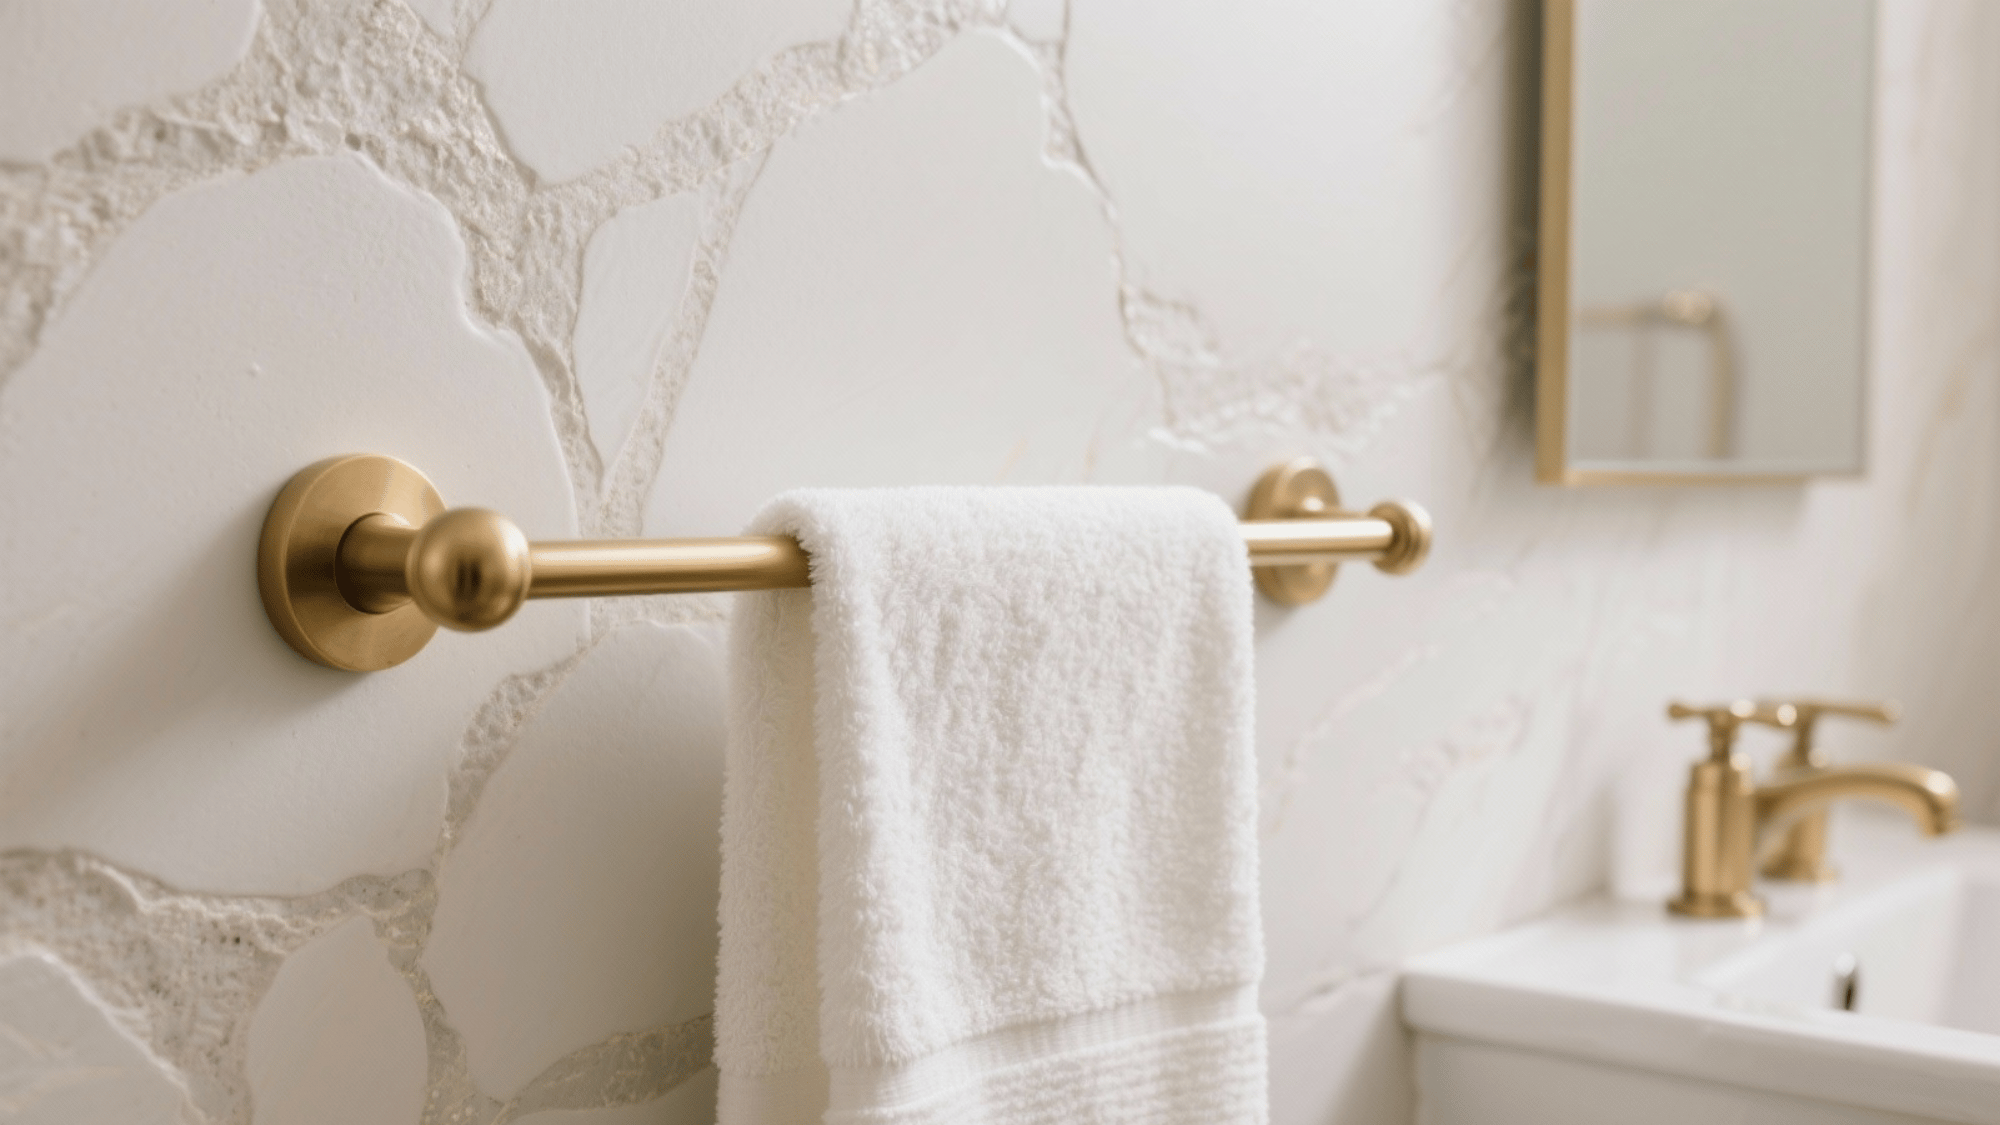
Updating towel bars, hooks, and toilet paper holders is a simple yet effective way to refresh your bathroom’s look.
Choose finishes that match faucets and fixtures like brushed nickel, matte black, or brass for a cohesive, modern appearance.
With just a few basic tools, this quick DIY upgrade instantly adds polish and harmony without the cost or effort of a full remodel.
10. Install a New Showerhead
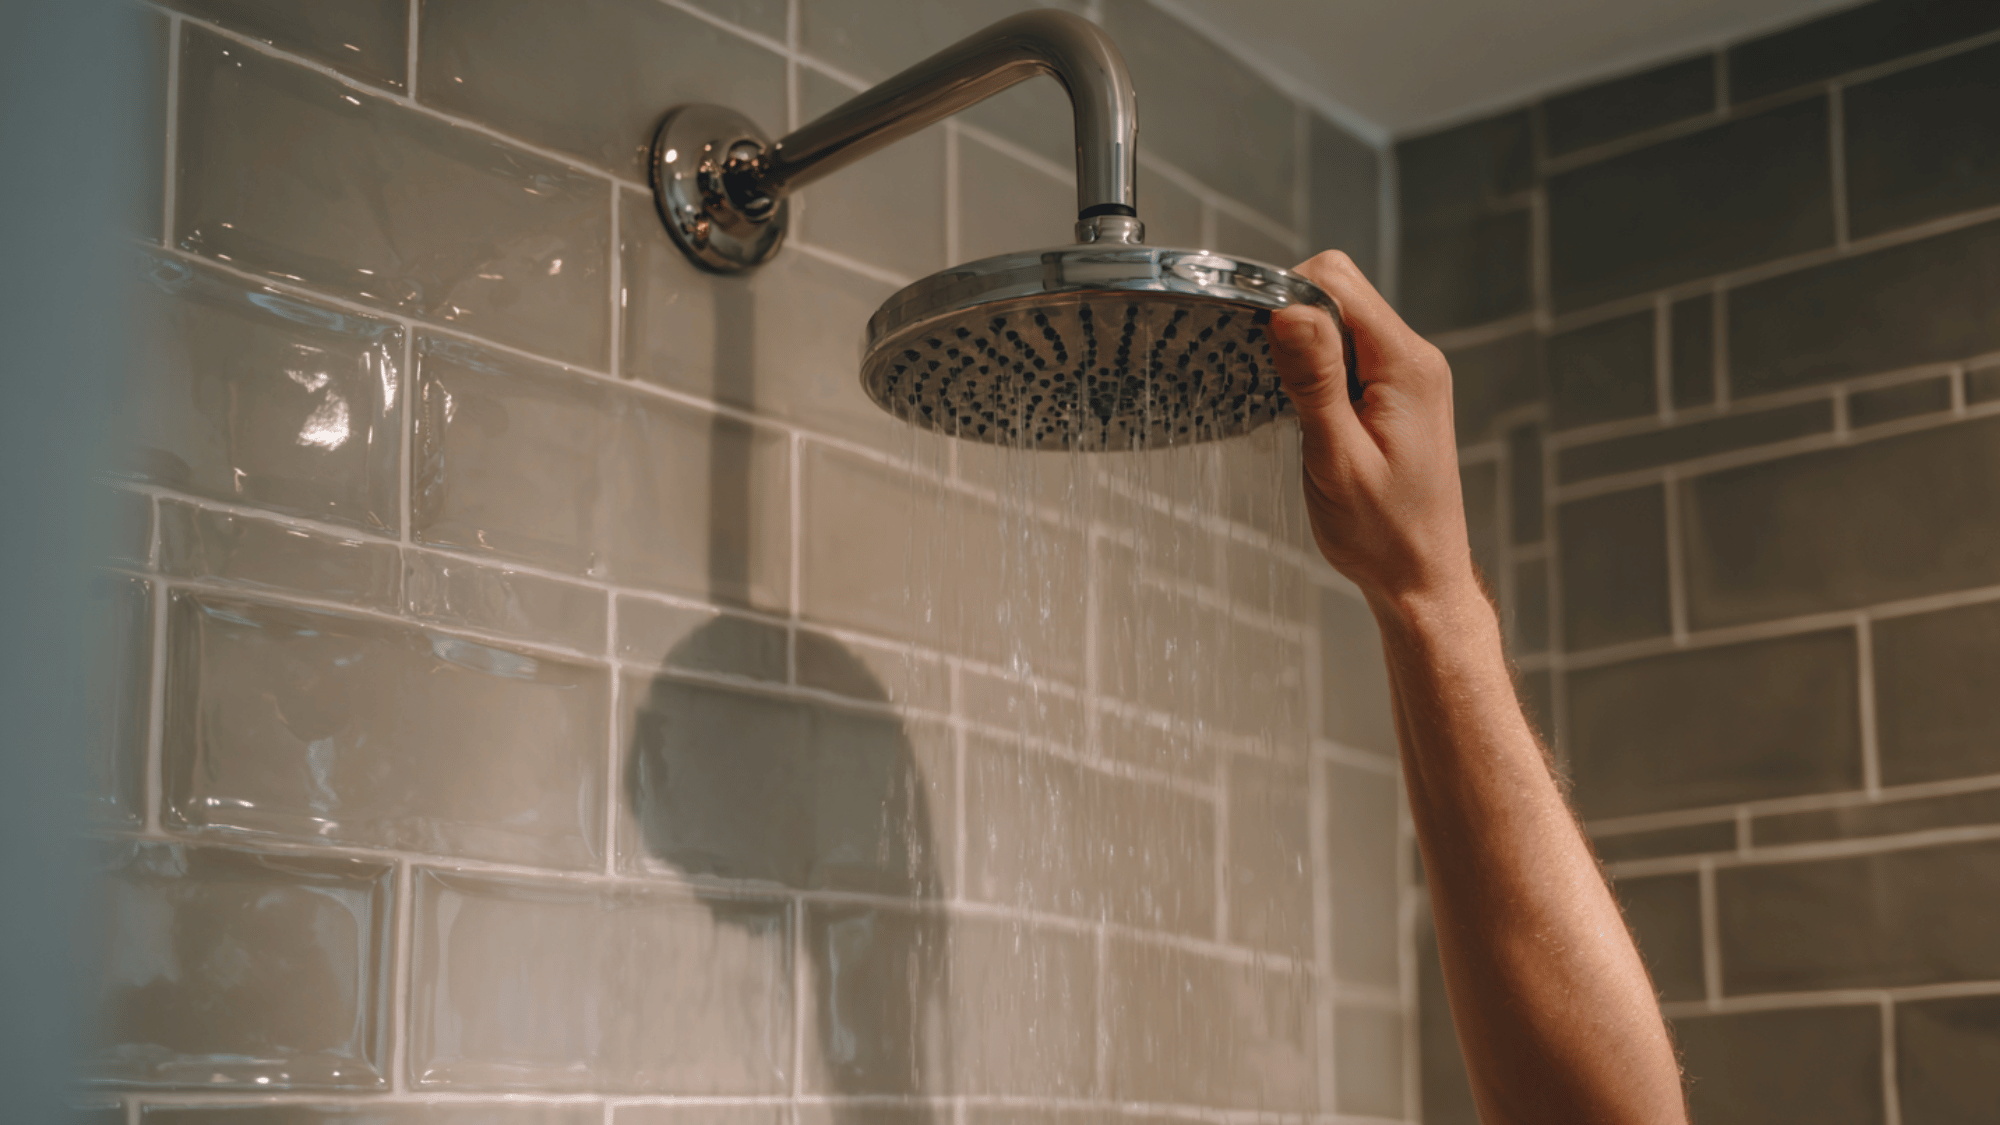
Installing a new showerhead is a quick and rewarding DIY upgrade that instantly enhances your bathroom experience.
Choose from rainfall, handheld, or high-pressure models to suit your preference. Many modern showerheads are water-efficient and simple to install, requiring just basic tools.
This affordable improvement boosts both comfort and style, turning your daily shower routine into a more luxurious and enjoyable part of your day.
11. Install Wainscoting or Wall Panels

Adding wainscoting or beadboard panels is a stylish way to bring texture and dimension to your bathroom.
These wall treatments not only enhance visual appeal but also protect walls from moisture damage. Painting them in a contrasting or neutral color creates a classic, beautiful look.
This affordable DIY upgrade adds architectural beauty, making your bathroom feel more refined, polished, and thoughtfully designed without requiring a full remodel.
12. Upgrade to a Sliding Barn Door
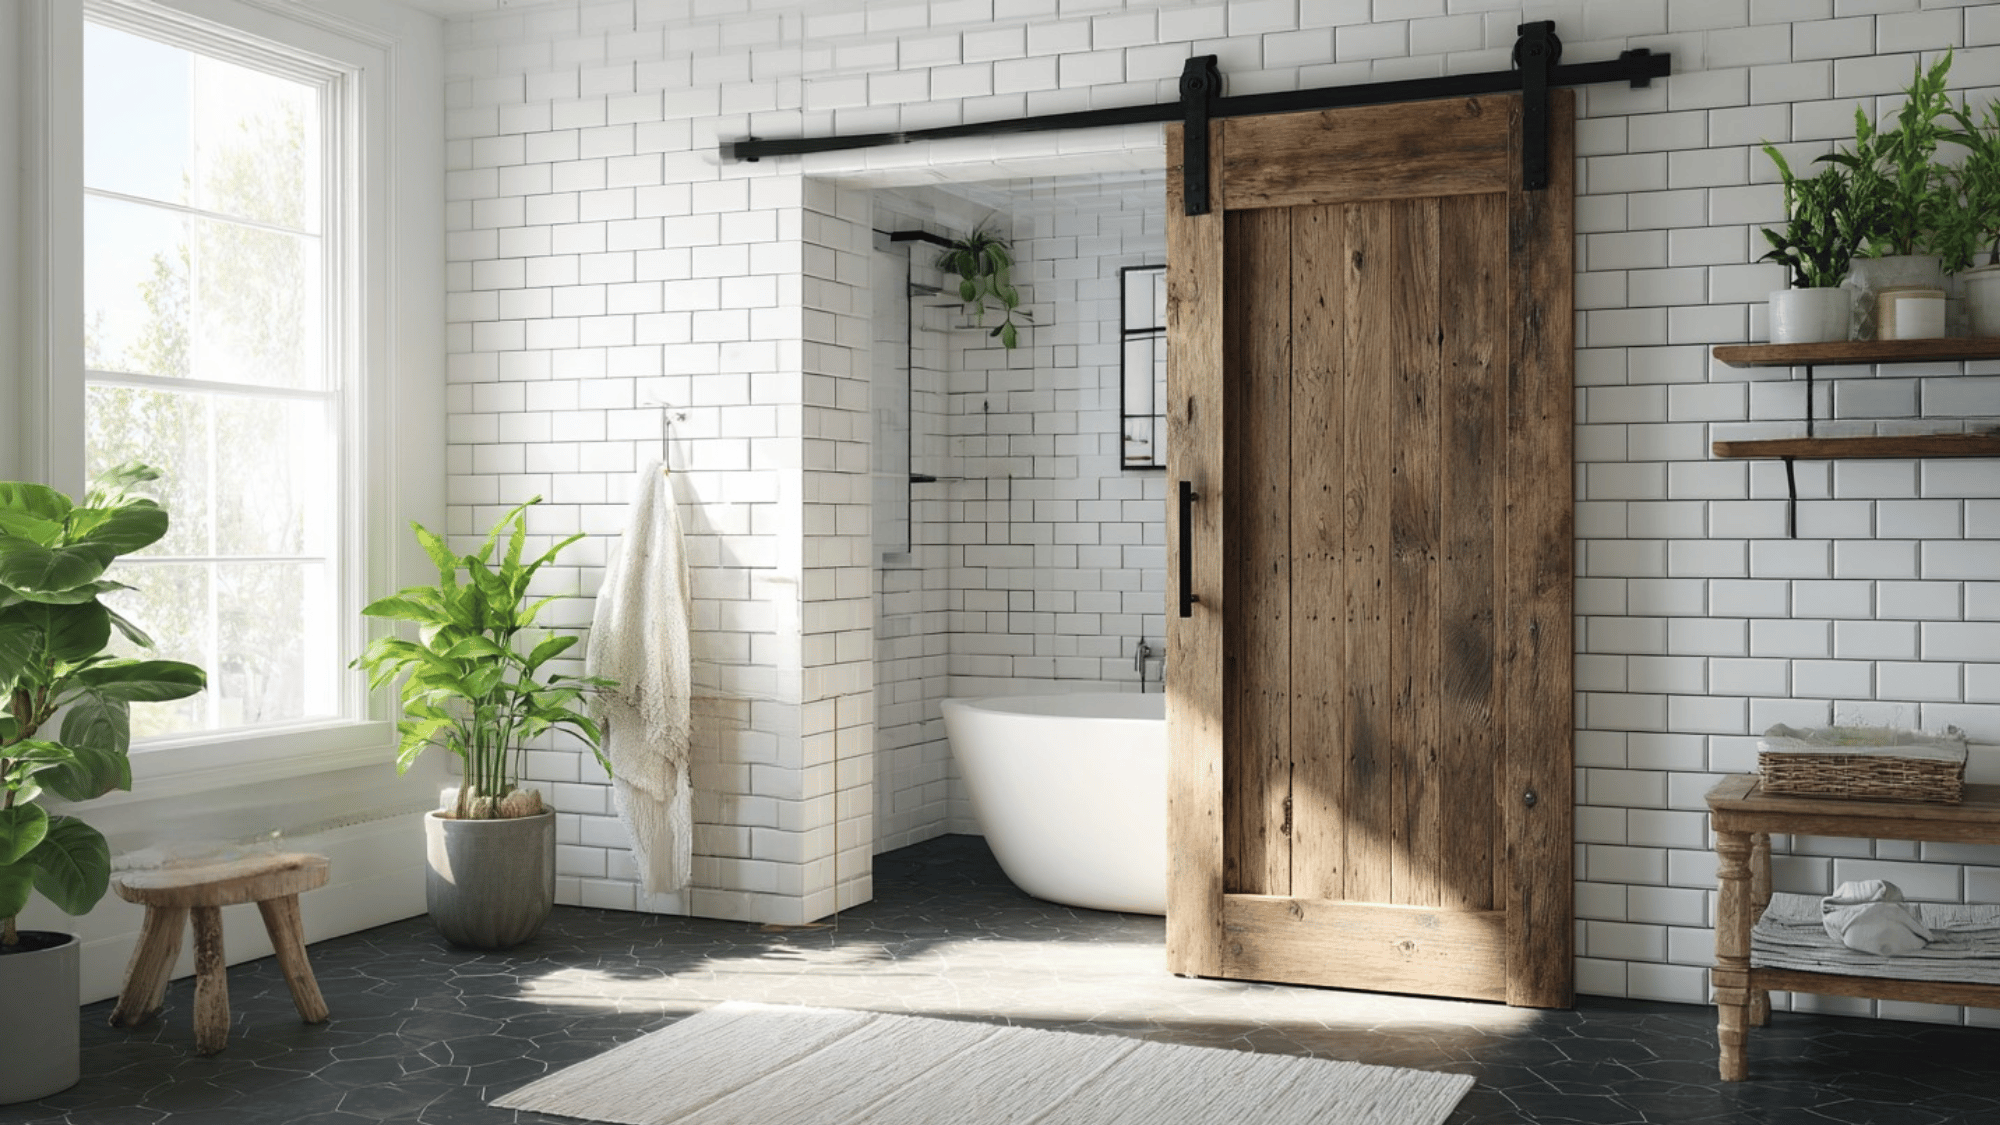
Swap a swinging bathroom door for a sliding barn door to save space and add rustic flair.
Options include reclaimed wood or frosted glass, fitting modern, farmhouse, or boho styles.
This upgrade increases bathroom functionality in tight areas while making a stylish statement that complements diverse interior themes.
13. Incorporate Smart Storage Niches
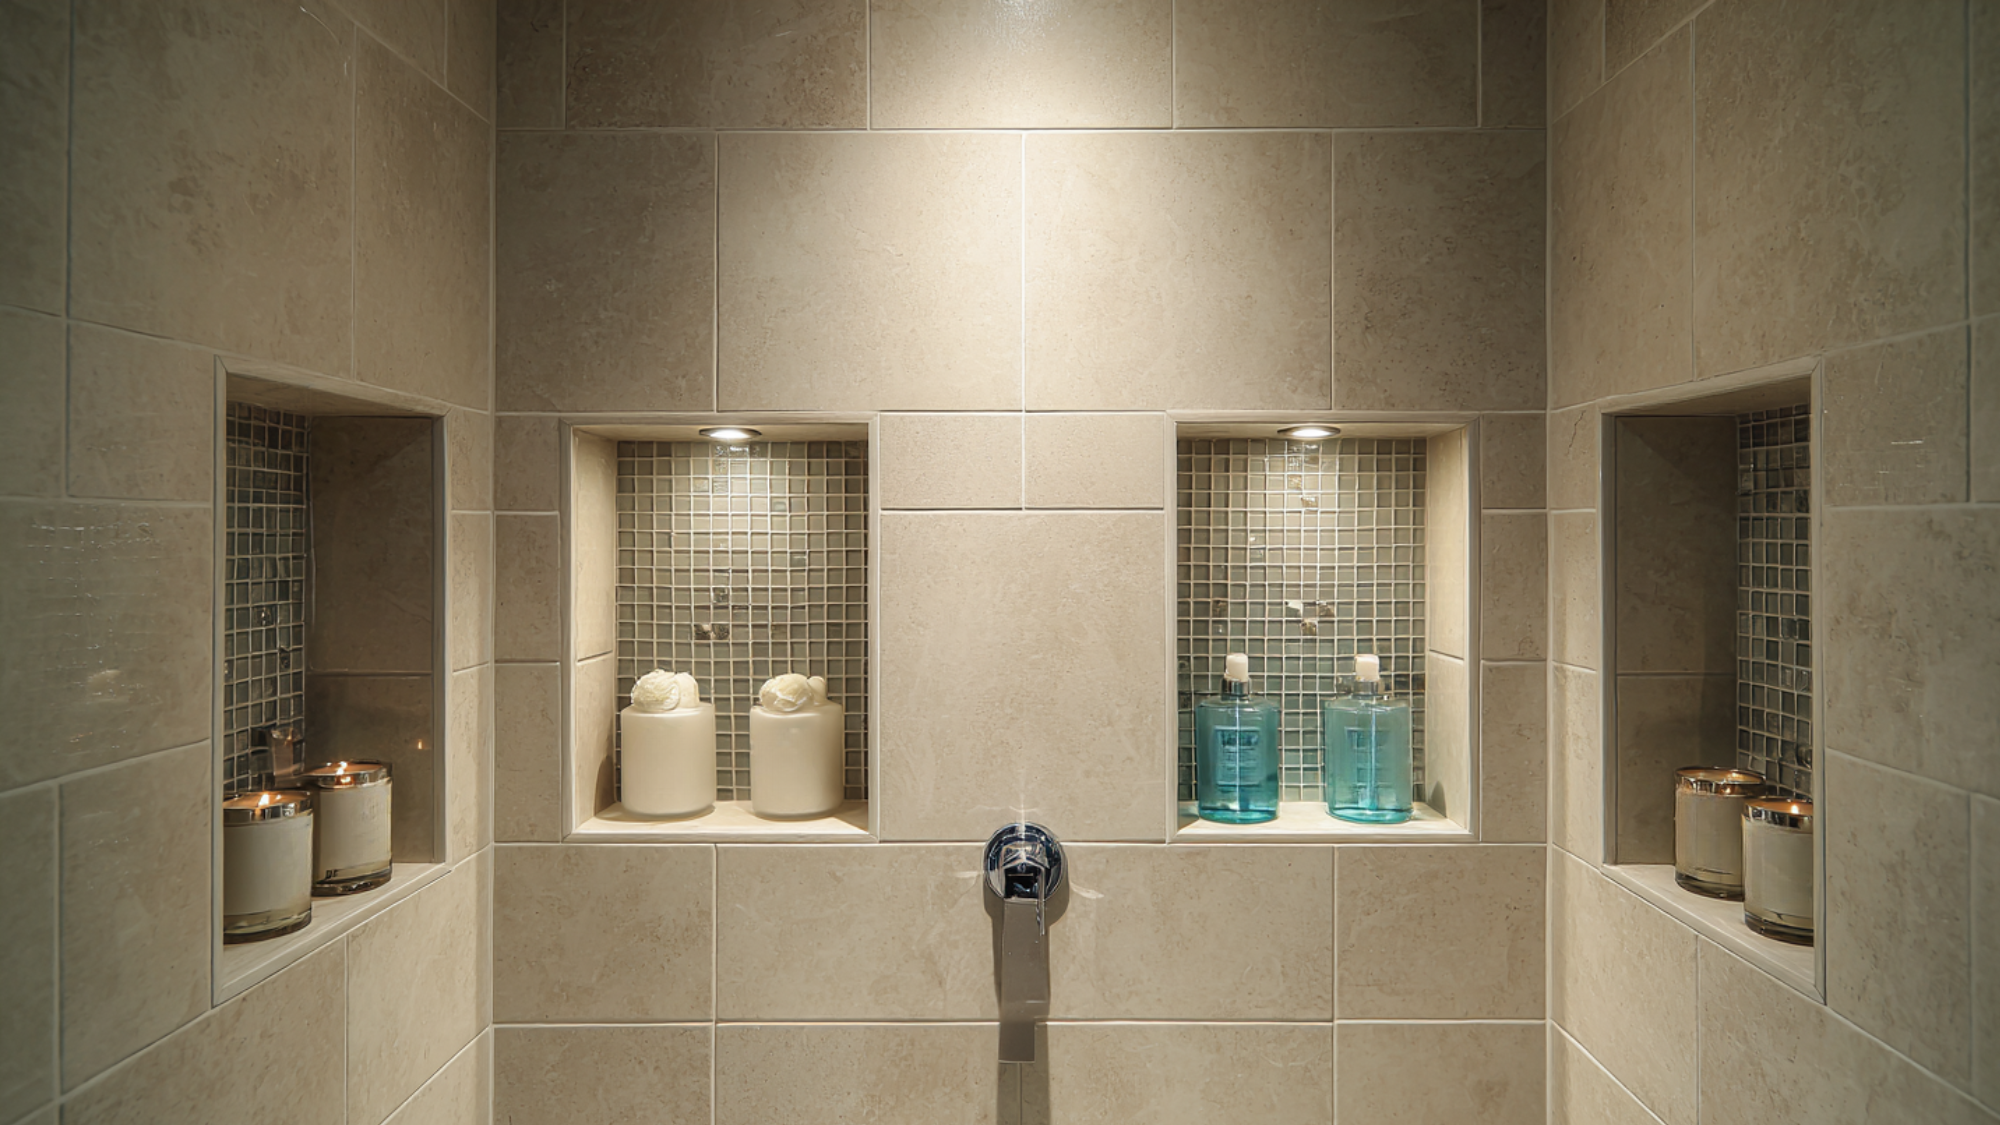
Recessed niches in shower walls or beside the vanity provide sleek, space-saving storage.
Use them to hold toiletries, candles, or décor without crowding countertops. You can line niches with accent tiles to add a stylish contrast.
This DIY project combines practicality and design, giving your bathroom a high-end, custom-built appearance at a relatively low cost.
14. Replace the Vanity Countertop
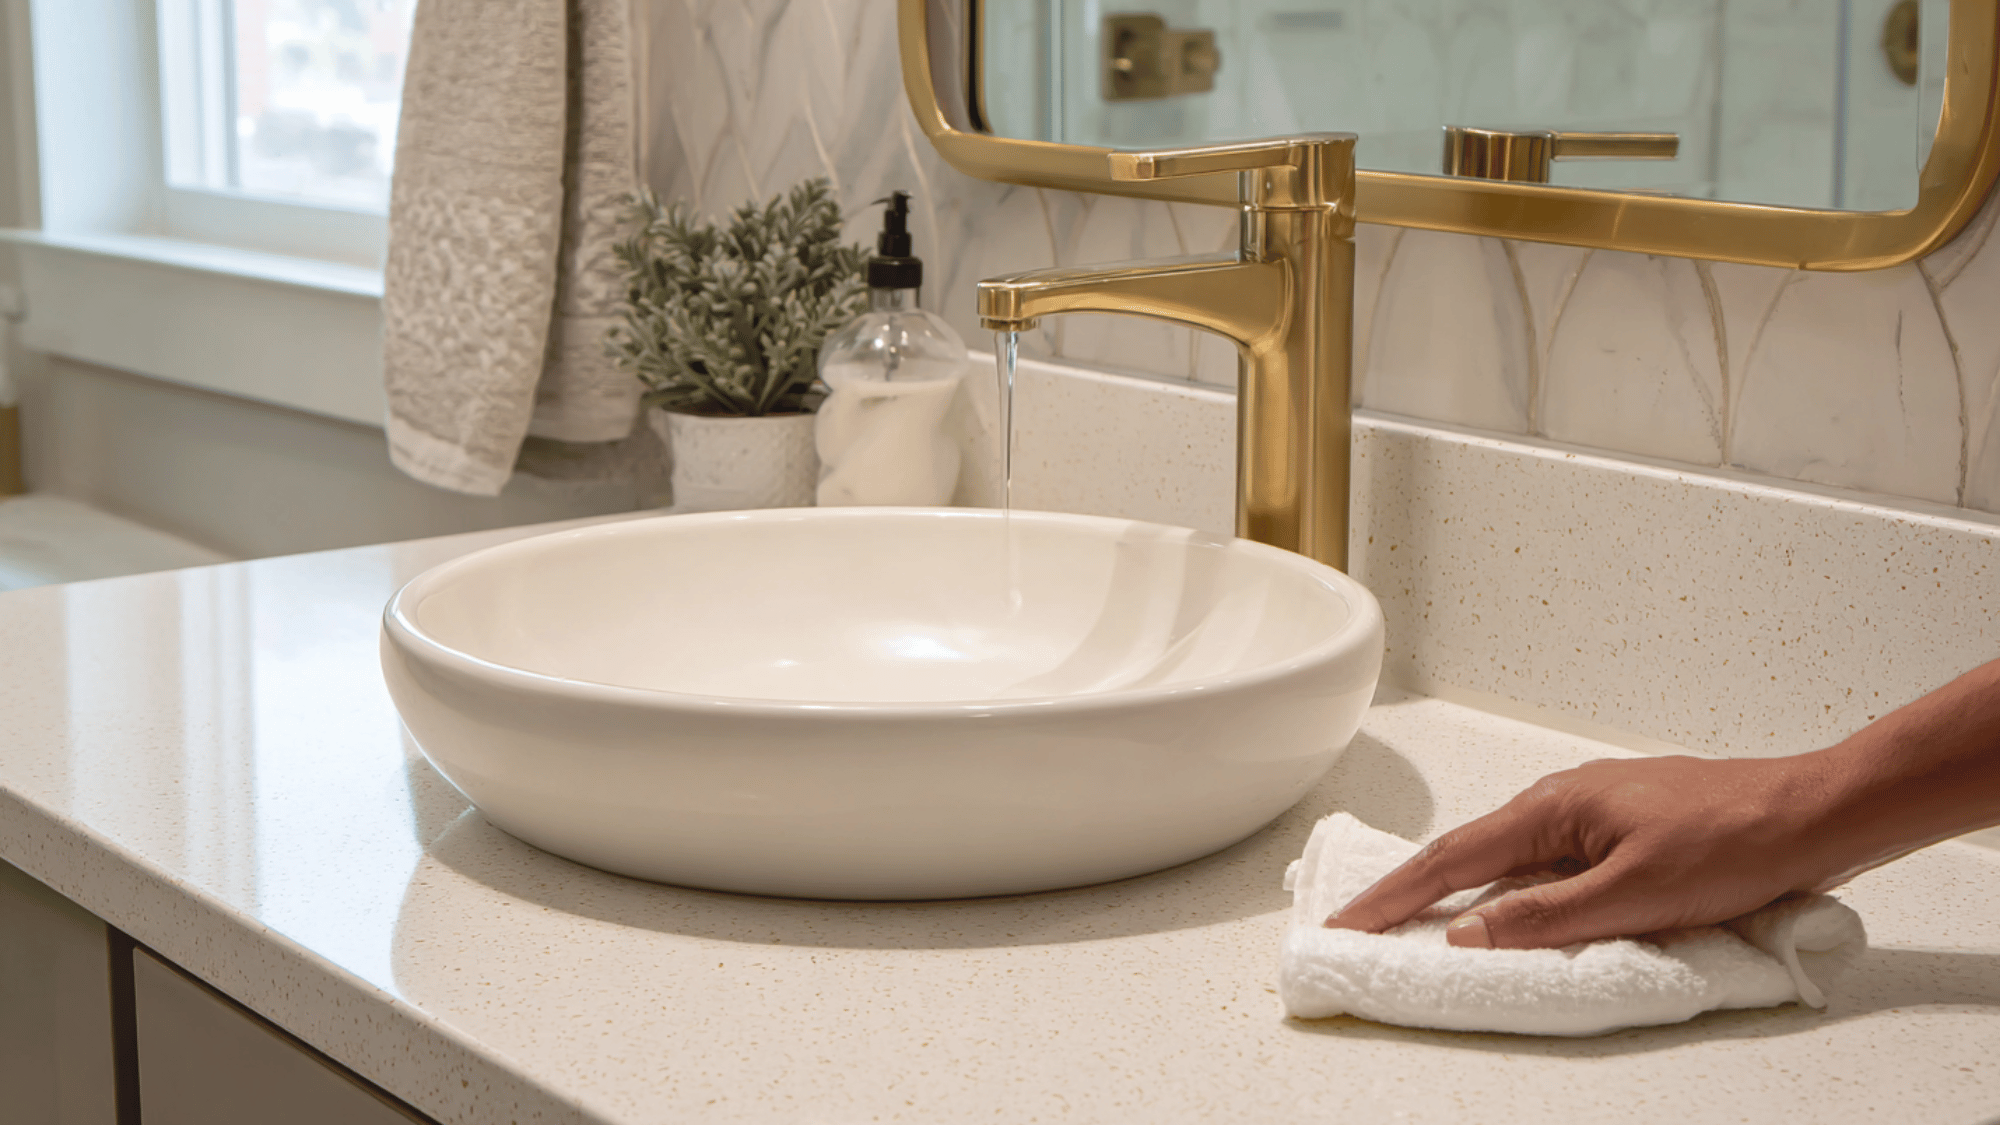
Changing just the vanity countertop can dramatically update your bathroom’s look without needing a full replacement.
Materials like quartz, laminate, or butcher block offer stylish, budget-friendly options.
Choose a finish that complements your overall color scheme and fixtures to refresh the vanity’s focal area, upgrade the look, and boost home value with a simple DIY project.
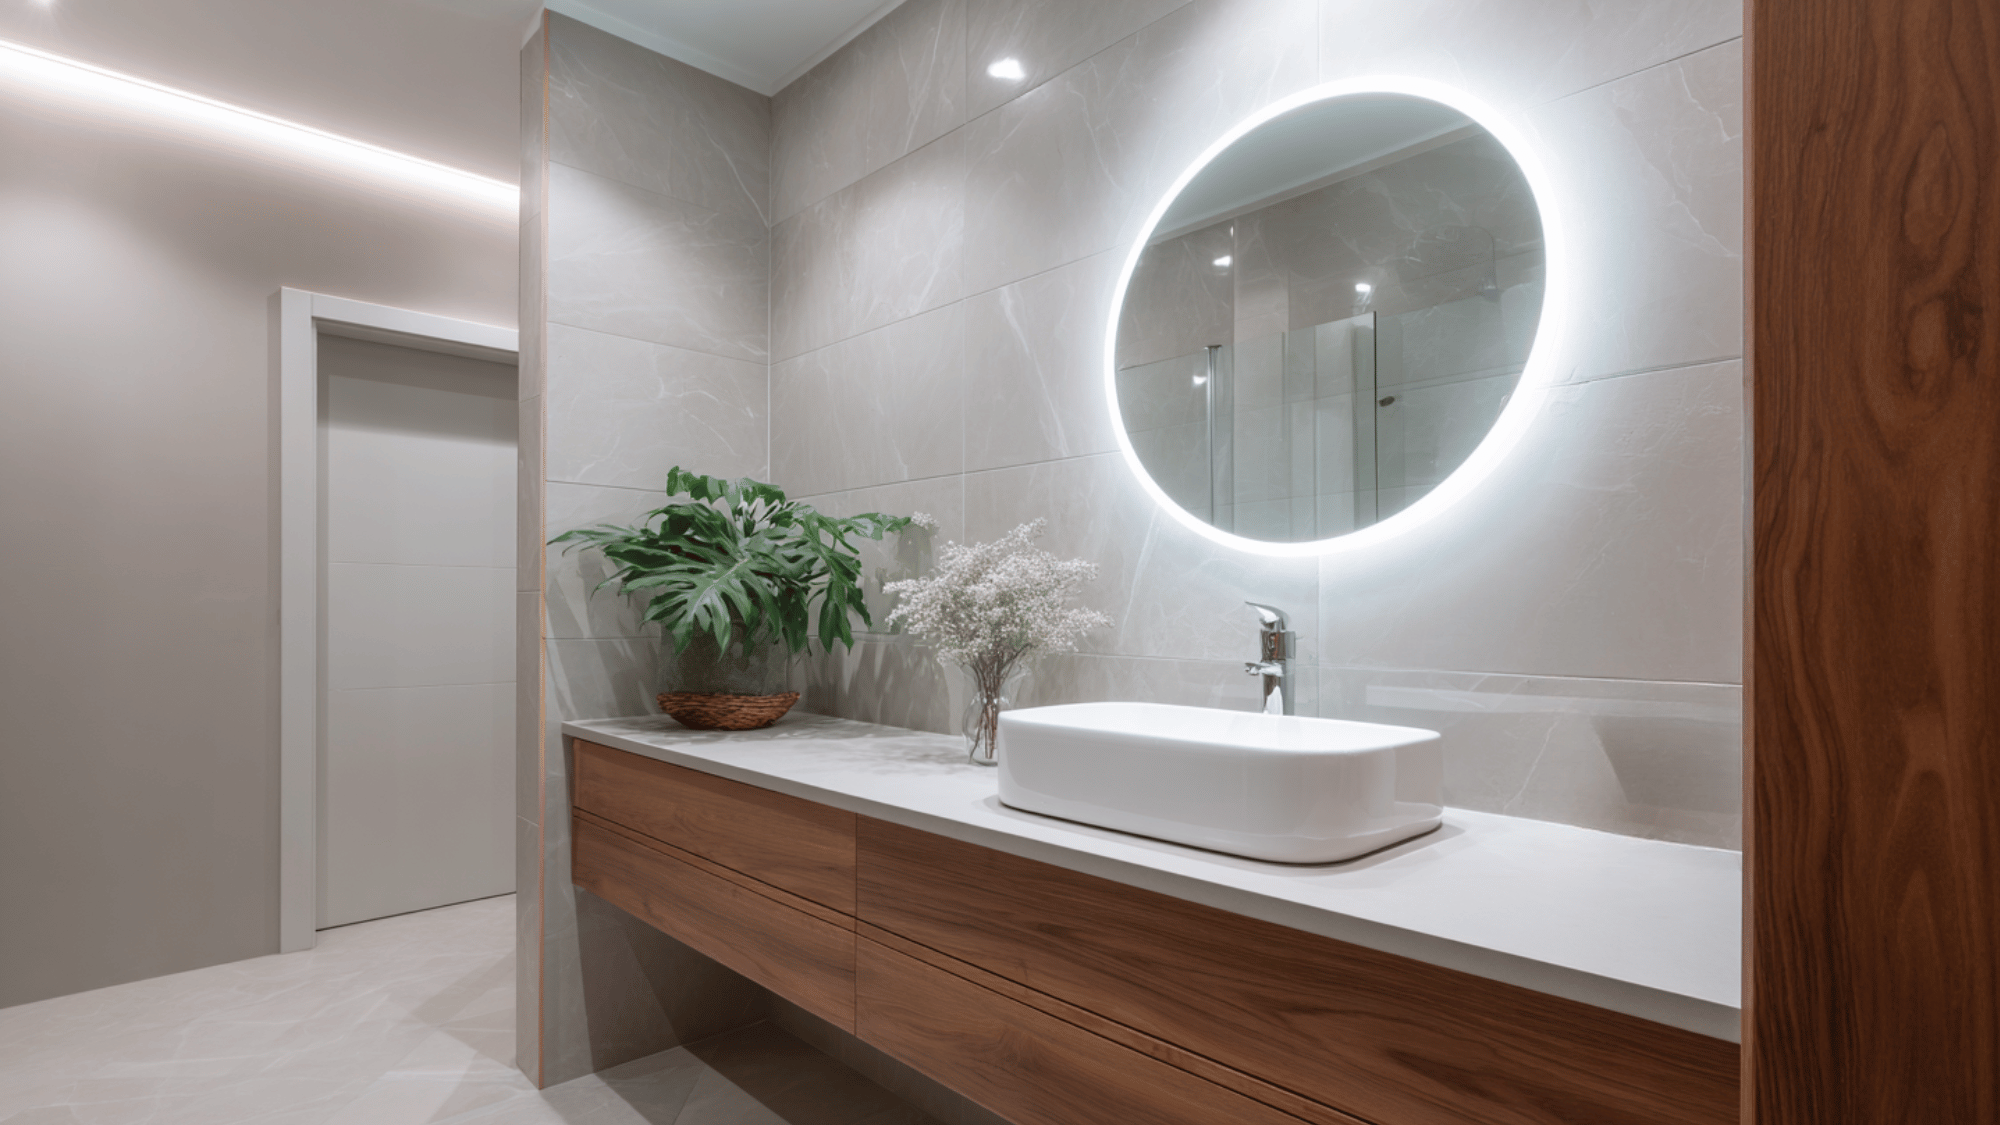
15. Create a Spa-Inspired Accent Wall
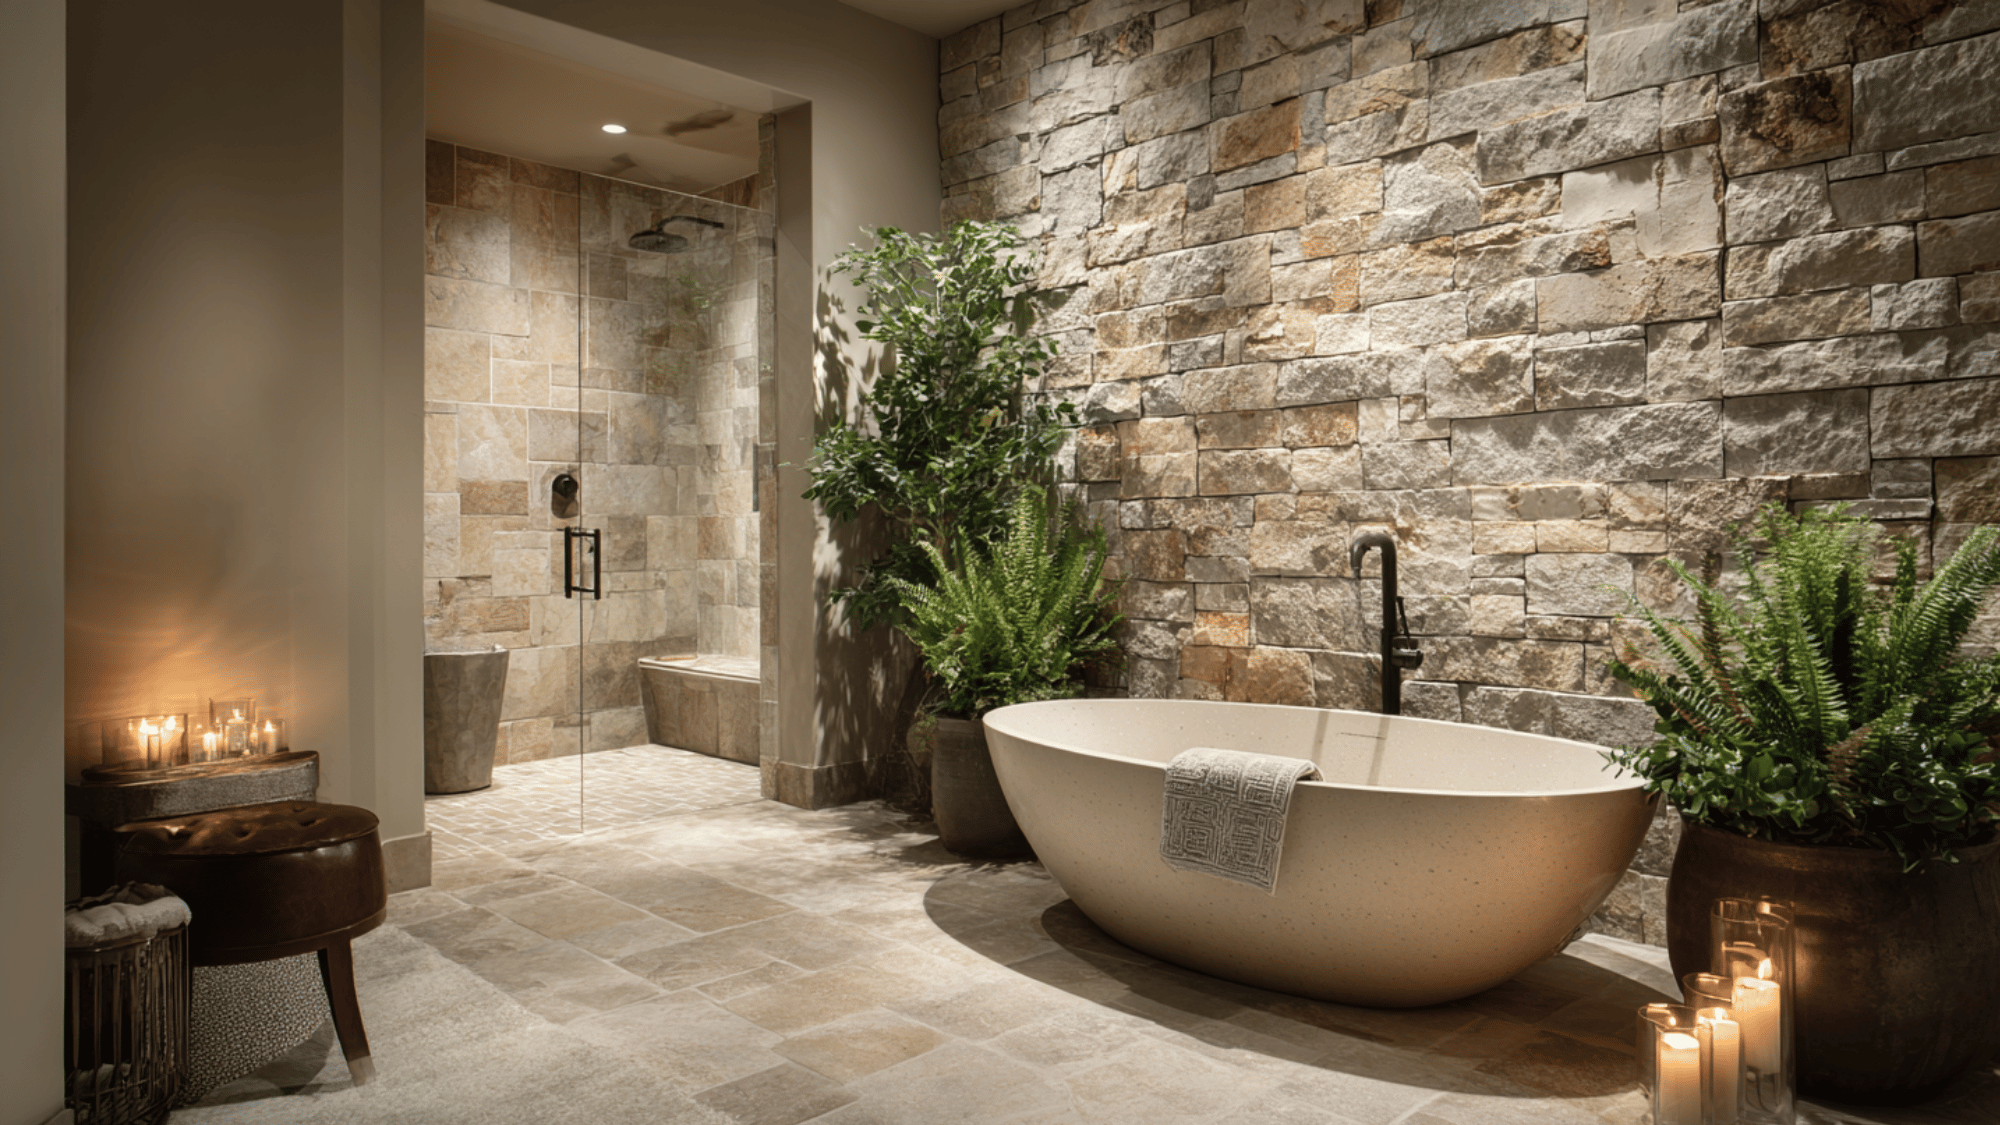
Install stone tiles, wood-look panels, or textured wallpaper on one wall to evoke spa-like tranquility.
Using natural shades such as beige or taupe crafts a calming atmosphere. This accent wall becomes a luxurious focal point, infusing personality.
It transforms an ordinary space into an urbanized retreat, promoting relaxation and upscale bathroom design.
16. Replace Shower Tiles with Large Formats
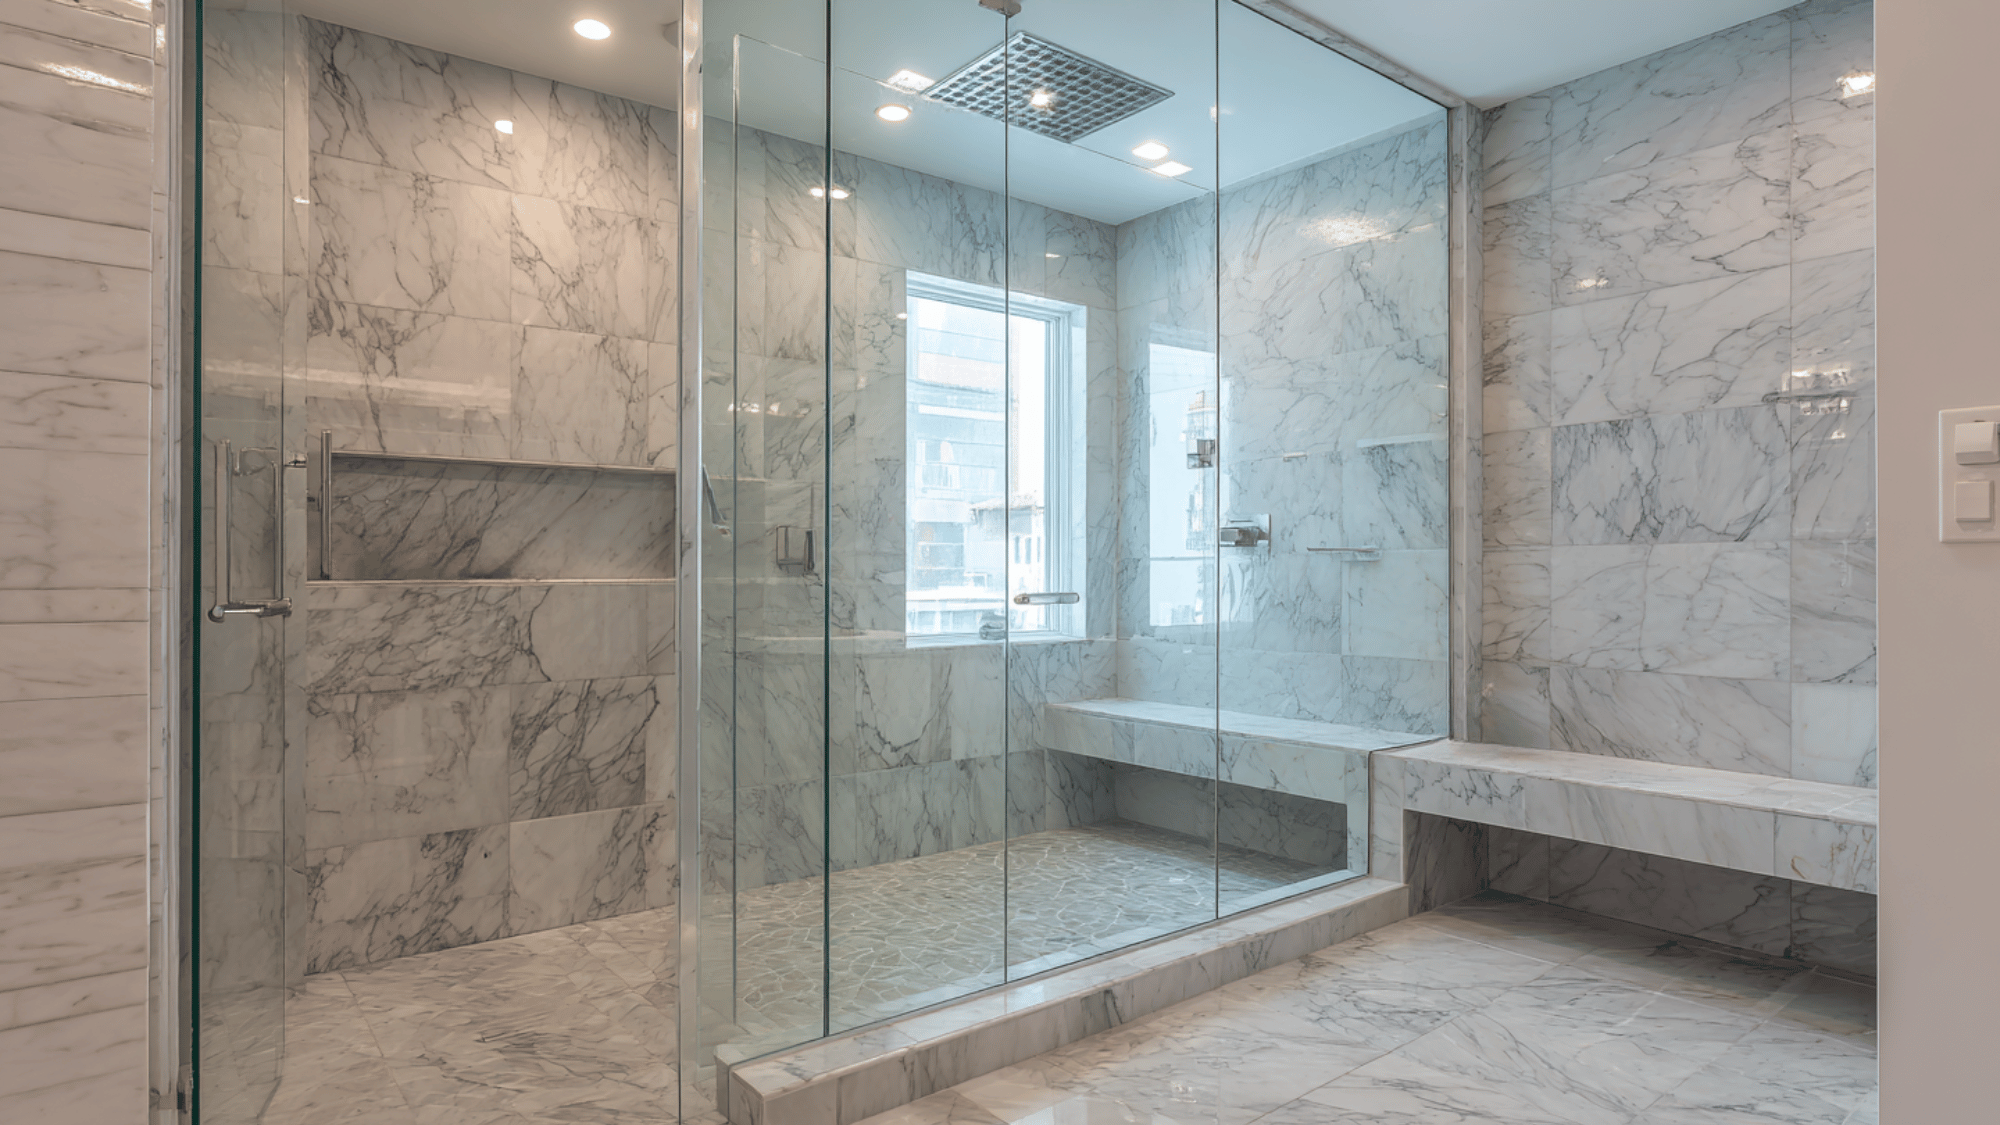
Large-format tiles minimize grout lines, creating a sleek, seamless look that elevates your bathroom’s style.
Neutral tones like white, beige, or slate gray bring a modern, spa-like vibe. These tiles cover shower walls or floors with minimal maintenance, making cleaning easier.
It provides a modern style perfect for contemporary bathrooms needing a stylish, streamlined refresh.
17. Add a Bluetooth Bathroom Speaker Fan
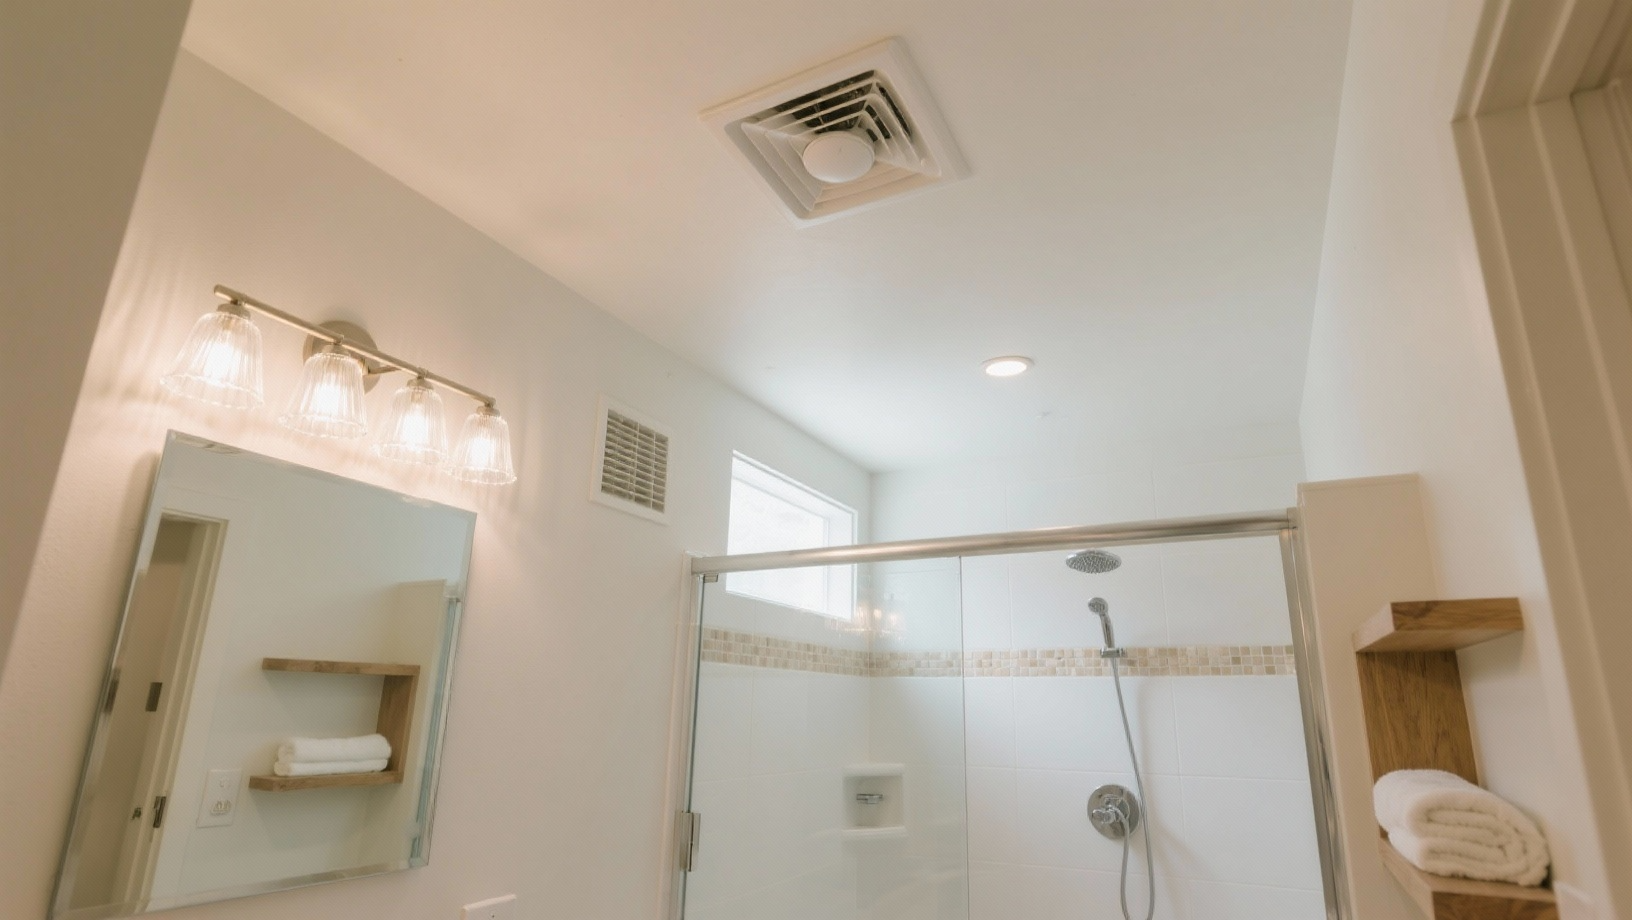
Upgrade your bathroom ventilation with a fan that includes a Bluetooth speaker. It efficiently removes moisture while letting you enjoy music or podcasts.
Installation is similar to a standard exhaust fan, involving cutting an opening, mounting the units, wiring, and testing.
This tech-savvy addition enhances the bathroom environment, making it a more enjoyable, fresh, and entertaining space.
Budget Breakdown: What to Expect to Spend
A budget breakdown helps homeowners understand how much a DIY bathroom remodel costs compared to hiring professionals, guiding smarter financial planning.
| Category | DIY Cost | Pro Cost |
|---|---|---|
| Fixtures | $200–$600 | $800–$1,500 |
| Flooring | $150–$500 | $700–$1,200 |
| Walls/Paint | $50–$150 | $300–$600 |
| Lighting | $75–$250 | $400–$800 |
| Shower/Tub | $300–$1,000 | $1,500–$3,000 |
| Vanity/Storage | $150–$700 | $800–$2,000 |
| Décor | $50–$200 | $250–$500 |
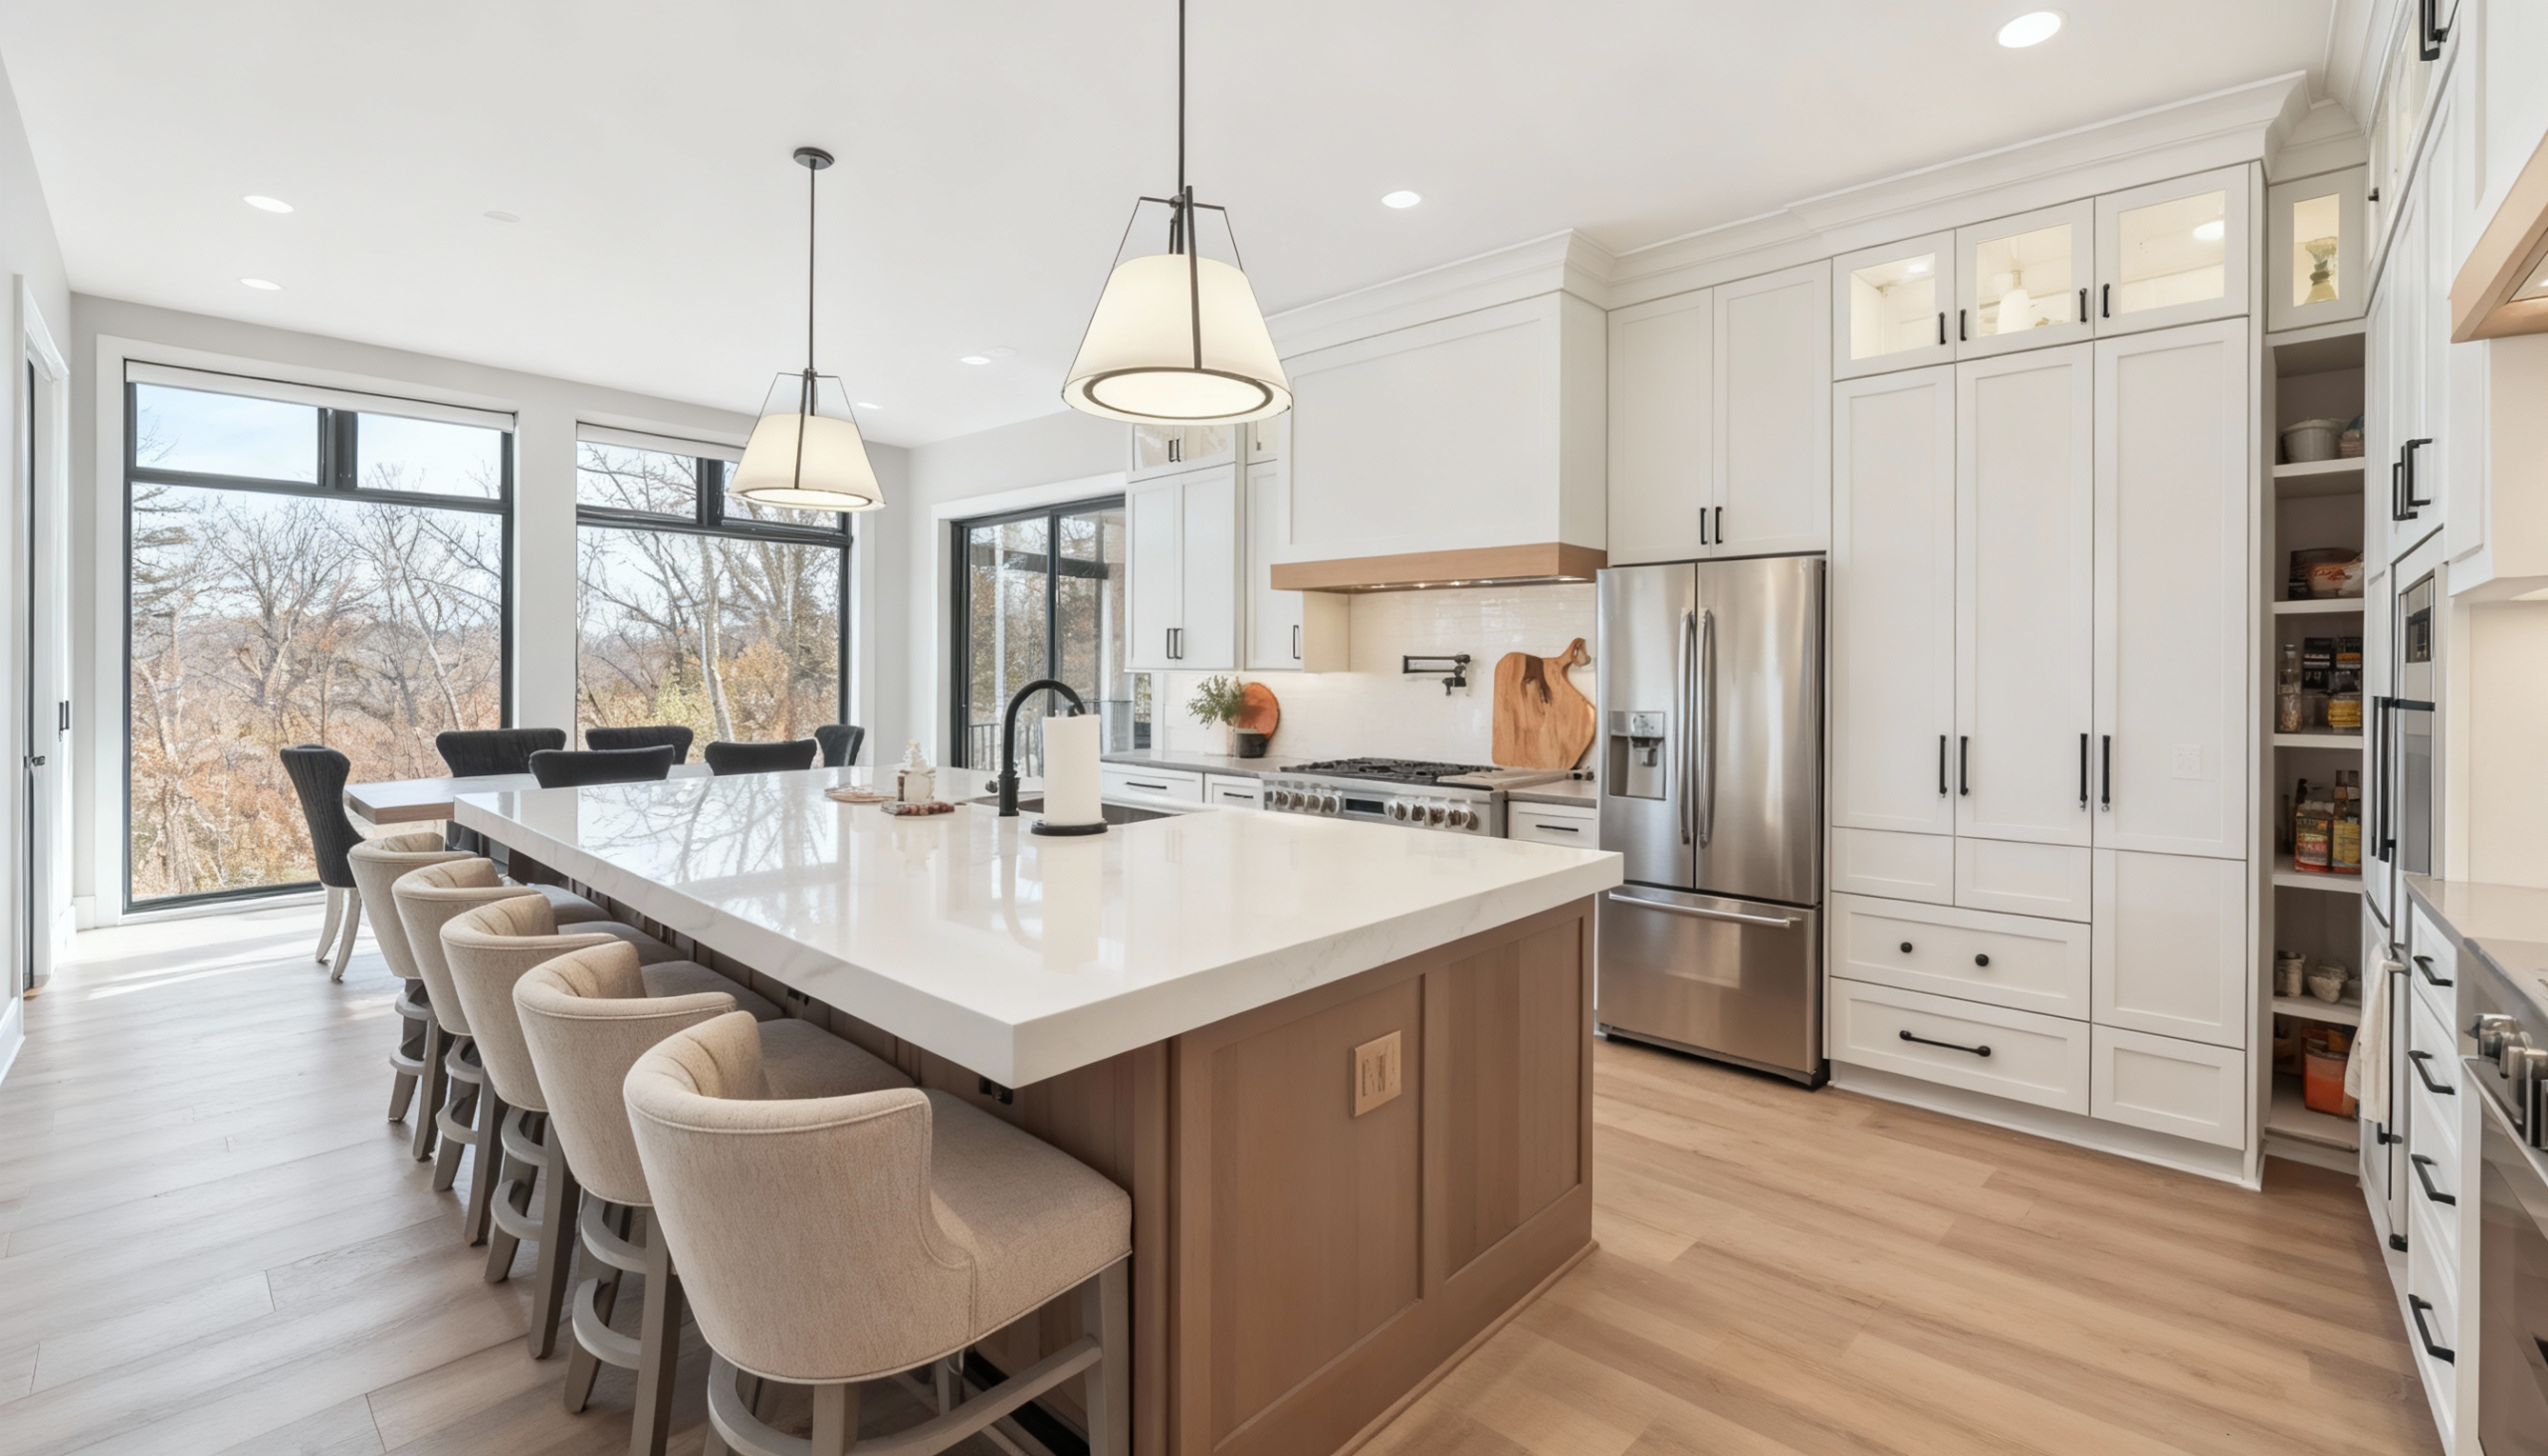
Community Insights for Kitchen Remodelling
On r/HomeImprovement, a user shared:
“I’ve had IKEA kitchen cabinets for almost 10 years. Putting it all together was a chore but not hard. Still looks great …”
Many people praise modular cabinet systems for balancing cost, durability, and DIY-friendliness.
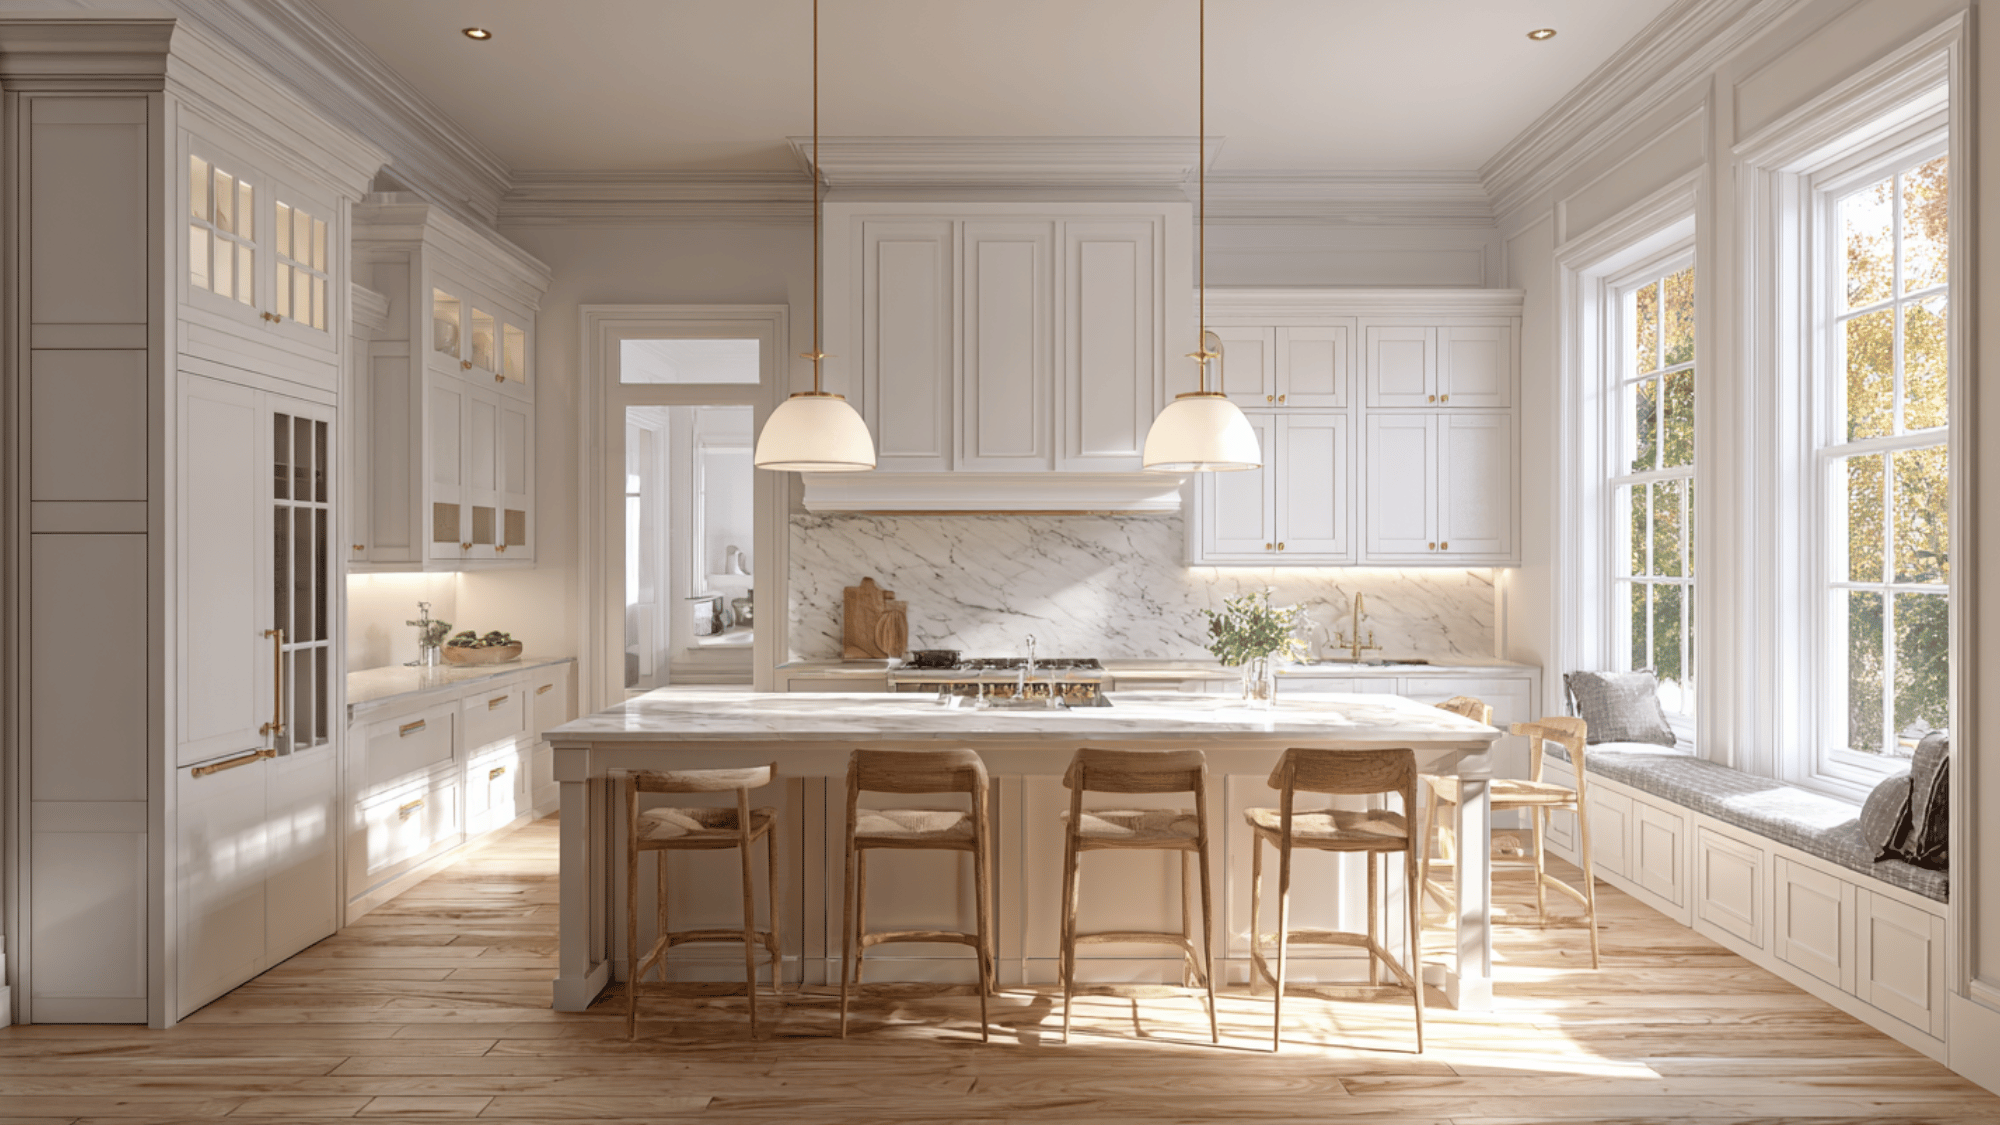
In discussions about bathroom planning, some warn:
“Take your expected timeline and budget, and expand both. The expectation … almost never matches reality.”
This comes up repeatedly: delays, extra expenses, and surprises are almost guaranteed.
In a Reddit-aggregated caution post, one homeowner warned:
“When contractors have 85% of your money, the finishing phase drags… Pay incrementally tied to milestones.”
Even in DIY + hybrid projects, aligning payments with progress keeps incentives fair.
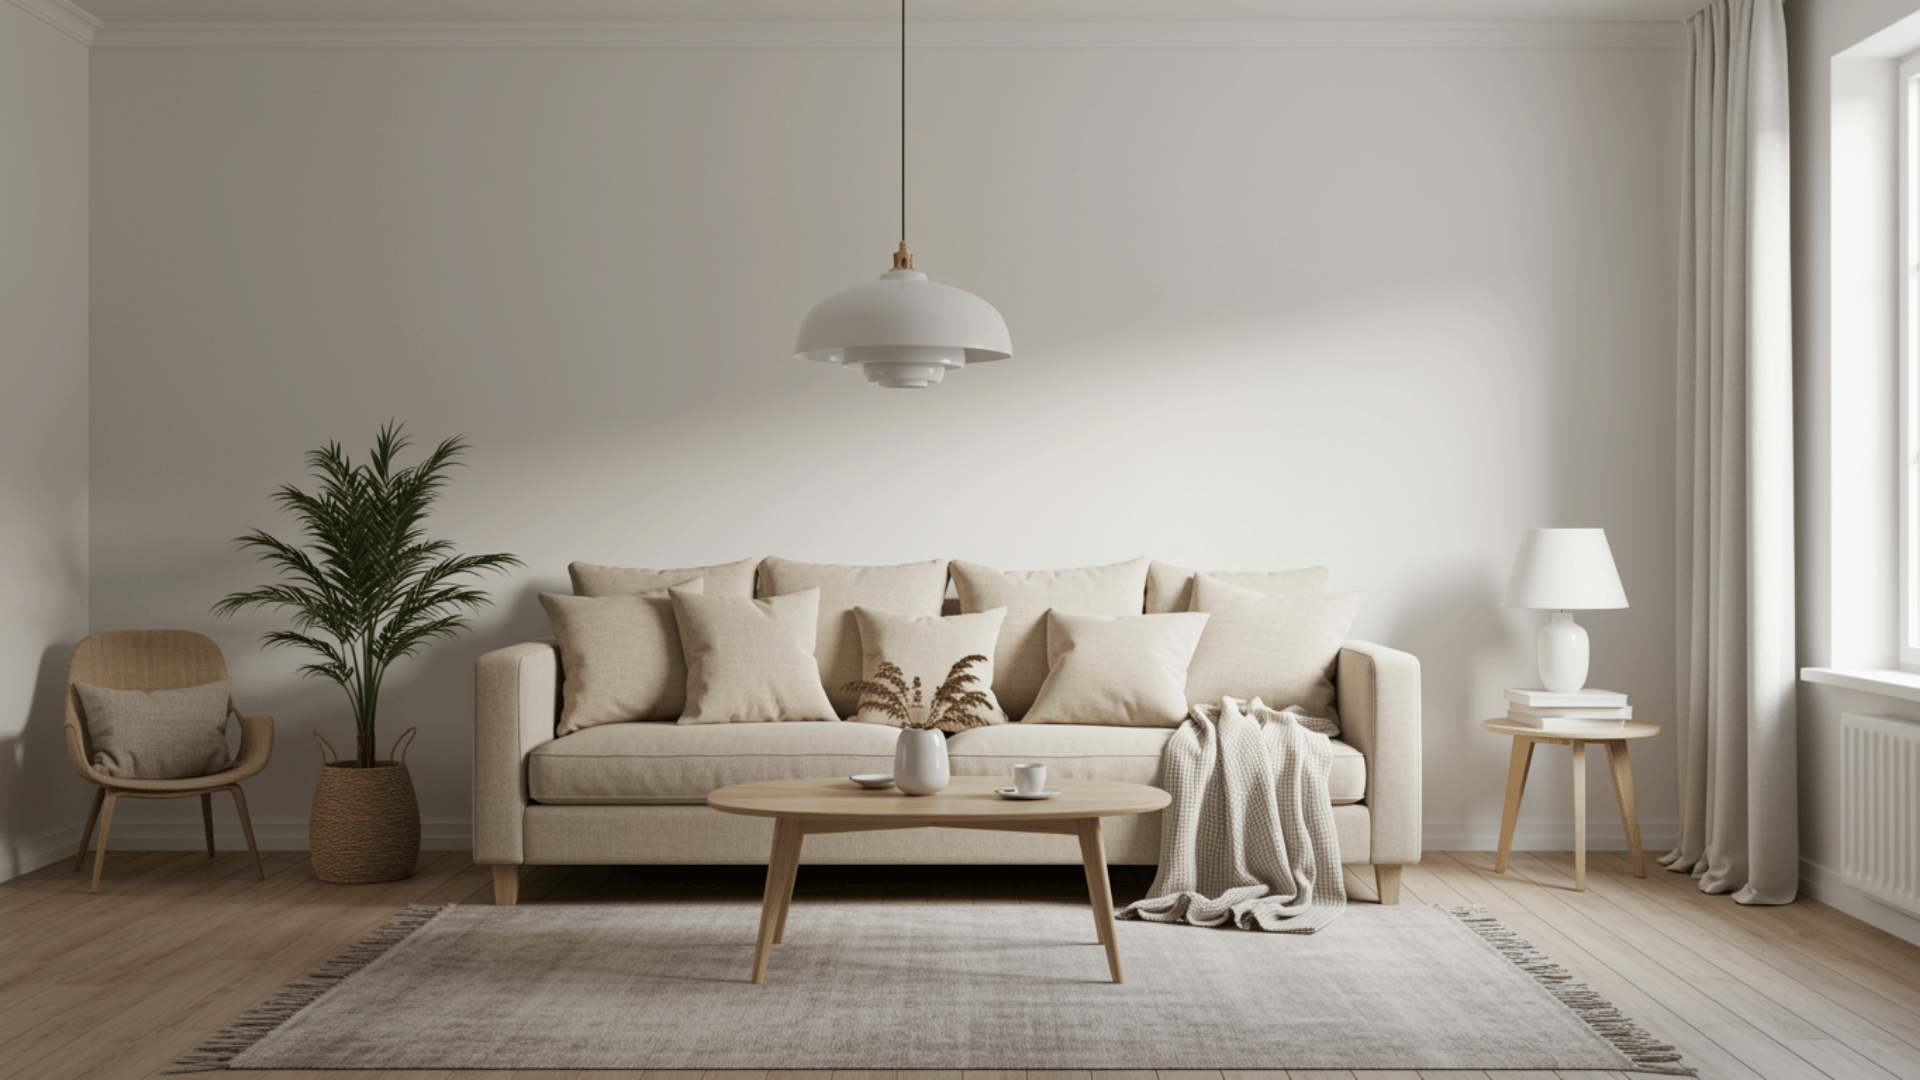
Conclusion
A well-executed DIY bathroom remodel delivers more than surface-level change; it transforms how you experience your home.
By combining creativity with careful planning, homeowners can create a space that reflects their style while staying within budget.
The process builds confidence, skills, and pride in every finished detail. From simple updates to full refreshes, each improvement adds comfort and long-term value.
A DIY remodel is proof that personal effort and thoughtful design can achieve results that feel both professional and meaningful.
In the end, the satisfaction of building something yourself makes the effort truly worthwhile.