Staring at boring, blank walls, think about how to add personality without spending on expensive artwork?
Creating your own DIY wall decor changes empty spaces into beautiful focal points that reflect your creativity.
Handmade wall art costs a fraction of store-bought pieces while delivering one-of-a-kind results impossible to find in retail stores.
These simple projects require minimal supplies and no advanced artistic abilities to achieve professional-looking results. Let’s find out some ideas that change the look of walls.
How DIY Wall Decor Improves Your Space
Personalizing walls with DIY wall decor creates spaces that truly feel like home rather than generic showroom displays lacking character.
Handmade pieces tell your story through colors, themes, and materials reflecting your interests, travels, and memories collected over time.
Custom wall art fills awkward spaces good since you control the exact dimensions, matching your specific wall measurements and layout needs.
Creating your own decorations saves hundreds of dollars compared to purchasing similar pieces from home decor boutiques and galleries.
Each completed project adds layers of personality, making rooms feel warm, inviting, and authentically yours rather than decorated by strangers.
Best Inspirational DIY Wall Decor Ideas
Find out creative wall decoration projects changing ordinary materials into beautiful personalized art pieces for every room style.
1. Floating Wooden Shelves Display
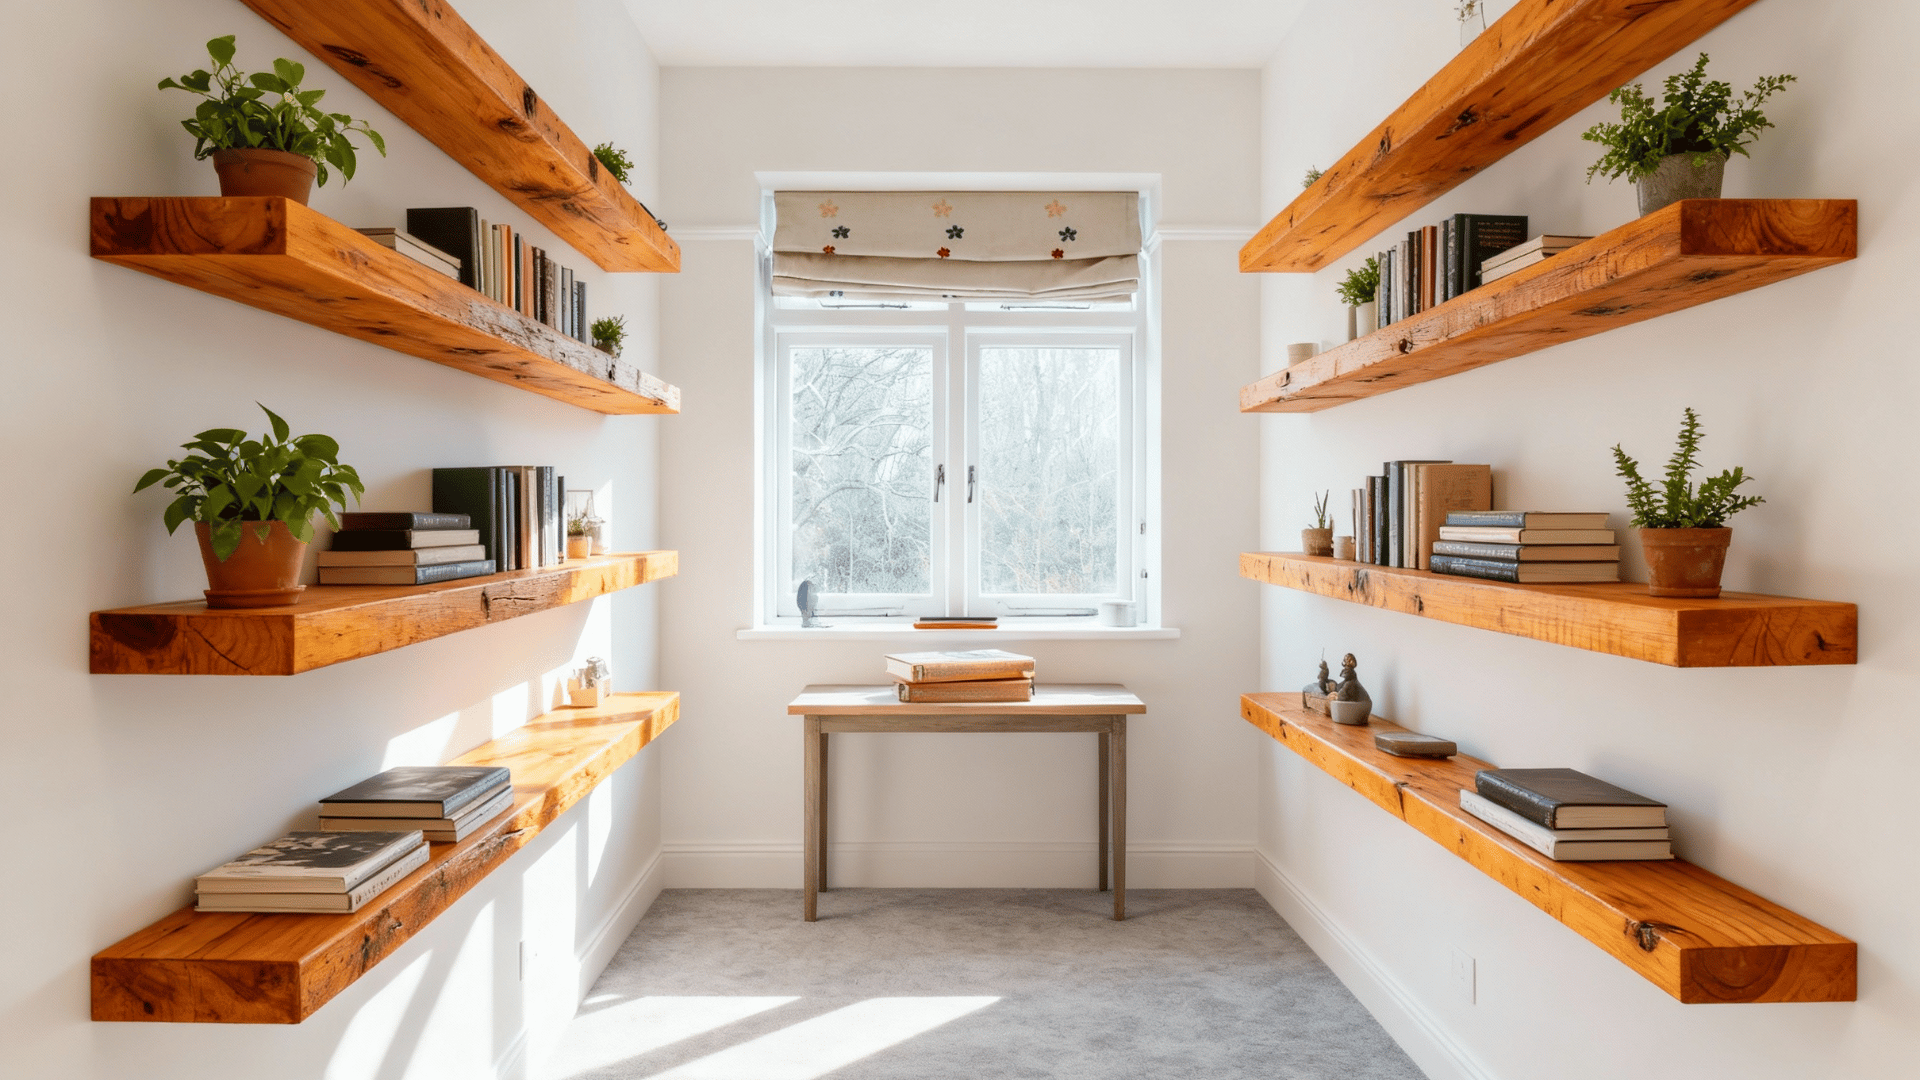
Create depth and dimension with rustic floating shelves that showcase decorative items, plants, and books beautifully.
These shelves work well in living rooms, bedrooms, or home offices, complementing various design aesthetics from farmhouse to modern minimalist styles effortlessly.
Materials Needed: Wooden boards, L-brackets, screws, level, drill, wood stain or paint.
How to Achieve This:
- Cut wood boards to the desired lengths precisely.
- Attach L-brackets securely to wall studs firmly.
- Mount boards and arrange decorative objects attractively.
2. Geometric Wall Art Panels
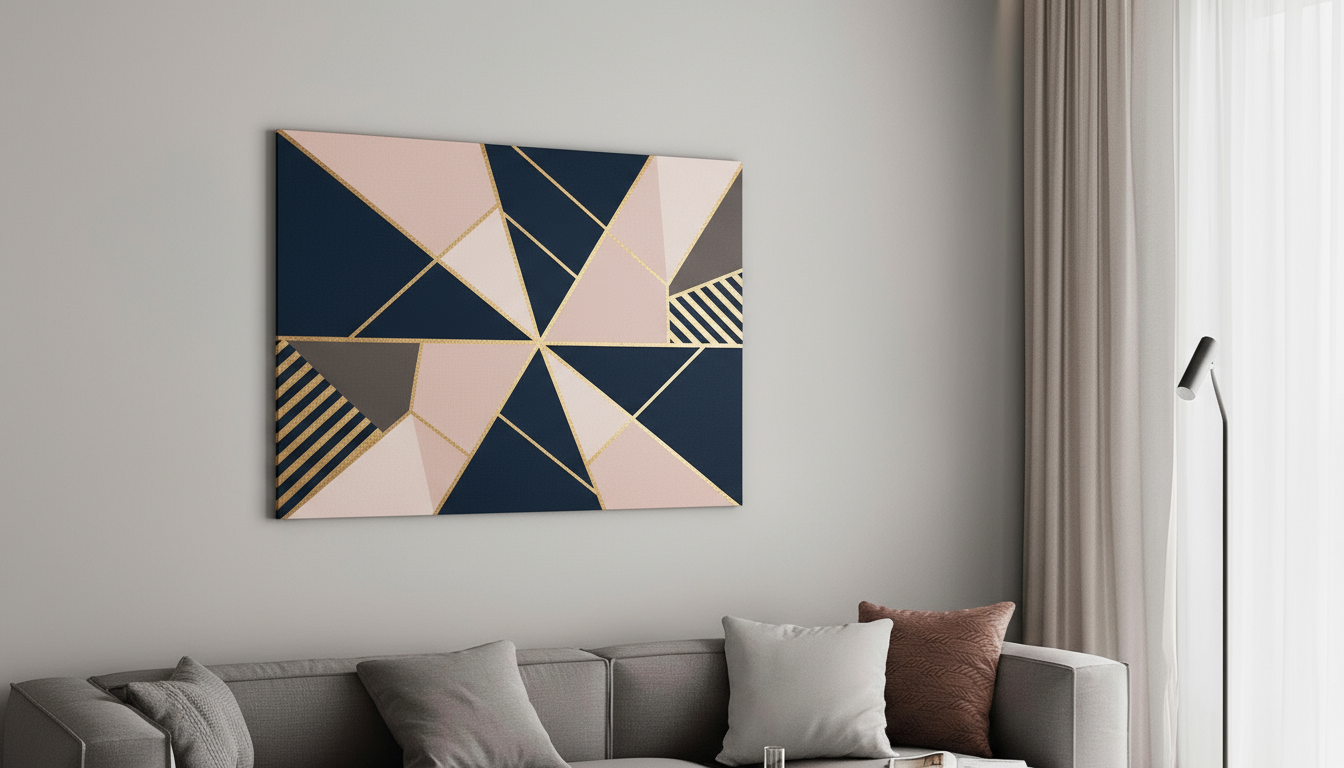
Bold geometric shapes painted on canvas or wood create contemporary focal points that change blank walls instantly.
This modern art style suits minimalist interiors while adding visual interest without overwhelming smaller spaces with excessive decoration.
Materials Needed: Canvas or wood panels, acrylic paint, painter’s tape, brushes, and measuring tools.
How to Achieve This:
- Tape off geometric patterns using measurements carefully.
- Paint sections with chosen colors in layers.
- Remove the tape and display the finished artwork proudly.
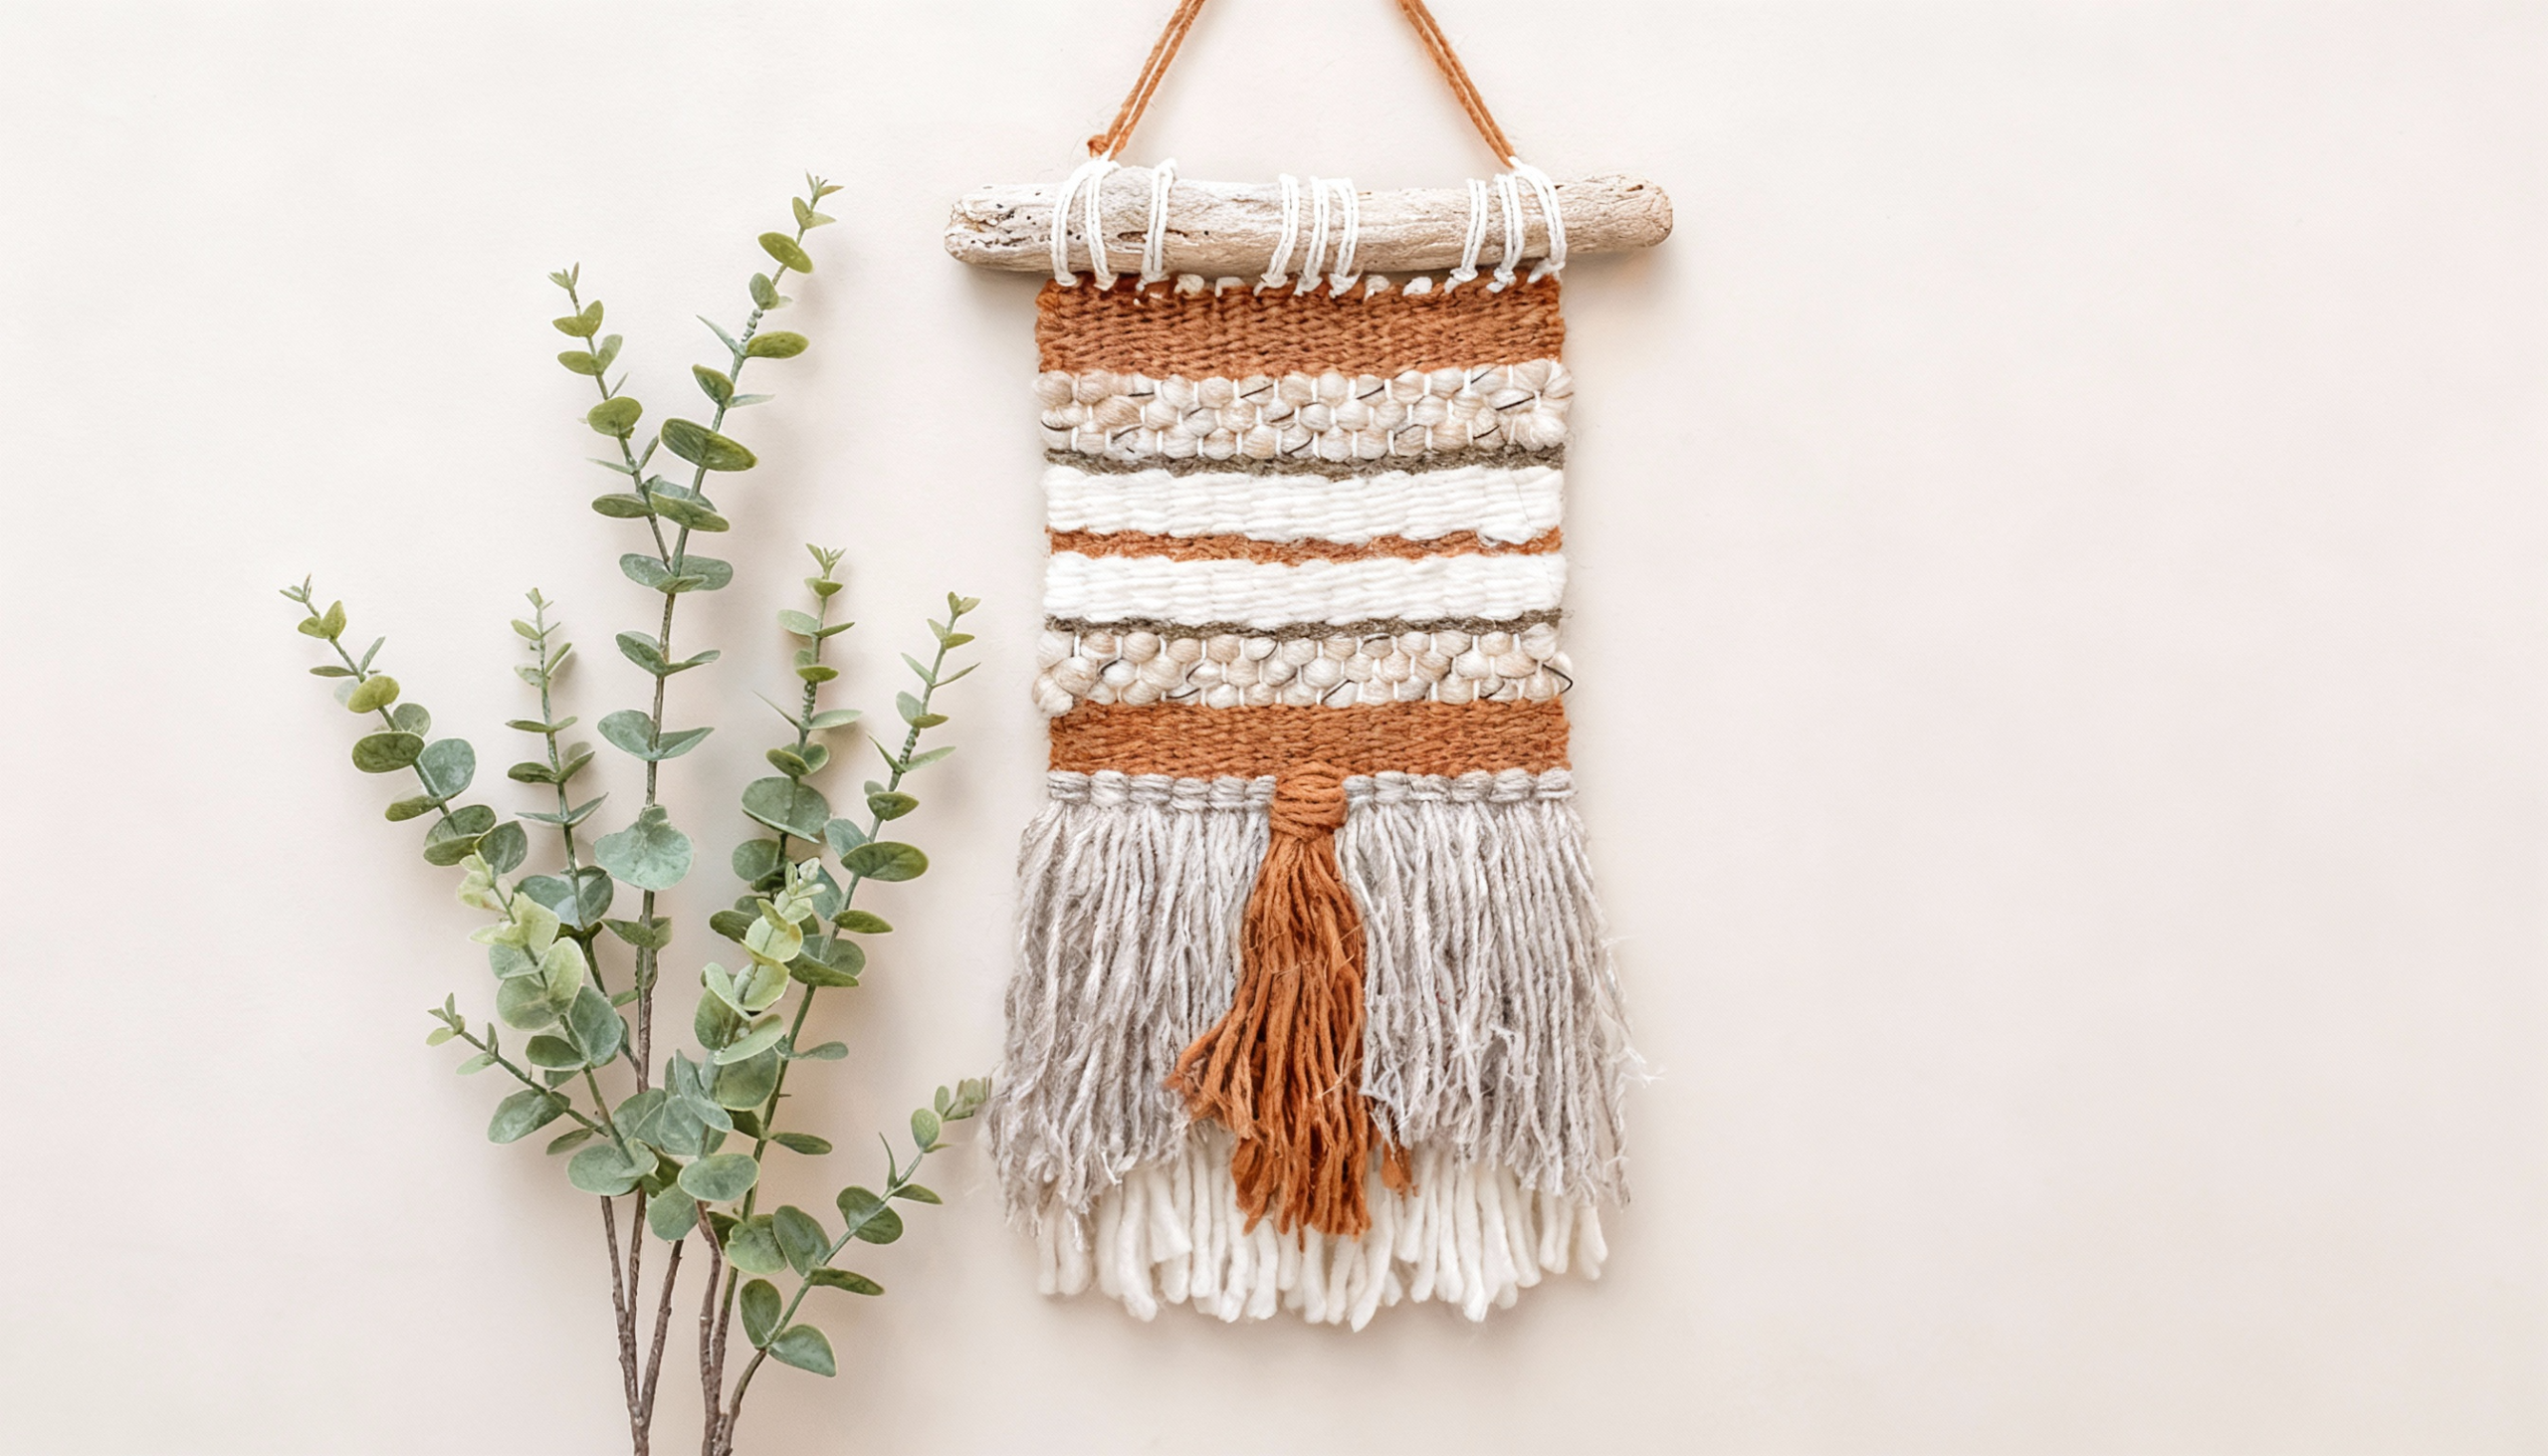
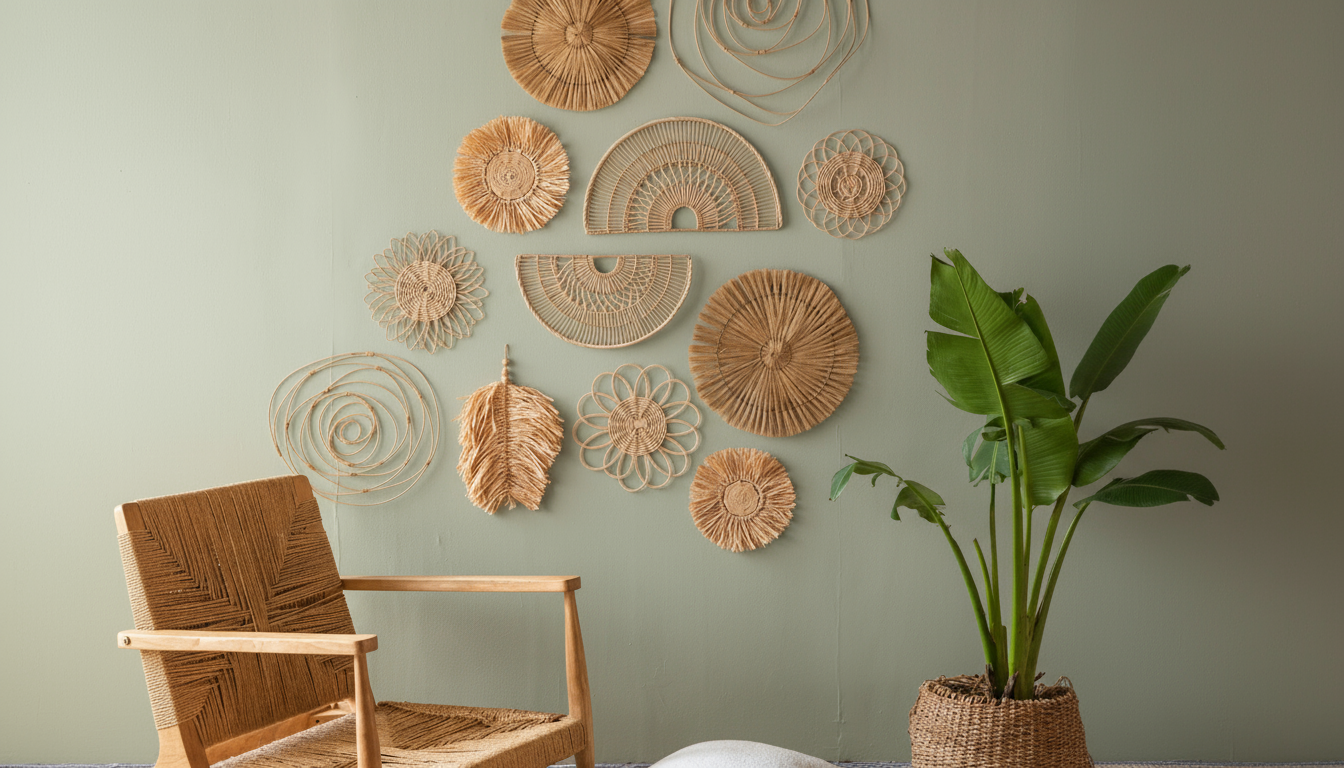
3. Macramé Wall Hanging
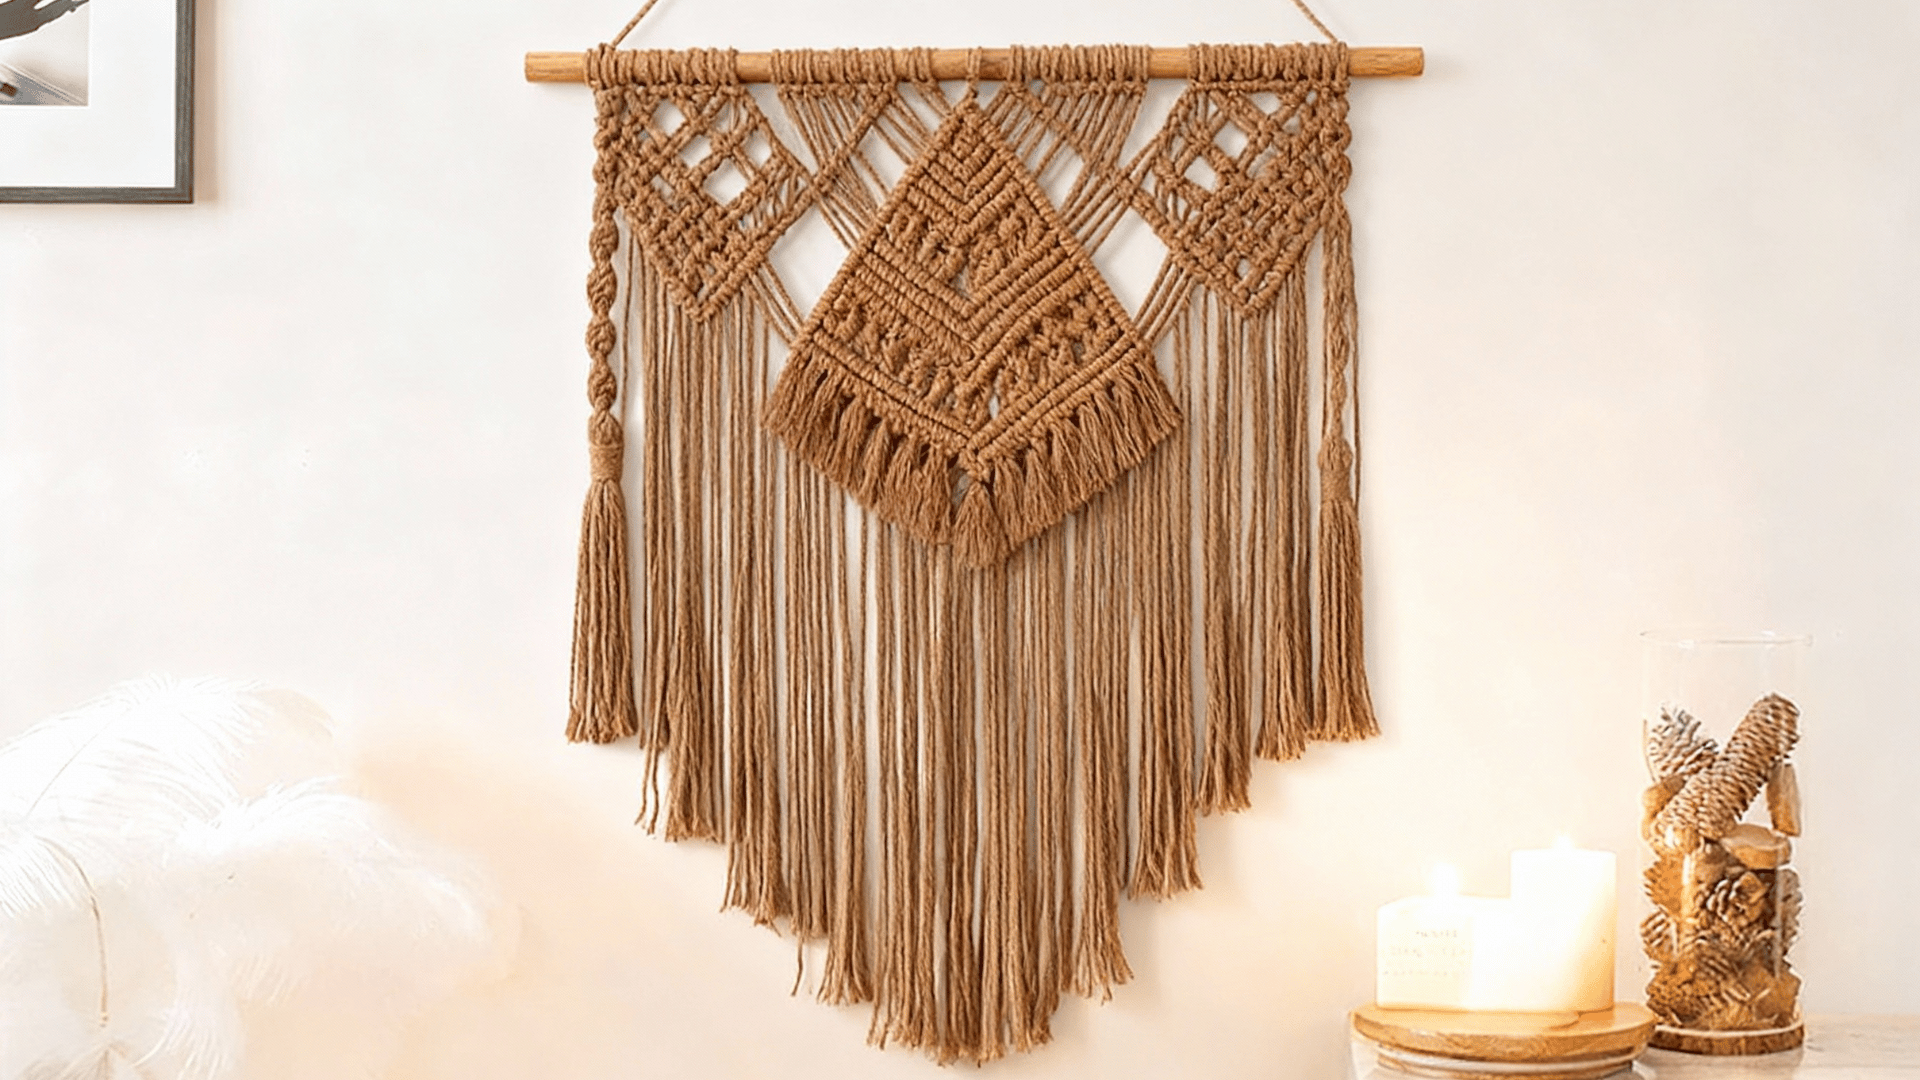
Handcrafted macramé brings bohemian texture and artisanal beauty to any room through intricate knotting techniques.
Natural cotton rope creates organic, earthy vibes perfect for bedrooms or meditation spaces.
Materials Needed: Cotton macramé cord, wooden dowel, scissors, measuring tape, wall mounting hardware
How to Achieve This:
- Cut cord lengths following the chosen pattern specifications
- Tie knots according to macramé instructions progressively
- Hang from the dowel and trim the ends evenly
4. Photo Gallery Wall Collage
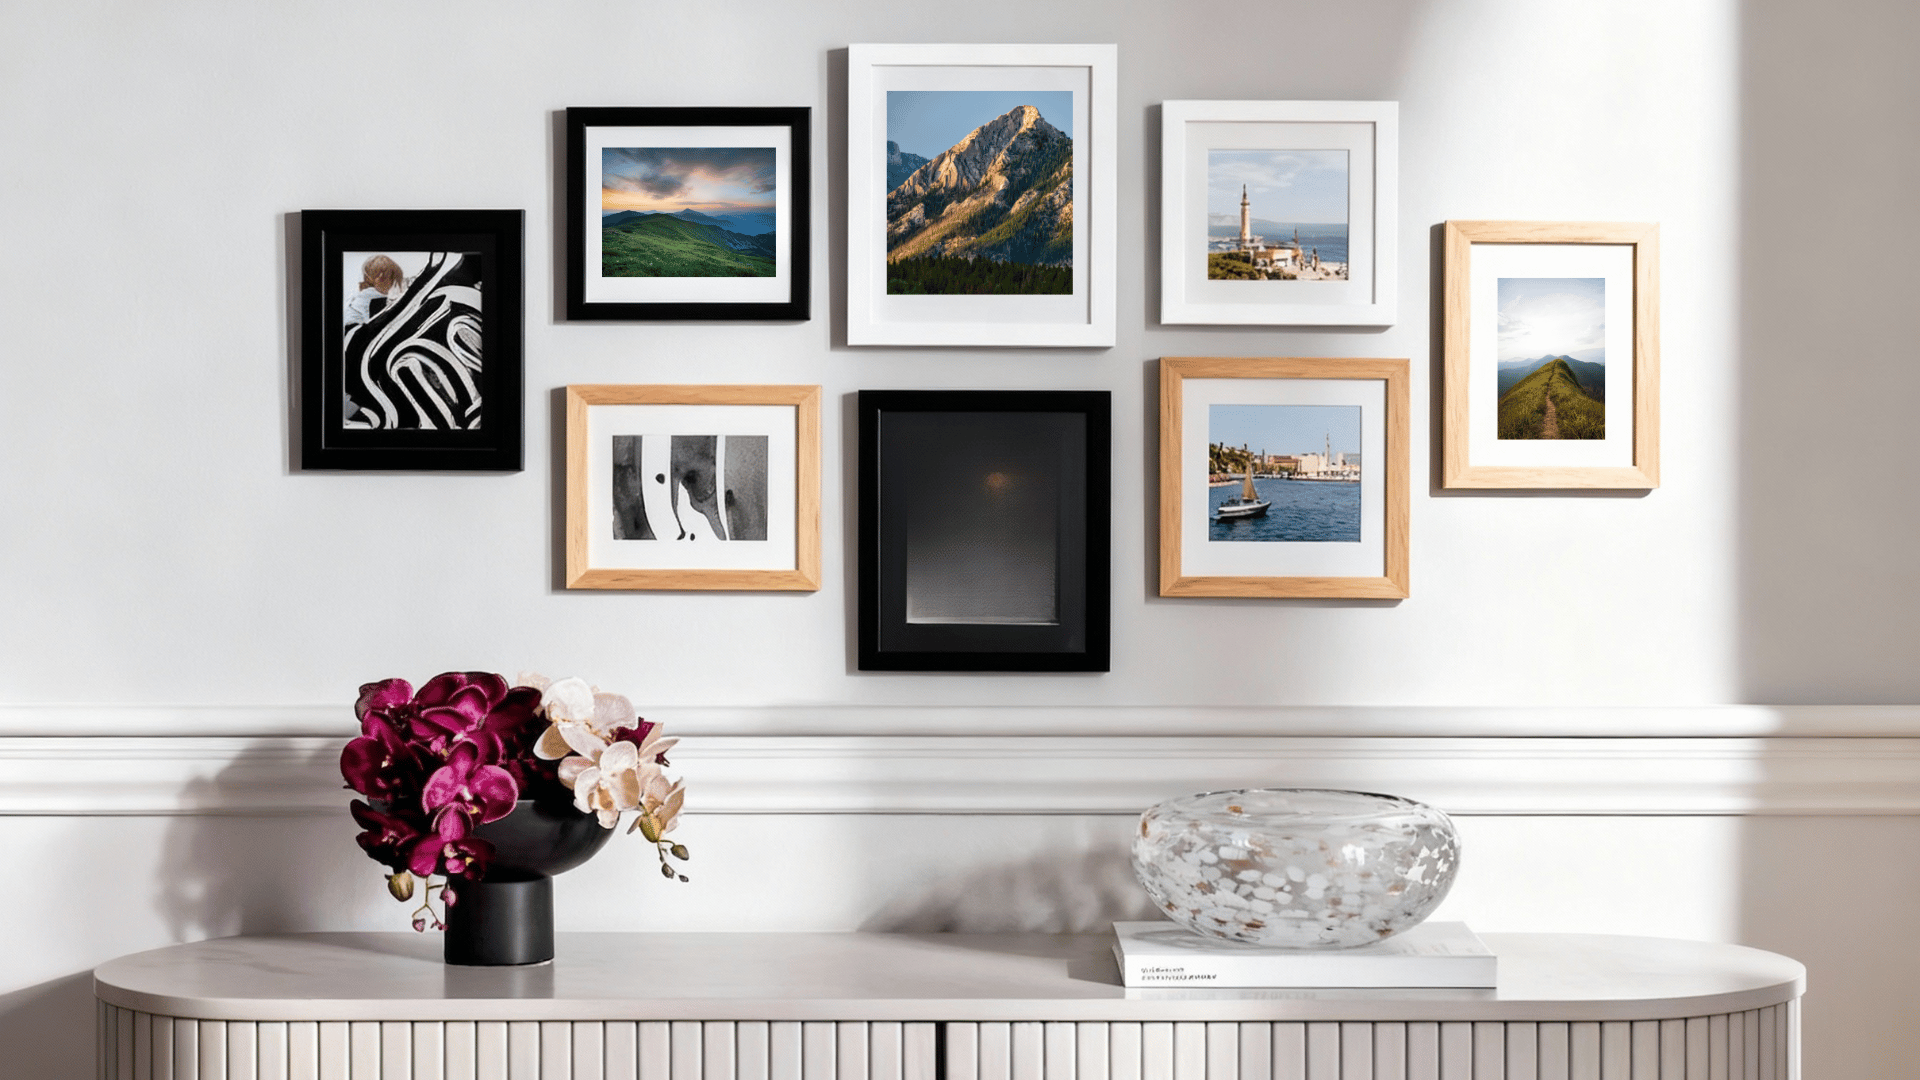
Personalize your space with cherished memories displayed in coordinated frames, creating storytelling walls. Mix frame sizes, colors, and orientations for dynamic visual flow.
Family photos, travel snapshots, and meaningful quotes combine beautifully, making this decor deeply personal and constantly conversation-starting among visitors.
Materials Needed: Picture frames (various sizes), printed photos, hammer, nails, level, measuring tape.
How to Achieve This:
- Arrange frames on the floor planning layout first.
- Mark wall positions using templates or measurements.
- Hang frames and insert treasured photographs carefully.
5. Painted Accent Wall Mural
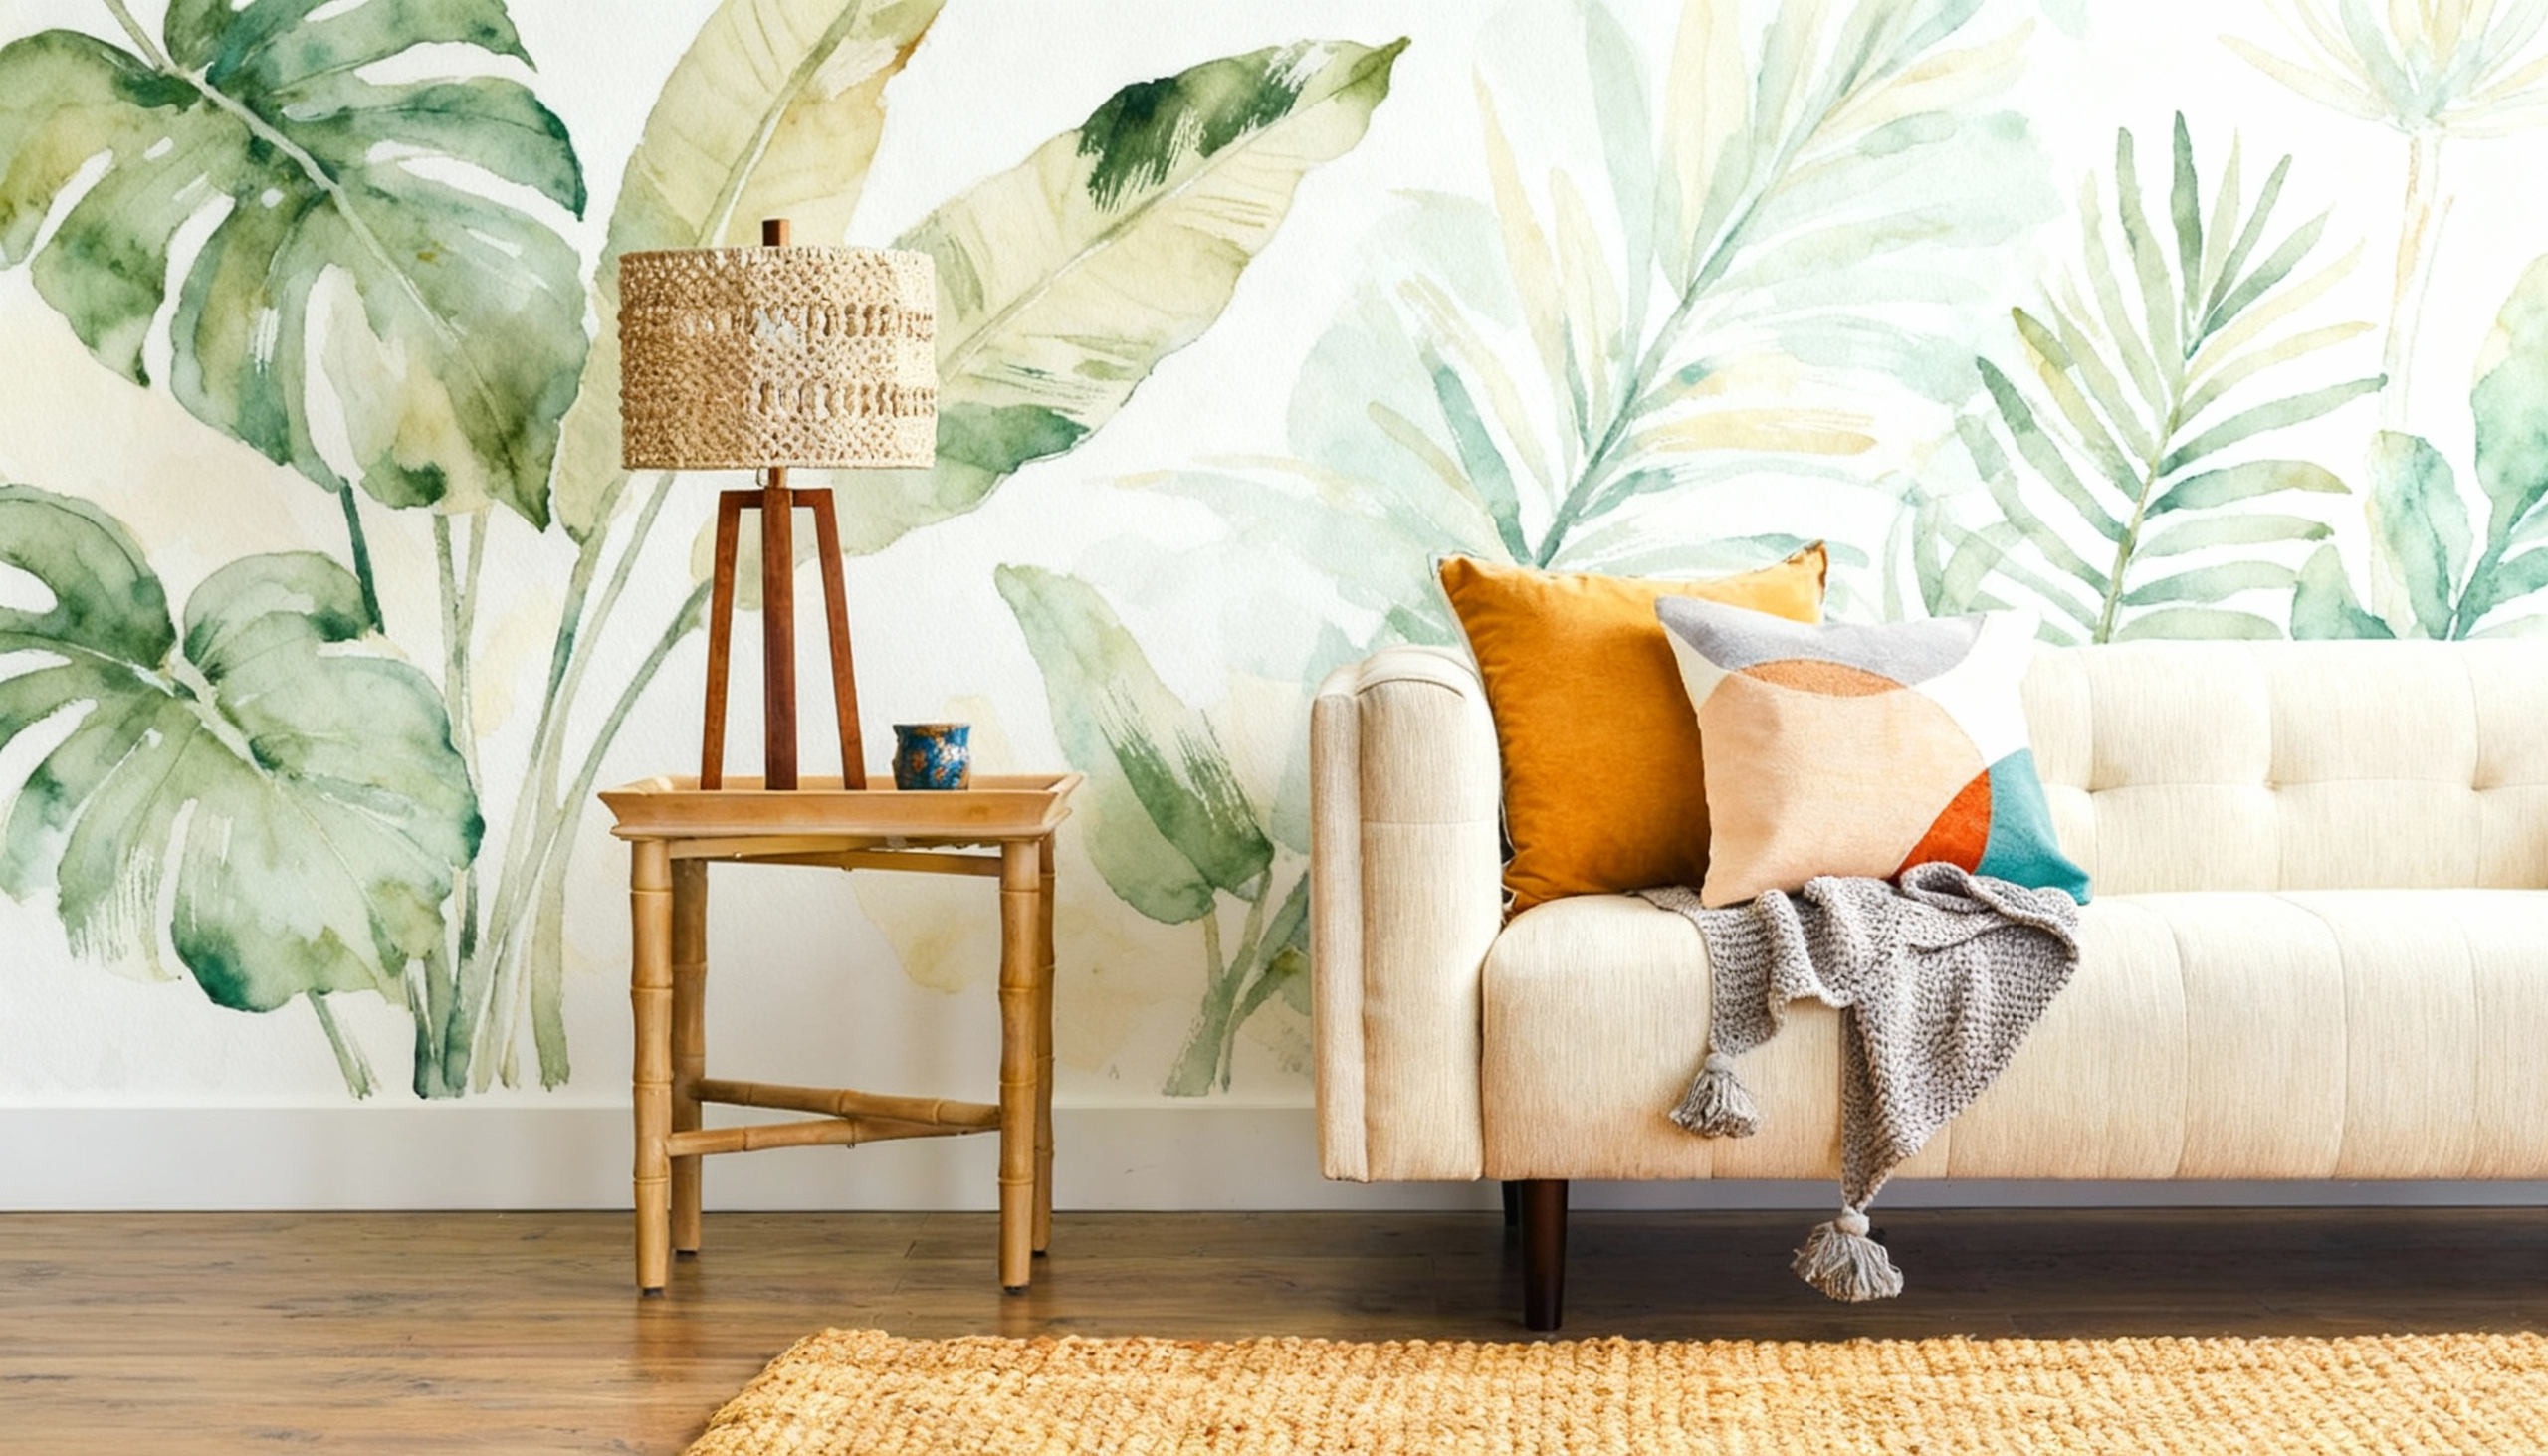
Change entire walls into artistic statements with hand-painted murals featuring landscapes, abstract designs, or botanical themes.
While time-intensive, murals provide unique customization impossible to achieve with store-bought artwork or wallpaper.
Materials Needed: Interior paint (multiple colors), paintbrushes, painter’s tape, drop cloths, projector.
How to Achieve This:
- Sketch or project design outline onto the wall.
- Fill in colors working from background forward.
- Add details and seal with a protective coating.
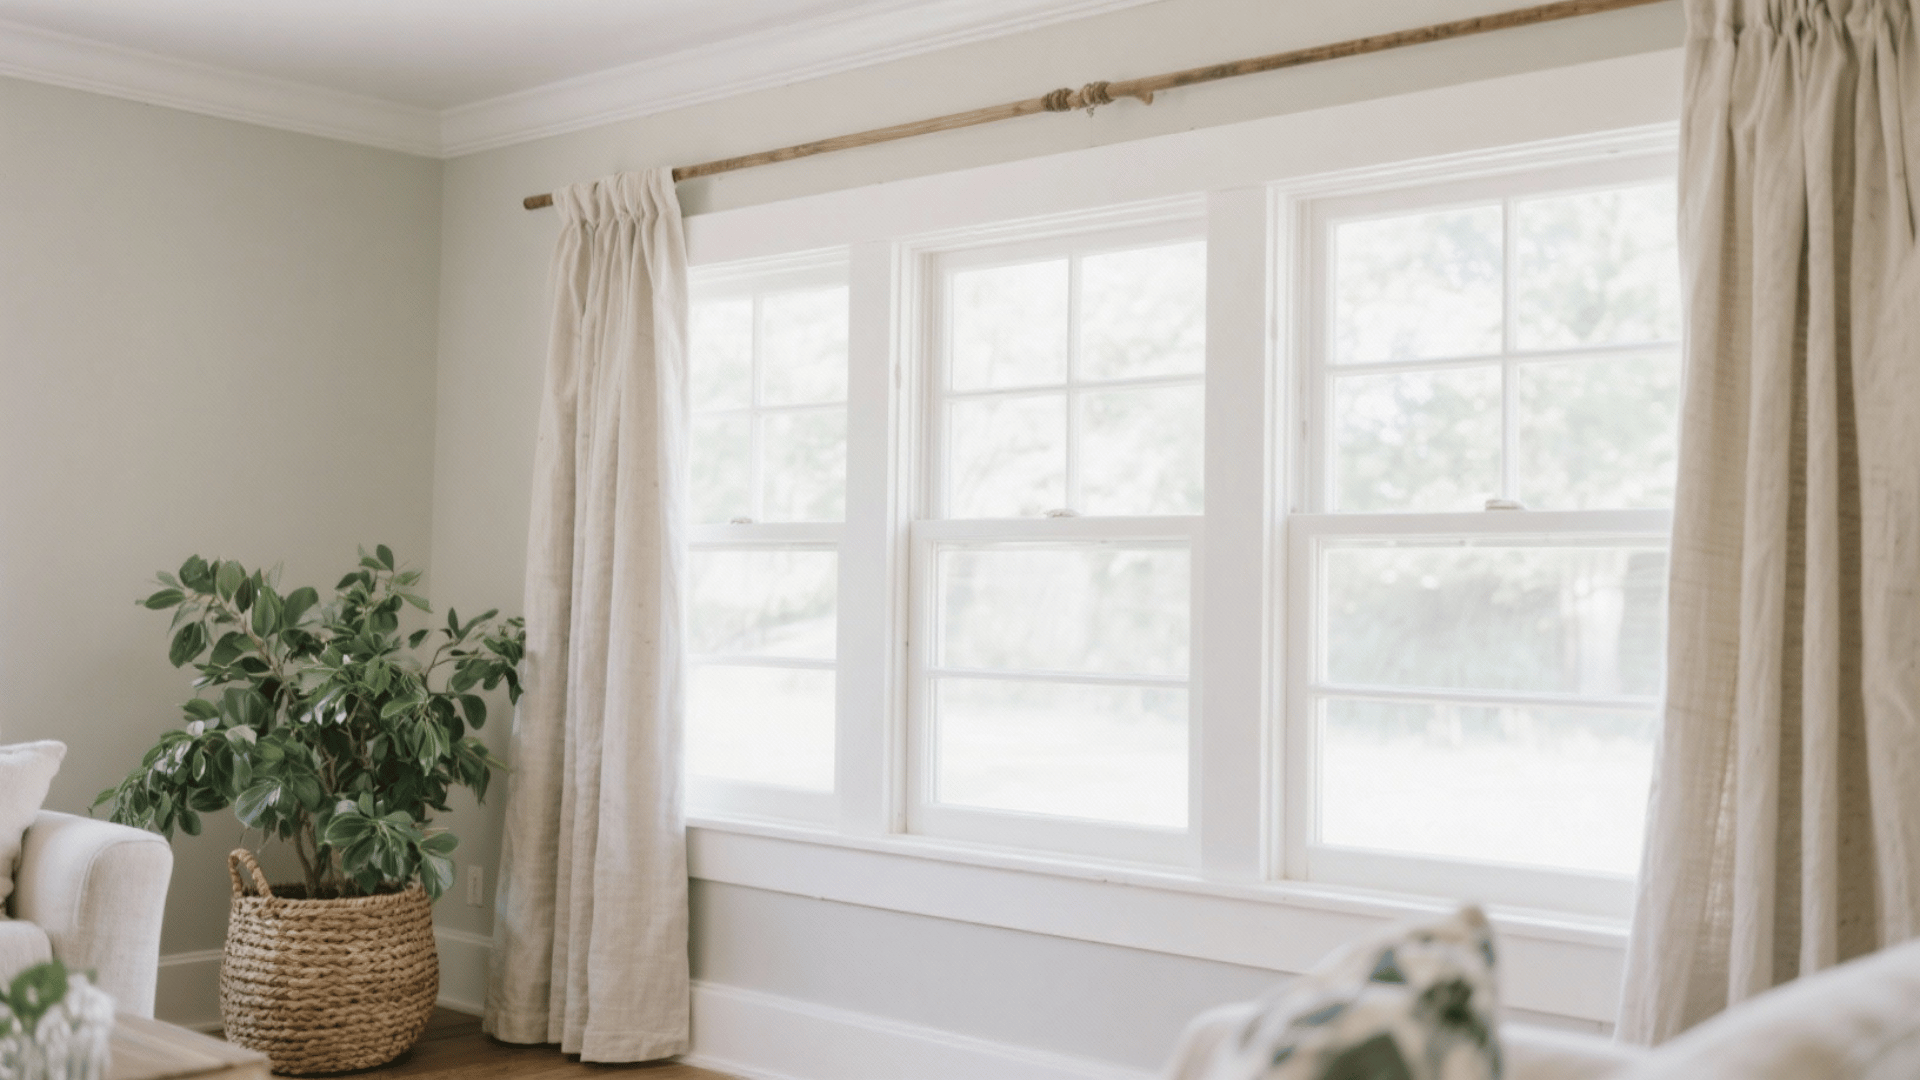
6. Vintage Window Frame Decor
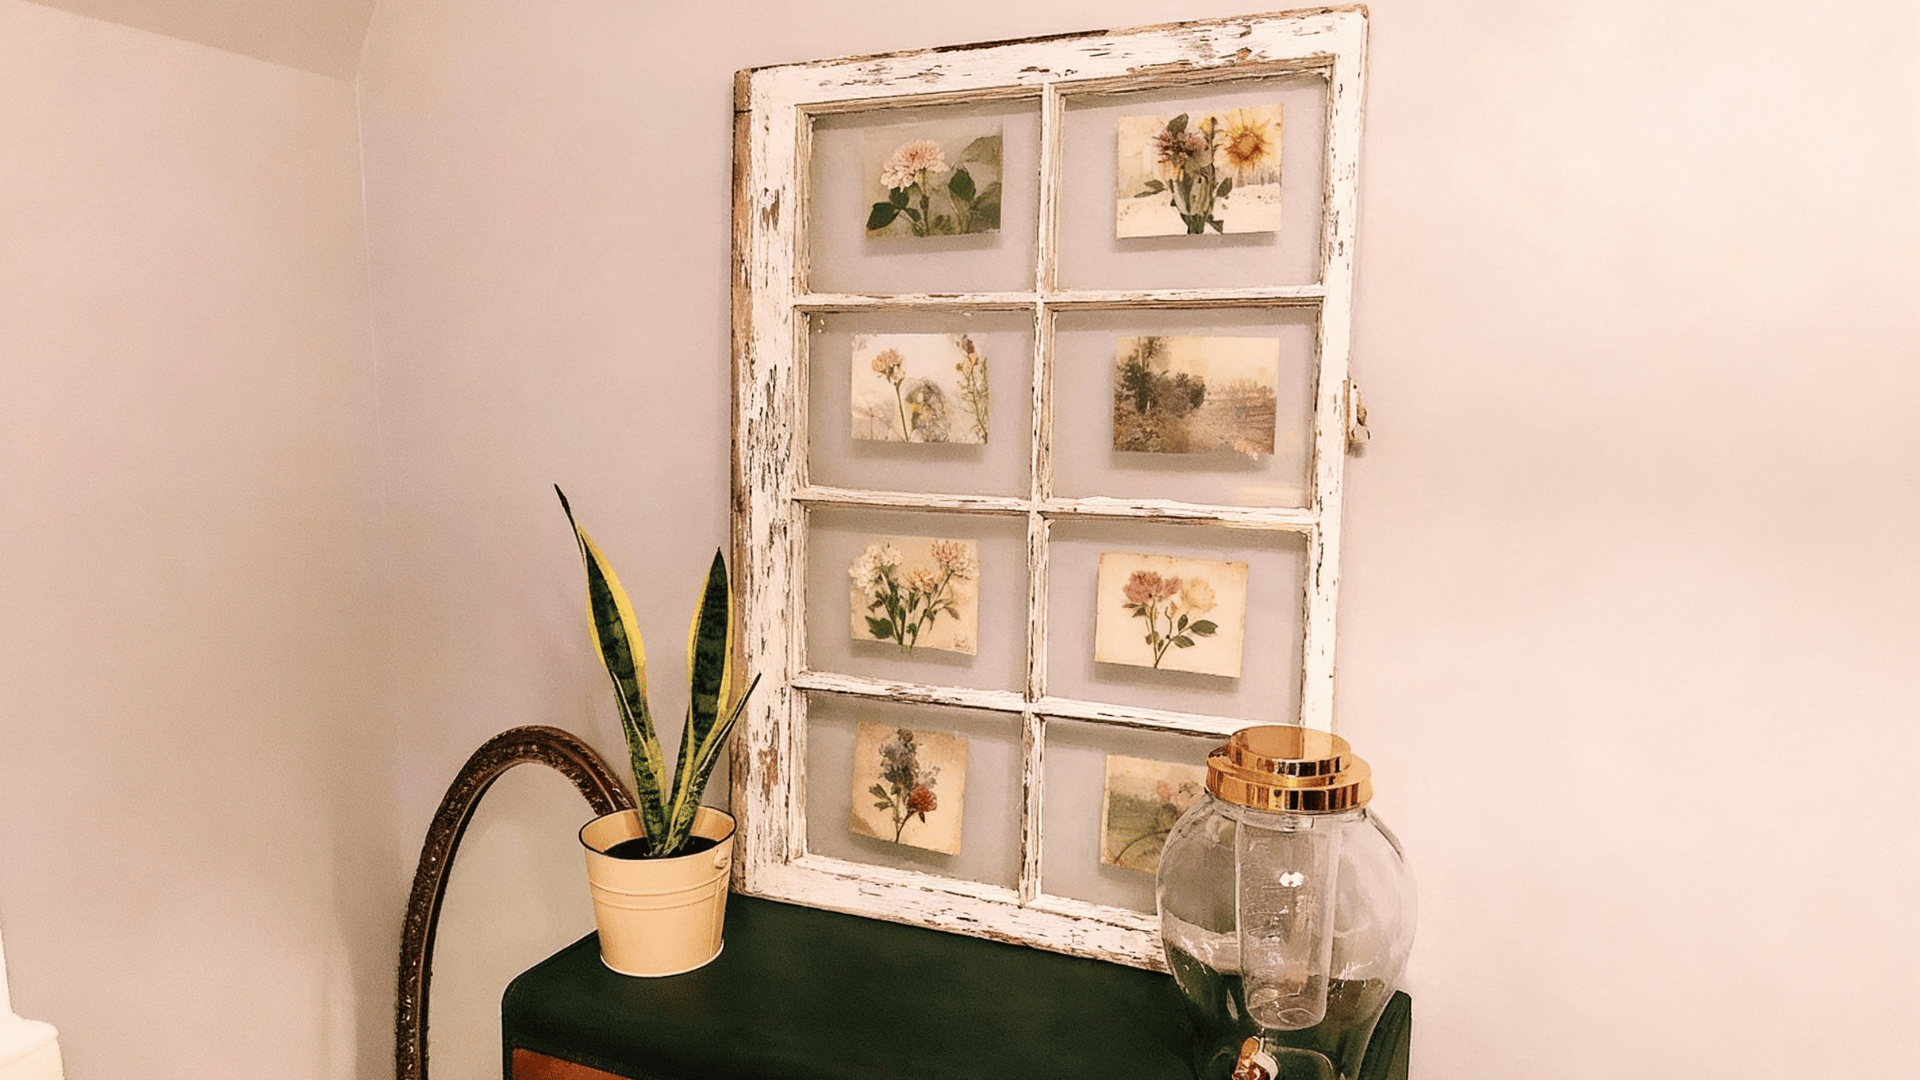
Repurpose old window frames into shabby-chic wall art displaying photos, pressed flowers, or inspirational quotes.
These architectural salvage pieces work beautifully in farmhouse, cottage, or eclectic interiors, bringing nostalgic beauty at an affordable price.
Materials Needed: Old window frame, sandpaper, paint or stain, glass cleaner, hanging wire.
How to Achieve This:
- Clean and sand the window frame, removing debris.
- Paint or stain to achieve the desired vintage look.
- Securely insert photos or artwork behind glass.
7. Woven Basket Wall Collection
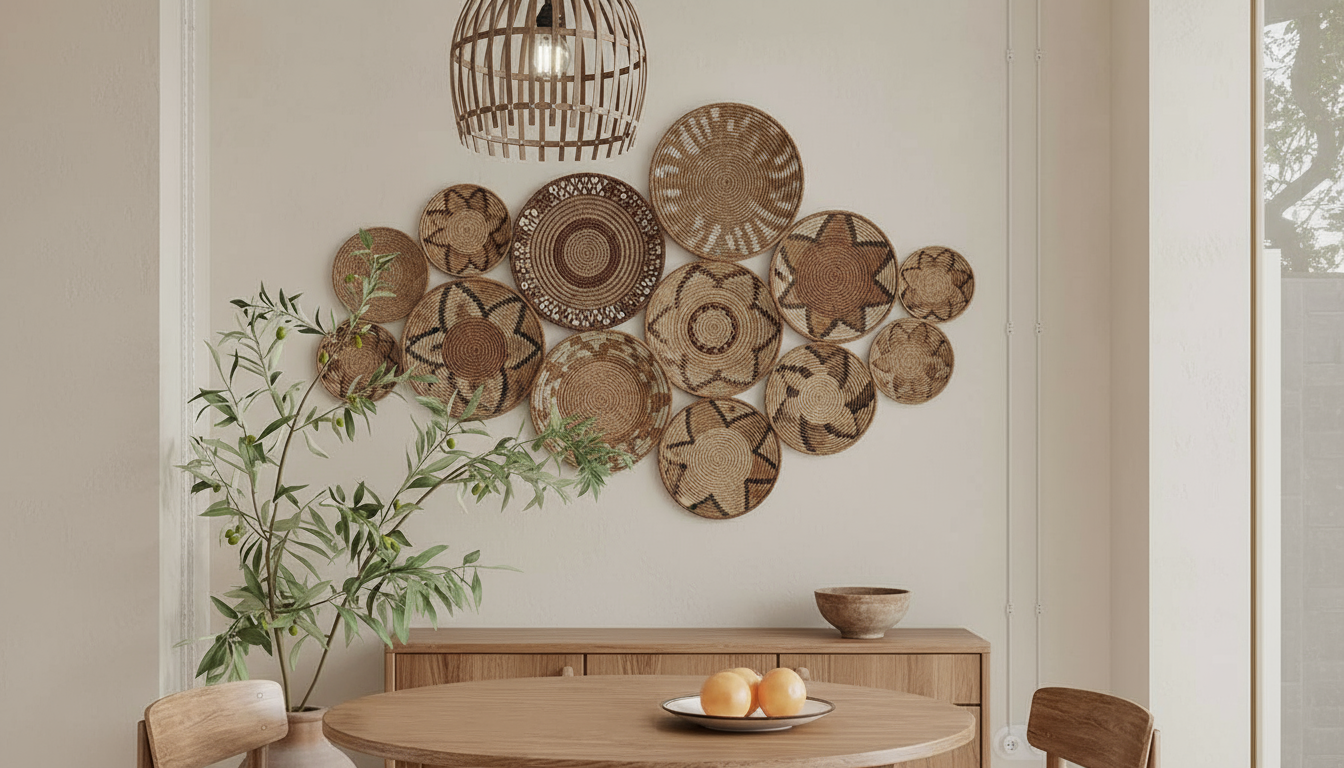
Group decorative baskets in varying sizes and textures to create three-dimensional wall installations with cultural flair.
This global-inspired decor trend works particularly well in dining rooms, entryways, or above console tables.
Materials Needed: Decorative woven baskets (various sizes), picture hanging strips, level, pencil.
How to Achieve This:
- Arrange baskets on the floor, balancing the composition.
- Attach adhesive strips or hooks to walls.
- Hang baskets, creating a visually pleasing pattern arrangement.
8. Pressed Botanical Frame Art
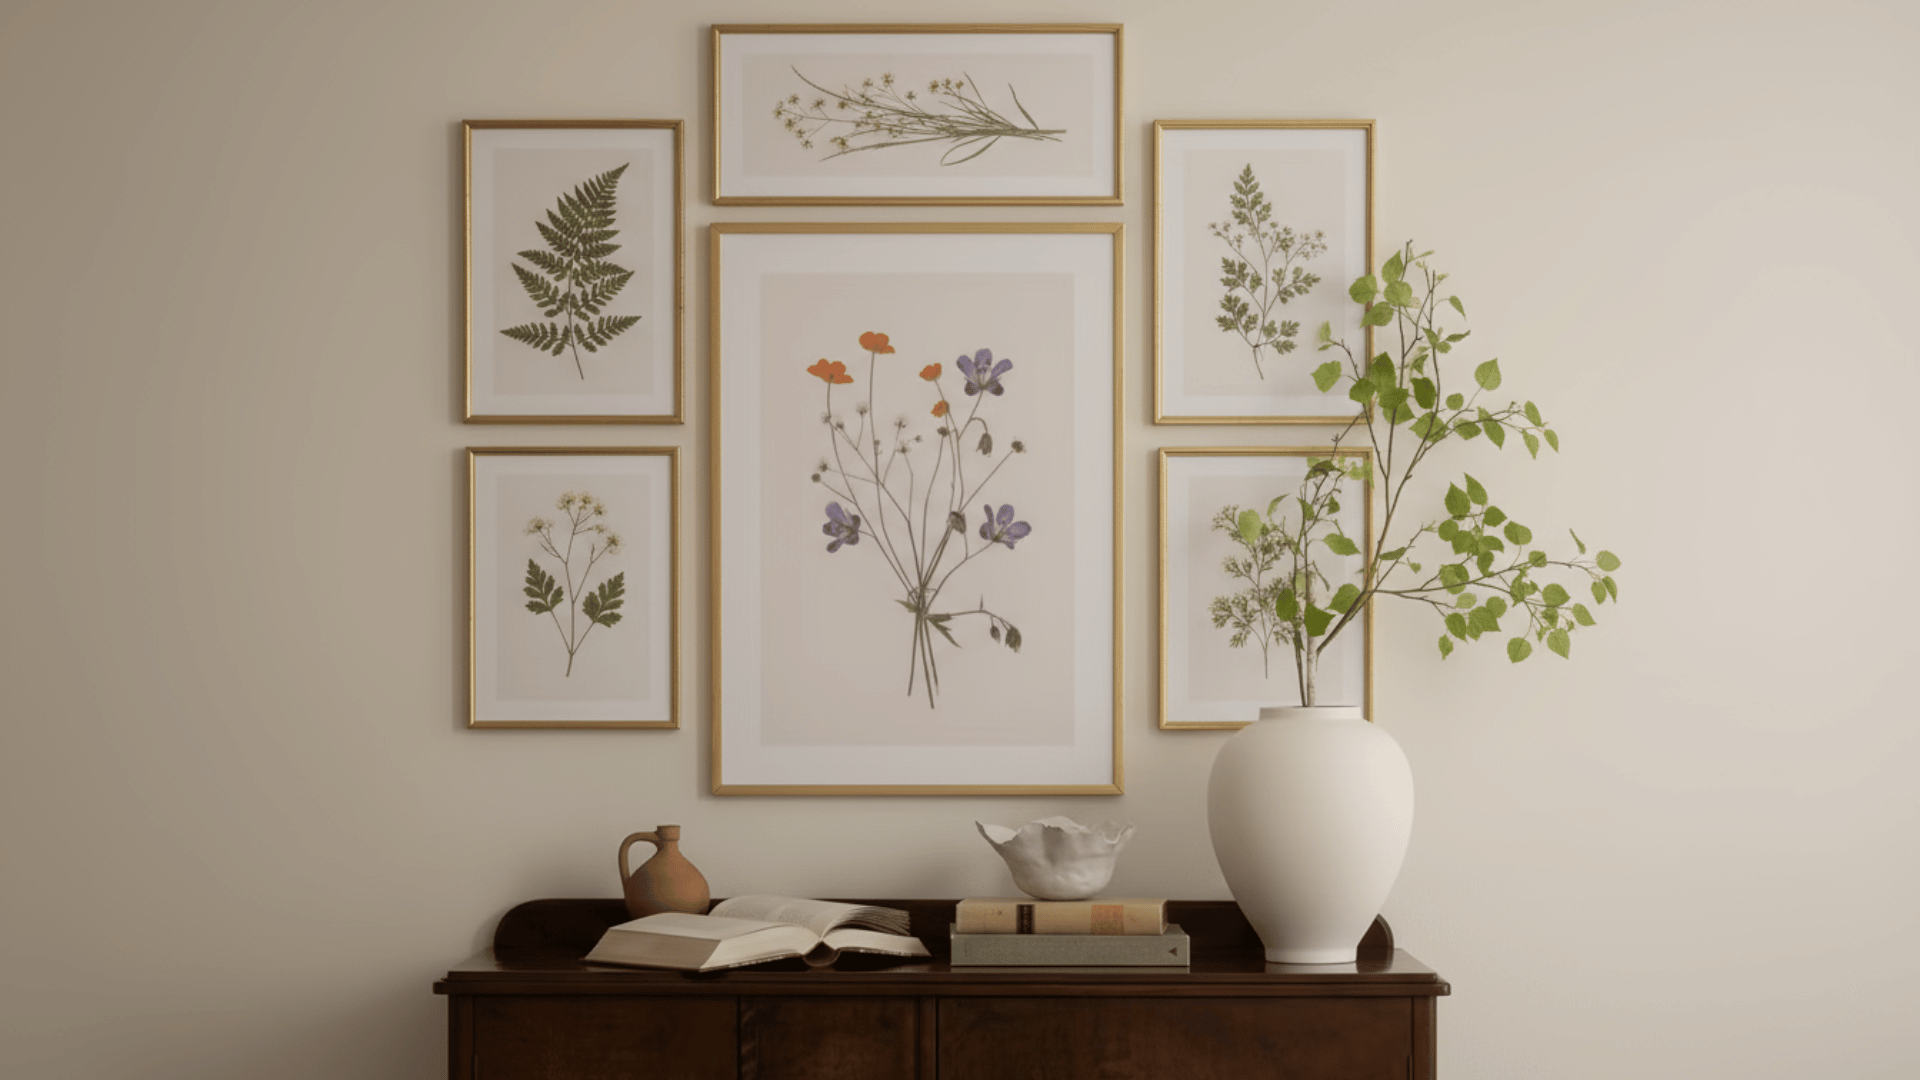
Preserve nature’s beauty by pressing flowers, leaves, and ferns between glass in beautiful frames.
Delicate plant specimens create organic artwork best for spring-inspired or cottage-core aesthetics.
Materials Needed: Fresh botanicals, heavy books, picture frames with glass, and cardstock backing.
How to Achieve This:
- Press plants between book pages for weeks.
- Arrange dried specimens on clean backing paper.
- Frame behind glass and hang on the walls.
9. Industrial Pipe Shelving System
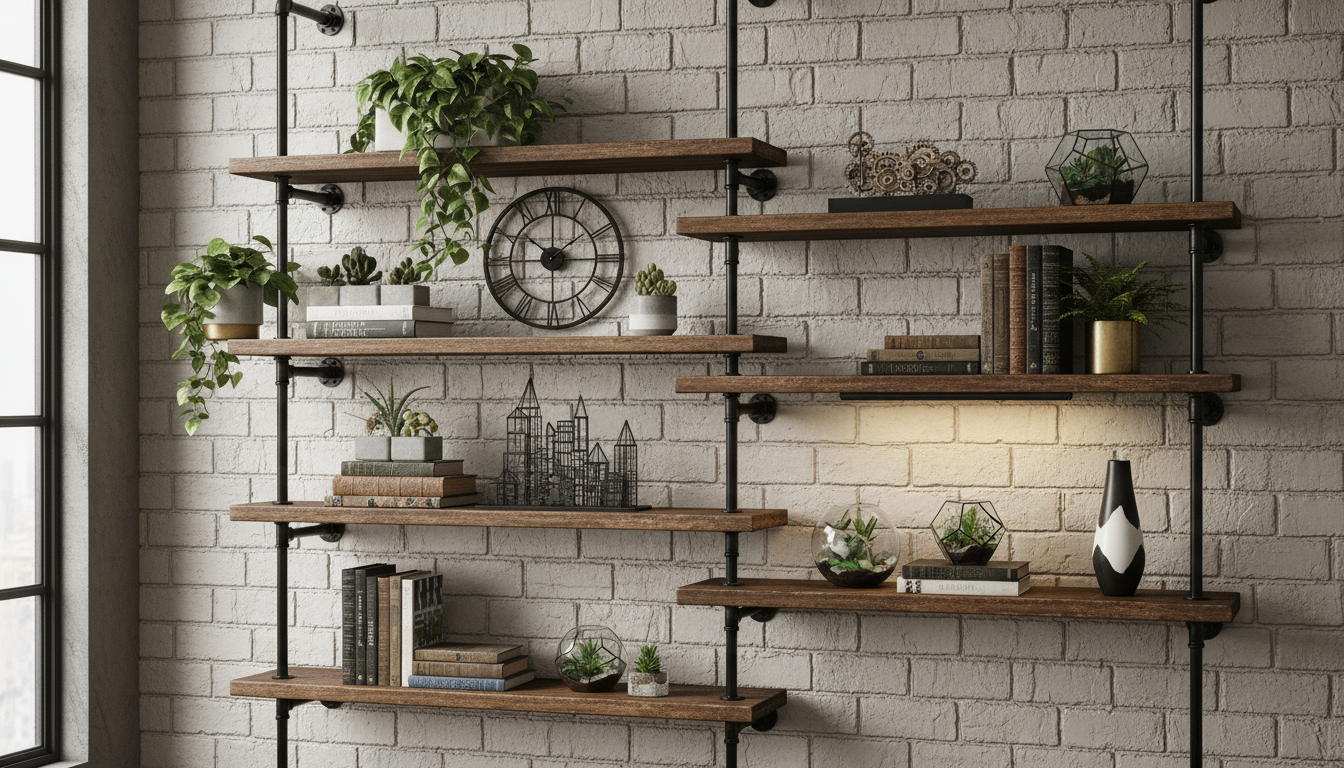
For those who prefer a more industrial look, combine metal pipes with reclaimed wood planks to create edgy industrial shelving that’s both functional and stylish.
This trendy design offers customizable configurations accommodating books, plants, and decorative objects.
Materials Needed: Metal pipes, pipe fittings, wooden boards, pipe wrench, wall anchors, and screws.
How to Achieve This:
- Assemble the pipe frame according to the design measurements.
- Attach securely to wall studs using anchors.
- Place wooden boards and style with decor.
10. String Light Photo Display
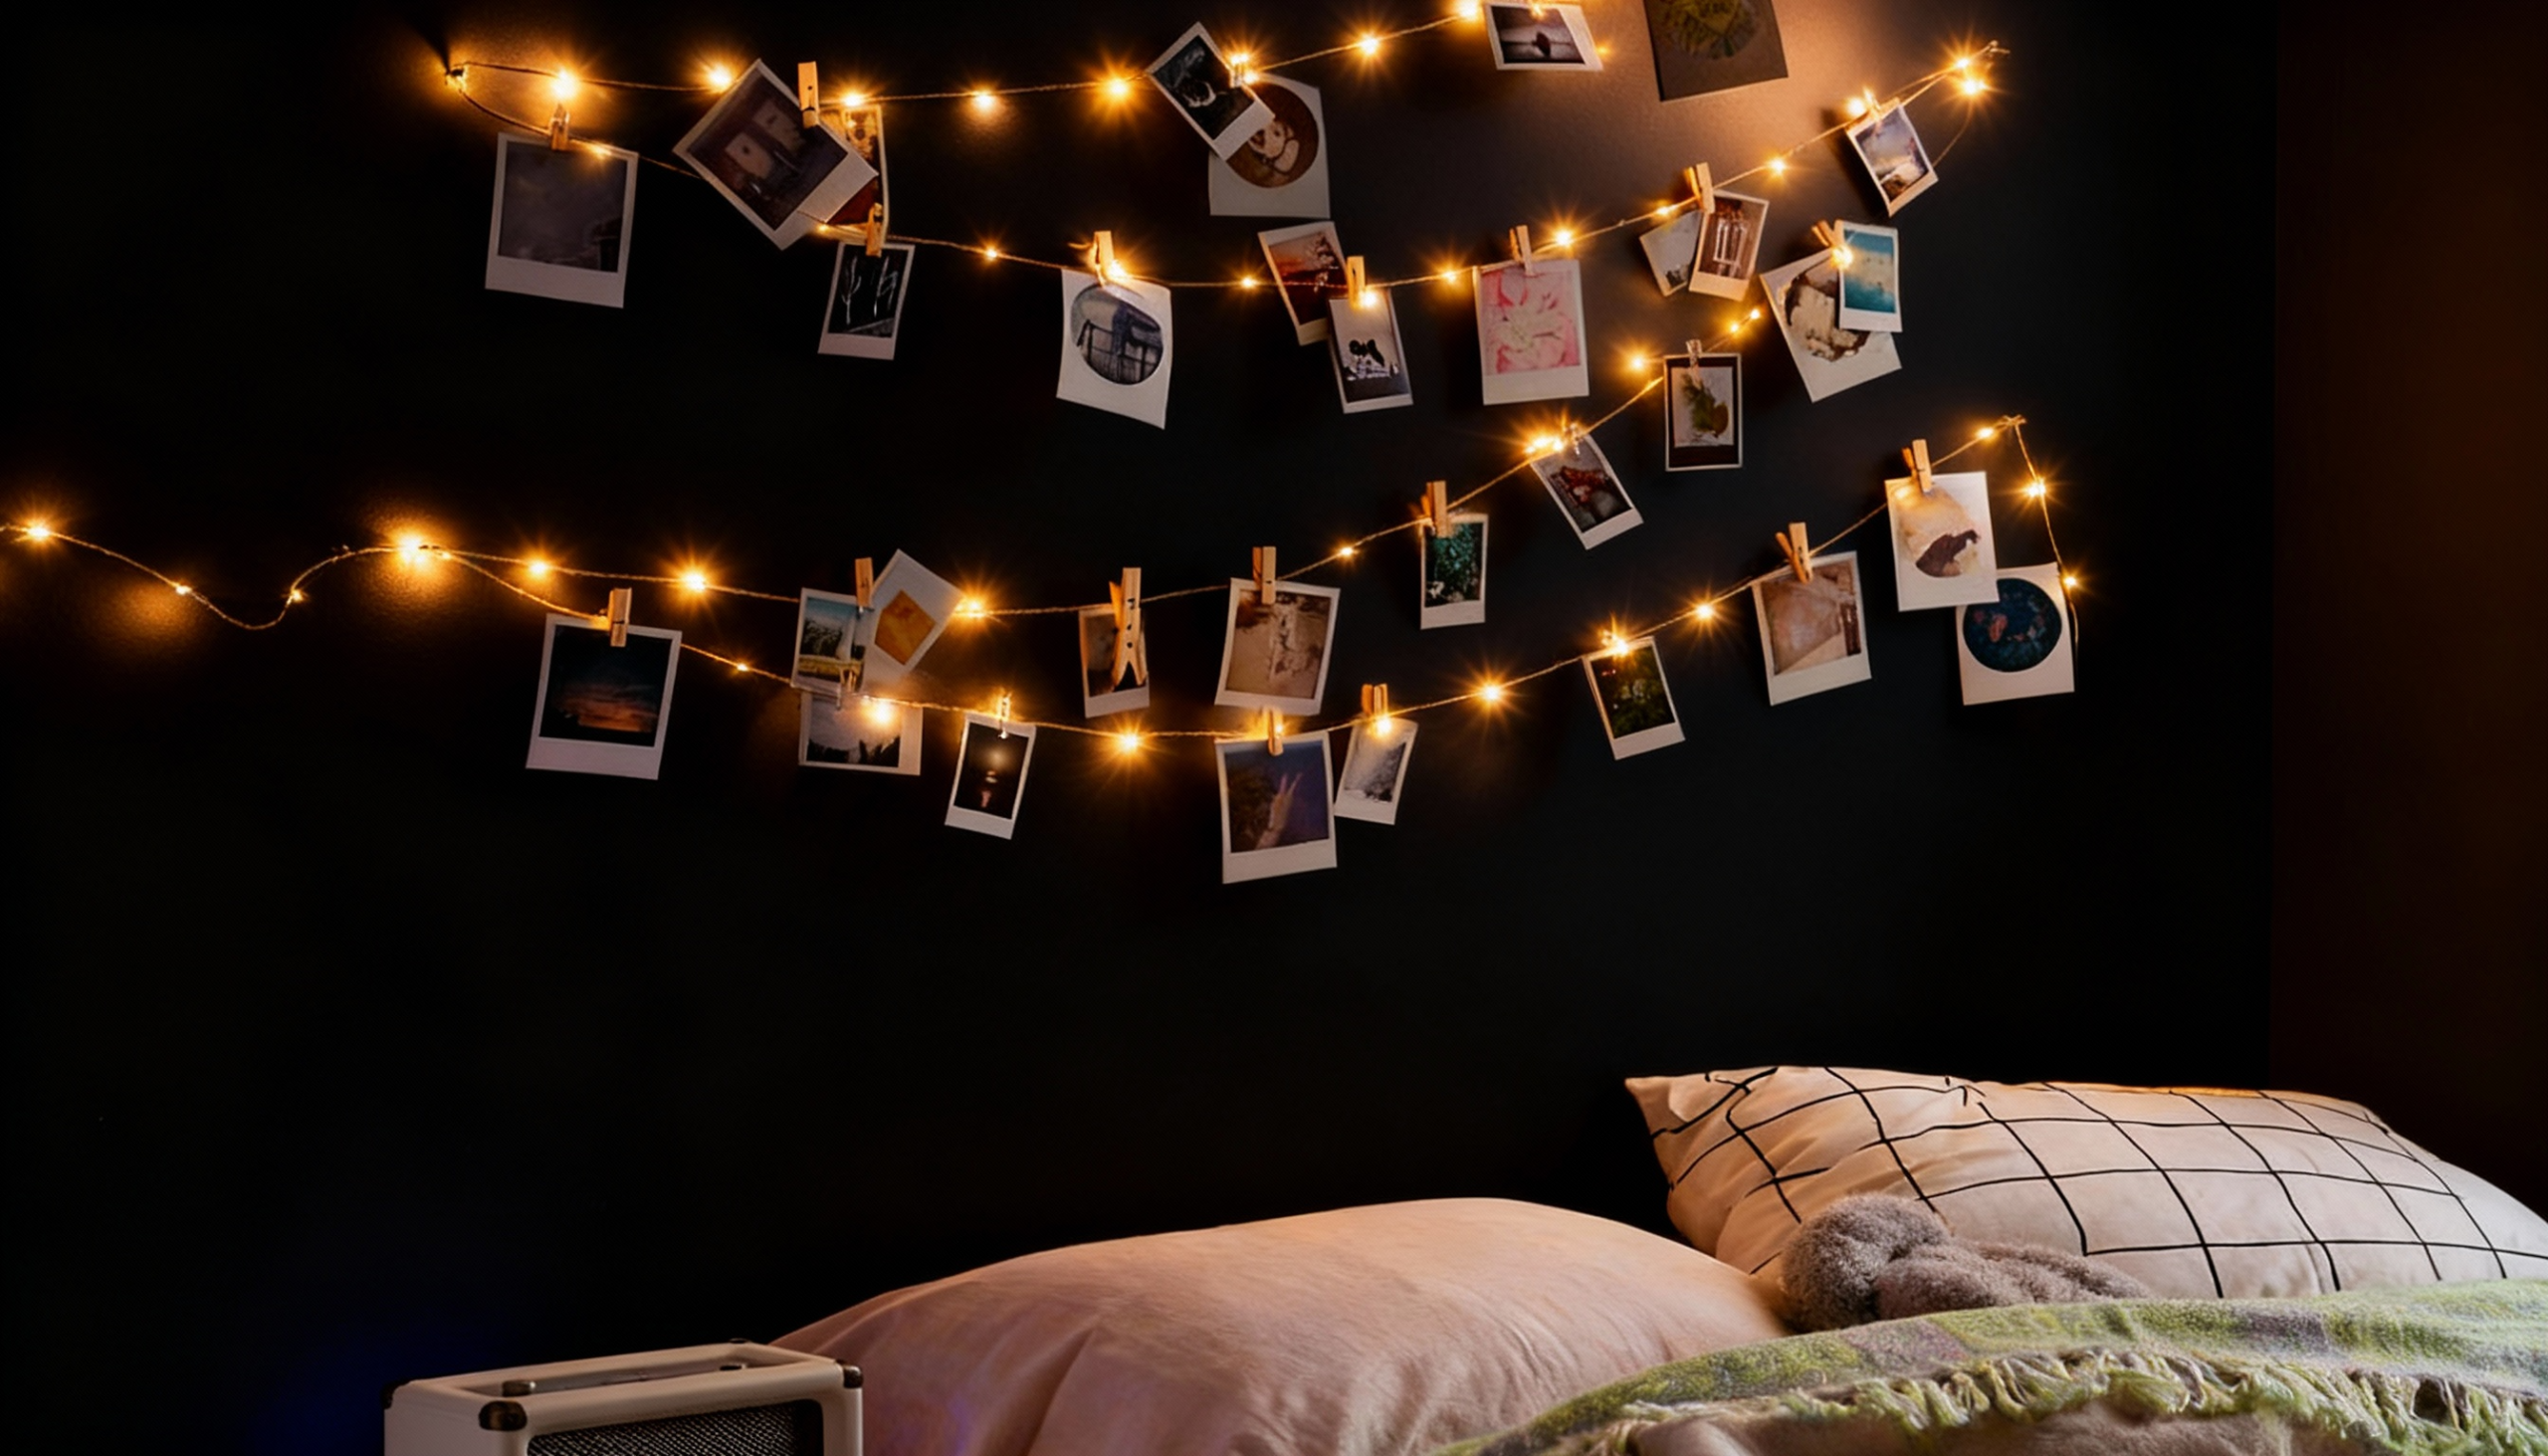
Illuminate memories by clipping photos to string lights, creating whimsical, glowing displays. Warm LED bulbs cast gentle ambient lighting while showcasing favorite moments.
This playful approach works beautifully in bedrooms, dorm rooms, or creative spaces needing a cozy, personalized atmosphere.
Unlike a framed gallery wall, this setup adds warmth with soft ambient lighting.
Materials Needed: String lights (LED), mini clothespins or clips, printed photos, and command hooks.
How to Achieve This:
- Hang string lights using removable wall hooks.
- Clip photos to the lights, spacing evenly throughout.
- Plug in and enjoy the illuminated memory display.
11. Fabric Wall Tapestry Hanging
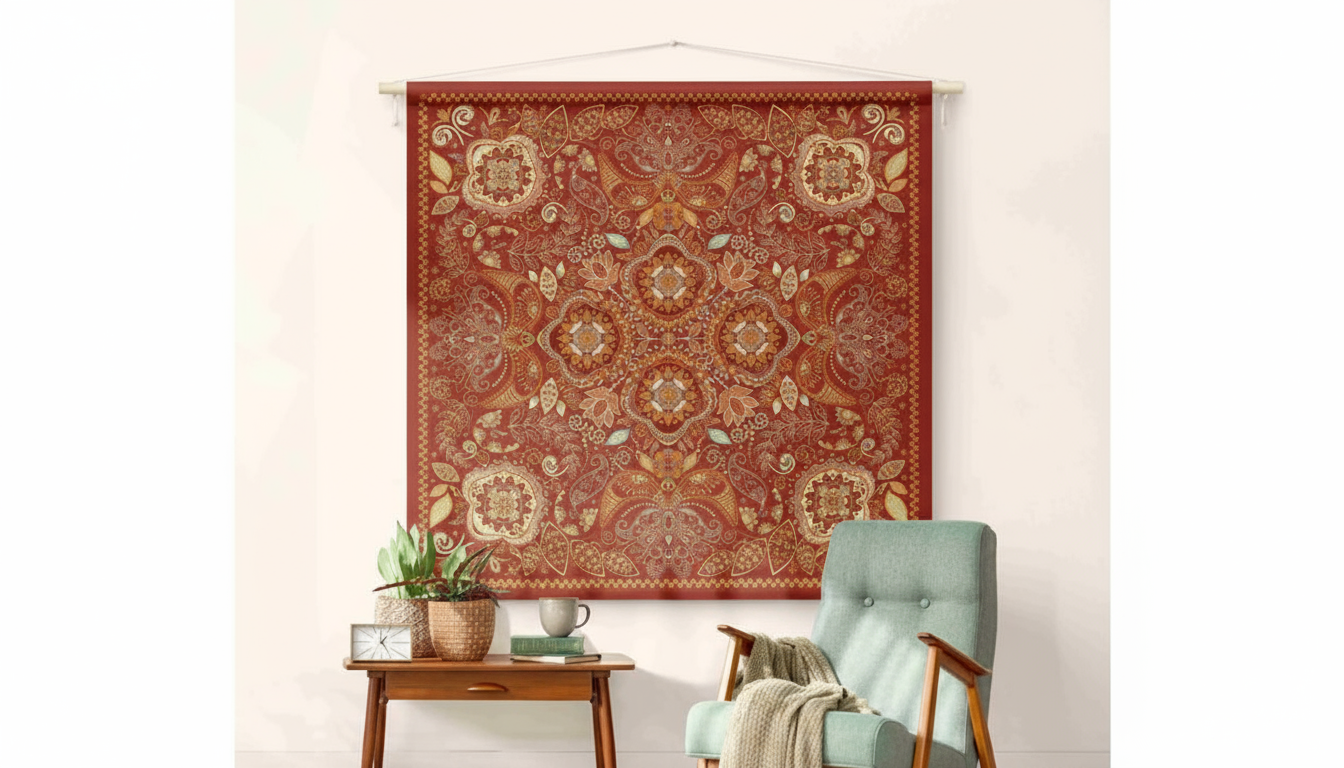
Drape large-scale fabric tapestries featuring mandalas, landscapes, or abstract patterns, creating an instant bohemian atmosphere.
This renter-friendly solution requires no permanent installation, making it ideal for decor preferences that change frequently.
Materials Needed: Large fabric tapestry, wooden dowel or curtain rod, hanging hardware, thumbtacks.
How to Achieve This:
- Thread the dowel through the tapestry top hem carefully.
- Install wall brackets at the appropriate spacing distance.
- Hang the tapestry and adjust for even draping.
12. Cork Board Pin Map
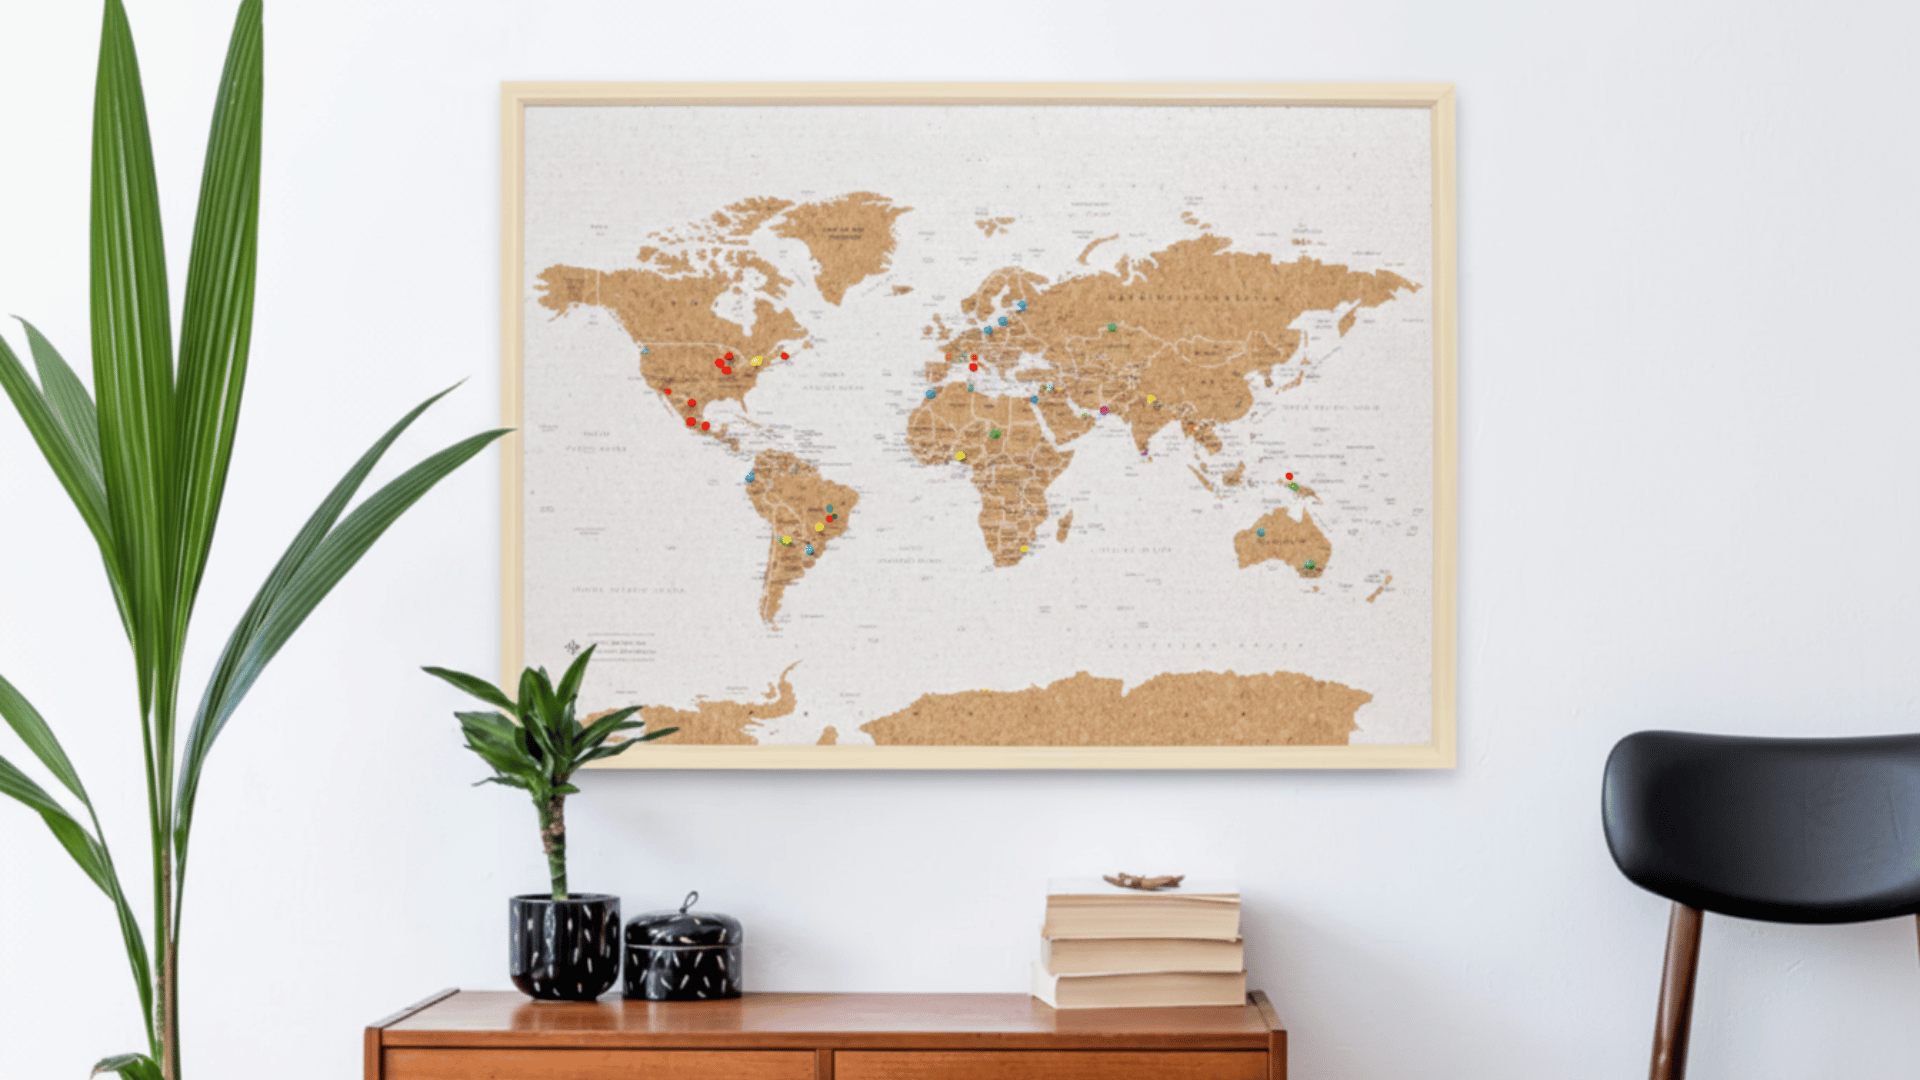
Track travels and dream destinations with corkboard maps where pins mark visited locations.
Customize with different pin colors representing various trip types or travel companions for added meaning.
Materials Needed: Corkboard world map, push pins (various colors), frame (optional), mounting hardware.
How to Achieve This:
- Mount the cork map on the wall using hardware.
- Pin locations marking travels and future destinations.
- Add labels or photos documenting special memories.
13. Mirror Mosaic Accent Wall
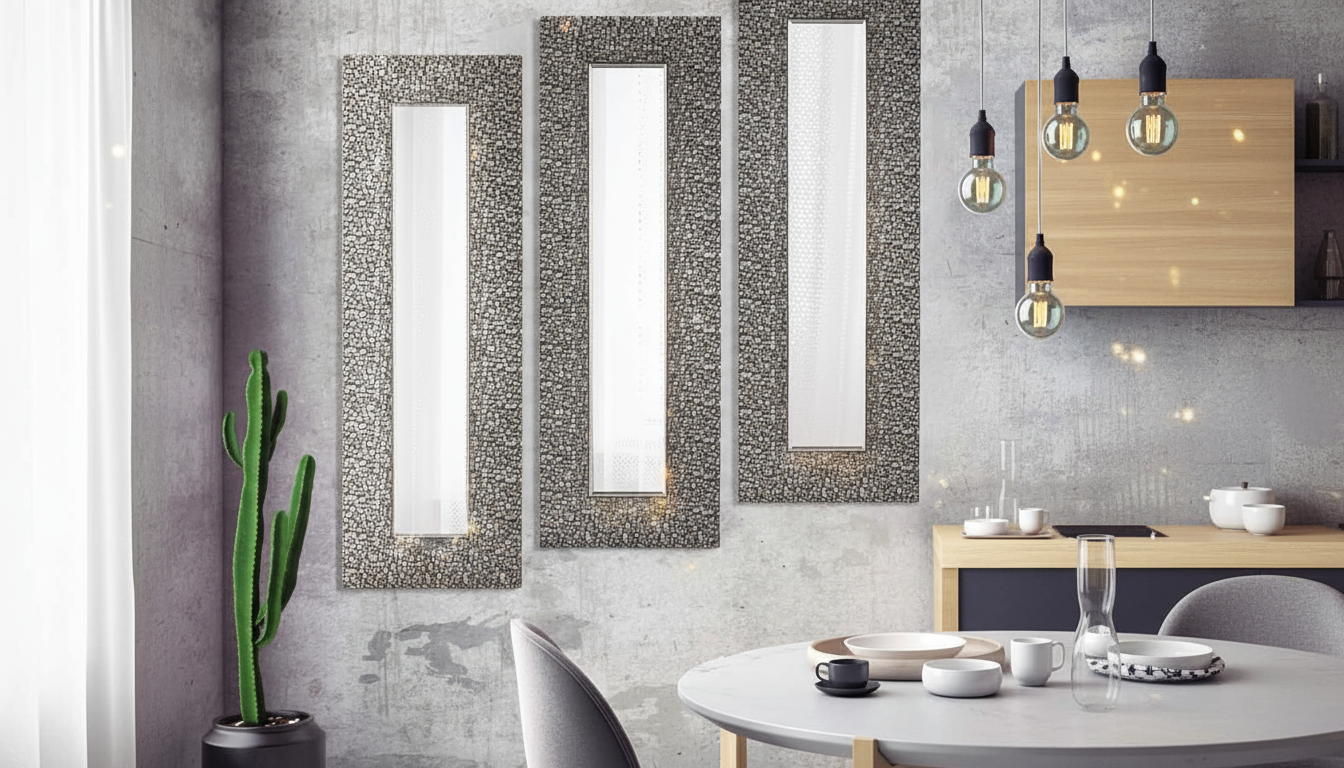
Arrange small mirrors in geometric patterns, creating dazzling light-reflecting wall installations.
This glamorous Hollywood Regency-inspired technique works particularly well in entryways, dining rooms, or powder rooms needing drama.
Materials Needed: Small mirror tiles or pieces, strong adhesive, level, pencil, protective gloves.
How to Achieve This:
- Plan a mirror arrangement pattern on the wall surface.
- Apply adhesive and press mirrors firmly in place.
- Let it cure completely before touching or cleaning.
14. Pegboard Organization Wall
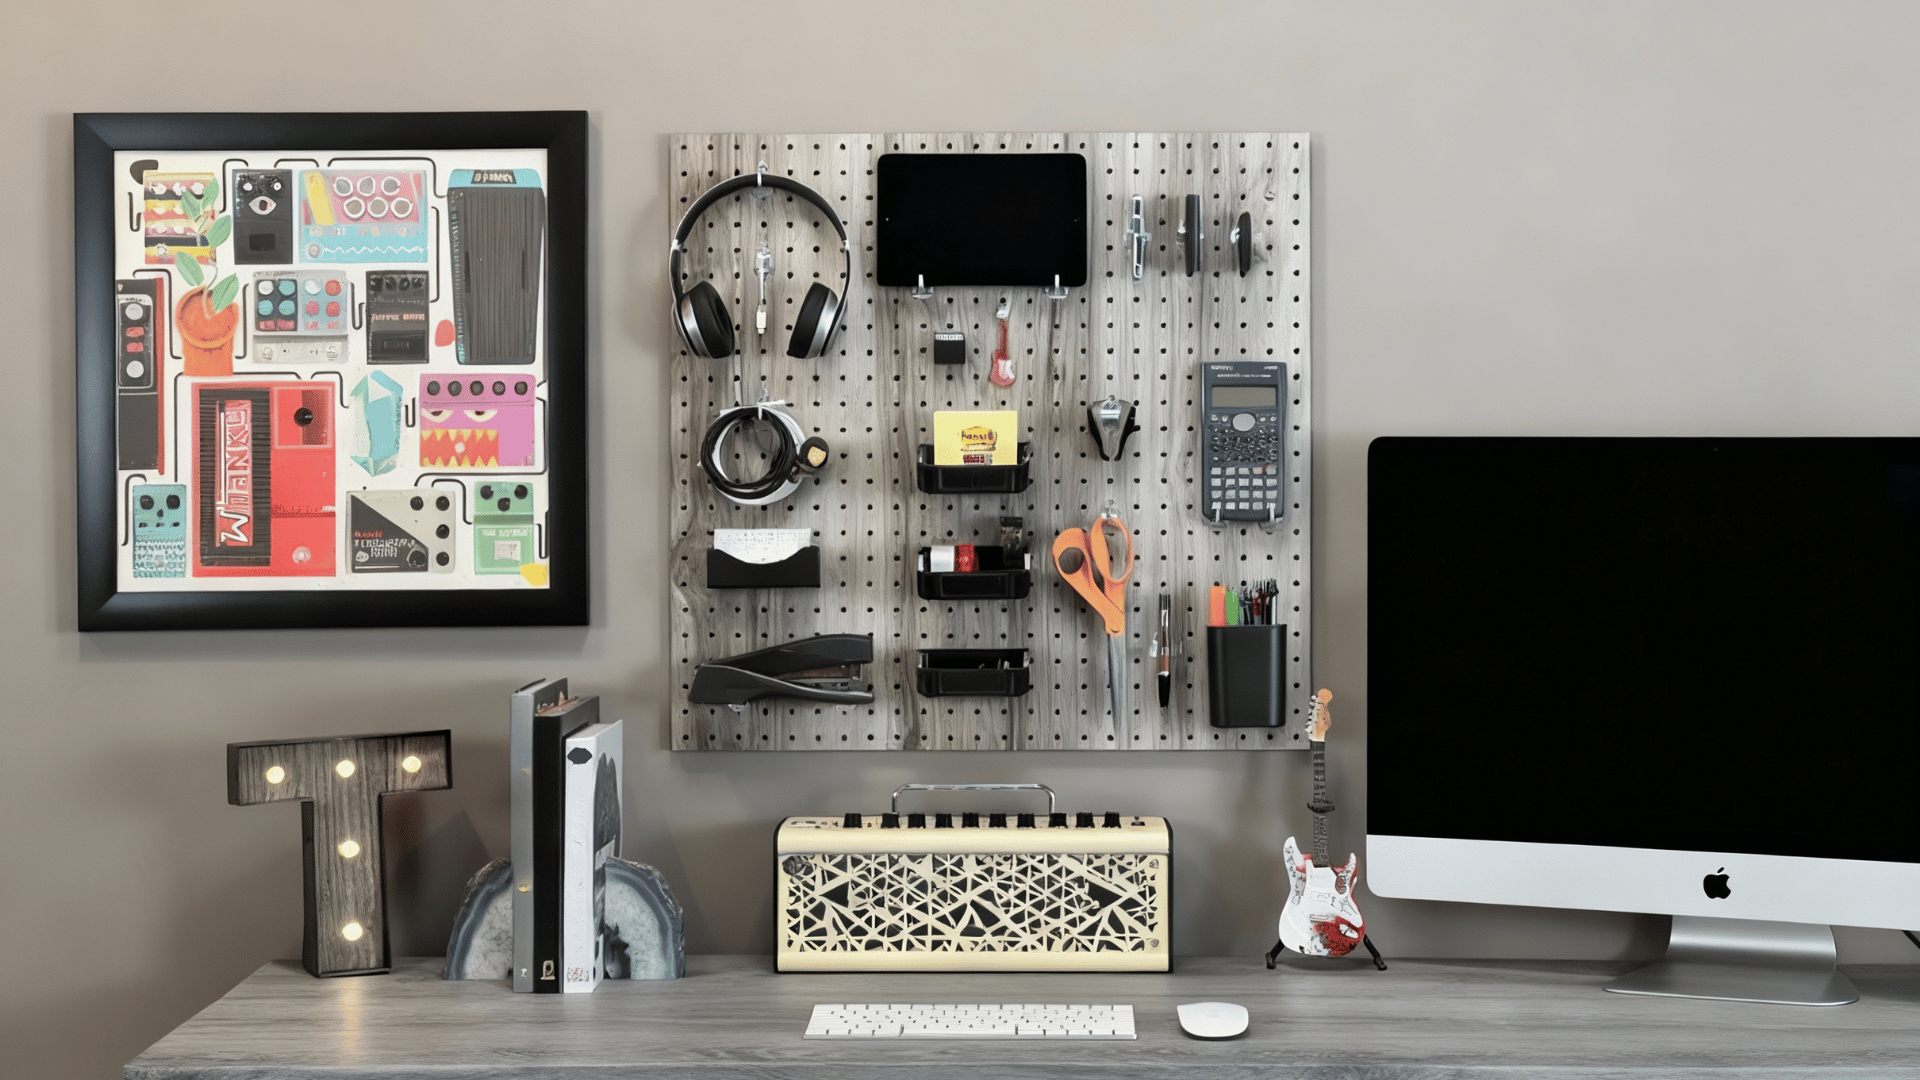
Install a painted pegboard, creating customizable storage that’s both practical and visually appealing.
Best for craft rooms, offices, or kitchens, this functional decor keeps supplies accessible while maintaining tidy, Instagram-worthy style.
Materials Needed: Pegboard panel, paint, pegboard hooks and accessories, mounting hardware, and drill.
How to Achieve This:
- Paint the pegboard in the desired color, letting it dry.
- Mount securely to wall studs for stability.
- Arrange hooks and accessories, organizing items attractively.
15. Yarn Wall Weaving Art
Create textured fiber art by weaving colorful yarns onto wooden frames or looms. Soft, tactile materials introduce comfort and handmade authenticity.
This meditative craft produces one-of-a-kind pieces ranging from minimalist neutral tones to vibrant rainbow color explosions, suiting any personality.
Materials Needed: Wooden frame or loom, various yarns, scissors, a comb or fork for weaving.
How to Achieve This:
- Warp frame with vertical yarn foundation strands.
- Weave horizontal yarns in over-under patterns consistently.
- Trim excess and hang the finished textile artwork.
16. Chalkboard Wall Panel
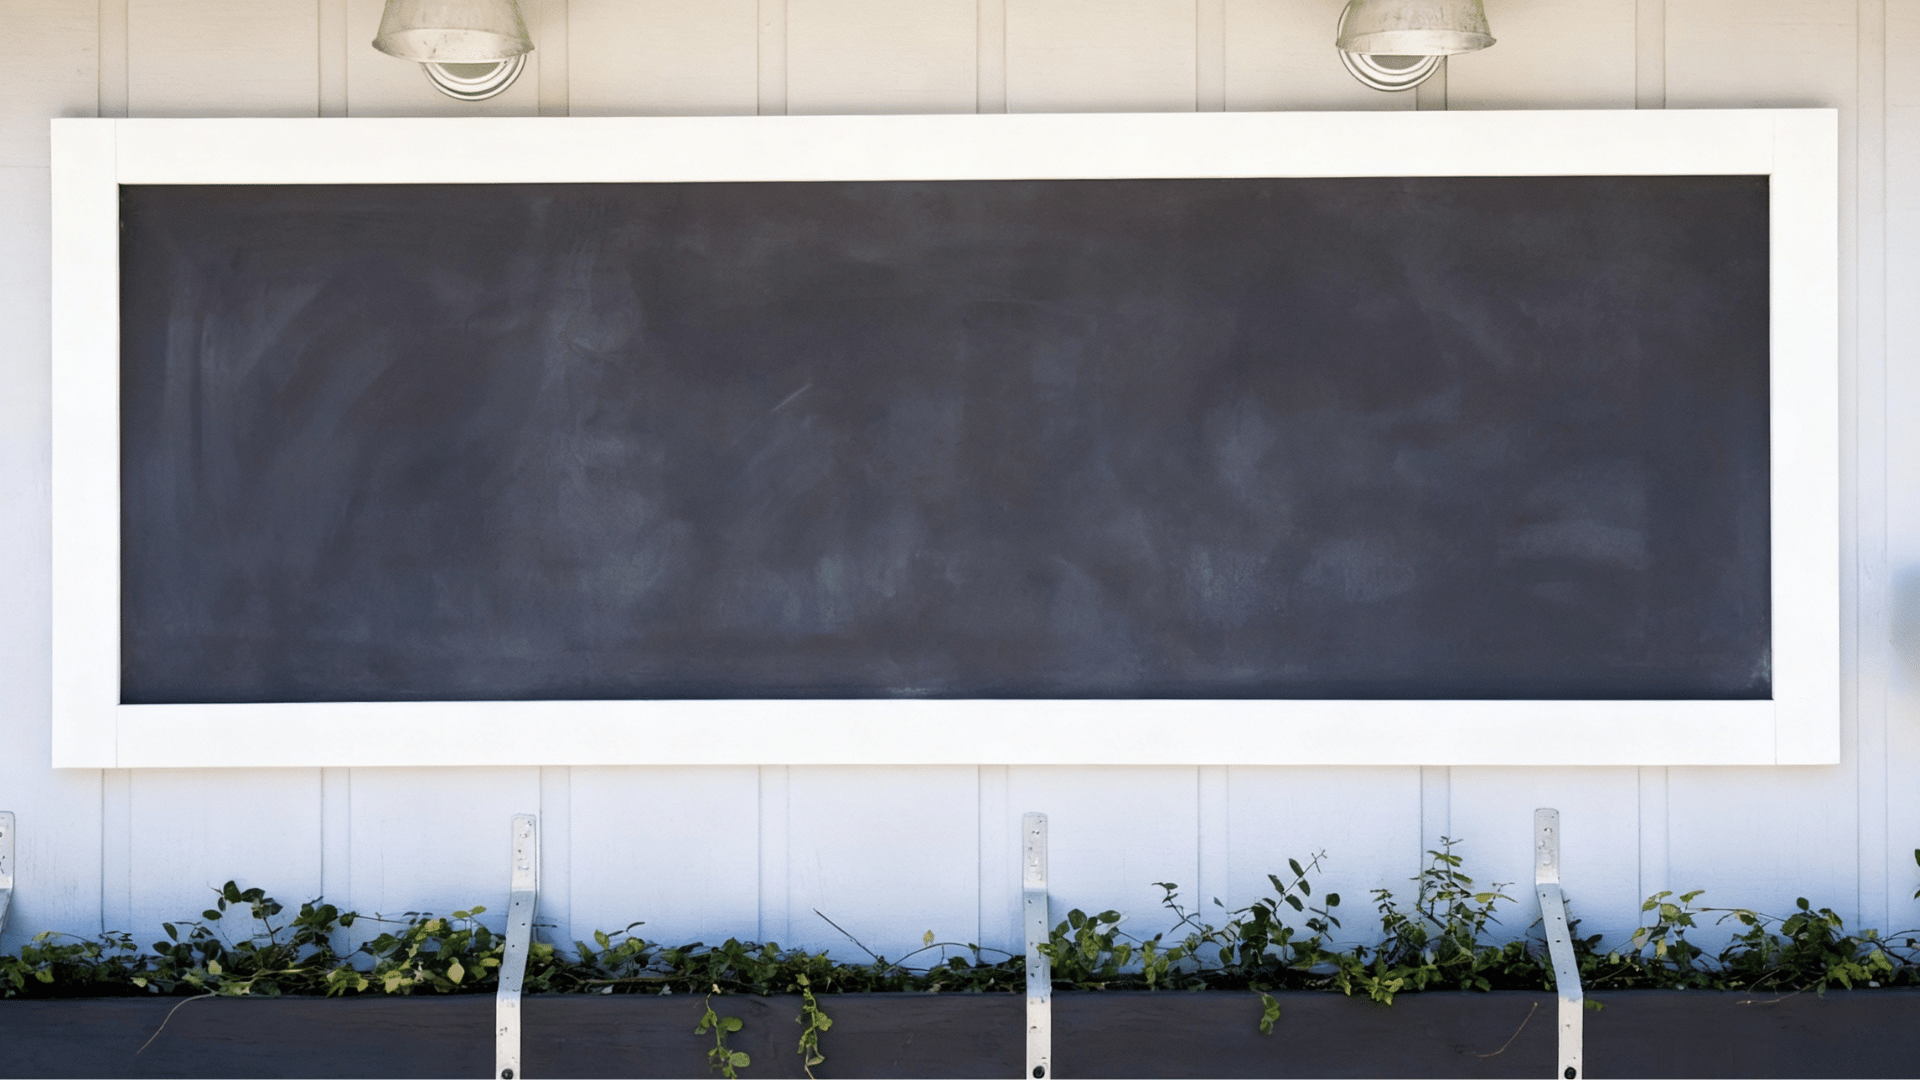
Change walls into functional art spaces with chalkboard paint where messages, drawings, and reminders change daily.
This interactive surface engages children and adults alike for creativity and organization.
Materials Needed: Chalkboard paint, paintbrushes or roller, painter’s tape, primer, chalk, and eraser.
How to Achieve This:
- Tape off the area and apply the primer coat.
- Paint multiple chalkboard paint coats allowing drying time.
- Condition the surface by rubbing chalk over the entire area.
17. Driftwood Wall Sculpture
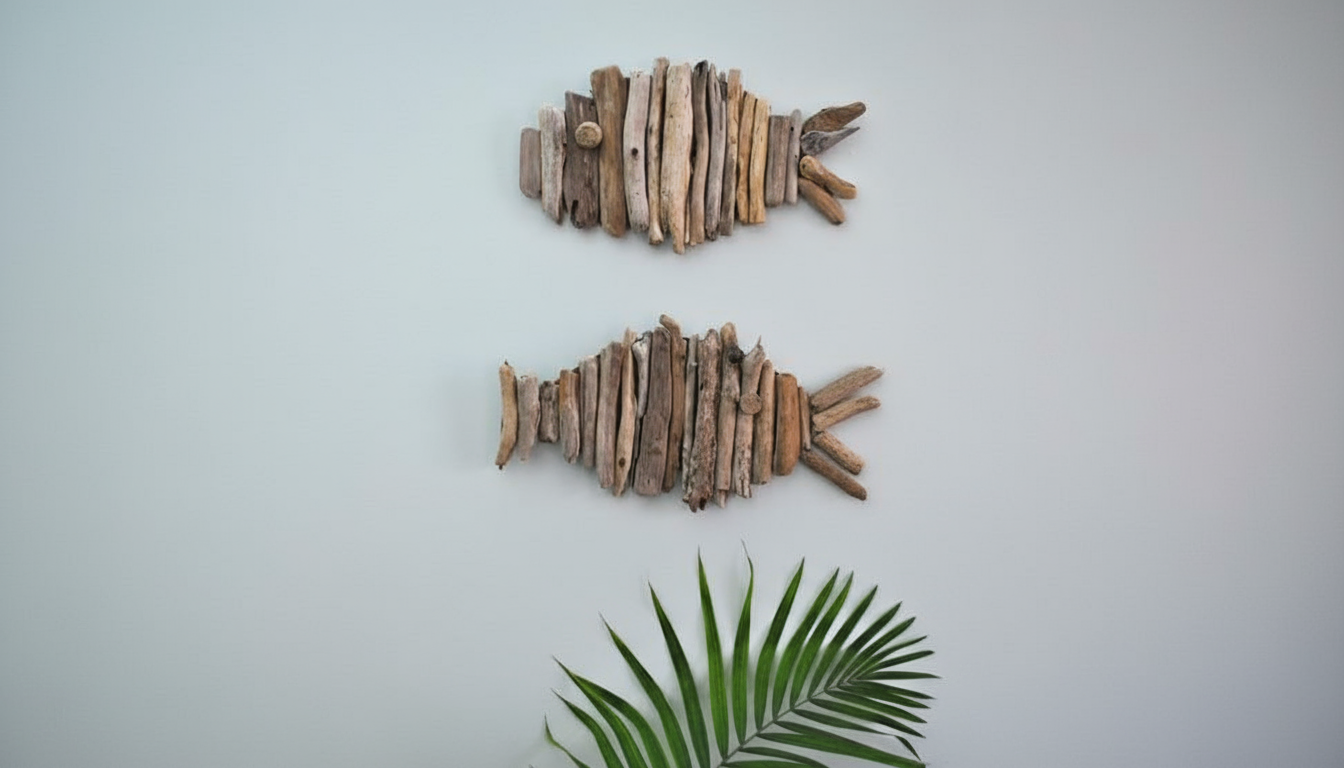
Arrange weathered driftwood pieces, creating organic sculptures that bring coastal vibes indoors.
Beach-inspired decor connects spaces to nature while celebrating found objects’ inherent beauty through thoughtful arrangement.
Materials Needed: Driftwood pieces (various sizes), strong adhesive or wire, backing board, hanging hardware.
How to Achieve This:
- Clean driftwood, removing sand and salt residue.
- Arrange pieces, creating a balanced sculptural composition design.
- Secure to the backing board and hang on the wall.
18. Wallpaper Accent Feature
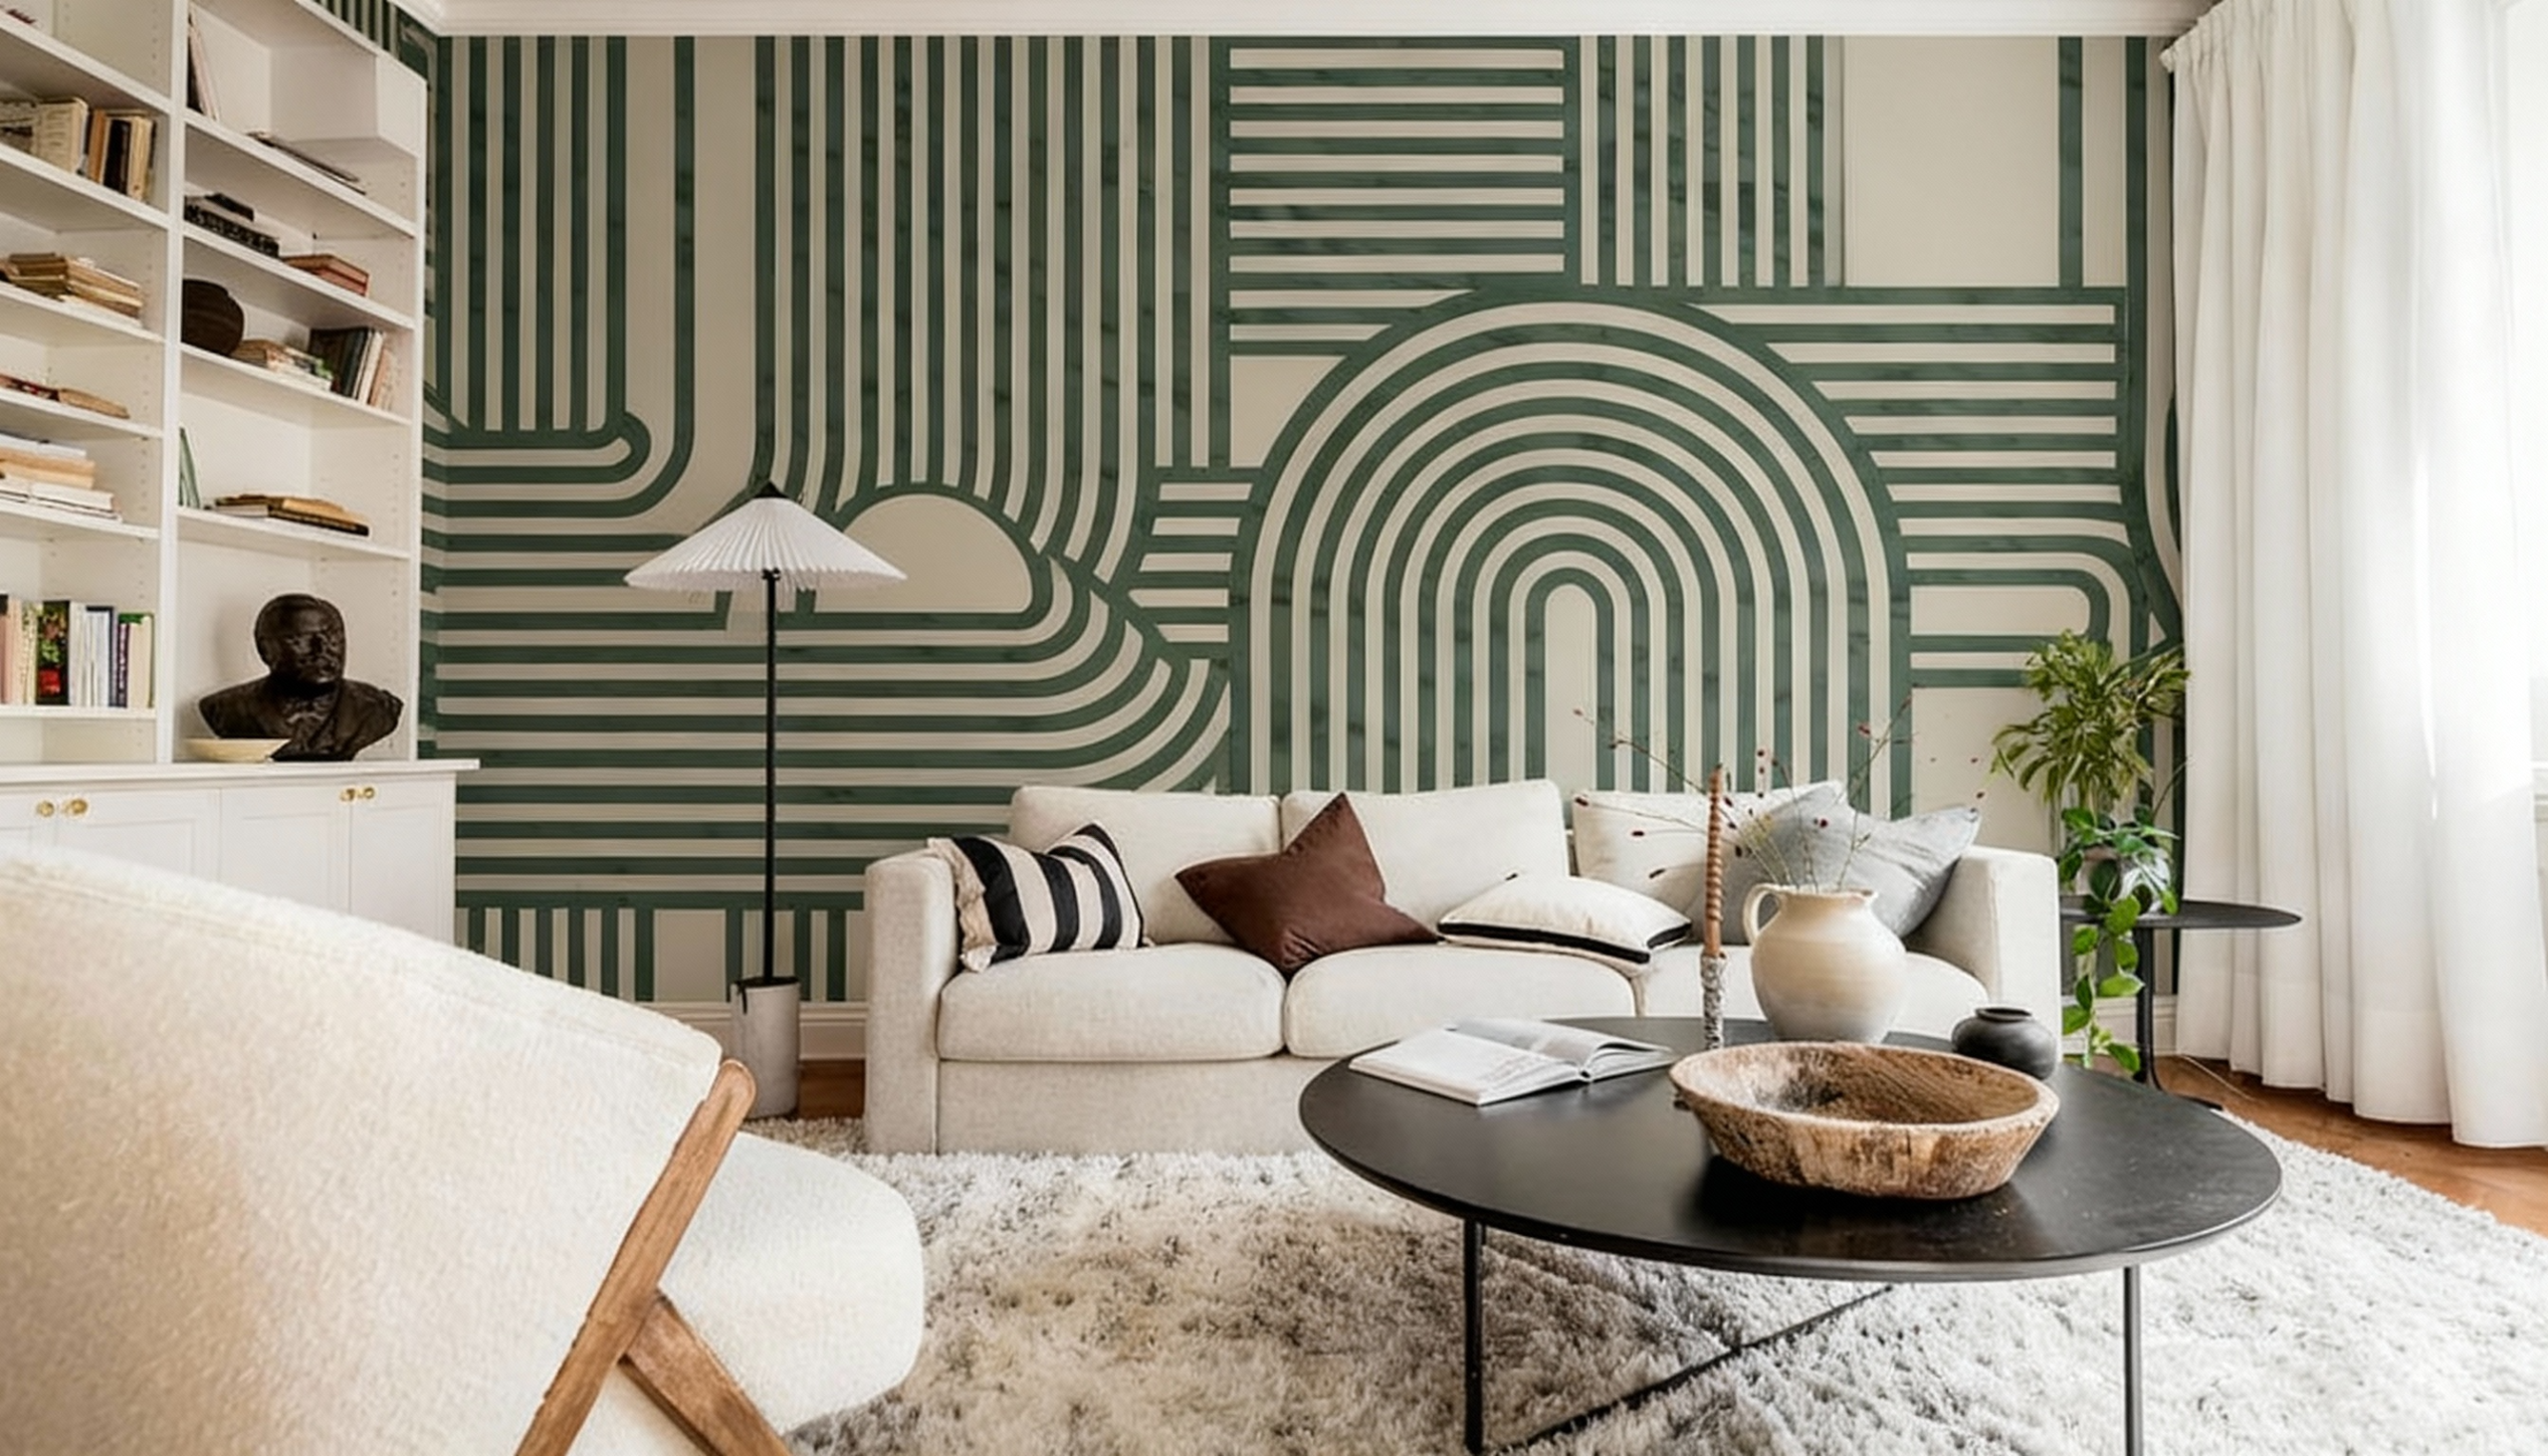
Apply removable wallpaper to single walls to create dramatic focal points without a permanent commitment.
This renter-friendly option allows frequent design updates following current trends without damaging walls.
Materials Needed: Peel-and-stick wallpaper, level, smoothing tool, utility knife, measuring tape.
How to Achieve This:
- Measure the wall and cut the wallpaper to the proper dimensions.
- Peel the backing and apply, smoothing out air bubbles.
- Trim excess at edges using a sharp blade carefully.
19. Reclaimed Wood Plank Wall
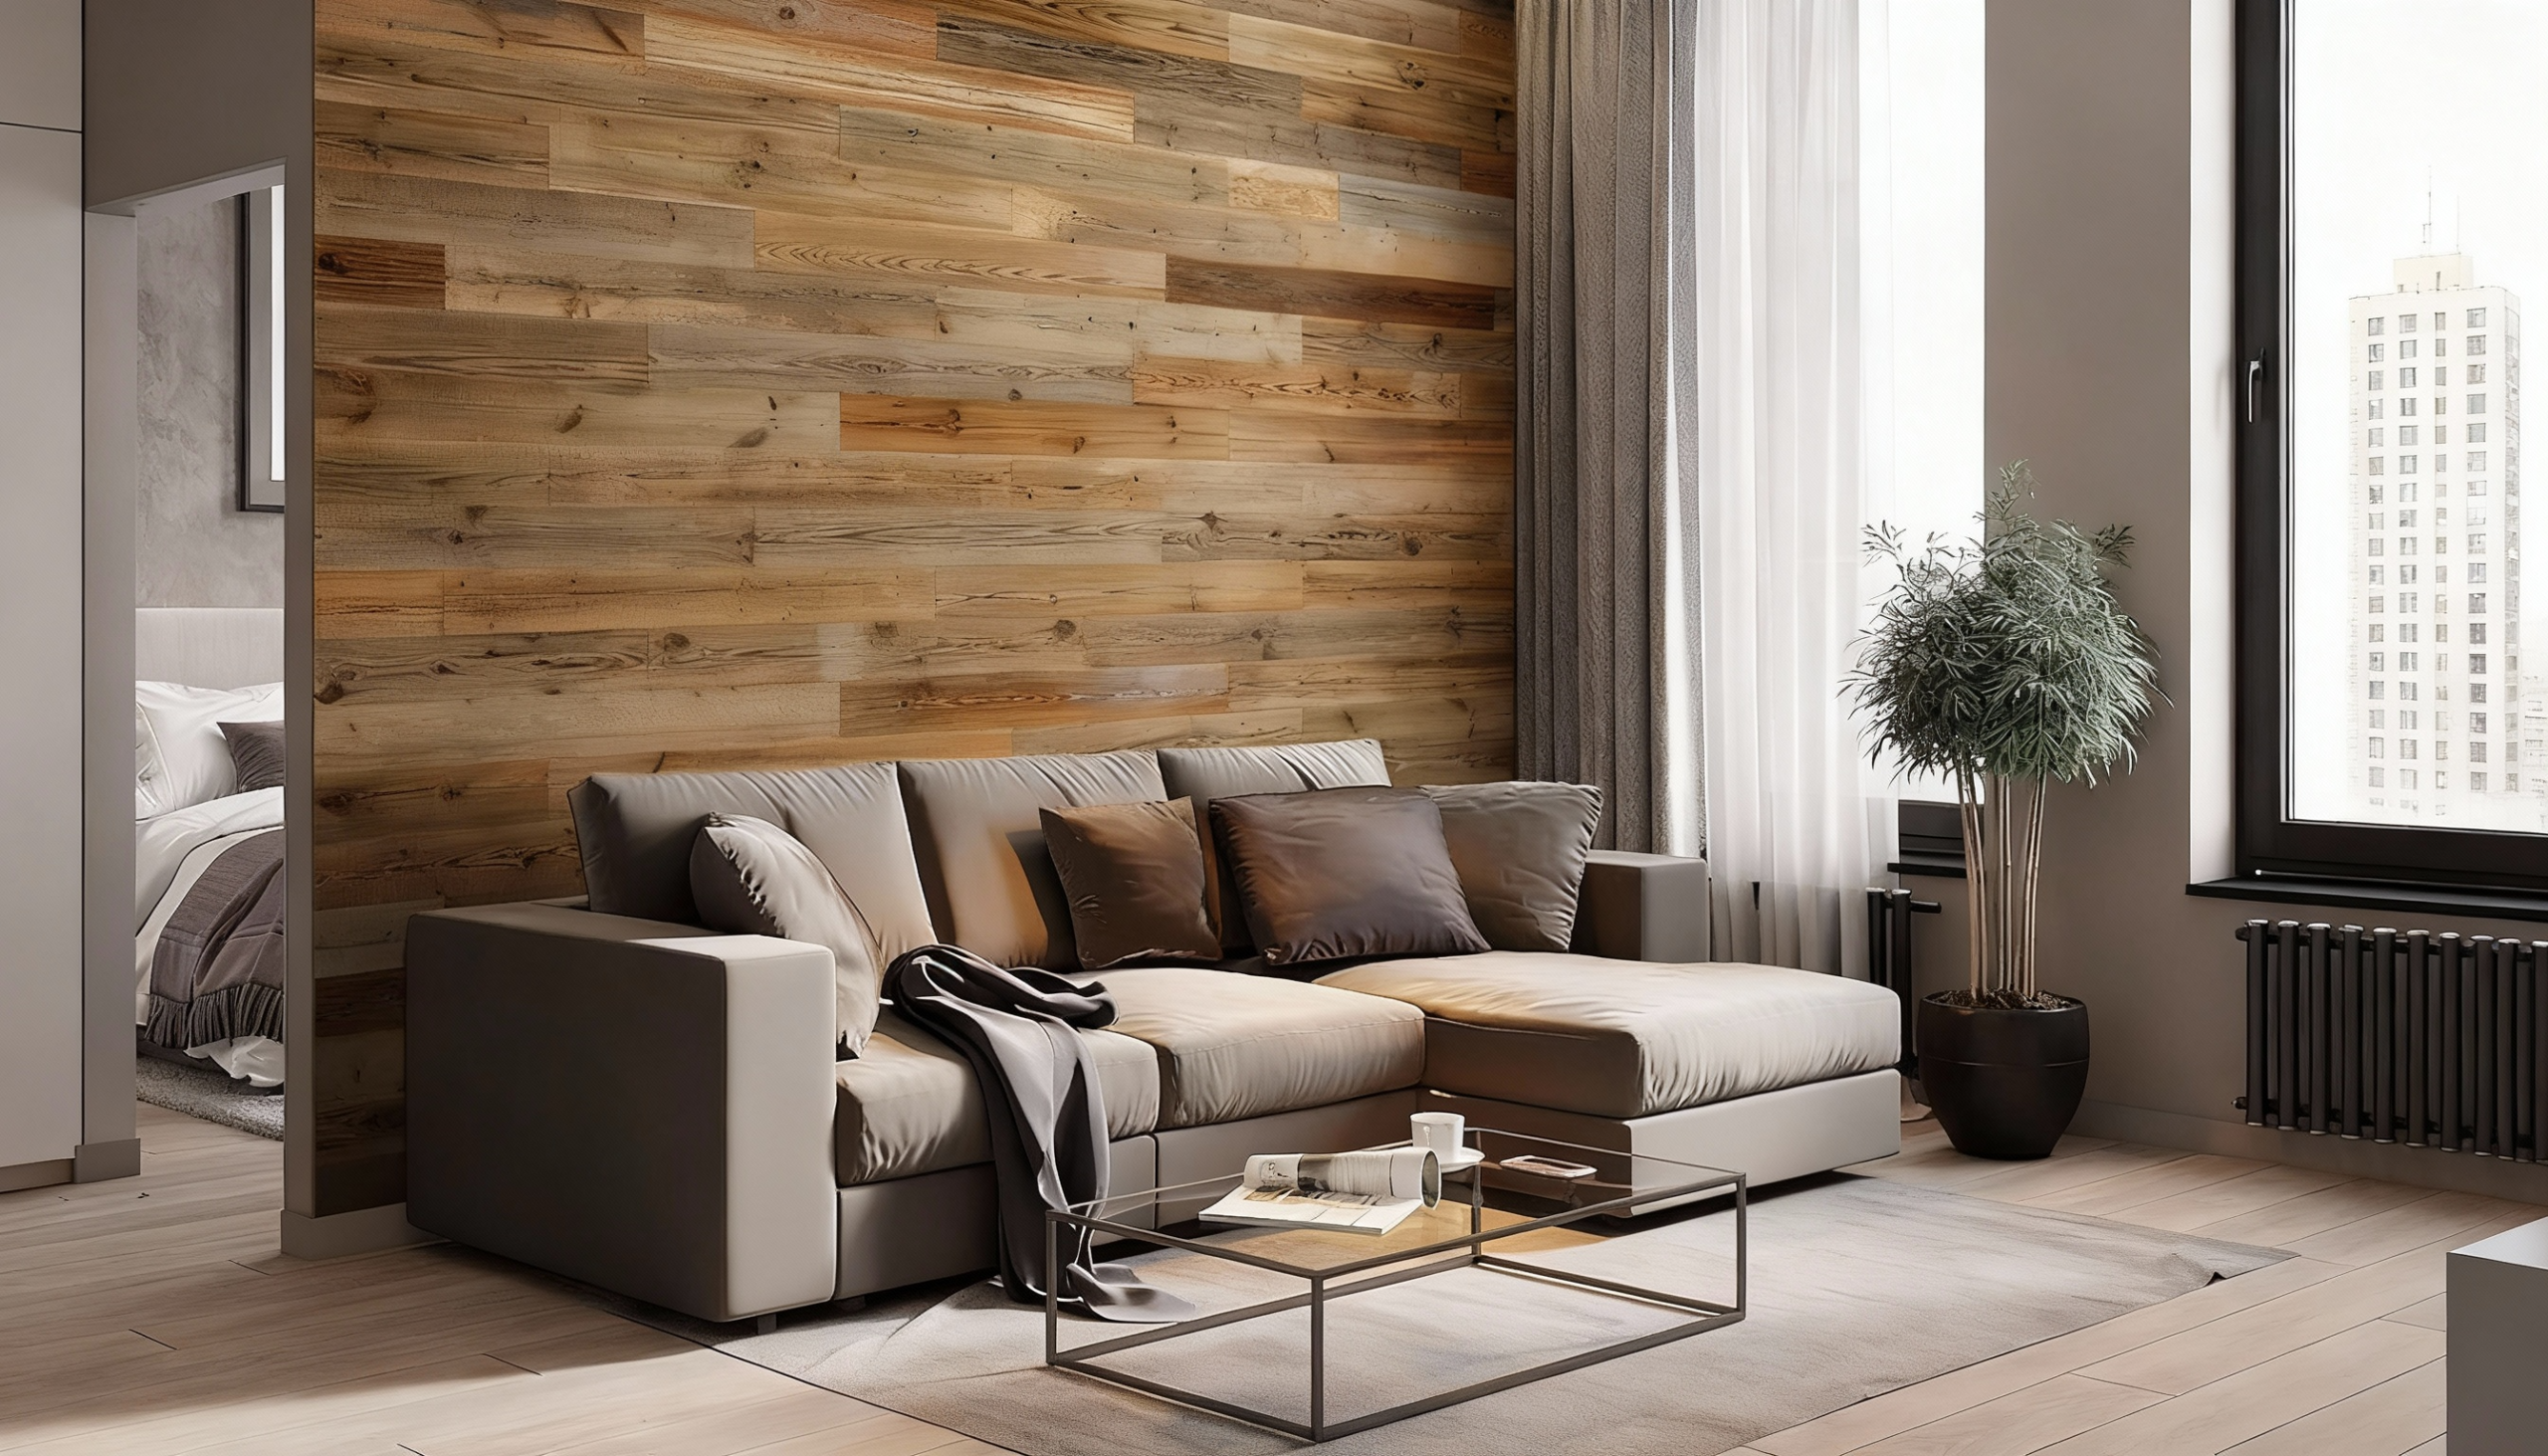
Install reclaimed barn wood planks, creating rustic feature walls with authentic character and history.
This farmhouse-style treatment works beautifully behind beds, in living rooms, or to define dining areas distinctly.
Materials Needed: Reclaimed wood planks, construction adhesive, brad nailer, level, and saw for cutting.
How to Achieve This:
- Measure and cut planks to fit the wall, all dimensions.
- Apply adhesive and nail planks to the wall securely.
- Seal with a protective finish that preserves wood naturally.
20. Decorative Plate Wall Display
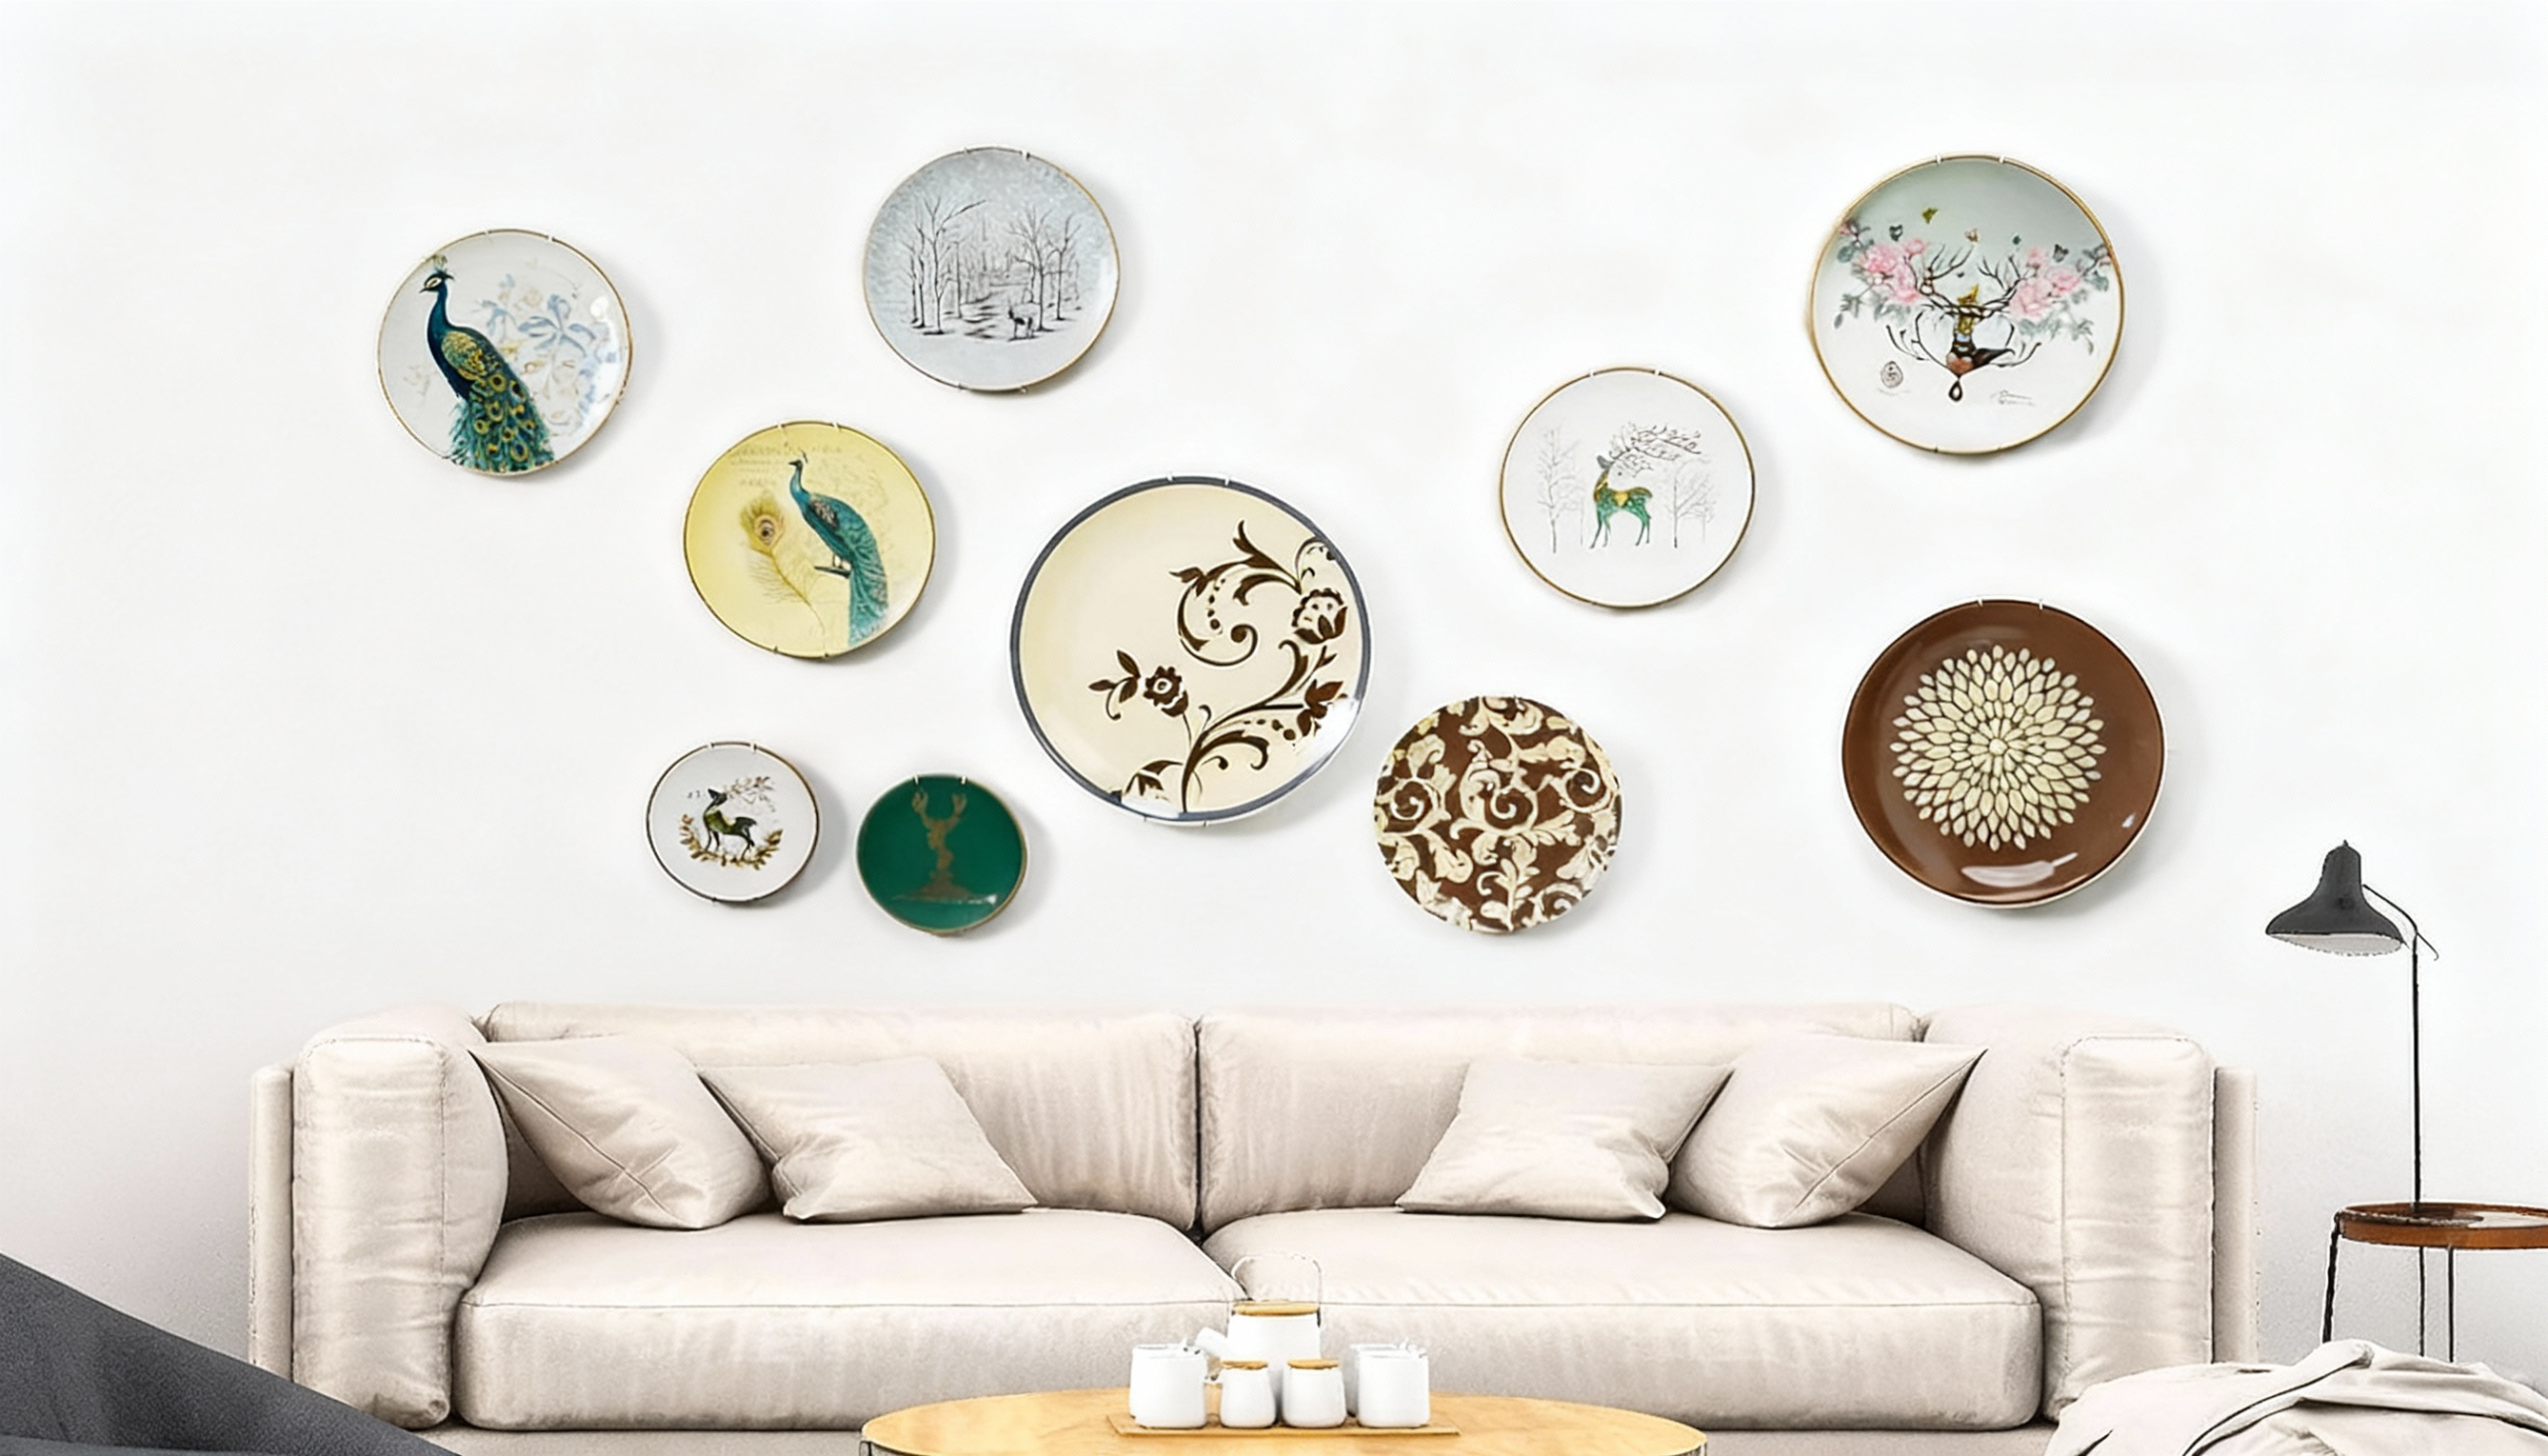
Arrange vintage or decorative plates in clustered groupings, creating grandmother-chic wall installations.
This classic decorating technique adds dimension while showcasing collections accumulated over time.
Materials Needed: Decorative plates (various sizes), plate hangers, picture hooks, level, and paper templates.
How to Achieve This:
- Create paper templates matching plate sizes exactly.
- Arrange templates, planning wall composition before hanging.
- Install plate hangers and display plates securely.
21. Washi Tape Geometric Design
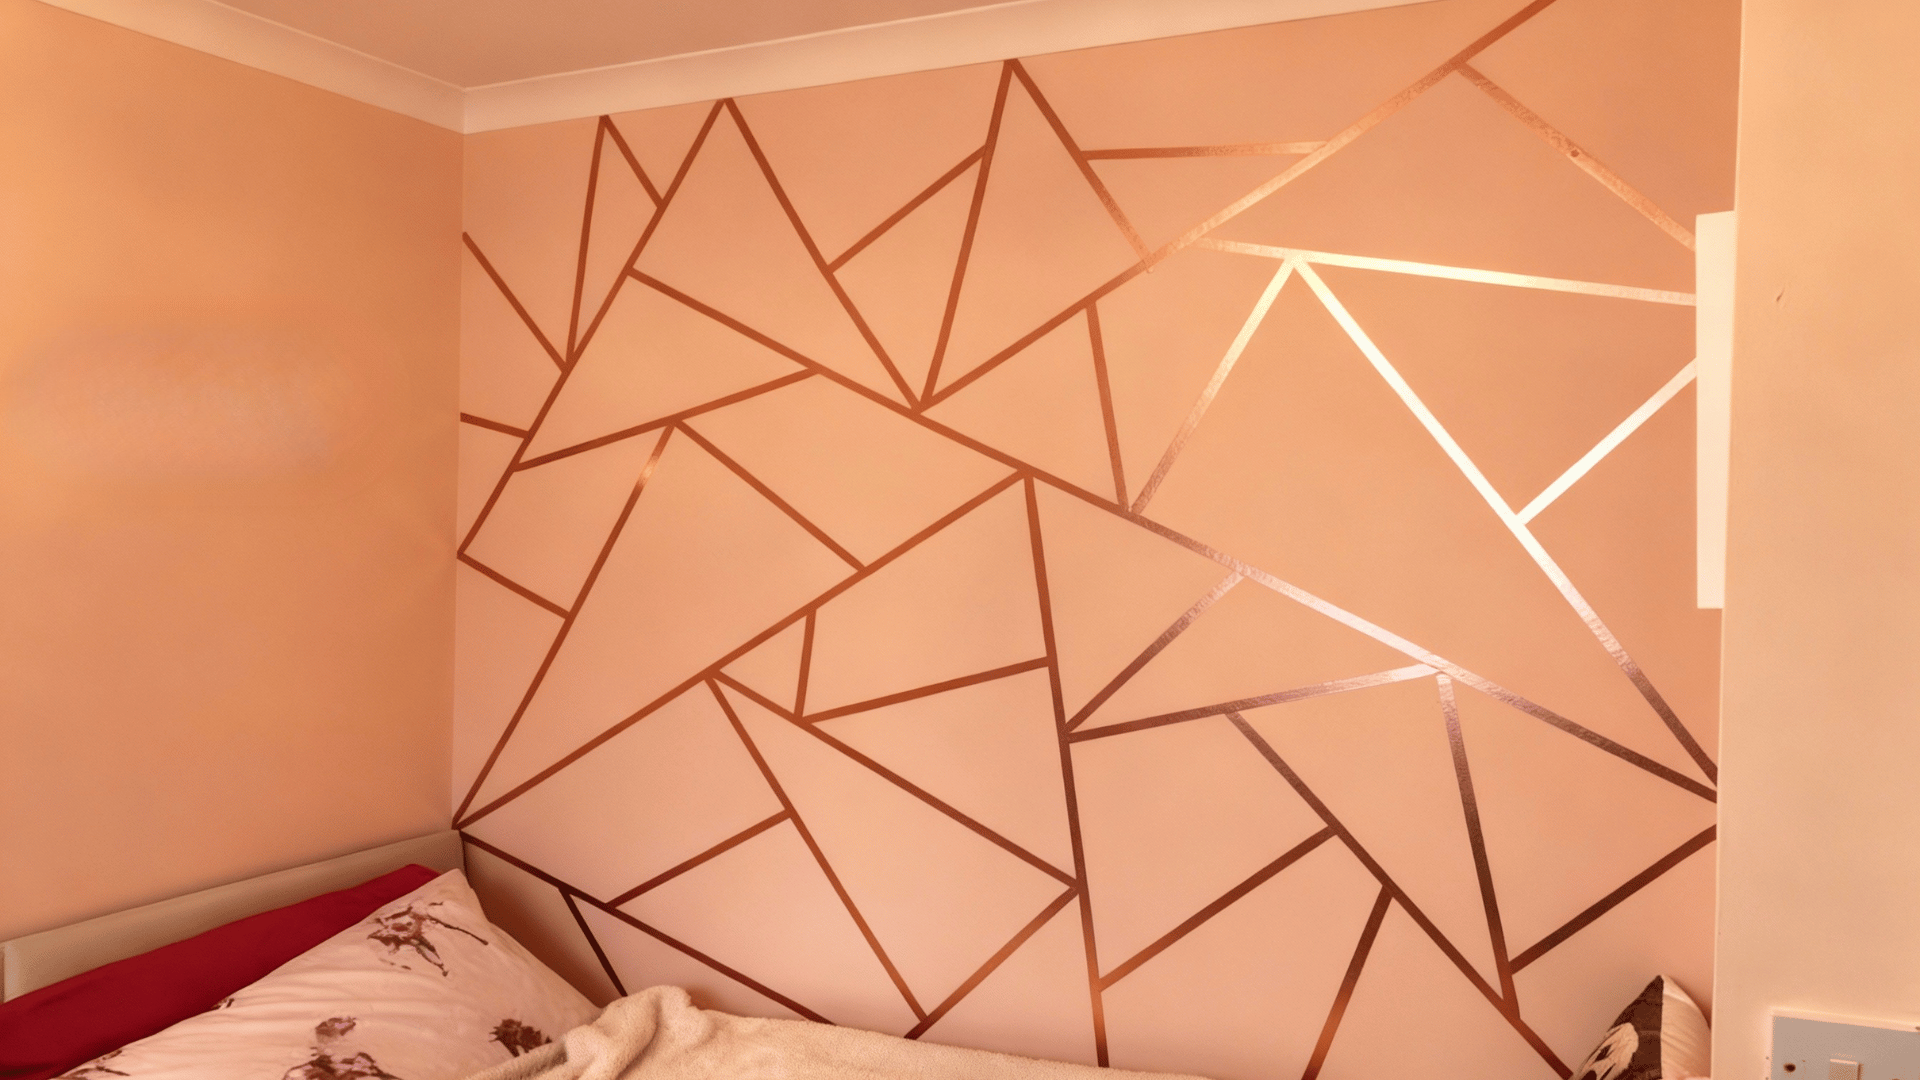
Create removable geometric patterns using colorful washi tape, requiring no painting or permanent alterations.
This budget-friendly solution works well for renters, dorm rooms, or those who enjoy frequent design changes.
Materials Needed: Washi tape (various colors and widths), level, measuring tape, and scissors.
How to Achieve This:
- Plan a geometric pattern design, measuring the wall carefully.
- Apply tape, creating straight lines and sharp corners.
- Layer colors to build complex patterns gradually.
22. Letter Marquee Sign
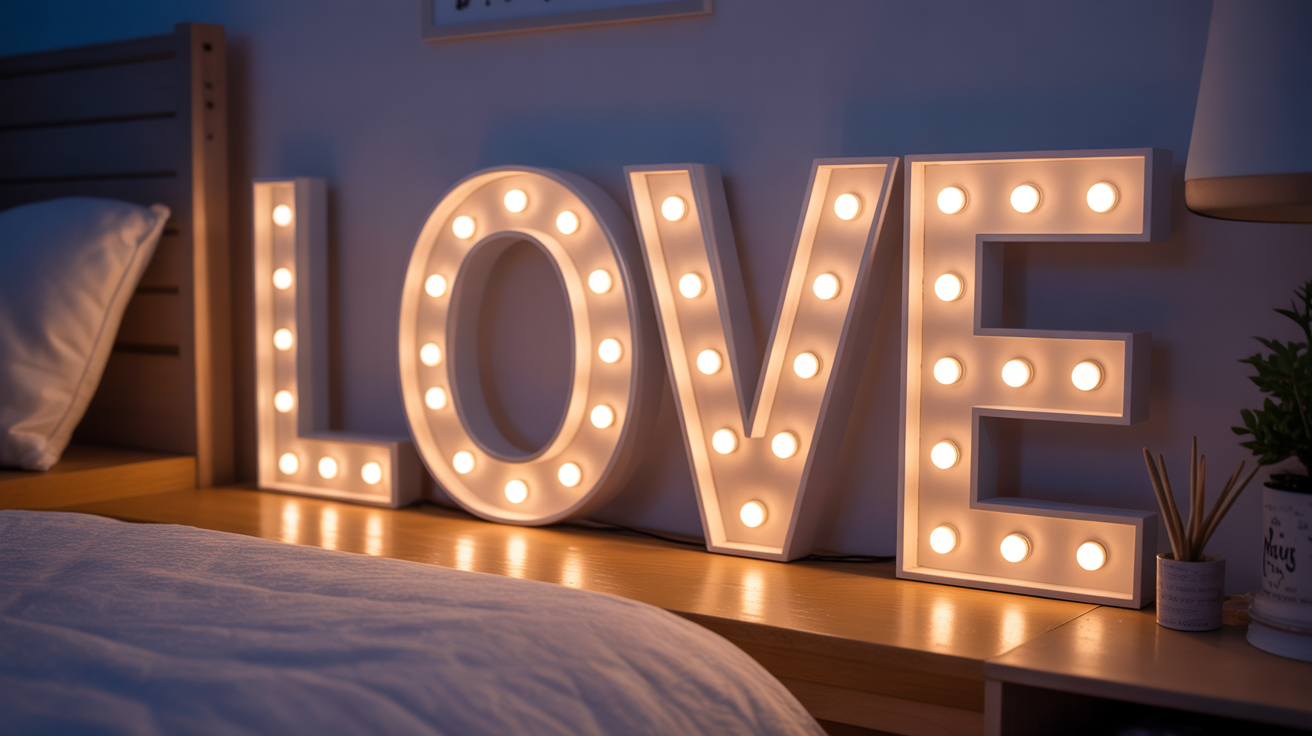
Illuminate names, words, or initials using LED-lit marquee letters, creating personalized glowing displays.
This trendy decor suits bedrooms, nurseries, home bars, or anywhere needing customized, eye-catching signage.
Materials Needed: Marquee letters, LED string lights, batteries, adhesive hooks, and wire or fishing line.
How to Achieve This:
- Insert LED lights into letter openings carefully.
- Secure batteries and test lighting functionality thoroughly.
- Mount letters on the wall.
23. Stenciled Wall Pattern Design
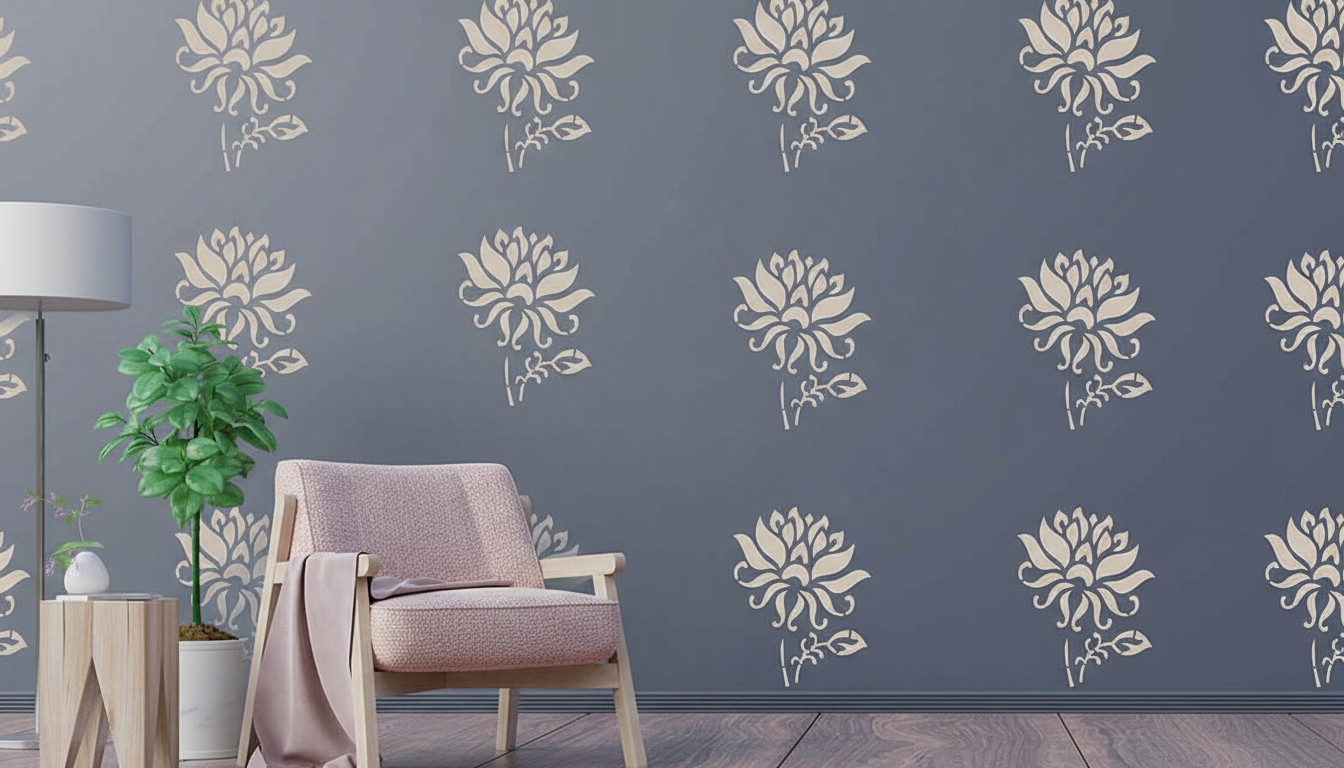
Apply intricate patterns using reusable stencils and paint, creating wallpaper-like effects affordably.
This technique offers customization that store-bought wallpaper can’t match while developing artistic skills through repetitive practice.
Materials Needed: Wall stencils, acrylic paint, stencil brushes or sponges, painter’s tape, and a level.
How to Achieve This:
- Tape the stencil flat against the wall, positioning carefully.
- Dab paint through stencil openings using light pressure.
- Repeat pattern across the wall, maintaining consistent spacing and alignment.
24. Metal Wall Sculpture Art
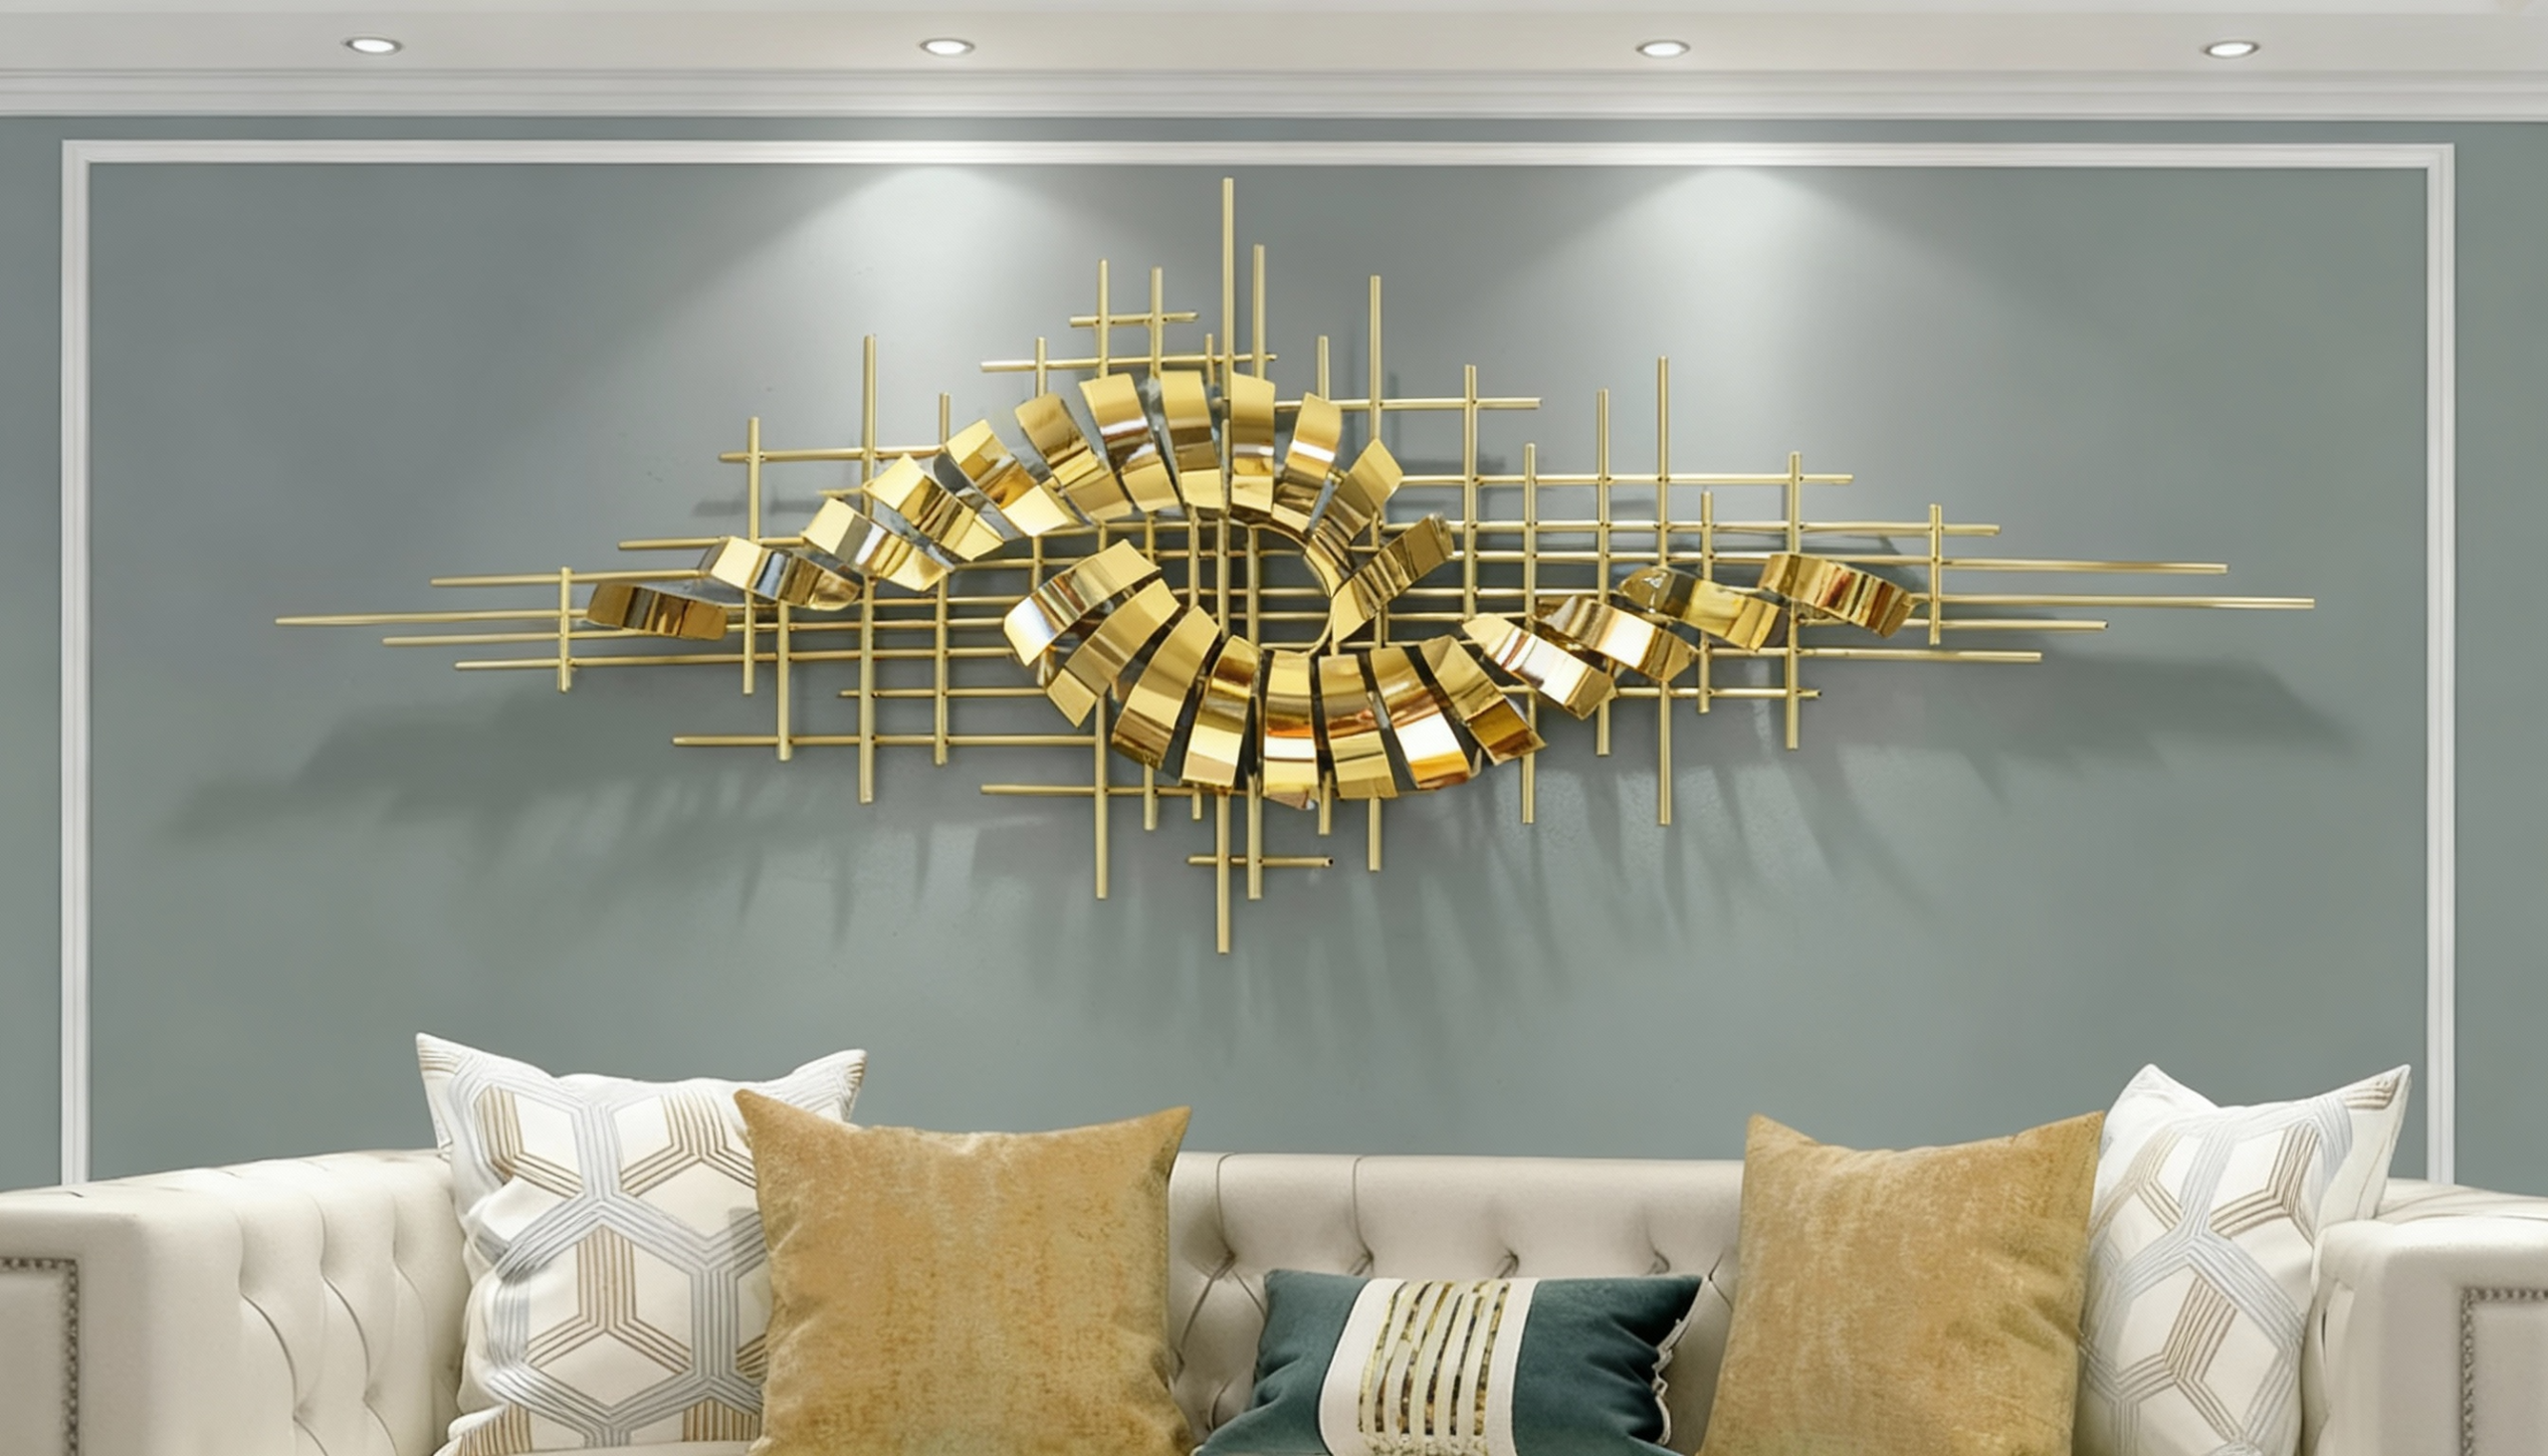
Mount abstract metal sculptures, adding three-dimensional artistic elements with modern industrial flair.
These statement pieces cast interesting shadows when properly lit, creating dynamic visual effects throughout the day.
Materials Needed: Metal wall sculpture, wall anchors, screws, level, drill with appropriate bits.
How to Achieve This:
- Determine sculpture placement, marking wall positions precisely.
- Install wall anchors, ensuring the weight support capacity.
- Mount the sculpture securely and adjust for a level appearance.
25. Fabric-Covered Canvas Panels
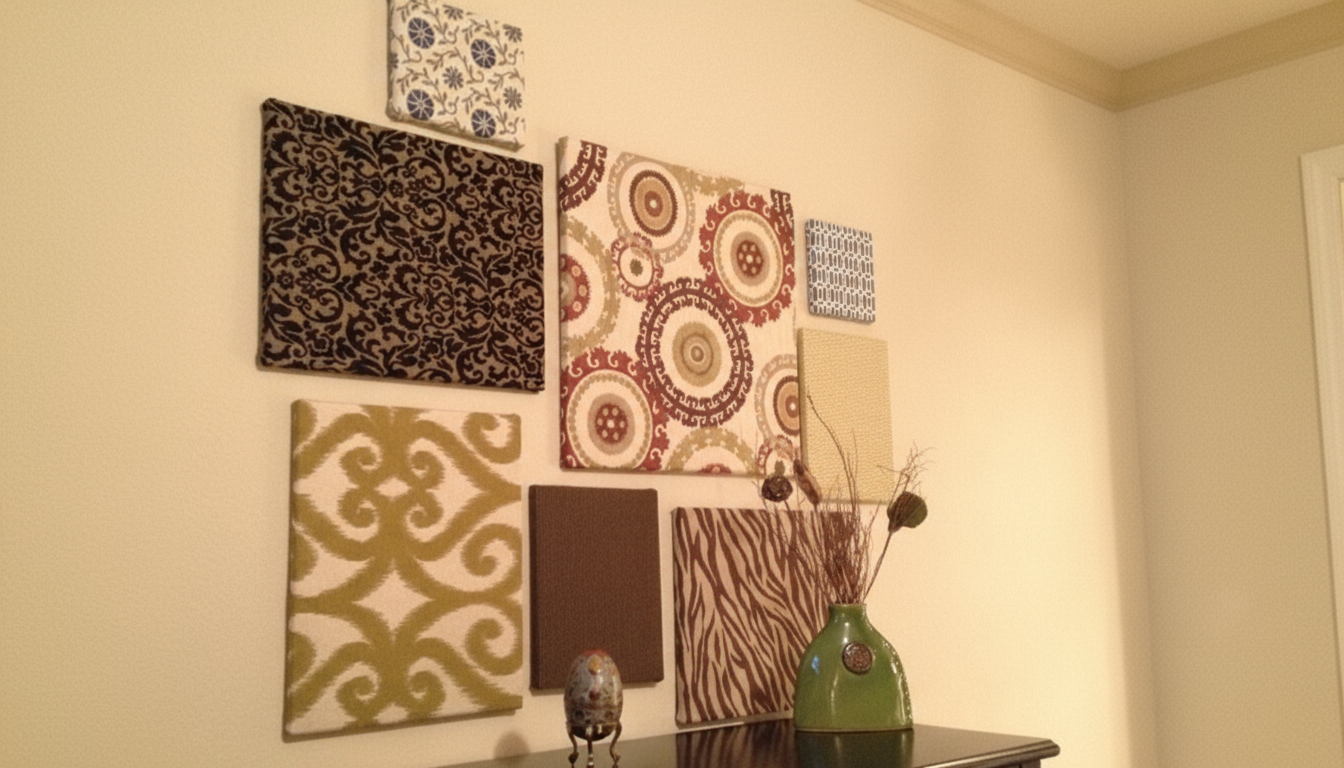
Wrap decorative fabrics around canvas stretchers, creating custom artwork that matches room color schemes.
Choose bold patterns, subtle textures, or vintage textiles, producing unique pieces impossible to find commercially.
Materials Needed: Canvas stretcher frames, decorative fabric, staple gun, scissors, iron for pressing.
How to Achieve This:
- Iron fabric, removing wrinkles, and ensuring smooth application.
- Wrap fabric around the canvas, pulling taut on the edges.
- Staple fabric to the frame back, securing all sides.
26. Rope Mirror Frame Upgrade
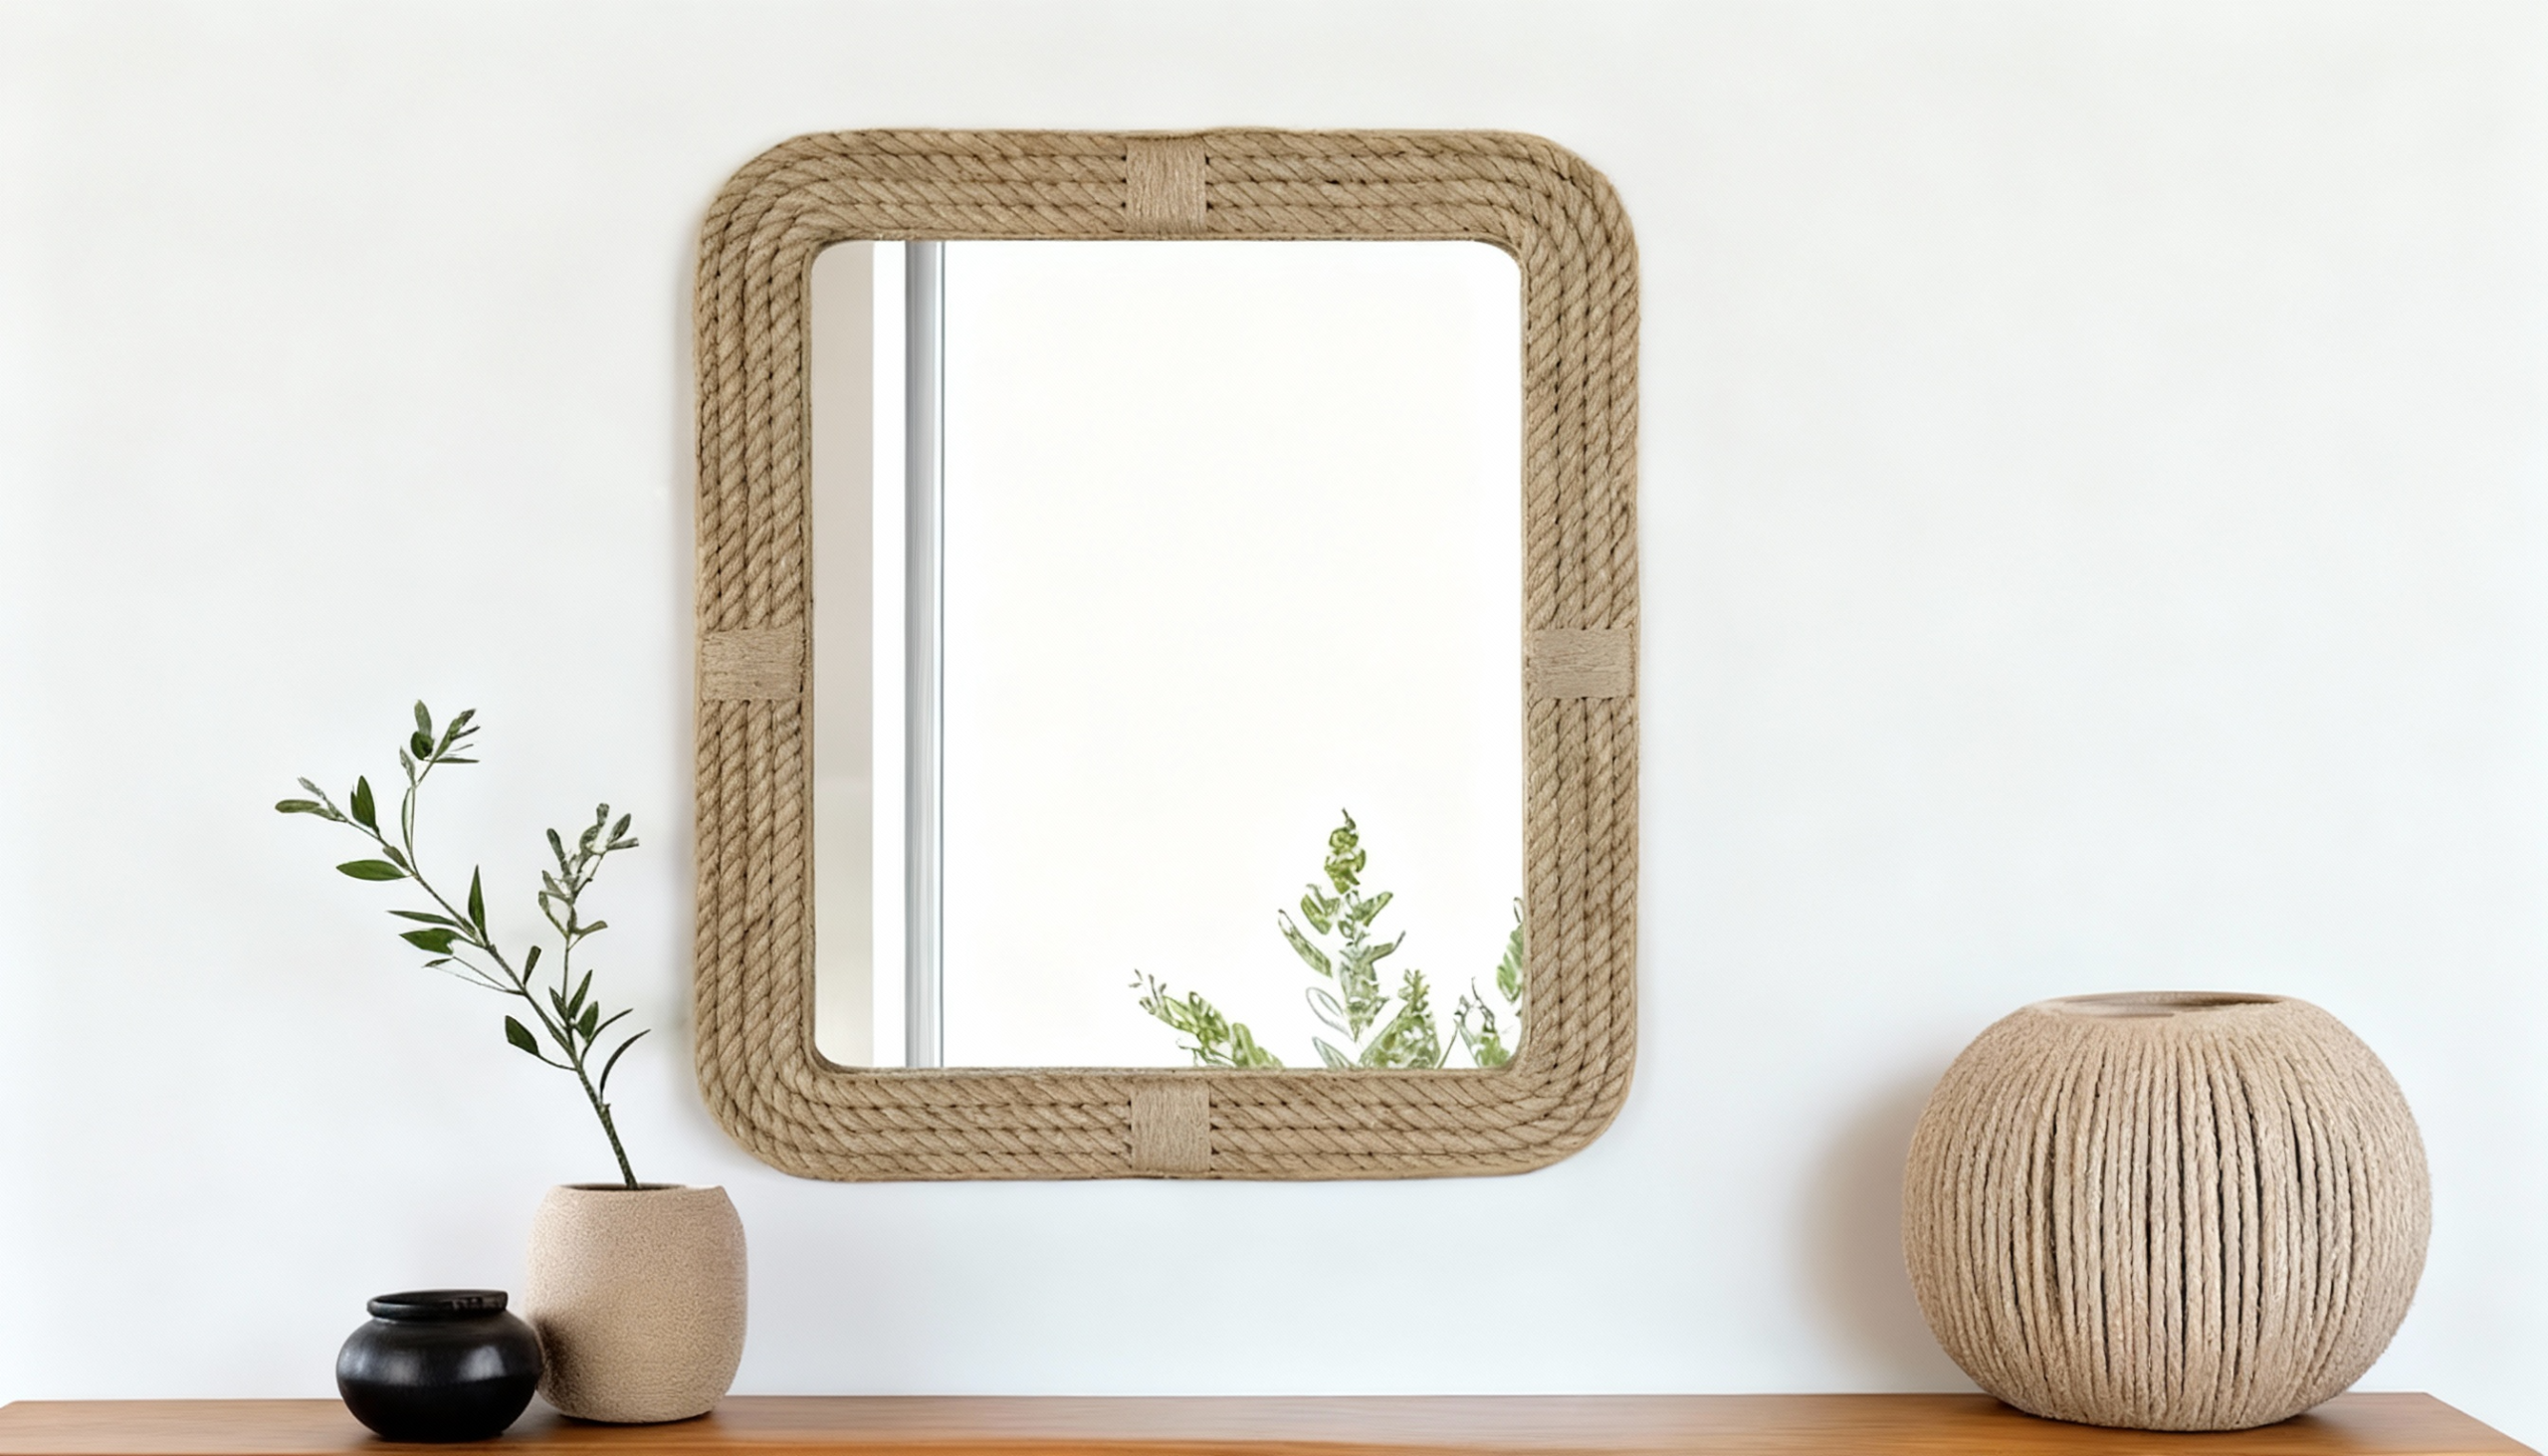
Change plain mirrors by wrapping thick nautical rope around frames, creating a beautiful coastal cottage.
This simple upgrade breathes new life into thrift store finds or builder-grade bathroom mirrors affordably.
Materials Needed: Plain mirror, thick rope, hot glue gun, scissors, and painter’s tape.
How to Achieve This:
- Clean the mirror frame, removing dust and debris thoroughly.
- Apply hot glue and wrap the rope around the frame.
- Secure rope ends, tucking under previous layers neatly.
27. Paper Flower Wall Installation
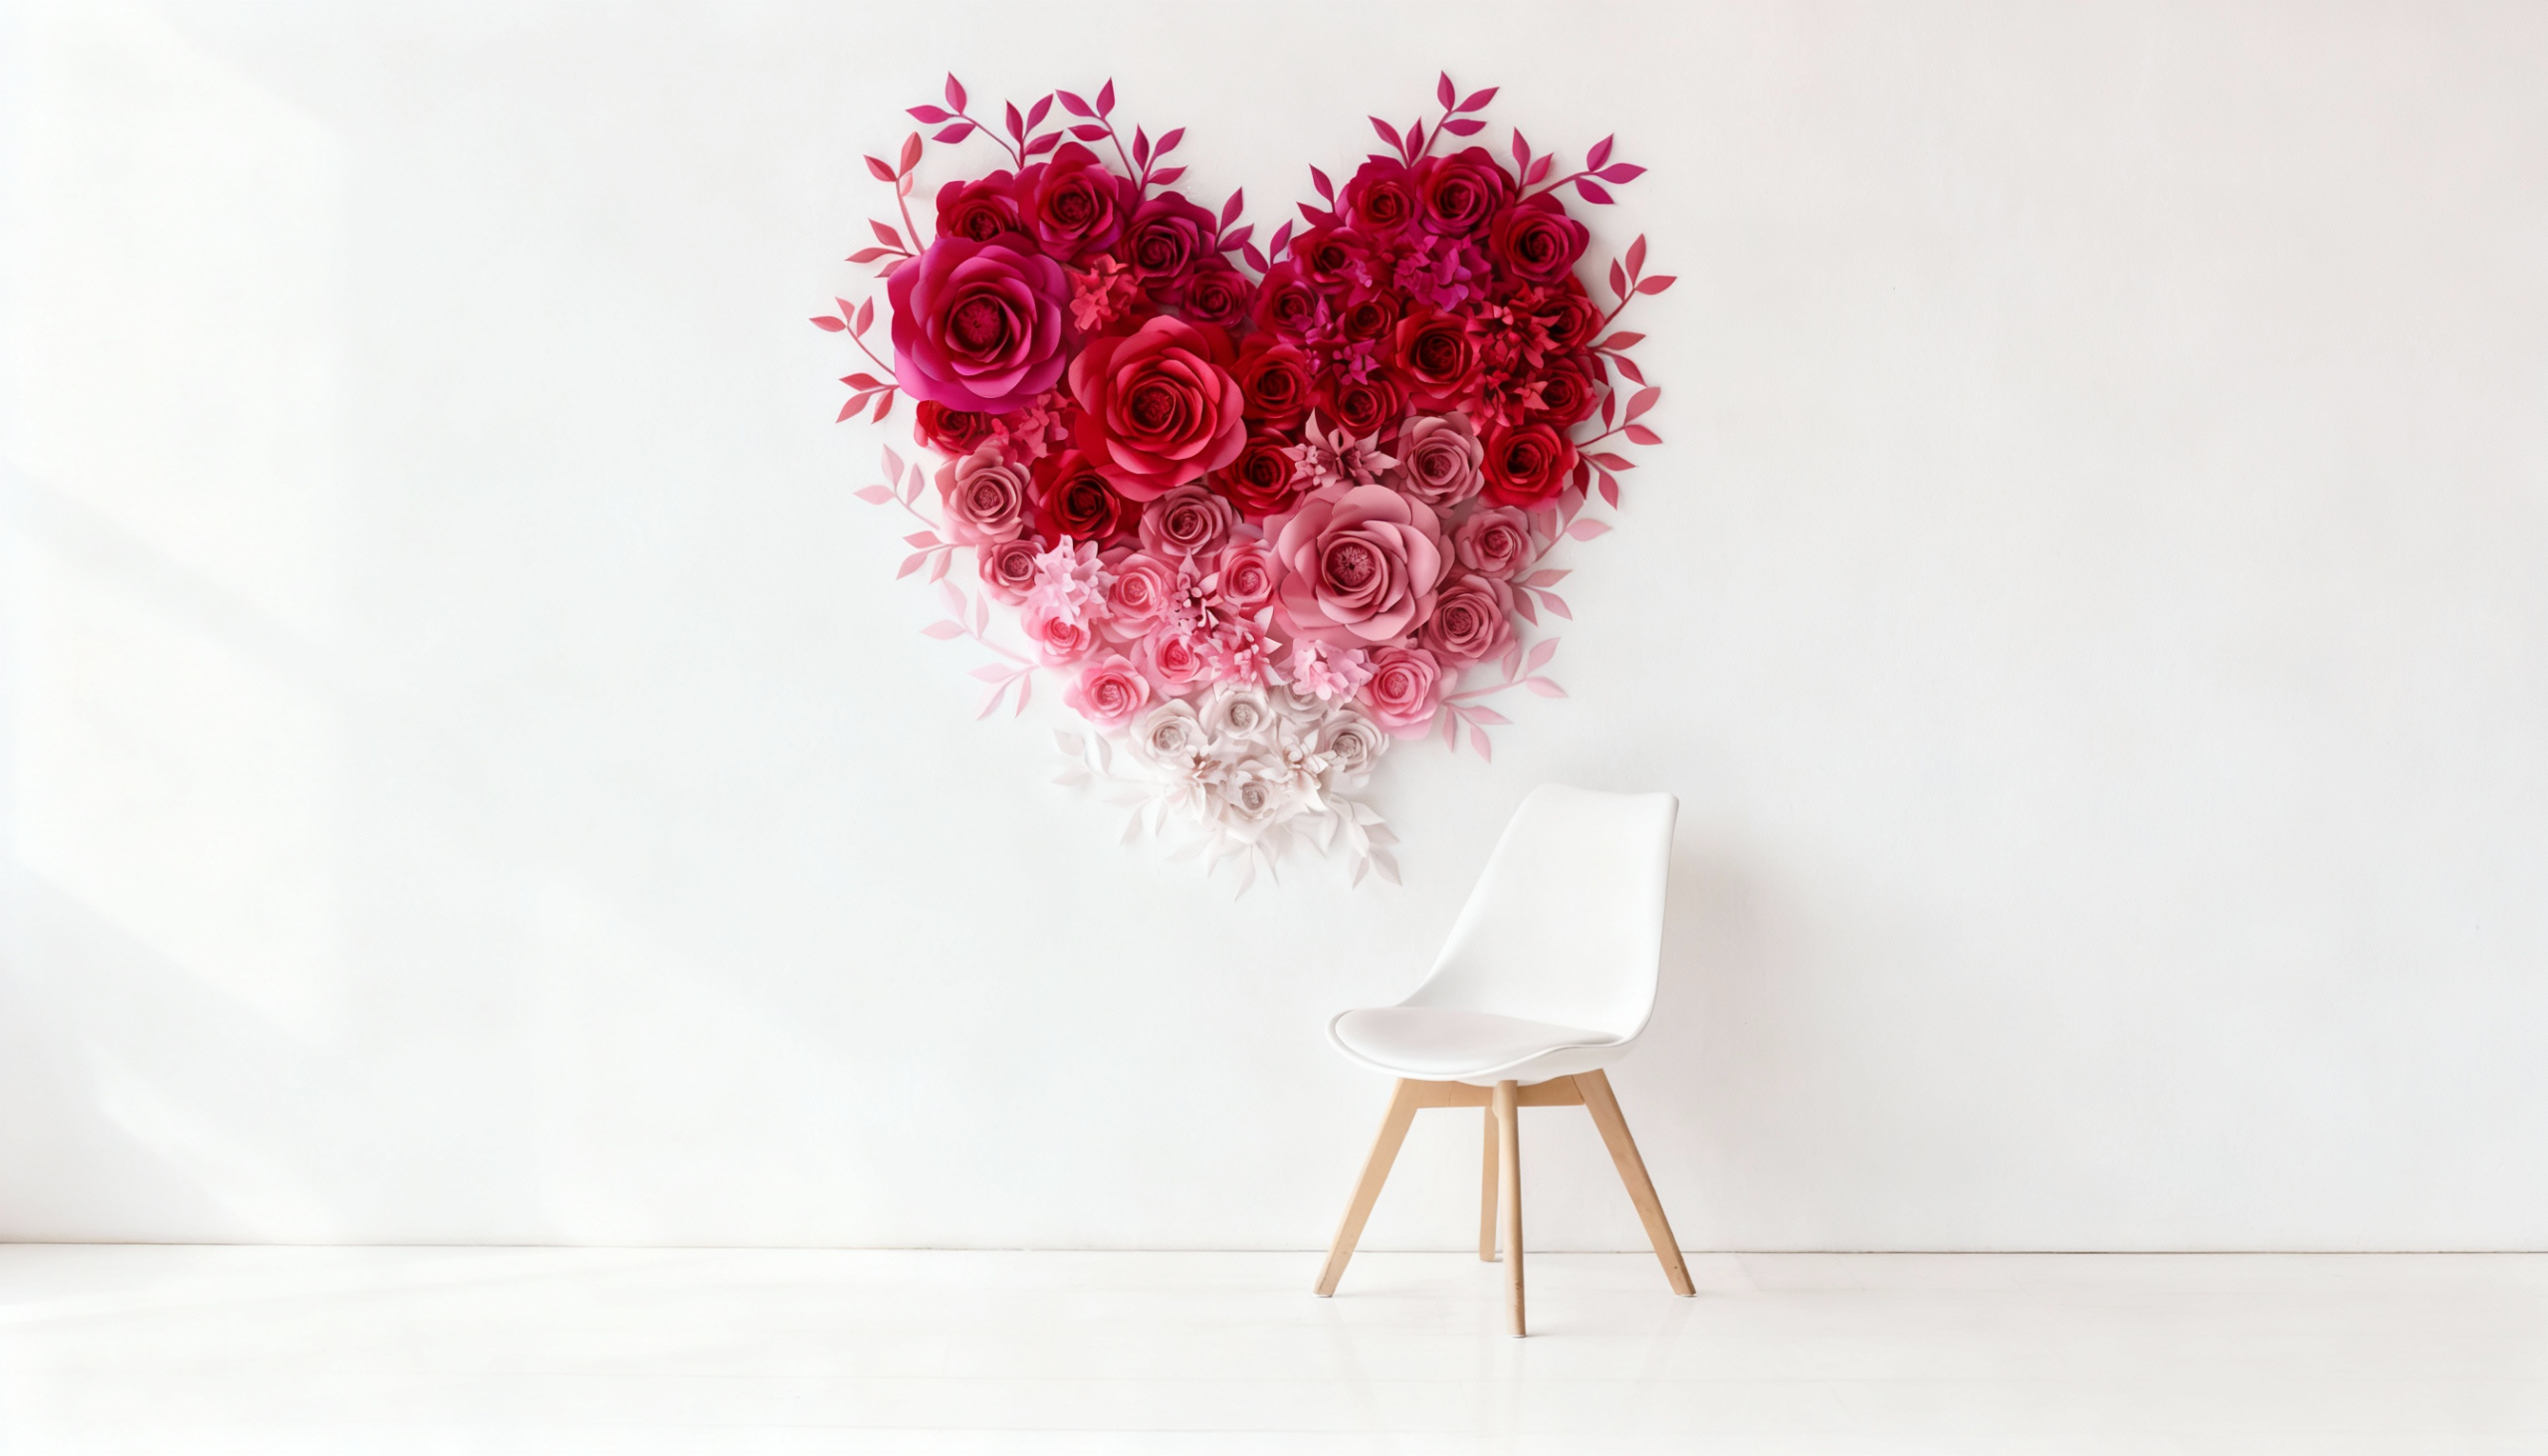
Craft oversized paper flowers creating whimsical garden-inspired walls, best for nurseries, parties, or feminine spaces.
This Instagram-worthy backdrop requires patience but delivers beautiful, conversation-starting results worth the effort.
Materials Needed: Cardstock paper (various colors), scissors, glue gun, wire stems, and templates.
How to Achieve This:
- Cut petal shapes from cardstock following the templates carefully.
- Shape petals with curling edges for a natural dimensional appearance.
- Assemble flowers and attach them to the wall backdrop securely.
28. Wood Slice Wall Art
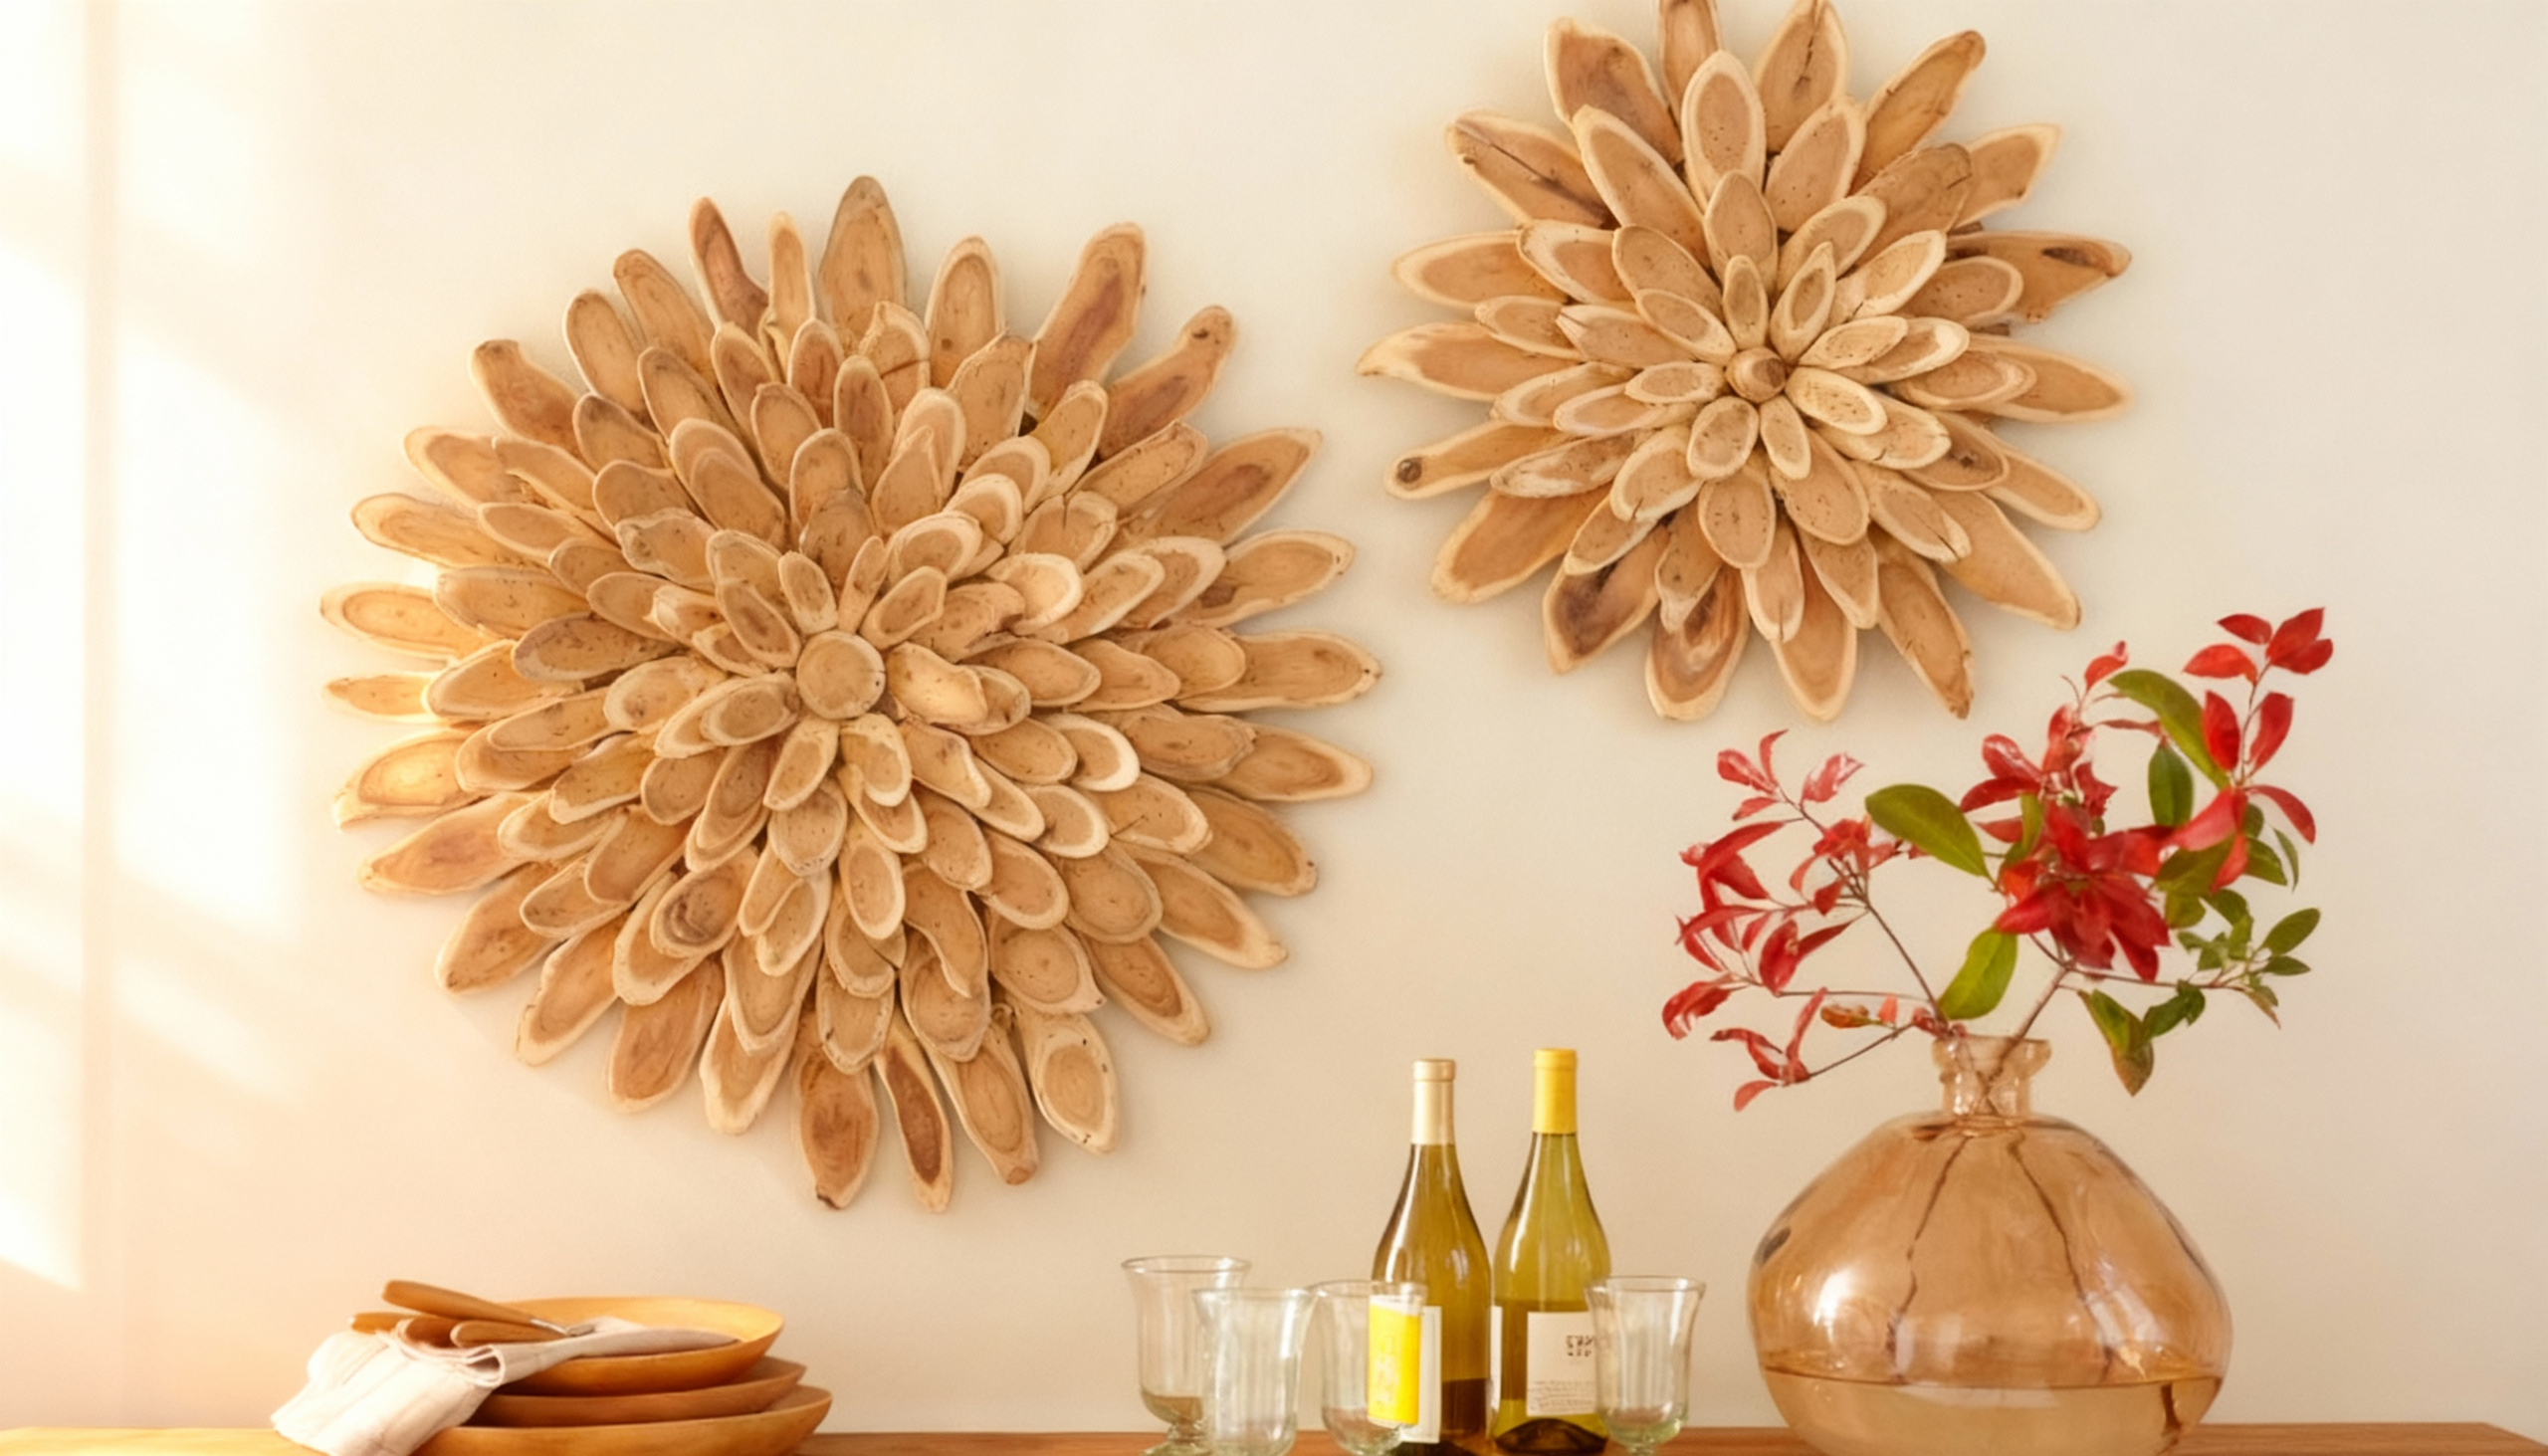
Arrange natural wood slices in organic patterns celebrating tree rings and raw beauty. Varied sizes, bark textures, and wood tones create rustic focal points.
This nature-inspired decor brings forest tranquility indoors while utilizing sustainable materials from pruned or fallen trees responsibly.
Materials Needed: Wood slices (various sizes), sandpaper, wood sealer, adhesive, and backing board.
How to Achieve This:
- Sand wood slices smooth, removing rough spots carefully.
- Seal wood to protect against moisture and insects thoroughly.
- Arrange and glue the slices to create an artistic wall composition.
29. Embroidery Hoop Fabric Art
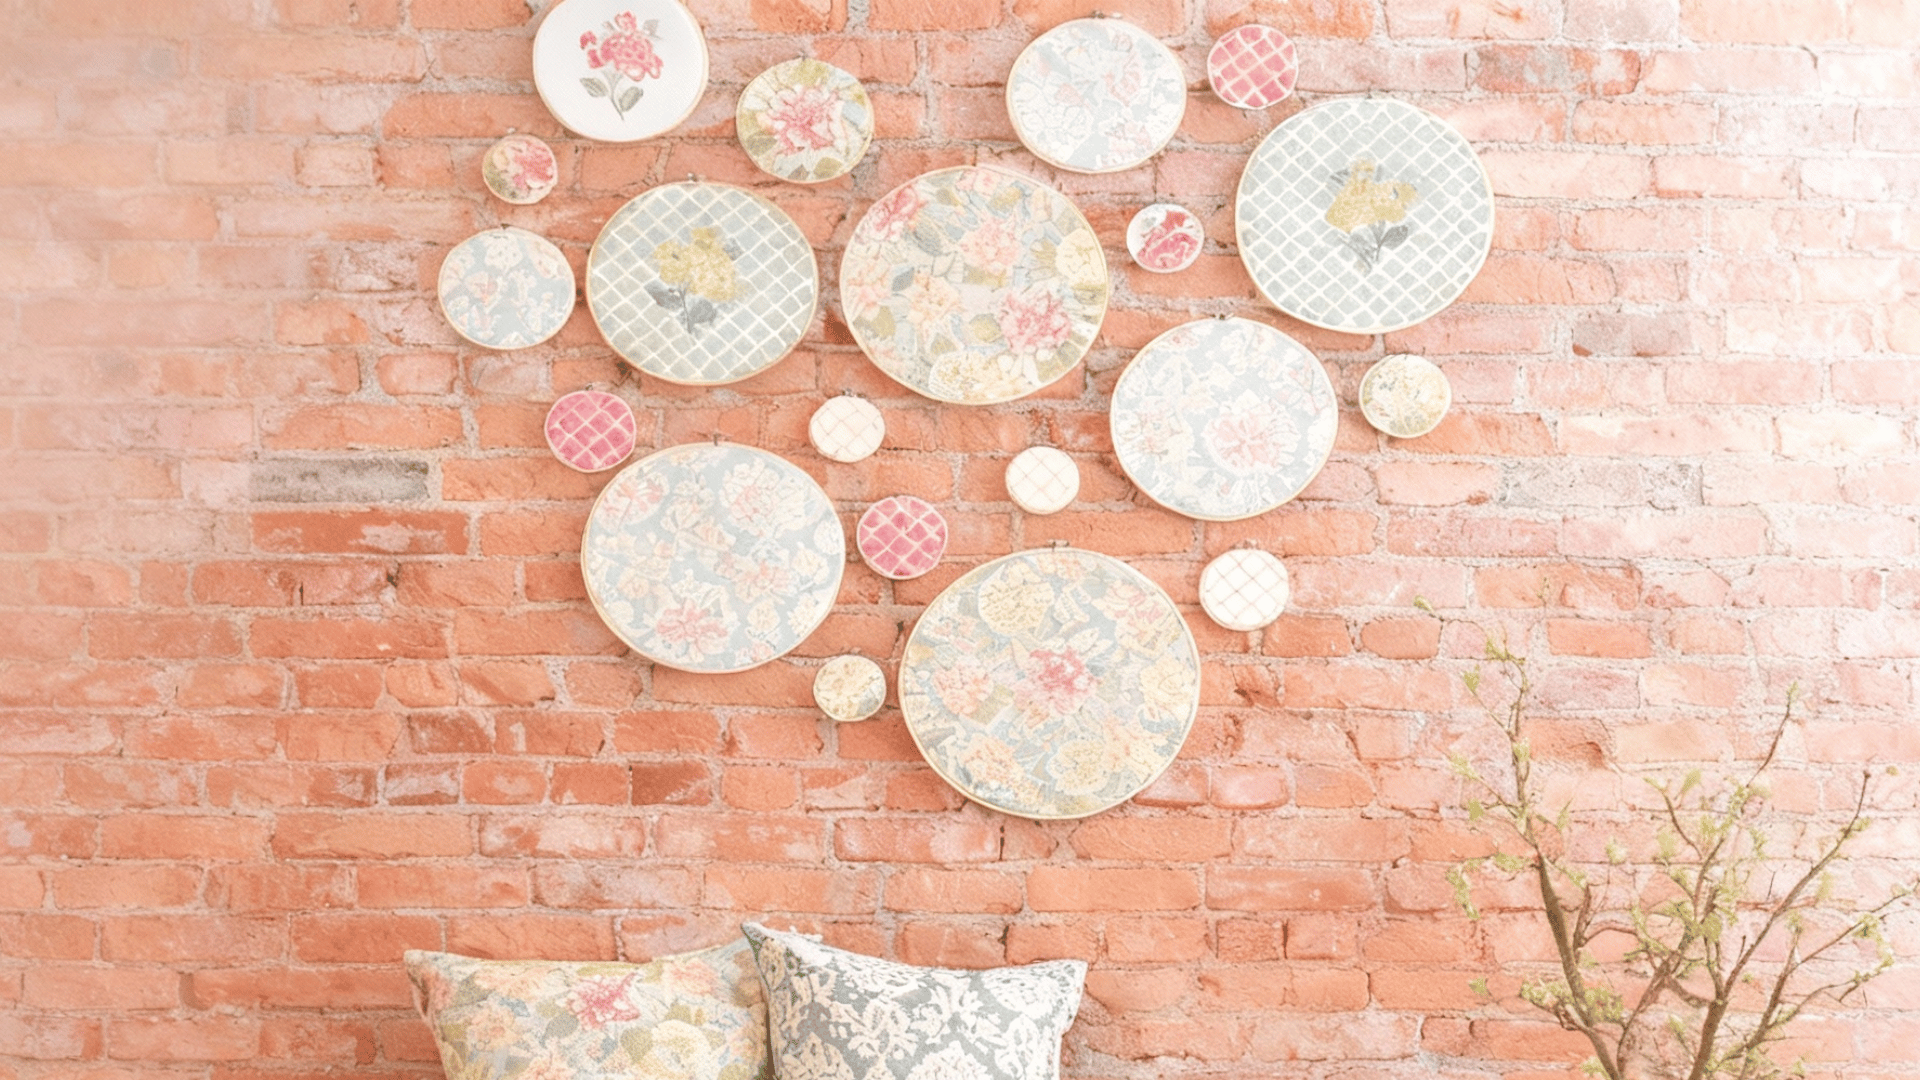
Frame fabric scraps or vintage linens in embroidery hoops, creating beautiful cottage-core displays. Mix hoop sizes, fabric patterns, and colors for layered visual interest.
This craft room-worthy project repurposes materials while producing sweet, handmade artwork best for nurseries or shabby-chic interiors.
Materials Needed: Embroidery hoops (various sizes), fabric pieces, scissors, and ribbon for hanging.
How to Achieve This:
- Stretch the fabric taut within the hoop, tightening the screw firmly.
- Trim excess fabric, leaving neat edges all around.
- Hang using ribbo,n creating a beautiful fabric gallery wall.
30. Metal Grid Photo Display
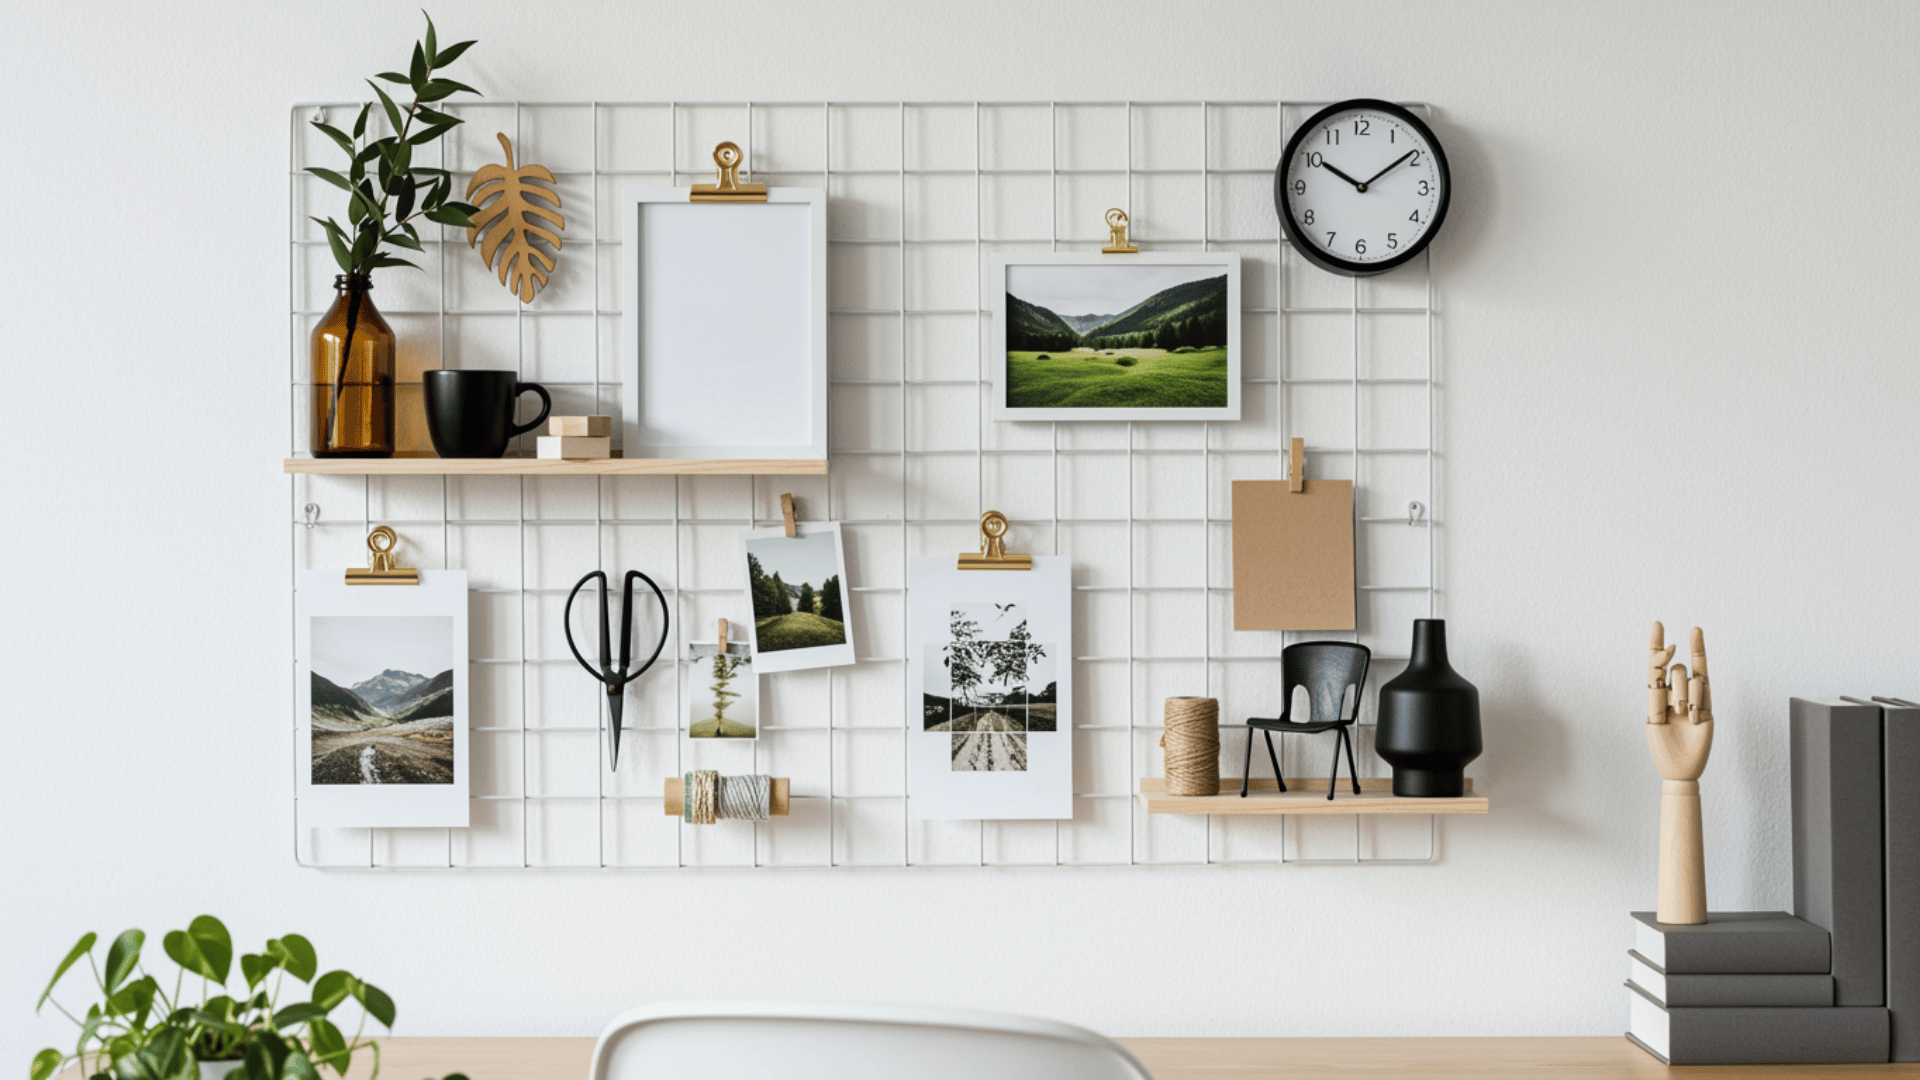
Mount black metal grids to create industrial-chic photo boards. This modern alternative to traditional frames allows flexible arrangements to change with mood or season.
Perfect for offices, craft rooms, or teen bedrooms needing adaptable, functional wall decor.
Materials Needed: Metal wire grid panel, grid clips, wall mounting hardware, and photos.
How to Achieve This:
- Secure the metal grid to the wall using appropriate anchors.
- Clip photos to the grid, creating the desired arrangement layout.
- Rotate photos regularly, maintaining a fresh, inspiring display always.
31. Painted Terra Cotta Pot Planters
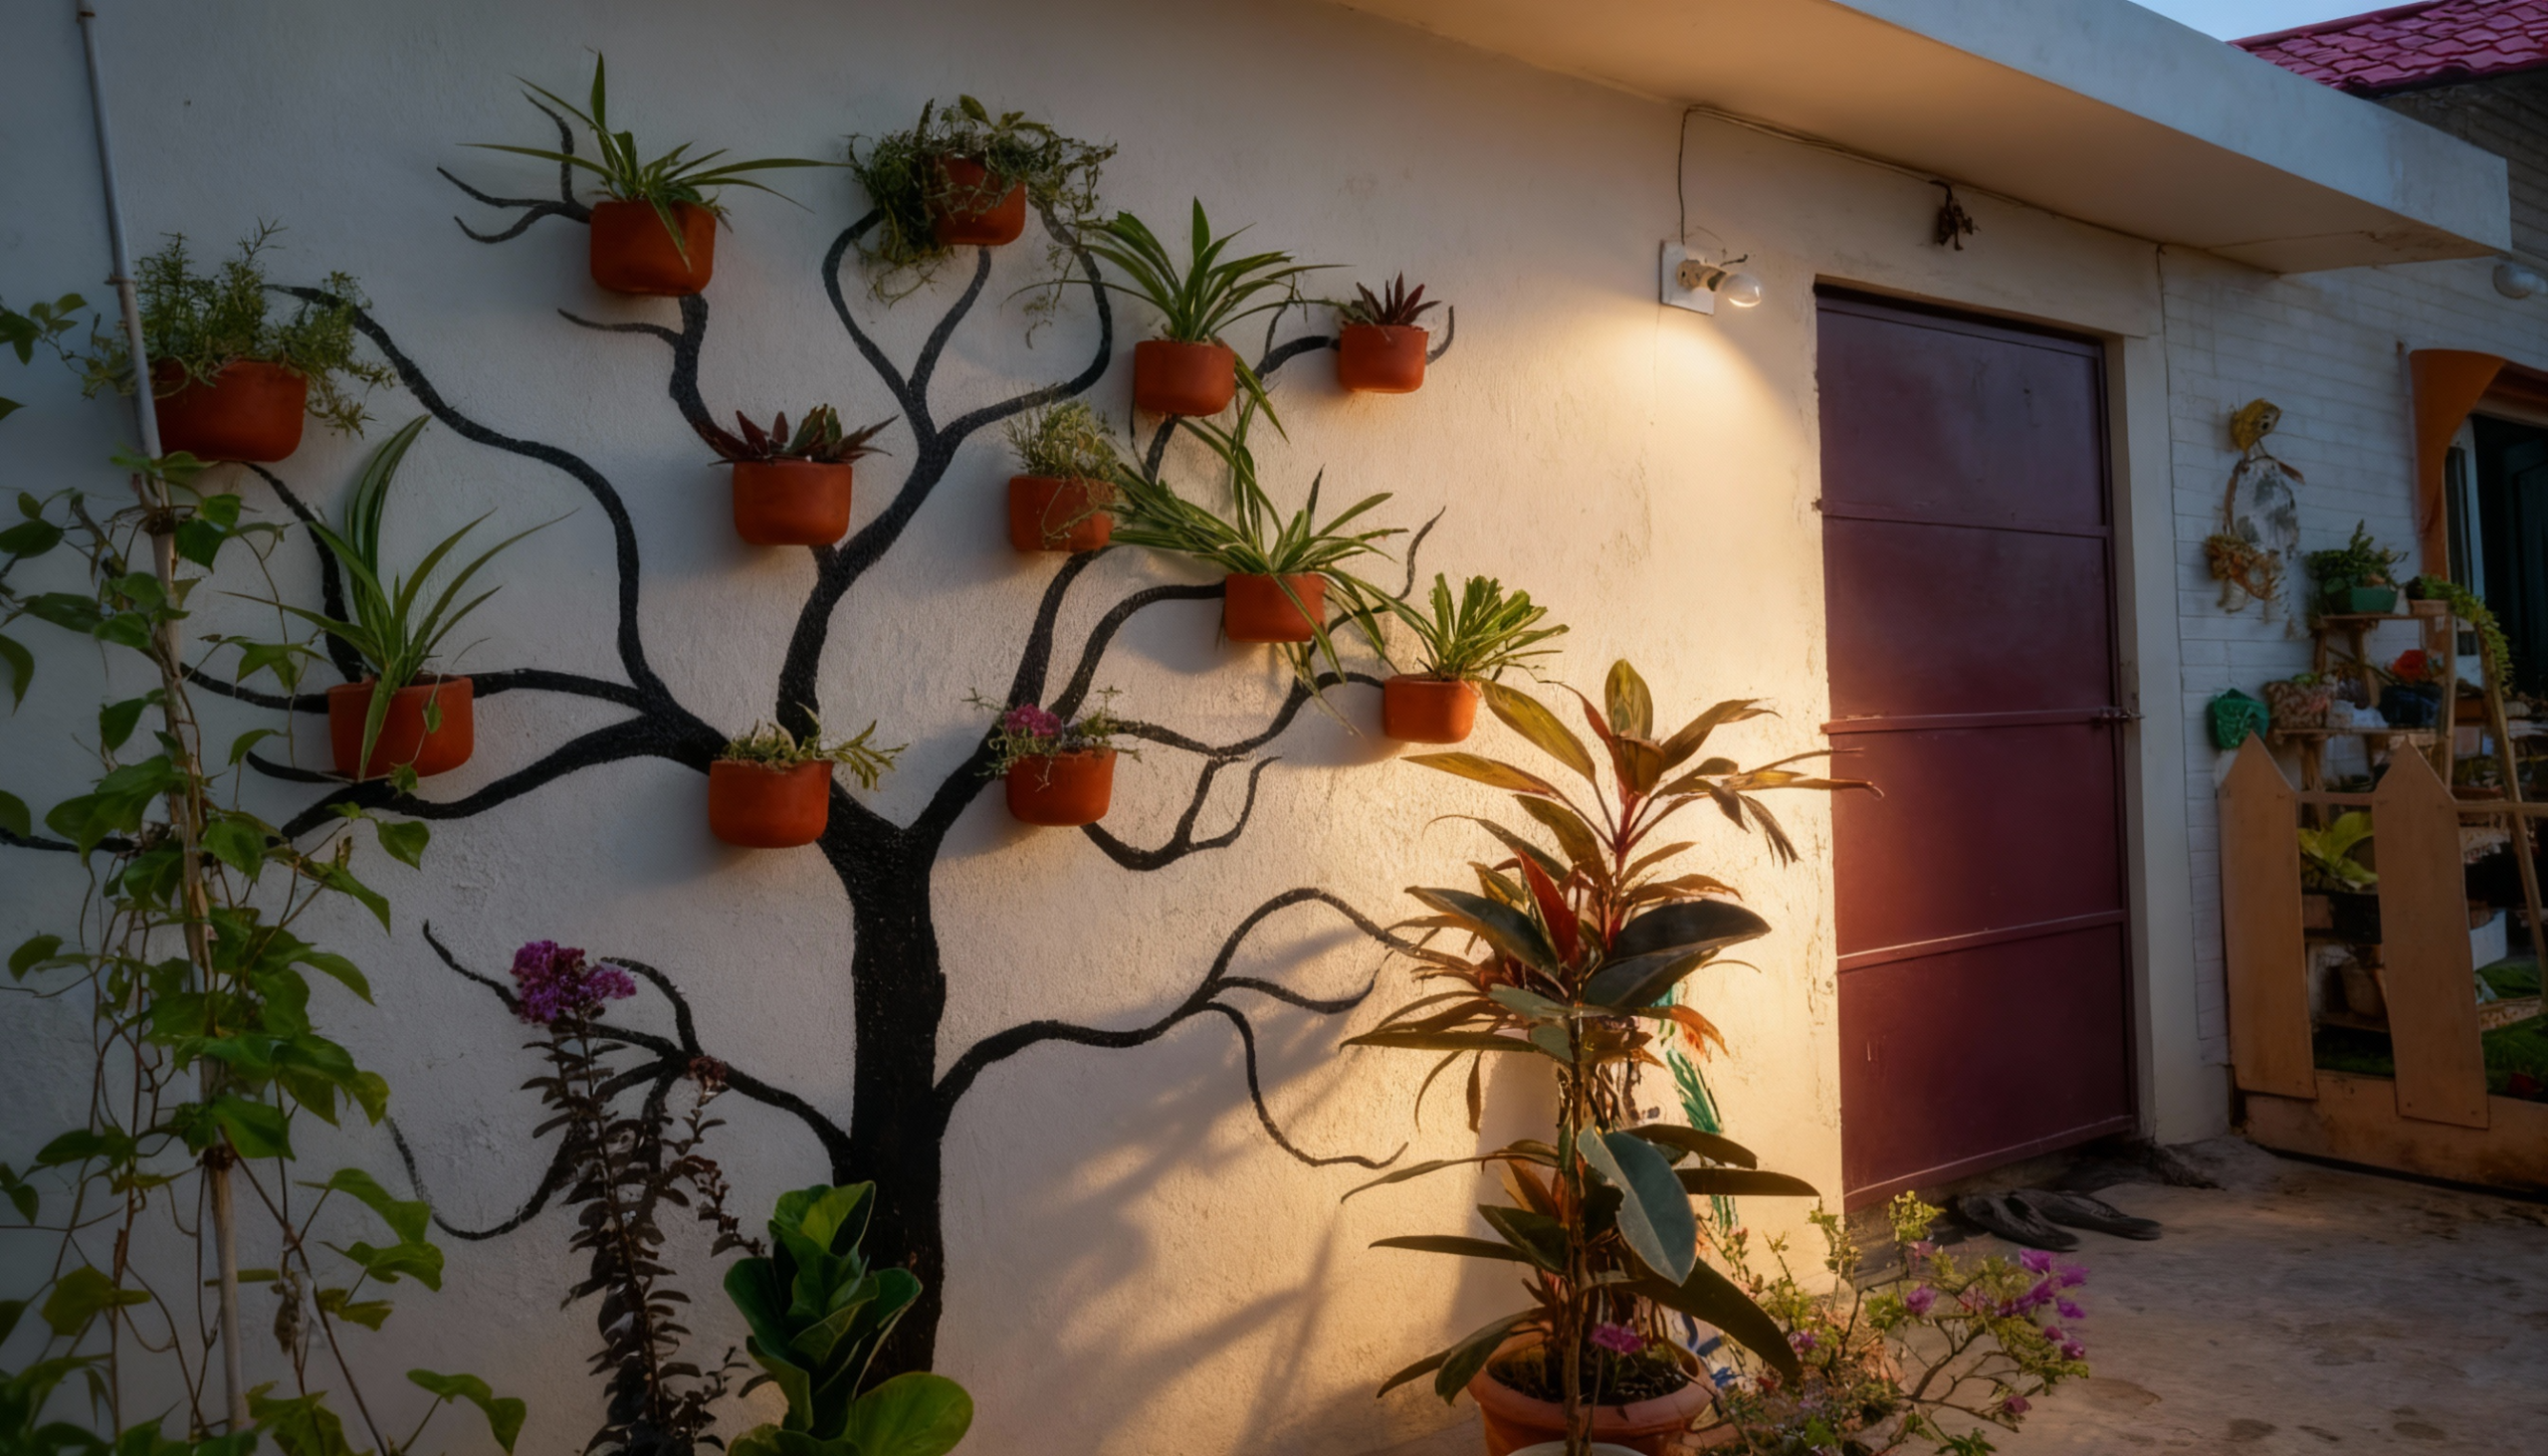
Mount painted terra cotta pots on walls, creating vertical gardens with living plant displays. Colorful painted finishes change ordinary planters into artistic elements.
This living decor improves air quality while introducing organic shapes, vibrant greens, and natural elements indoors beautifully.
Materials Needed: Terra cotta pots, acrylic paint, wall-mounting brackets, potting soil, plants.
How to Achieve This:
- Paint pots with designs or solid colors completely.
- Install wall brackets supporting the pot’s weight securely.
- Plant herbs or succulents and water regularly, maintaining.
How to Choose the Right Wall for Your DIY Decor
Selecting appropriate walls for DIY wall decor ensures your handmade pieces receive proper attention while complementing the existing room layout and function.
Focal walls behind sofas, beds, or dining tables provide natural viewing points where decorative elements make the strongest visual impact.
Consider wall size and scale: hang large statement pieces on spacious walls, and reserve smaller grouped arrangements for narrower spaces.
Evaluate lighting conditions throughout the day, as natural window light improves certain colors and textures while shadows obscure others.
Empty walls near entryways create welcoming first impressions for guests, while hallways benefit from gallery-style arrangements guiding visitors through homes with visual interest.
Safety Tips for DIY Wall Projects
Working on DIY wall decor is fun and rewarding, but safety should always come first. A few smart precautions keep every project safe and stress-free from start to finish.
- Wear protective gear: Use gloves, safety glasses, and a mask when sanding, painting, or drilling.
- Check wall strength: Make sure the wall can support shelves, mirrors, or heavy artwork before hanging anything.
- Use the right tools: Follow tool instructions carefully, and always unplug power tools when not in use.
- Work in good lighting: Clear visibility helps prevent mistakes and accidents during cutting or mounting.
- Secure ladders or stools: If reaching higher walls, make sure the ladder is stable and on even ground.
- Keep the area clean: Remove clutter, cords, and tools from the floor to avoid tripping while working.
Safe preparation ensures your DIY wall projects not only look great but are sturdy and long-lasting too
Conclusion
Creating personalized DIY wall decor empowers you to design spaces reflecting your authentic style without relying on mass-produced art lacking soul.
These achievable projects prove that beautiful home decorating doesn’t require expensive purchases or professional artistic training whatsoever.
Your handcrafted pieces become conversation starters that guests admire while providing the satisfaction of building something meaningful with your own hands.
Select your favorite project idea and gather basic supplies this weekend to start creating custom wall decor today.