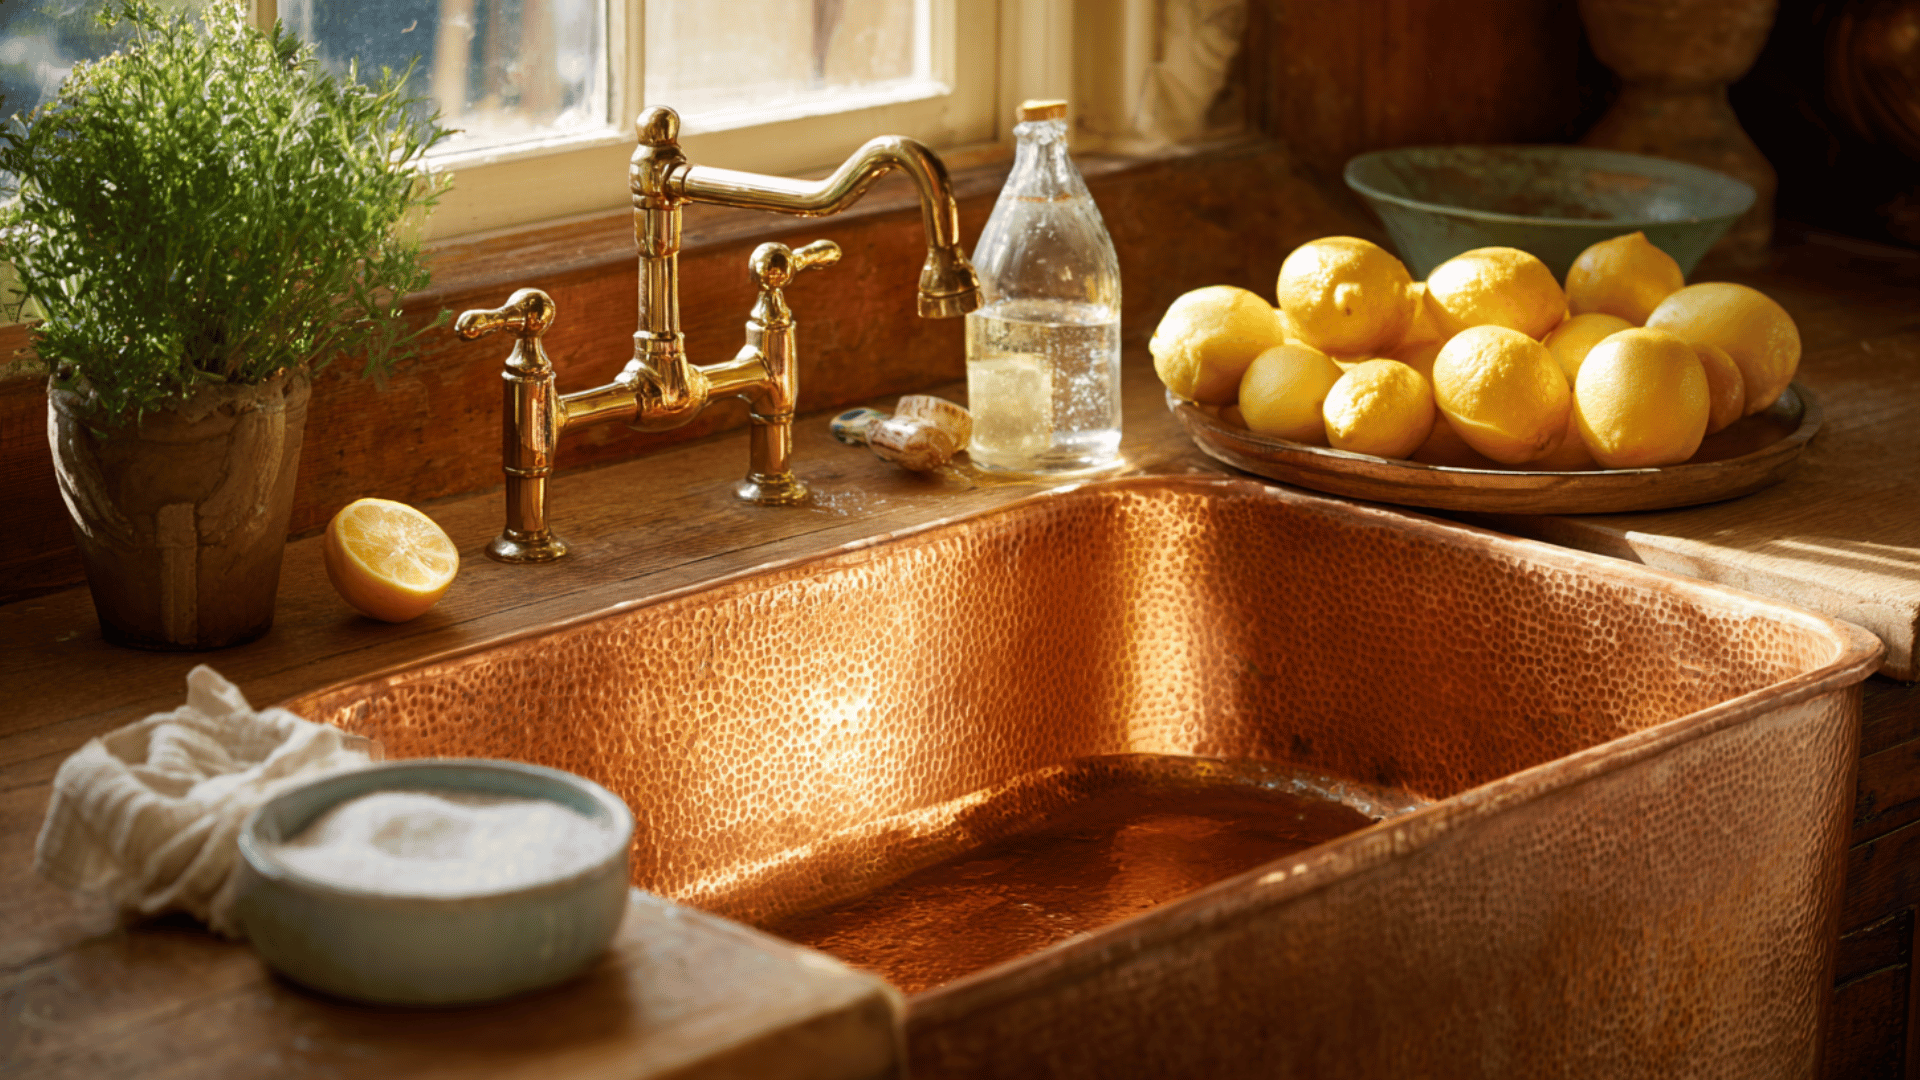
Your copper sink is a beautiful centerpiece that adds warmth and charm to any kitchen or bathroom. Keeping it looking its best takes a bit of care, but it’s easier than most people think.
Many people find it challenging to strike the right balance between effective cleaning and preserving the copper’s natural look.
With a few simple steps and everyday items, you can protect its finish and maintain its warm glow for years.
In this article, you’ll learn how to clean your copper sink properly, which products to avoid, and how to help it age beautifully while keeping it safe from damage.
Why Copper Sinks Need Special Care?
Copper sinks stand out for their rich color and natural antibacterial qualities, but they require gentle care because copper is a “living metal.”
Unlike stainless steel, copper reacts with air, water, and certain substances to form a patina, a thin, natural layer that darkens over time.
This layer isn’t damaged; it’s part of what makes copper unique and helps protect it from corrosion and stains.
There are two main types of copper finishes:
- Natural (unsealed): Changes color over time, developing a deeper patina.
- Lacquered (sealed): Keeps its original tone longer but needs protection from scratches.
Understanding which finish you have helps you choose the right cleaning method and ensures your sink ages gracefully without losing its luster.
How Copper Patina Forms and Changes
Copper patina is a natural film that develops when copper reacts with oxygen, water, and minerals in the air.
This reaction produces copper oxide and copper carbonate, which give the surface its brown, bronze, or even green tones over time.
This patina acts like a protective skin, shielding copper from corrosion and everyday wear. It’s part of what makes copper so durable and attractive.
Patina can form in two ways:
- Natural patina develops slowly as copper reacts with air and moisture, creating a look that’s unique to every home.
- Artificial patina is made using special sprays or copper-safe solutions to create a pre-aged finish. These must be applied carefully to prevent patchy or uneven color.
Over time, copper transforms from a bright orange or pink to a deep brown, dark bronze, or green tone, depending on humidity and exposure. Each stage is a sign of health and protection, not wear or damage.
Tools and Materials for Easy Cleaning
| Tools | Materials |
|---|---|
| Soft sponge or cloth | Mild dish soap |
| Microfiber towel | Warm water |
| Soft-bristle brush | Beeswax or copper wax |
| Rubber gloves (optional) | Baking soda |
| Small bowl or container | Lemon or white vinegar |
Step-by-Step Guide: How to Clean a Copper Sink
Cleaning a copper sink doesn’t have to be complicated. With the right steps and gentle care, you can maintain its warm glow and protect the natural patina for years to come.
Step 1: Rinse the Sink Thoroughly

Begin by removing all dishes, utensils, and debris from your copper sink. Run warm water across the entire surface to eliminate loose food particles, dirt, and surface grime.
This initial rinse prepares the sink for deeper cleaning by preventing particles from scratching the copper during scrubbing.
Ensure water reaches all corners, crevices, and around the drain area for complete preliminary cleaning before proceeding.
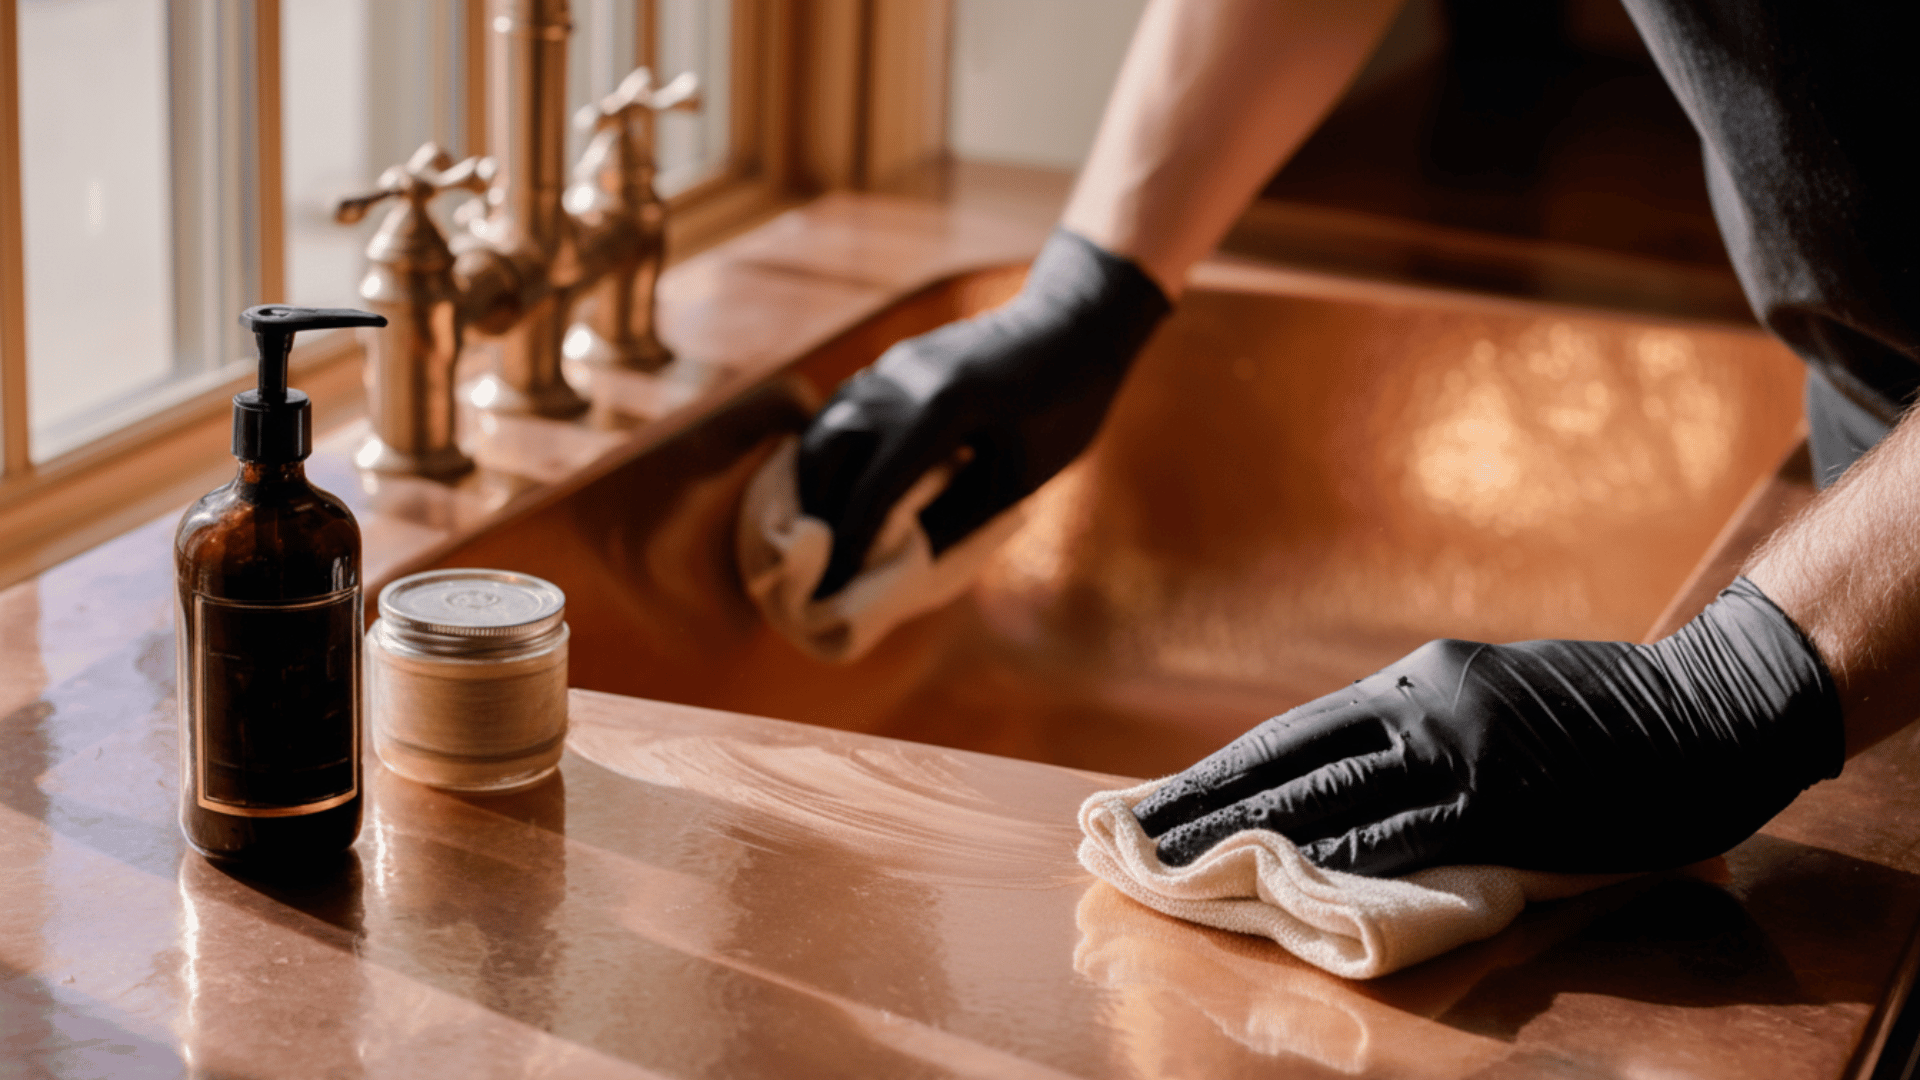
Step 2: Use Mild Dish Soap and a Soft Sponge

Select a gentle, pH-neutral dish soap without harsh chemicals, bleach, or abrasive ingredients that could damage copper’s protective patina.
Apply a small amount to a soft sponge, microfiber cloth, or non-abrasive pad. Avoid steel wool, scrubbing brushes, or rough materials that scratch the surface.
The soap’s mild formulation effectively breaks down grease and stains while preserving the copper’s natural beauty and finish.
Step 3: Gently Scrub in Circular Motions
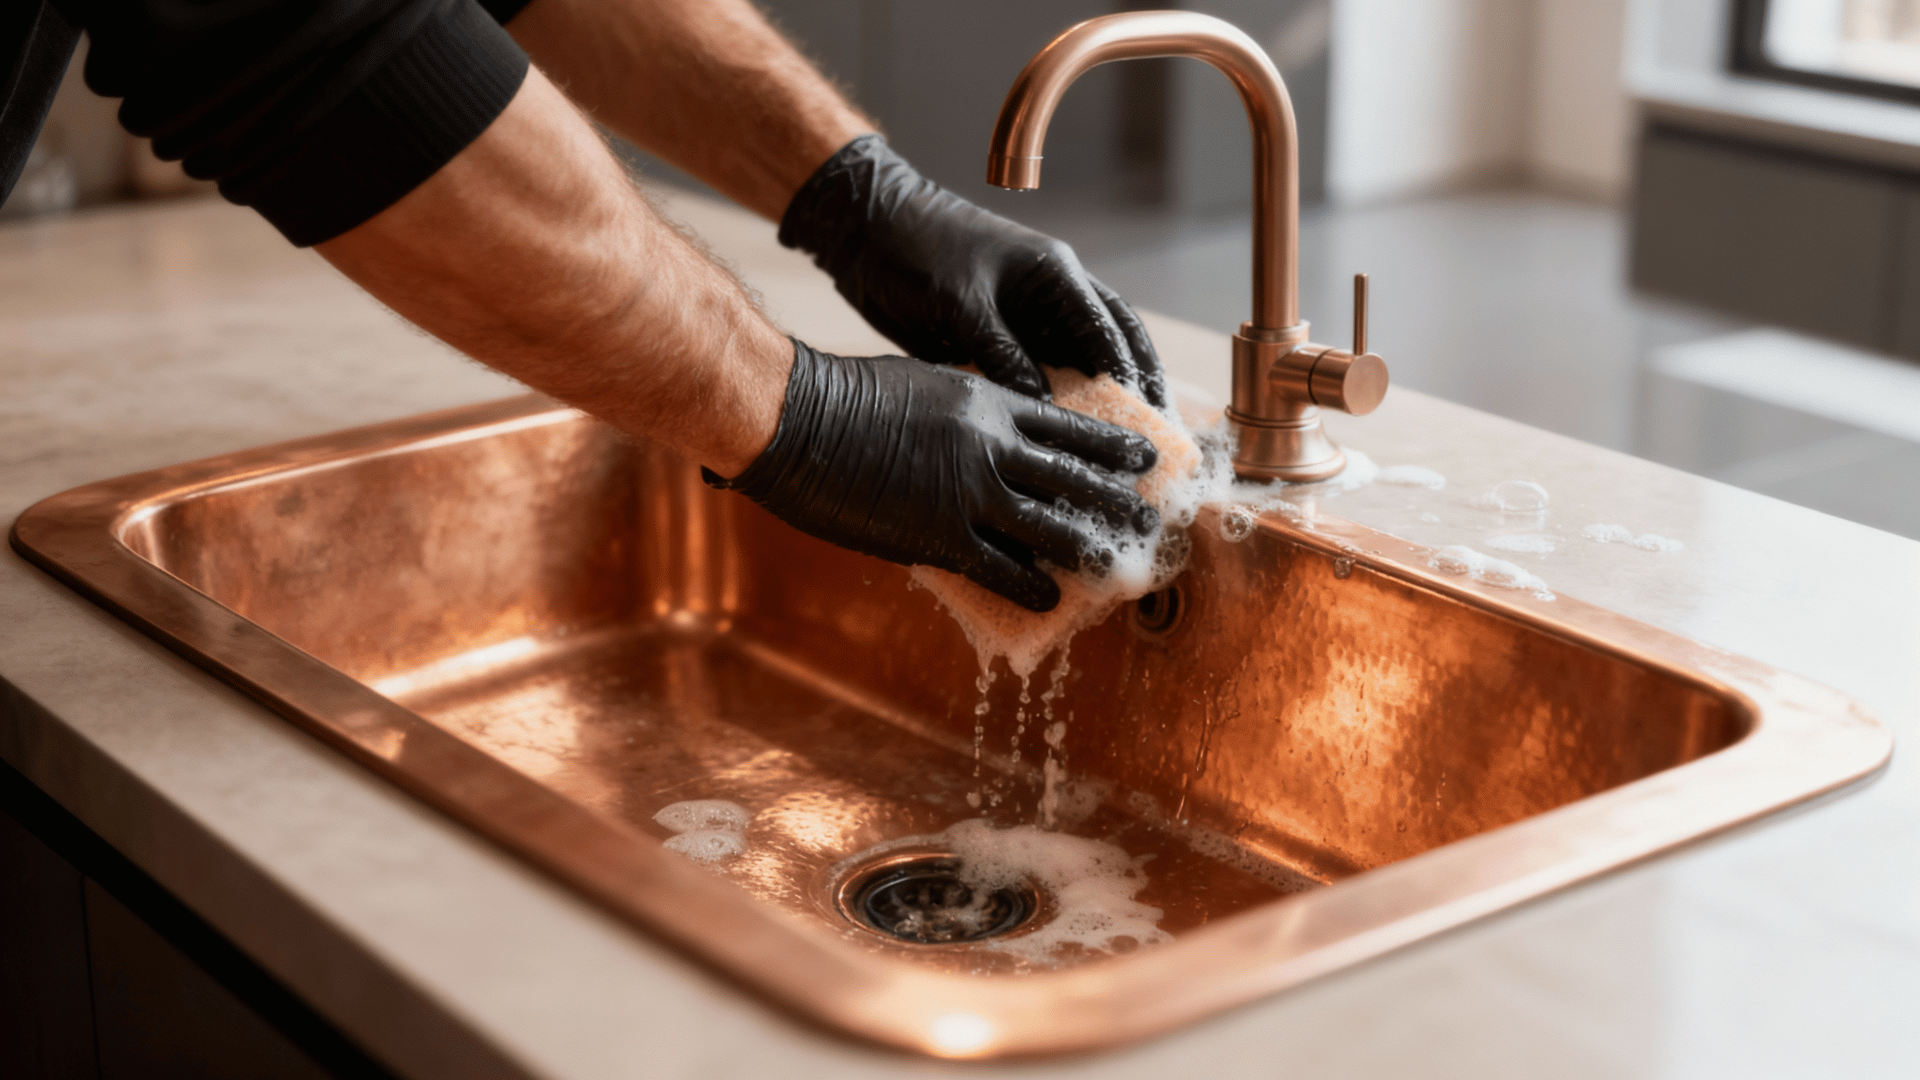
Work the soapy sponge across the entire sink surface using smooth, circular movements. Apply light to moderate pressure, focusing on stained or greasy areas without aggressive scrubbing.
This technique prevents scratching while effectively lifting dirt and buildup. Pay special attention to high-use areas around the faucet and drain where grime accumulates.
The circular motion ensures even cleaning and maintains the copper’s lustrous appearance throughout.
Step 4: Rinse Away Soap Residue
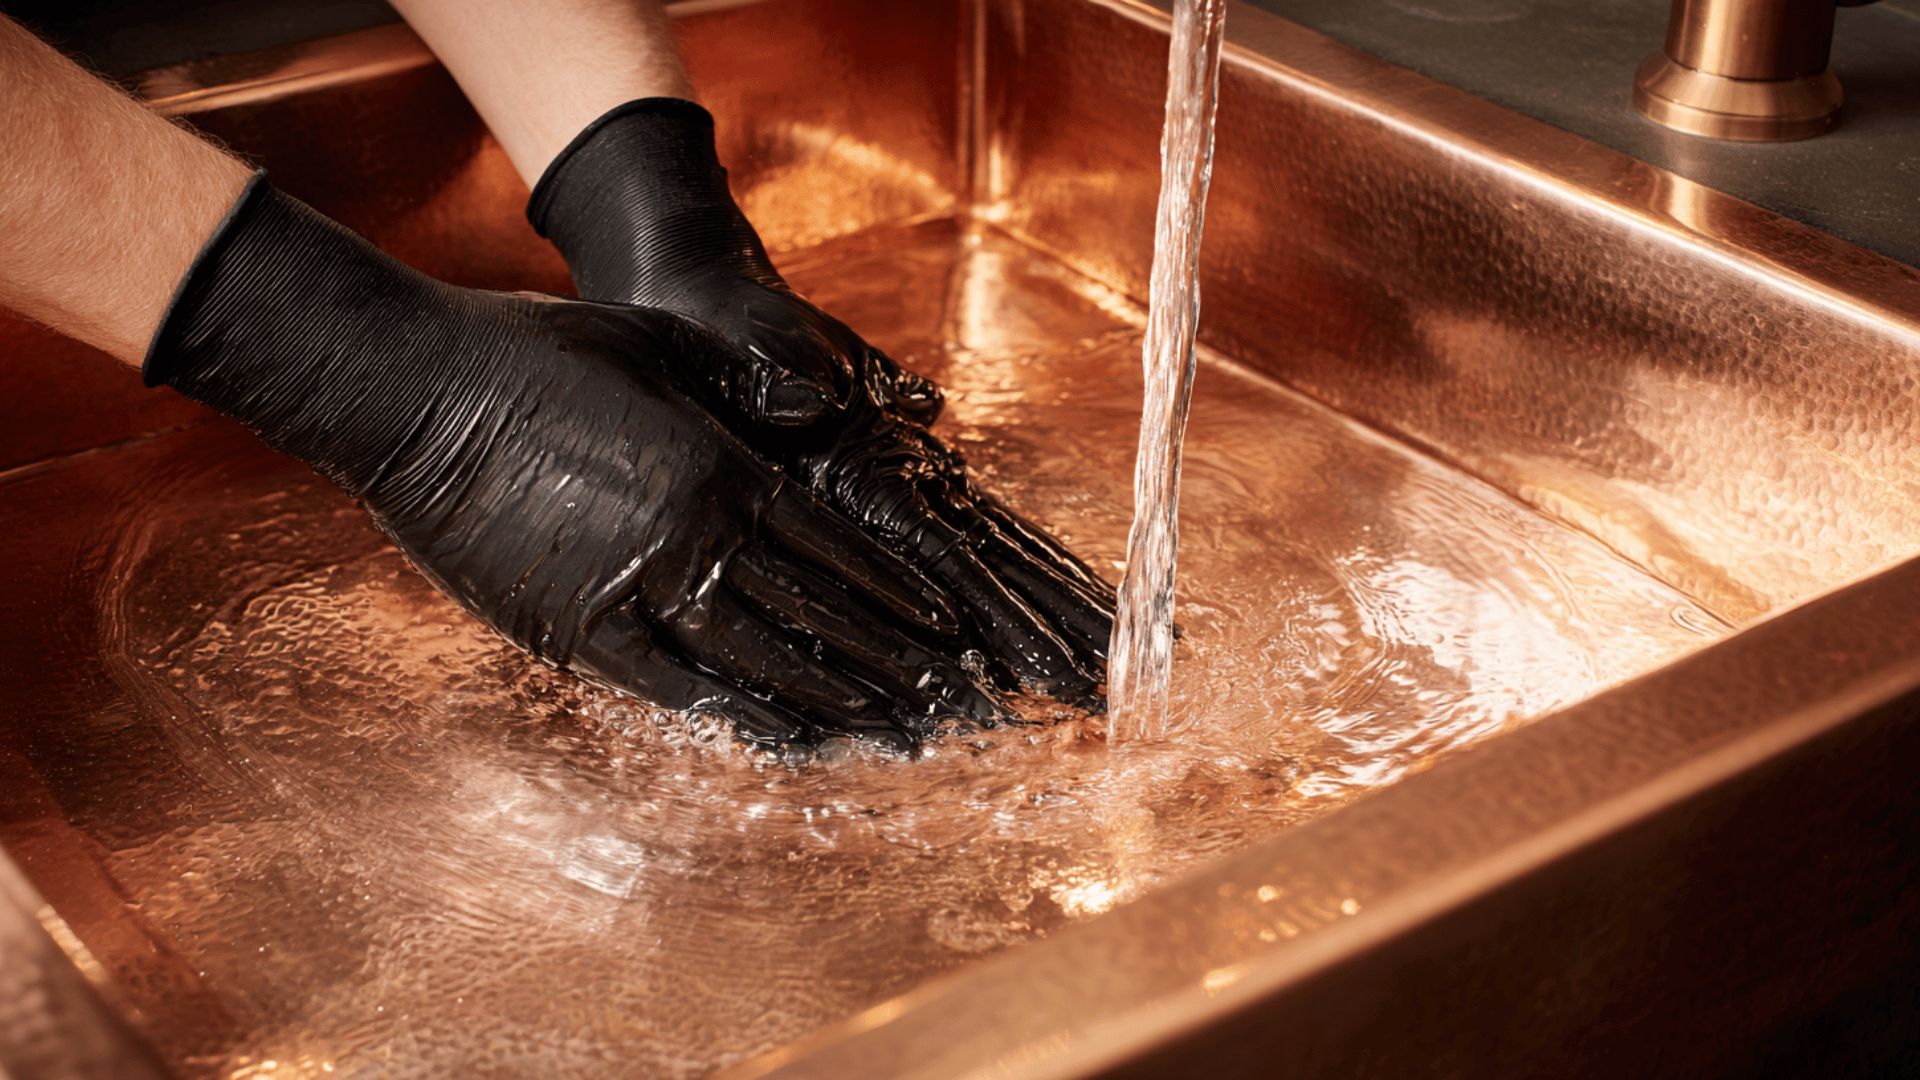
Use warm running water to thoroughly rinse all soap from the sink’s surface. Soap residue left behind can create streaks, dull the finish, or cause buildup over time.
Ensure water flows into every corner, edge, and contour of the sink. Continue rinsing until the water runs clear and no slippery soap film remains.
Proper rinsing is crucial for maintaining copper’s natural shine and preventing long-term damage.
Step 5: Dry Completely with a Soft Cloth
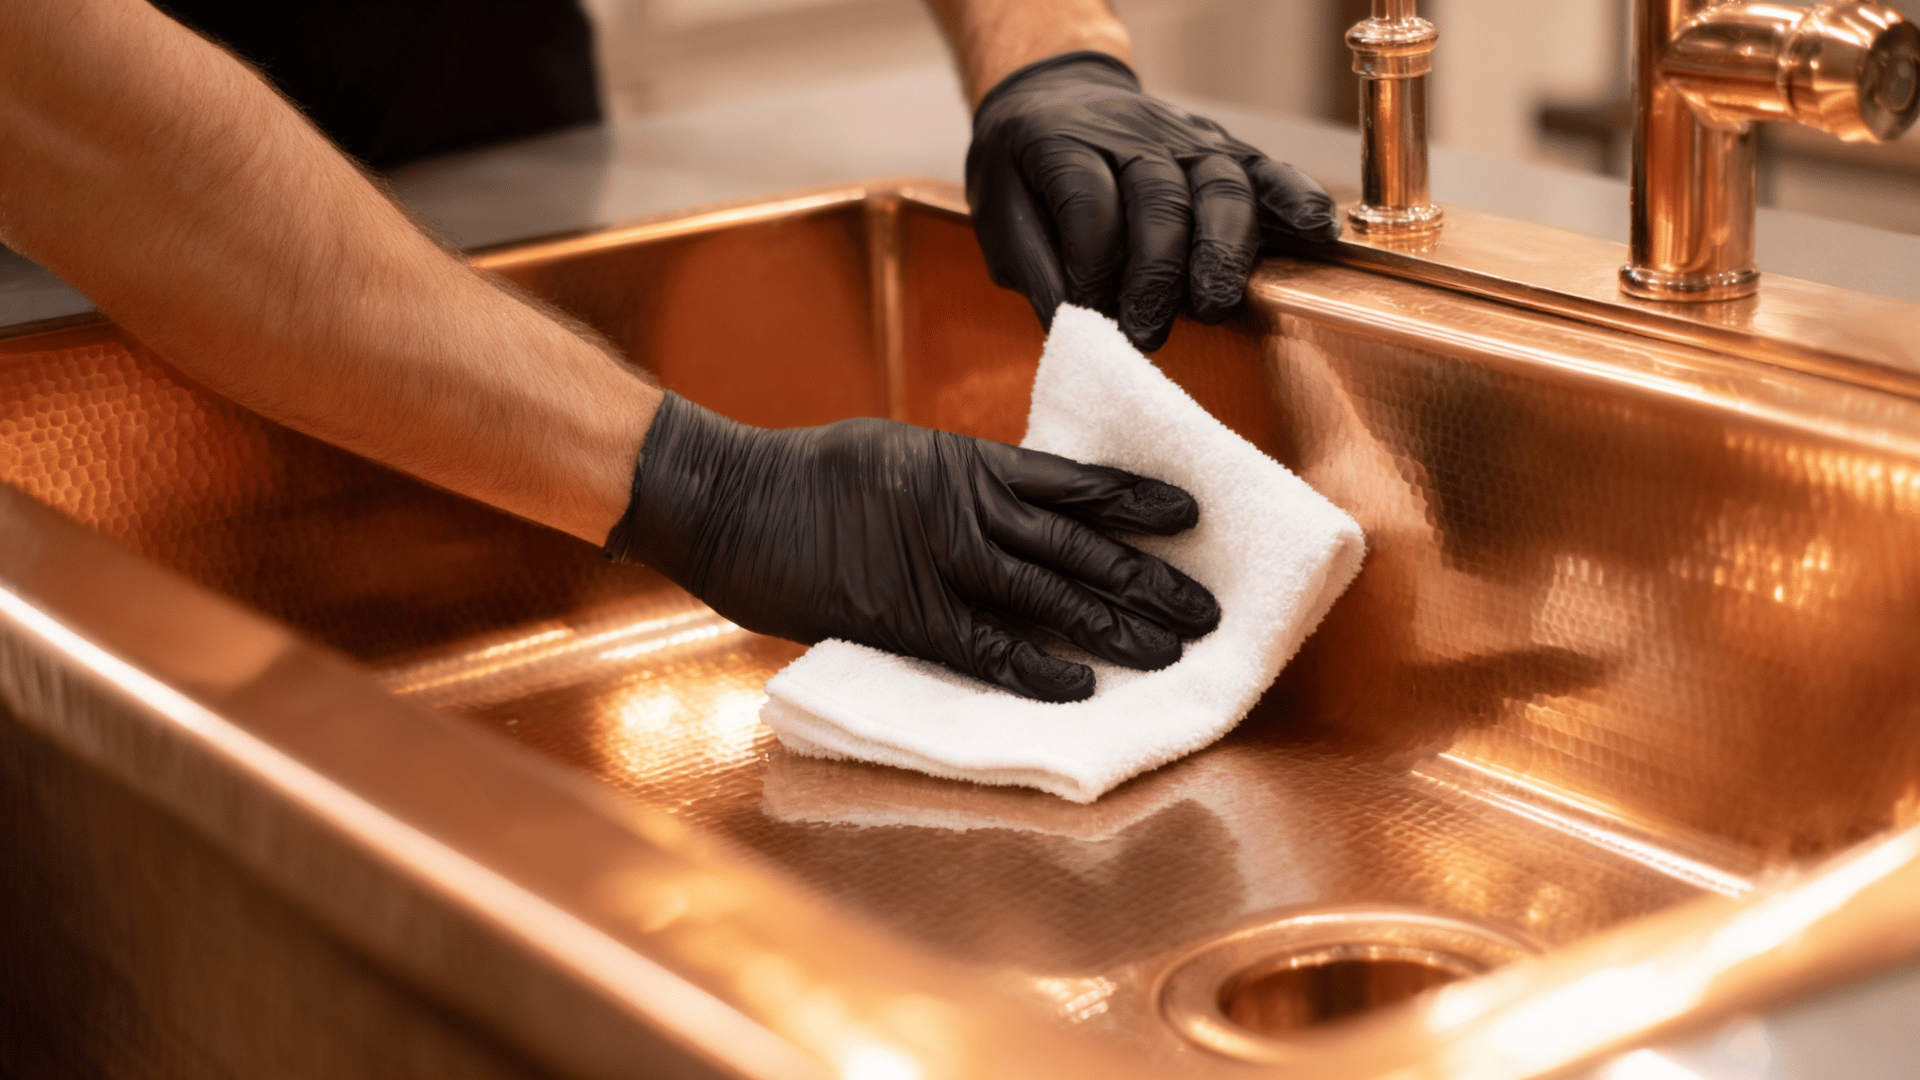
Immediately dry the entire sink using a clean, soft microfiber or cotton cloth. Standing water causes spotting, water stains, and can accelerate patina development or discoloration.
Wipe thoroughly, including the basin, rim, faucet area, and drain edges. Complete drying prevents hard-water mineral deposits and maintains the copper’s polished appearance.
Never air-dry copper sinks, as this promotes unwanted oxidation and uneven aging.
Step 6: Apply a Thin Wax Coating (Optional but Recommended)
For enhanced protection, apply copper-specific wax or carnauba wax in a thin, even layer using a soft cloth.
This creates a protective barrier against water spots, staining, and oxidation while enhancing the sink’s natural luster. Buff gently after application until the surface gleams.
Waxing every few weeks maintains the finish, reduces maintenance frequency, and preserves your copper sink’s beauty for years to come.
Tips for Protecting and Maintaining the Patina
Copper’s patina is what gives the sink its unique, aged character and natural protection against corrosion. Follow these tips to help your copper sink age beautifully:
1. Use a Soft Cloth or Sponge Only: Rough scrubbers can scratch the copper’s surface, exposing raw metal that disrupts even patina formation. Microfiber cloths are ideal.
2. Apply a Protective Wax Layer Periodically: A thin coat of beeswax or copper wax forms a shield against moisture and food acids, helping maintain an even patina tone.
3. Embrace Natural Color Changes: The patina deepens and shifts over time; it’s part of copper’s charm. Avoid overcleaning or polishing, which removes this natural finish.
4. Use Gentle Restoration Only When Needed: If unwanted spots appear, treat small areas gently with baking soda paste, rinse, and dry. Never strip the entire surface unnecessarily.
Common Mistakes to Avoid
Even though copper is durable, a few cleaning mistakes can cause long-term damage. Avoid the following:
- Abrasive Cleaners or Pads: They scratch and dull the surface.
- Harsh Chemicals or Bleach: These strip the patina and expose raw metal.
- Over-Polishing: Removes the protective finish and natural charm.
- Leaving Standing Water: Causes rings, spots, and uneven oxidation.
- Neglecting Regular Care: Dirt and moisture buildup can dull the surface.
- Unverified DIY Remedies: Always test homemade cleaners on a hidden spot first.
Even with good intentions, these habits can undo years of natural beauty, so consistency and gentleness are key.
Conclusion
Caring for a copper sink doesn’t require harsh chemicals or expensive cleaners.
With mild soap, soft cloths, and regular attention, your sink will keep its warm glow and natural texture for decades.
Copper is a living finish that evolves with time. By cleaning it gently, drying it after each use, and applying wax as needed, you let it age with grace.
Your sink will remain a beautiful, functional centerpiece that brings warmth and character to your home for years to come.