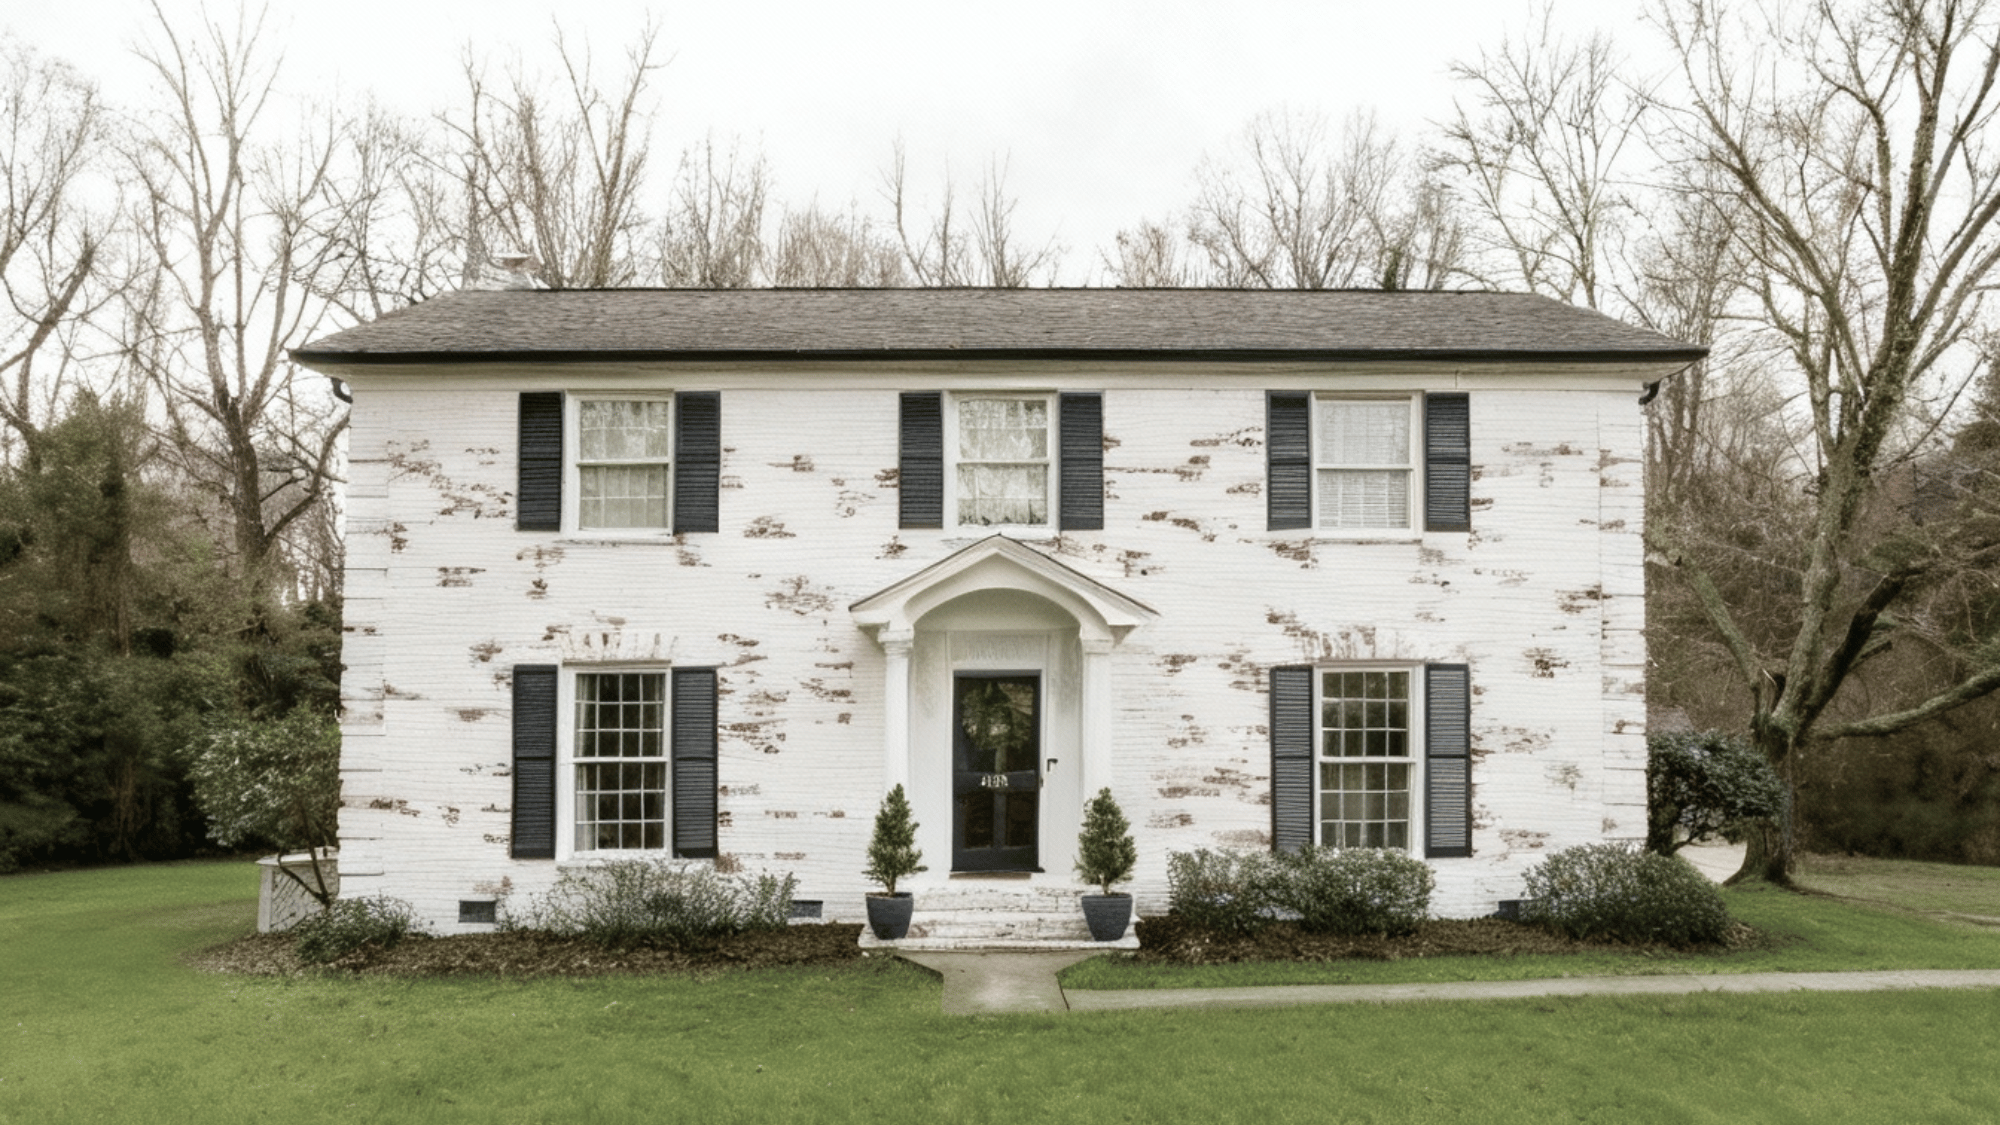
Limewashing brick is becoming a popular way to refresh and brighten homes without losing their natural charm.
It gives brick surfaces a soft, aged look that blends old-world character with modern appeal.
Homeowners appreciate how it can transform dull or worn-out brick into something clean and inviting.
Limewash is easy to apply, breathable, and environmentally friendly, making it a smart choice for both new and older homes.
Before learning the steps and specific advantages, it helps to understand why this simple method has stood the test of time and continues to be a favorite for creating bright, welcoming spaces.
What is Limewash Brick?
Lime-washed brick refers to masonry surfaces coated with limewash, a natural paint alternative made from crushed limestone mixed with water that creates breathable finishes.
This centuries-old technique originated in Europe, where builders used lime-based coatings to protect and beautify stone and brick structures.
Unlike modern paint, limewash soaks into porous brick rather than forming a surface layer that traps moisture inside walls.
The finish develops a soft, matte appearance with subtle color variations and natural aging characteristics that improve over time.
Limewash contains no harmful chemicals or synthetic additives, making it environmentally friendly and safe for historic preservation projects where authentic materials matter for design integrity.
Benefits of Lime-Washed Brick
Limewashed brick combines beauty, durability, and sustainability in one finish. Look at why homeowners love it:
- Breathable surface: Limewash allows moisture to evaporate naturally, preventing trapped water that causes brick deterioration and damage.
- Natural ingredients: Made from limestone without synthetic chemicals, making it eco-friendly and safe for historic preservation projects.
- Ages beautifully: Develops attractive patina over time rather than peeling or chipping like conventional paint products eventually do.
- UV resistant: Natural lime provides excellent protection against sun damage and color fading from prolonged outdoor exposure.
- Mold resistant: Alkaline properties naturally inhibit mold and mildew growth on exterior and interior brick surfaces effectively.
- Easy maintenance: Touch-ups blend seamlessly without leaving visible patches since limewash integrates with existing layers perfectly.
Tools and Materials You’ll Need
| Category | Item |
|---|---|
| Safety Gear | Gloves, safety glasses, mask |
| Cleaning Tools | Stiff bristle brush, garden hose, mild detergent |
| Application Tools | Natural bristle masonry brush or large paintbrush |
| Mixing Supplies | Bucket or container, stirring stick, or drill mixer |
| Surface Prep Tools | Pump sprayer or spray bottle |
| Materials | Limewash paint or lime powder, clean water |
| Optional Items | Painter’s tape, drop cloths, ladder |
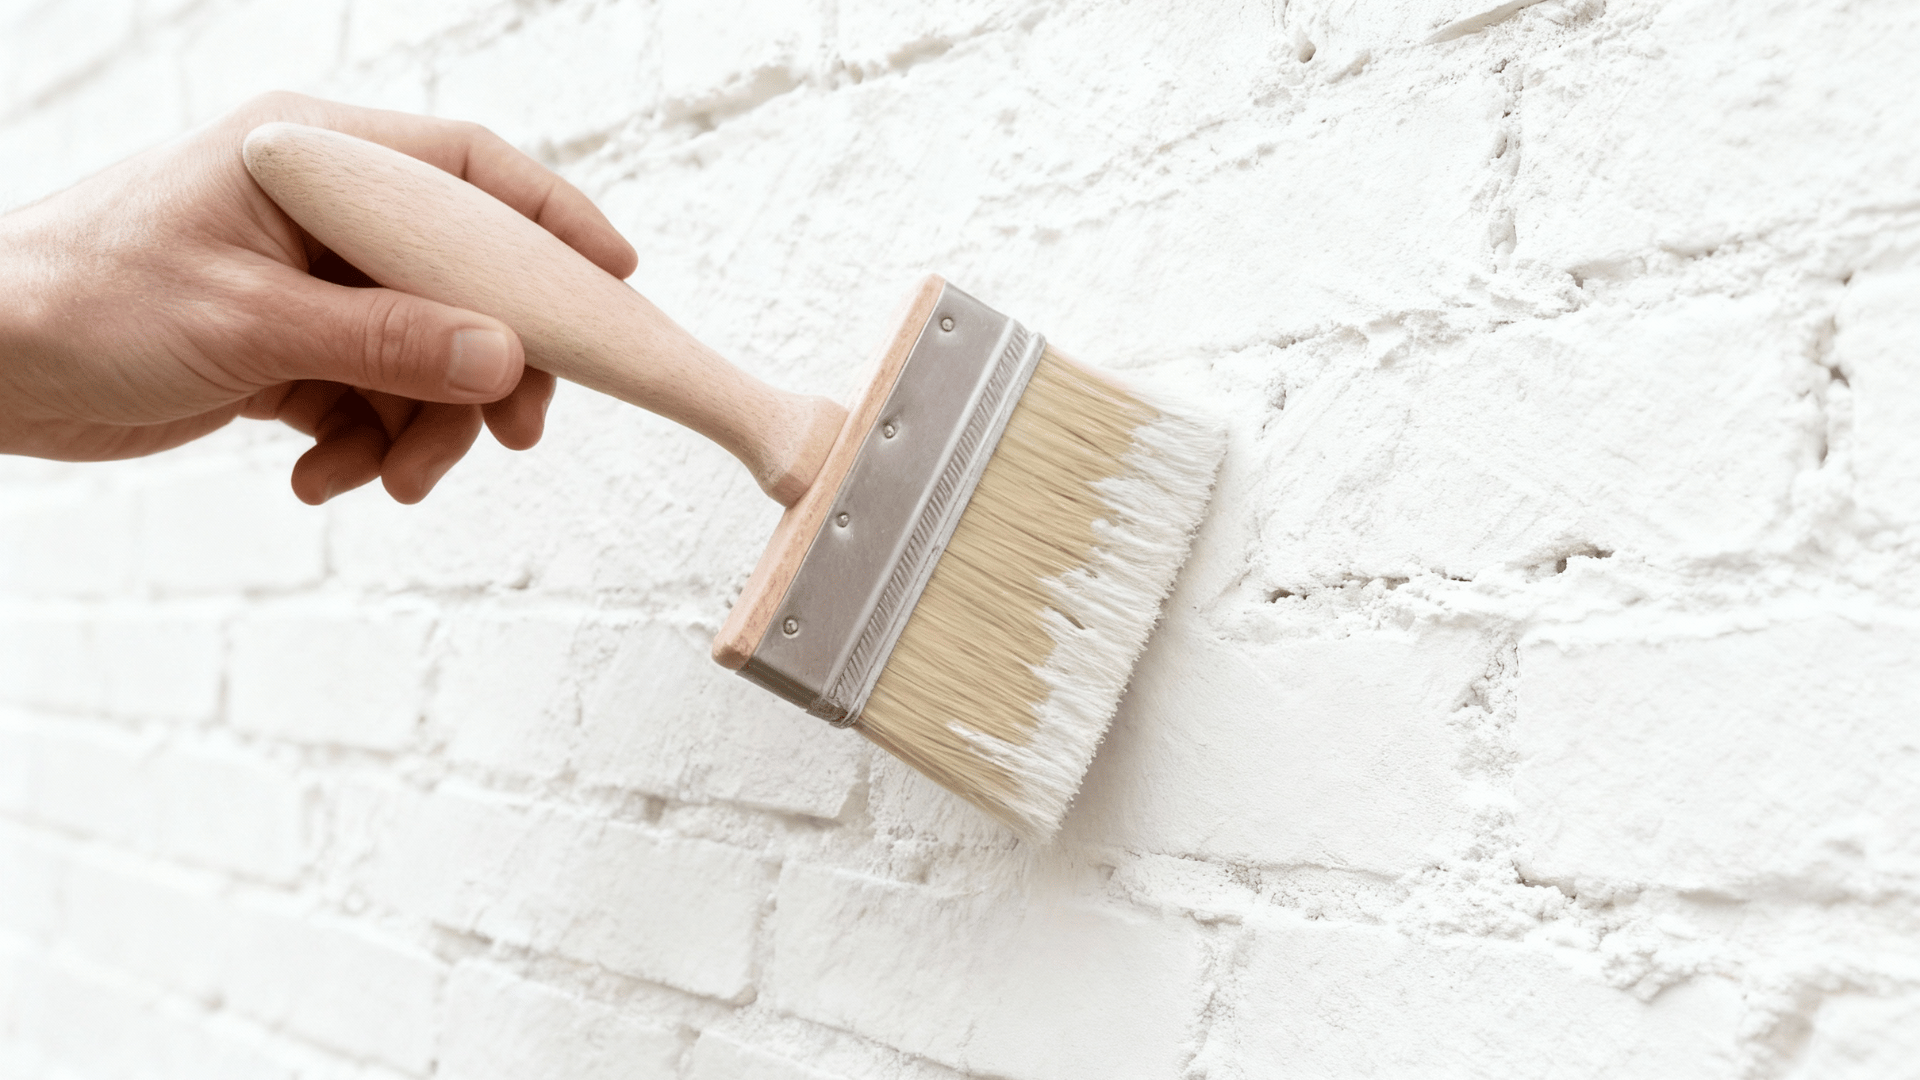
How to Apply Limewash to Brick Surfaces
Applying limewash requires proper surface preparation, dampening techniques, and layering methods for beautiful, long-lasting results on brick.
Step 1: Clean the Brick Thoroughly
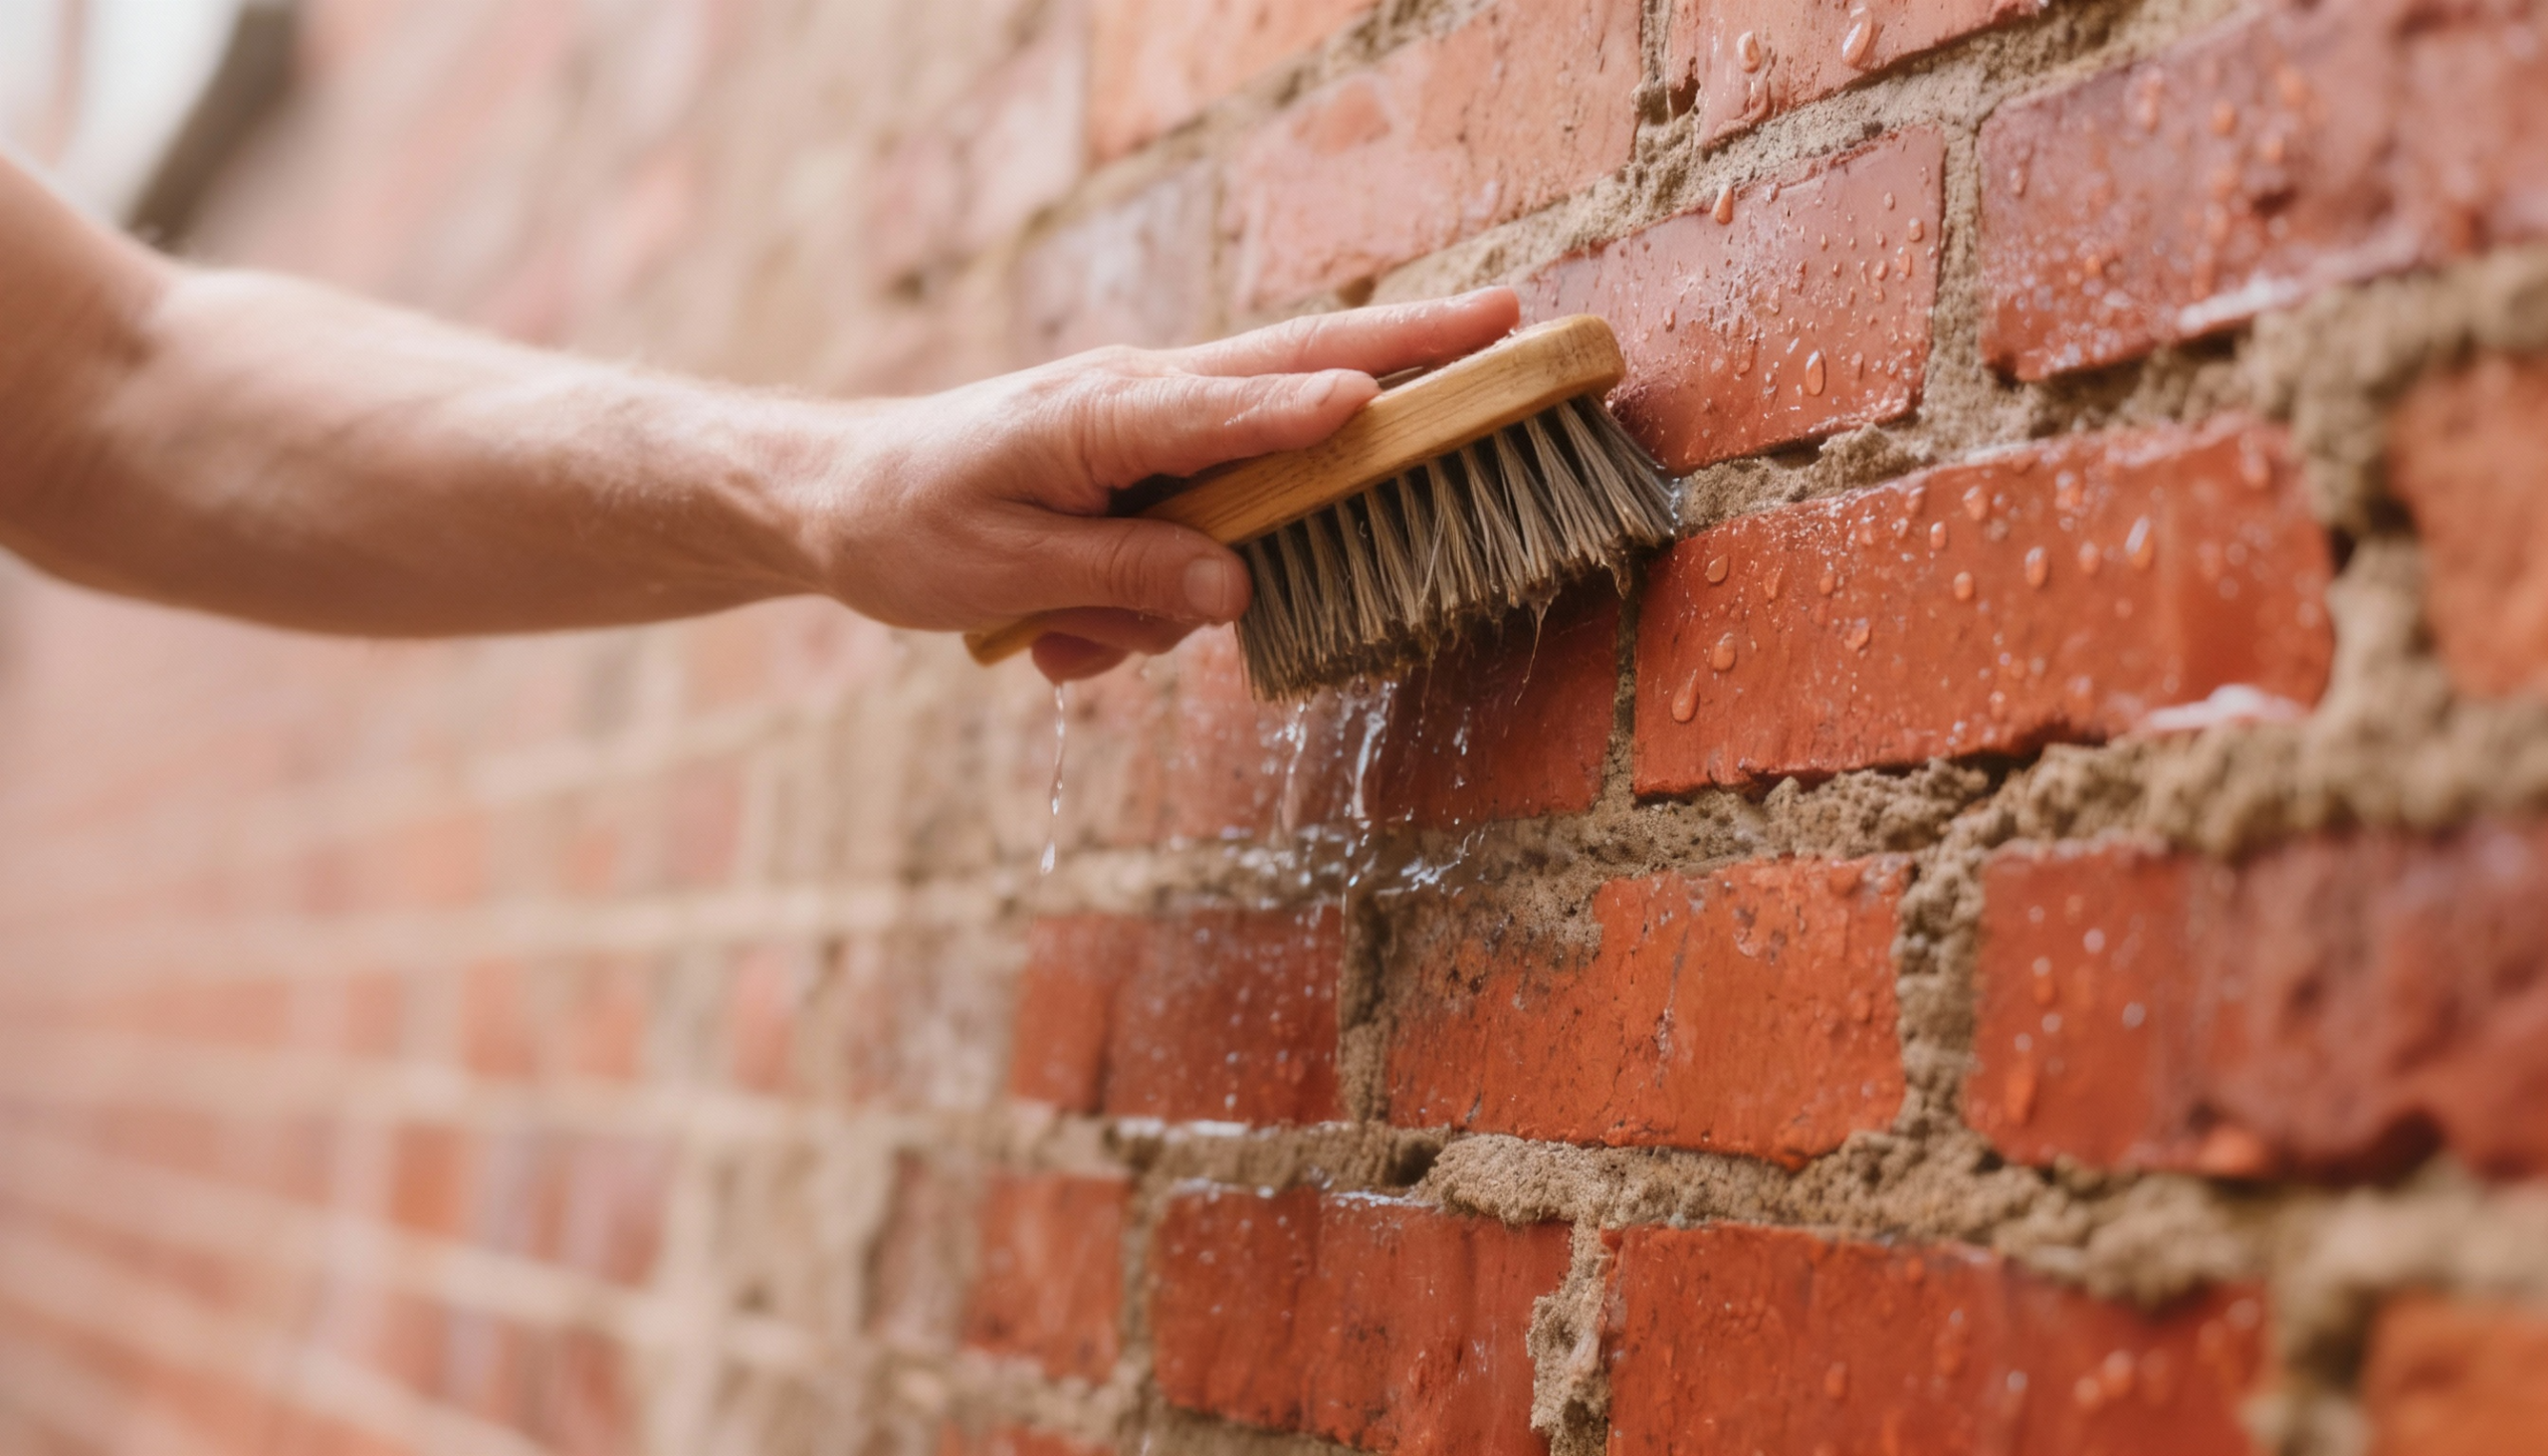
Remove all dirt, dust, efflorescence, and loose mortar from brick surfaces using a stiff brush and a garden hose with strong water pressure.
For stubborn stains or mildew growth, scrub with a mixture of water and mild detergent, avoiding harsh chemical cleaners that interfere with limewash absorption.
Allow the brick to dry completely for at least 24 to 48 hours before proceeding with the application.
Clean brick ensures proper limewash penetration and bonding for long-lasting results on your surfaces.
Step 2: Wet the Brick Surface
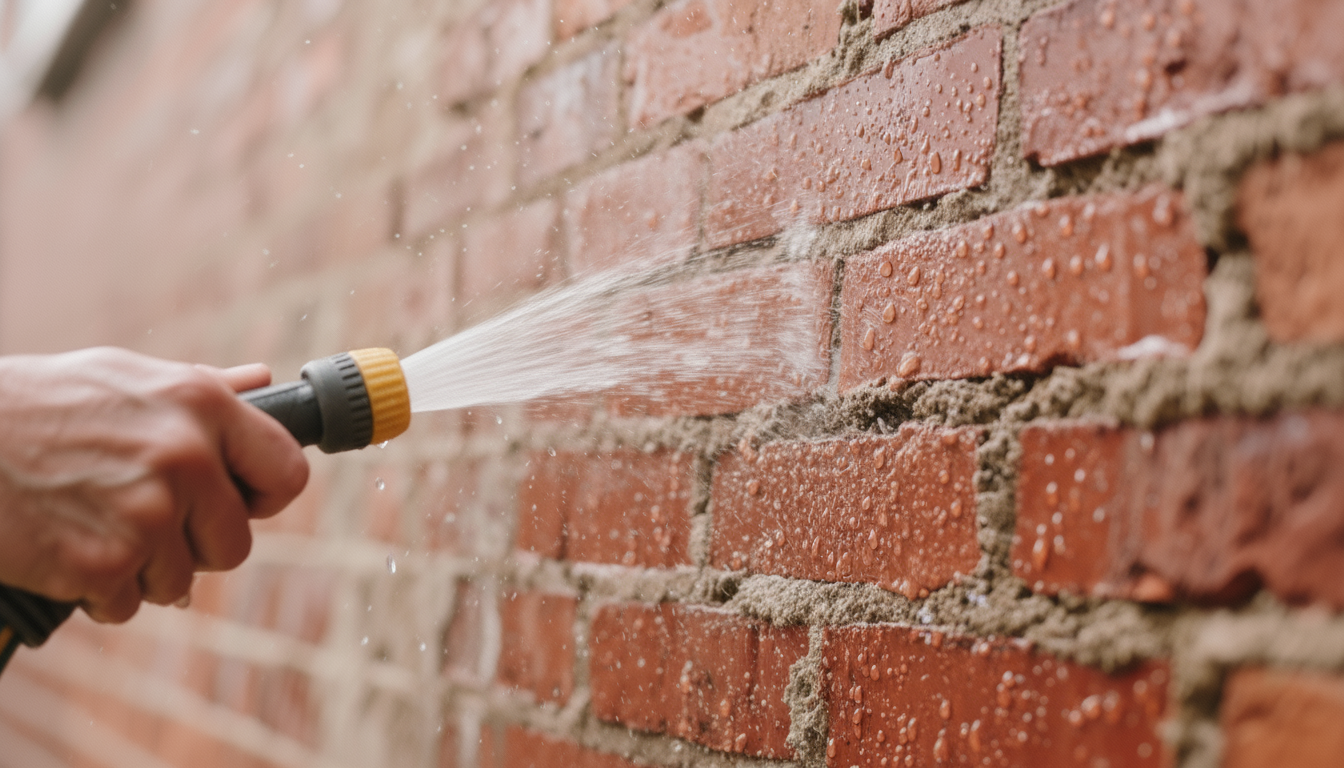
Spray brick walls thoroughly with clean water using a garden hose or pump sprayer until surfaces appear damp but not dripping wet throughout.
Moistening the brick opens pores and helps limewash penetrate deeply rather than drying too quickly on the surface before bonding properly.
This crucial step prevents premature drying and ensures even absorption across the entire wall.
Wait about 10 to 15 minutes after wetting before beginning limewash application for optimal conditions and penetration results.
Step 3: Mix Limewash to Proper Consistency
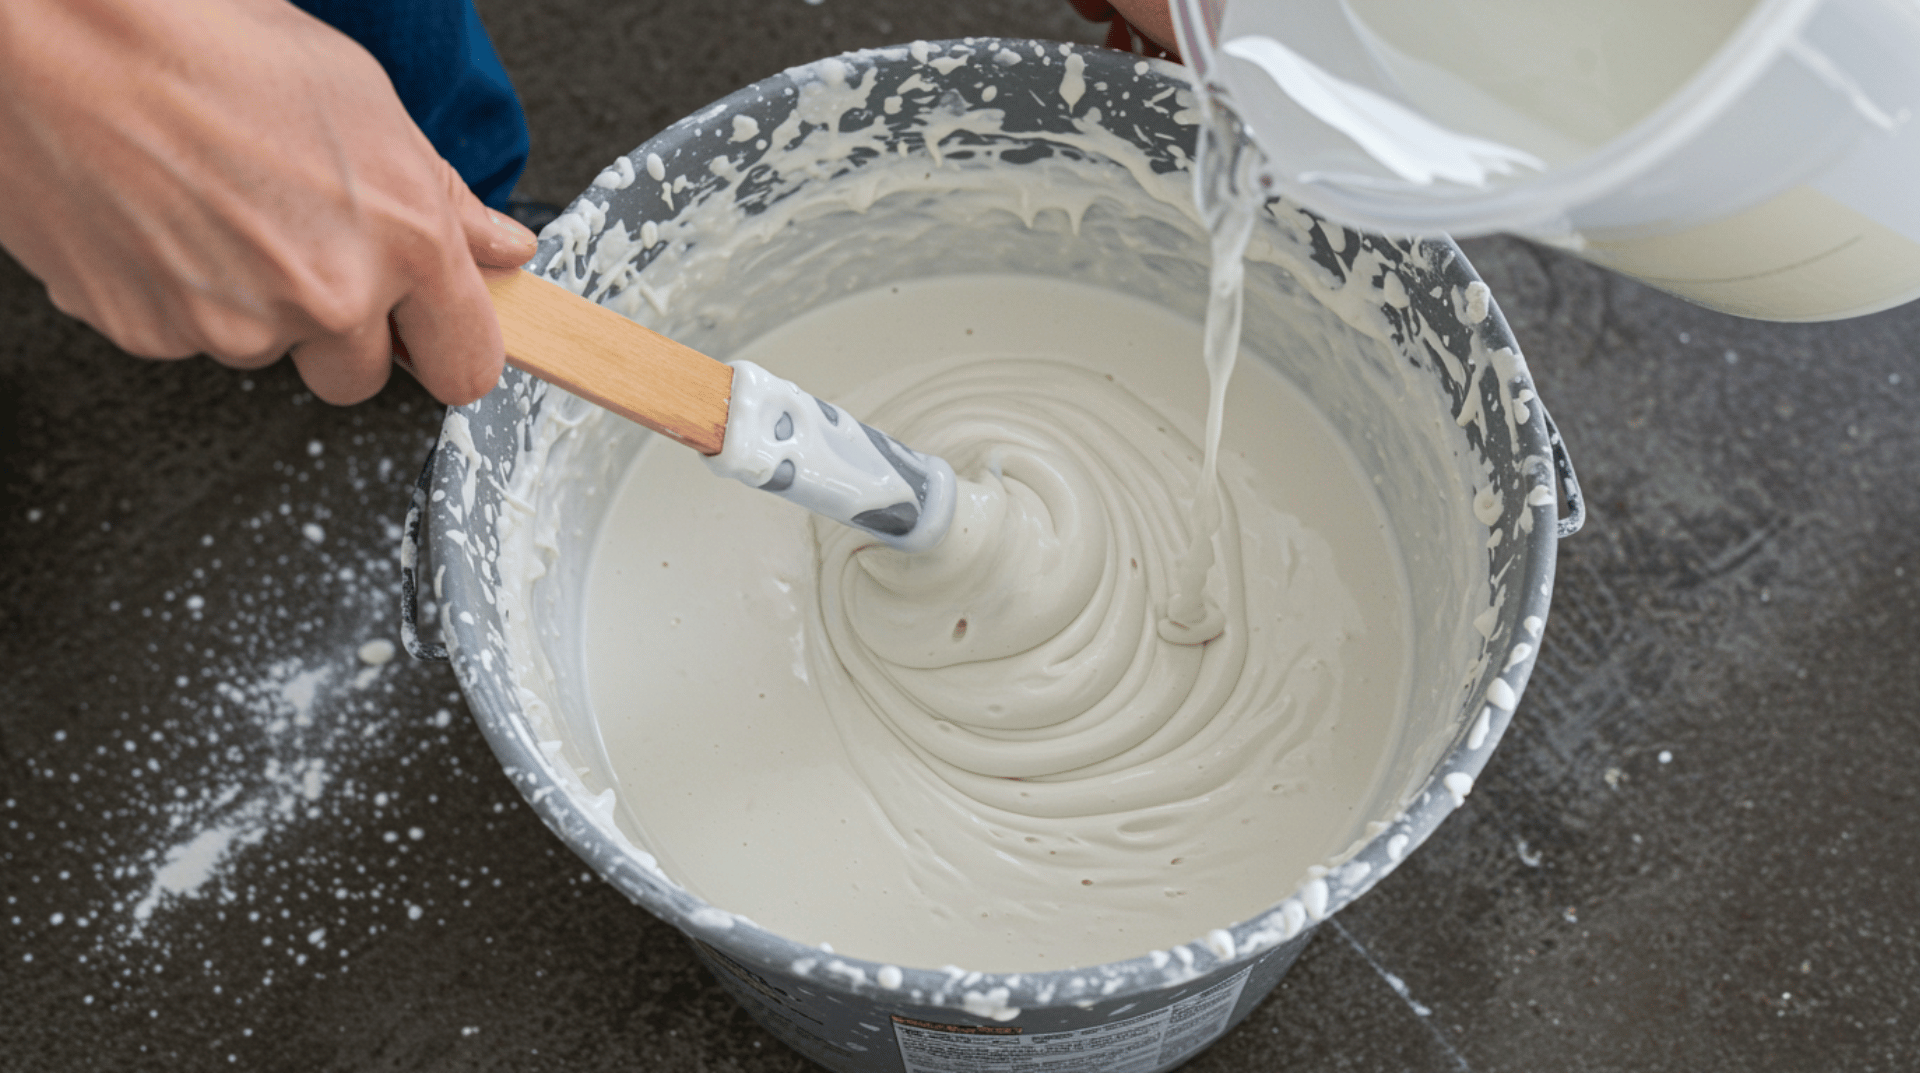
Stir pre-mixed limewash paint thoroughly or combine limewash powder with water according to manufacturer instructions until achieving a milk-like consistency without lumps.
The mixture should flow easily from your brush while maintaining enough body to coat the brick without running excessively down surfaces.
Add water gradually if the consistency seems too thick or more powder if it appears too thin and watery.
Proper mixing ensures smooth application and consistent coverage across your lime-washed brick project areas.
Step 4: Apply First Coat Generously
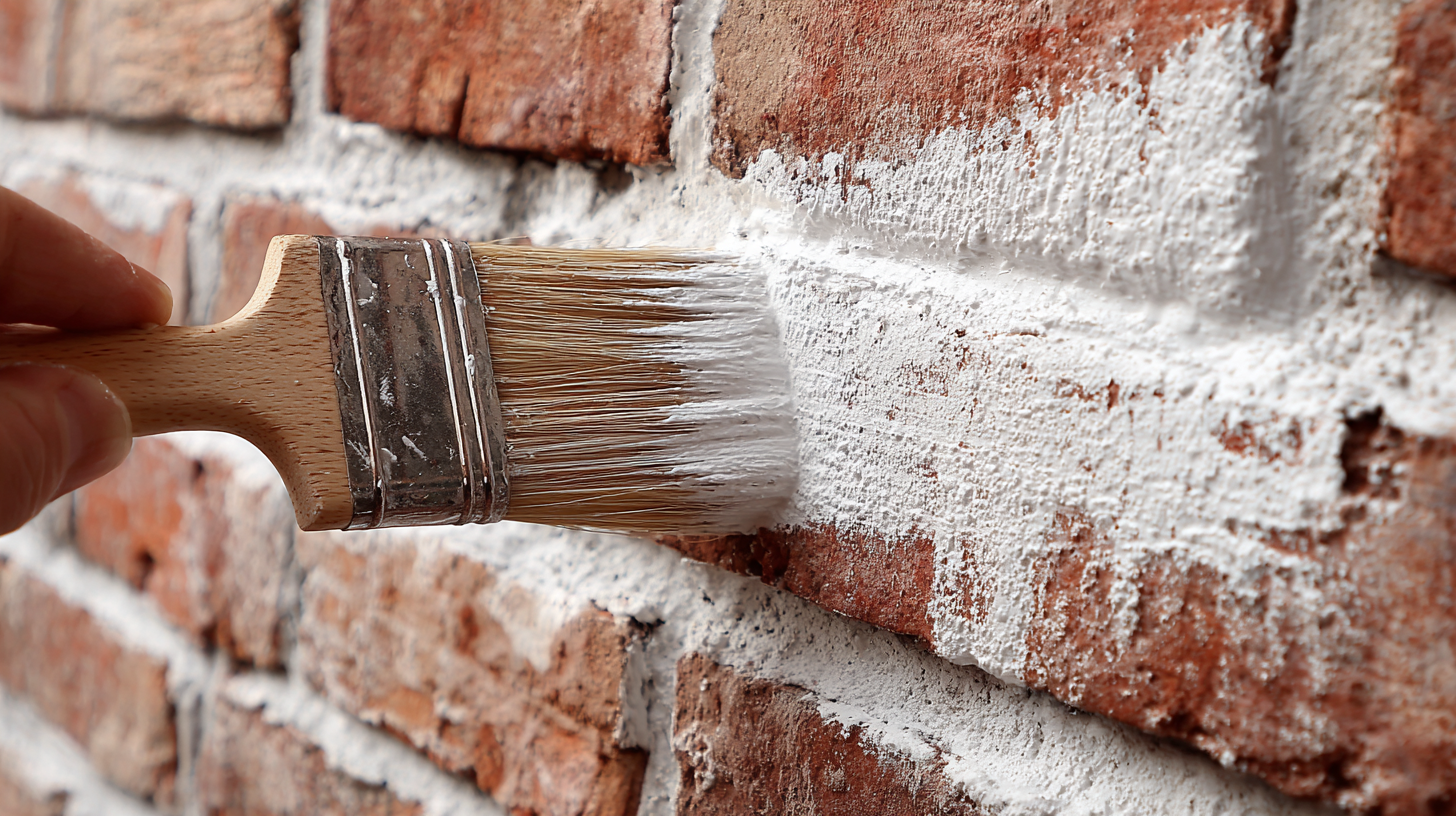
Use a natural bristle masonry brush to apply limewash in random, crisscross strokes, working the material into the brick texture and mortar joints thoroughly.
Load your brush generously and work in small sections about four feet square to maintain wet edges for blending seamlessly.
The first coat will appear streaky and uneven, which is completely normal and expected with this traditional application technique.
Allow this initial layer to dry completely for at least twenty-four hours before applying subsequent coats for building coverage.
Step 5: Add Additional Coats for Coverage
Apply second and third coats using the same technique, allowing each layer to dry completely between applications for proper bonding and depth.
How to limewash brick successfully requires building coverage gradually through multiple thin coats rather than one heavy application that runs or appears blotchy.
Most projects require two to four coats, depending on the desired coverage level and the original brick color showing through.
Step 6: Allow Proper Curing Time
Let your finished lime-washed brick cure undisturbed for at least 3 to 4 weeks before exposing surfaces to heavy weather or attempting any cleaning activities.
During this curing period, limewash chemically bonds with brick through a carbonation process that strengthens the finish over time naturally.
Avoid disturbing the surface during these critical early weeks when the coating remains delicate and vulnerable.
Proper curing creates durable finishes that improve with age and weather exposure beautifully for decades.
Choose the Right Brick Colors
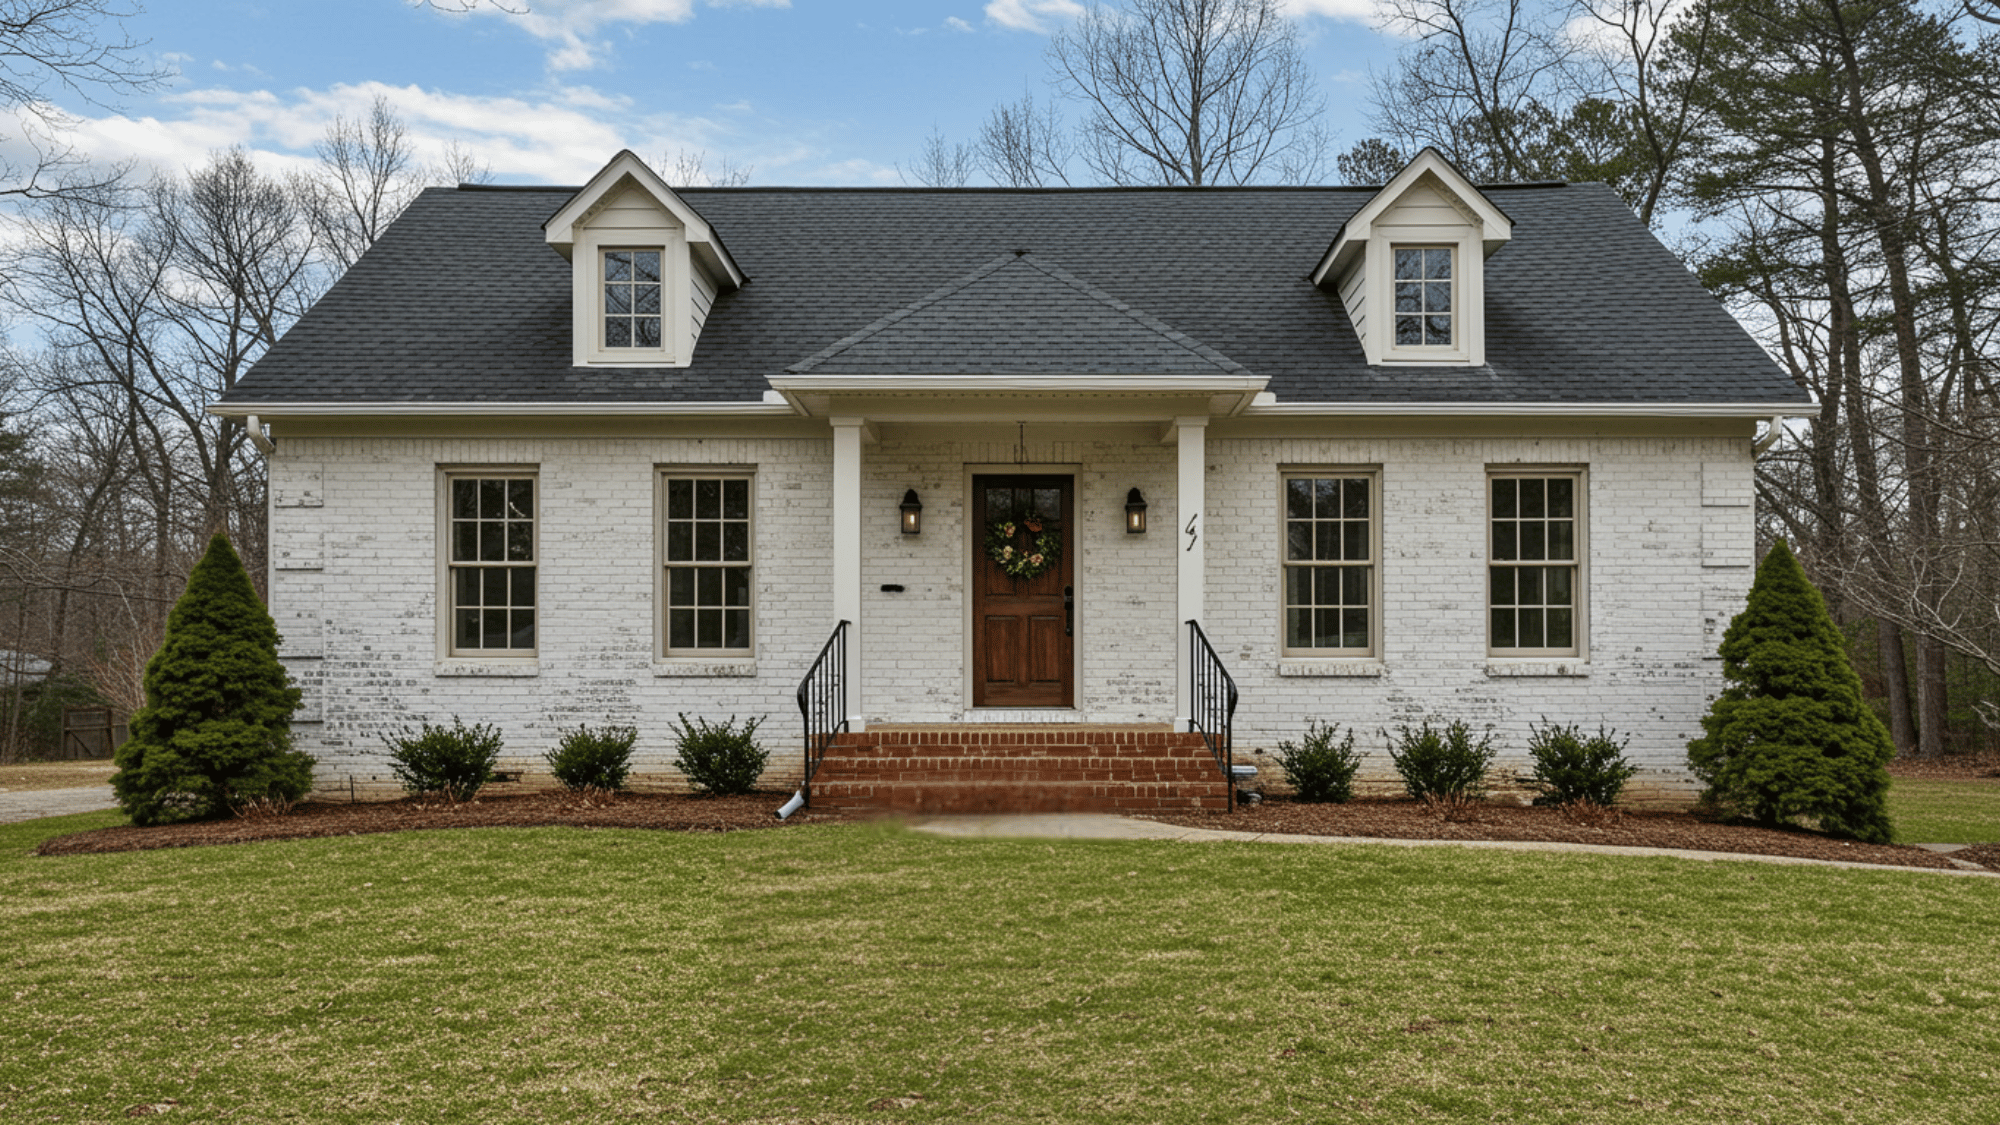
Selecting the perfect limewash shade changes your brick’s appearance while complementing your home’s architectural style and design vision.
| Color Option | Best For | Effect | Style |
|---|---|---|---|
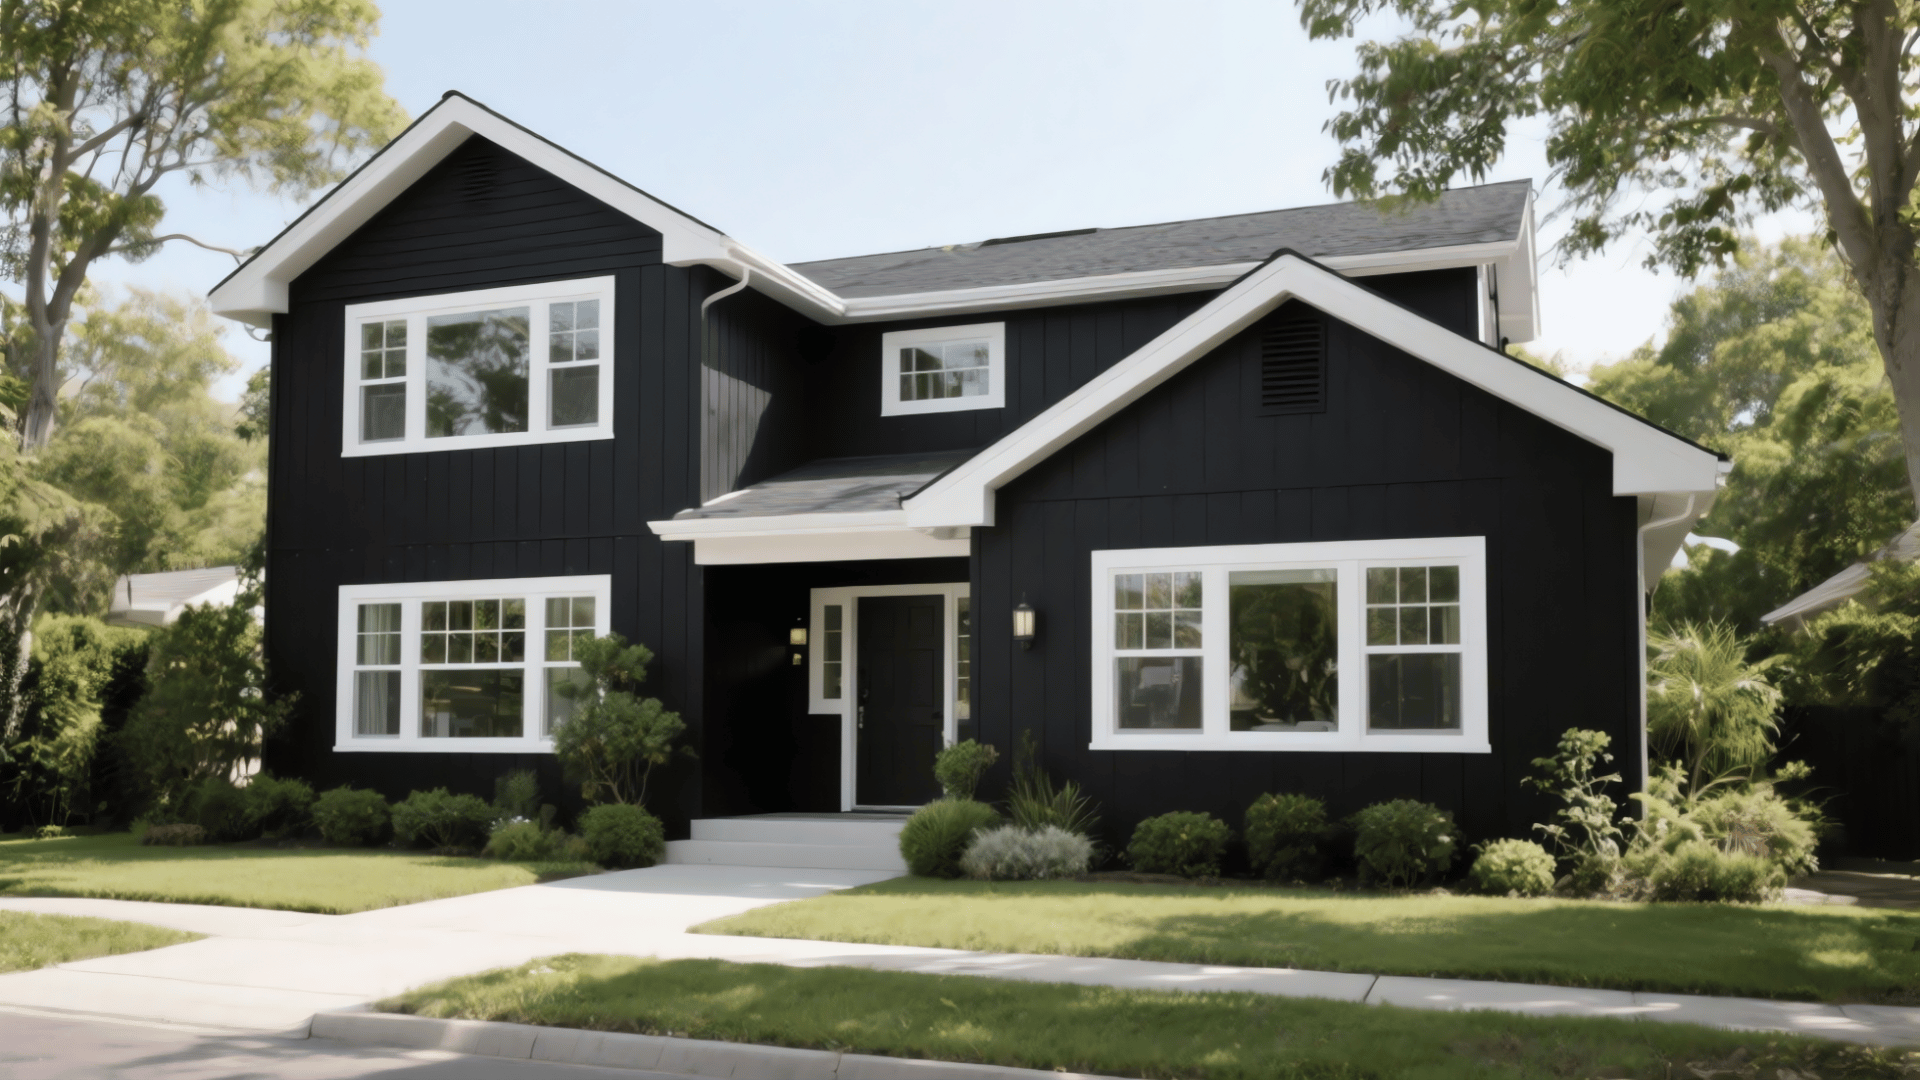
| White & Off-White | Dark brick surfaces | Brightens while maintaining texture and depth | Classic European style |
| Cream & Beige | Red brick | Softens intense colors without obscuring masonry character | Warm, traditional beauty |
| Gray | Modern homes | Contemporary look with traditional techniques | Sleek, minimalist style |
| Wet vs. Dry | All applications | Appears darker when wet, lightens significantly during curing | Natural changes over weeks |
When to Use or Not Use Limewash
Limewash works beautifully on certain surfaces but isn’t suitable for every situation. Knowing when to use it and when to avoid it ensures you get the best, most lasting results.
When to Use Limewash
- On bare, unsealed, or porous brick, stone, or masonry
- For both interior and exterior walls, especially those exposed to sunlight or moisture
- On homes where you want a natural, aged, and breathable finish
- When restoring historic or traditional-style homes, since limewash preserves architectural integrity
- On new brickwork that’s been allowed to cure for at least 4–6 weeks
When Not to Use Limewash
- On painted or sealed surfaces, it won’t absorb or adhere properly
- Over nonporous materials like concrete block with sealers or glazed brick
- In areas with constant water exposure, such as shower walls or near sprinklers
- When you want a solid, uniform paint look rather than a soft, weathered finish
- If you plan to apply acrylic or latex paint on top later (limewash can prevent proper adhesion)
Maintenance Tips
Limewashed brick is low-maintenance, but a little care keeps it looking beautiful for years.
- Inspect yearly: Check for fading or uneven areas, especially on exterior walls exposed to weather.
- Touch up as needed: Apply a diluted limewash coat every 5–7 years to refresh color and texture.
- Clean gently: Use a soft brush or mild detergent with water, avoid power washing or harsh chemicals.
- Blend repairs easily: Spot applications will merge seamlessly with older layers as limewash naturally integrates.
- Protect during heavy rain: Avoid applying limewash if rain is expected within 24 hours to prevent streaking.
Conclusion
Limewashing brick is a practical way to protect and improve your home’s exterior or interior walls.
It highlights the natural look of brick while adding a clean, breathable layer that stands up to weather and time.
The process takes patience, but the results are worth it: a durable, low-maintenance finish that feels fresh and natural.
If you’re updating an older home or finishing new brickwork, limewash offers a simple, reliable way to keep your brick looking its best.
Ready to create beautiful limewashed brick? Start your transformation today!