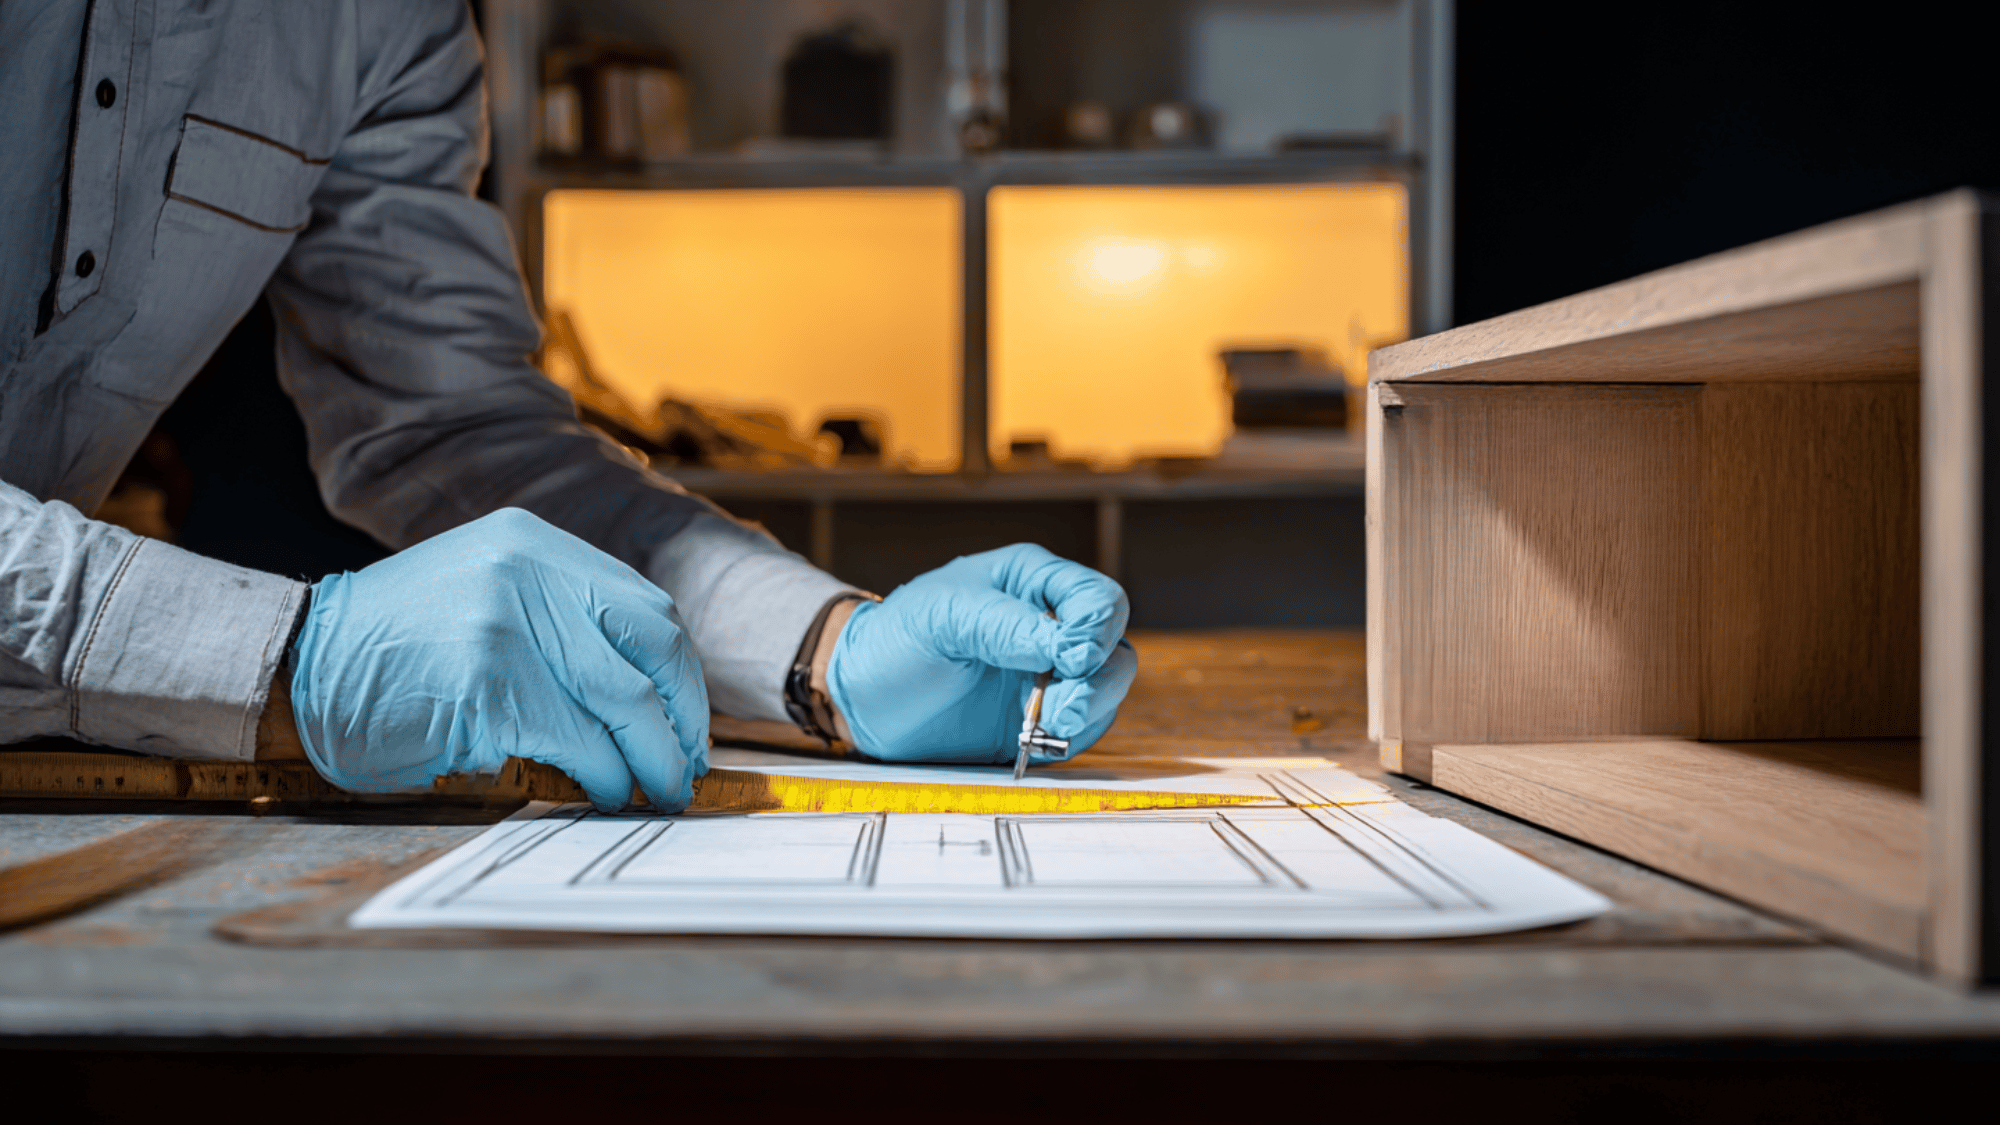
Building cabinet doors is one of the most rewarding DIY projects for any homeowner.
Learning how to make cabinet doors not only saves money but also gives old cabinets a fresh look.
From kitchens and bathrooms to storage areas, this simple upgrade can change any space.
Many DIYers prefer shaker-style cabinet doors because they are classic, easy to build, and fit almost any home design.
In this blog, you will find everything you need to get started, from choosing the right materials and tools to cutting, assembling, and finishing your own beautiful cabinet doors.
The Essentials of Cabinet Door Design
Cabinet doors can be made from different materials depending on style and budget. MDF is smooth, affordable, and great for painted finishes.
Plywood offers strength with a lighter weight, while solid hardwood provides a premium, long-lasting option with natural grain patterns. The door fit also matters.
Inset doors sit flush inside the cabinet frame for a clean look, overlay doors rest on top of the frame, and full overlay doors cover almost the entire cabinet face for a modern feel.
When it comes to design, shaker-style cabinet doors are among the most popular.
Their simple frame-and-panel construction makes them versatile, easy to build, and suitable for both classic and contemporary spaces.
Tools and Materials Required
| Item | Purpose |
|---|---|
| Measuring tape | For accurate cabinet measurements |
| Table saw or miter saw | Cutting rails, stiles, and panels |
| Clamps | Holding pieces firmly during assembly |
| Sandpaper or sander | Smoothing before painting or staining |
| MDF, plywood, or hardwood | Main material for cabinet doors |
| Primer and paint or stain | For finishing and protection |
Step-by-Step: How to Make Shaker-Style Cabinet Doors
Follow this simple, step-by-step guide to build classic shaker-style cabinet doors using basic tools, accurate measurements, and clean techniques safely.
Step 1: Measure and Plan
Measure each cabinet opening in width and height at two points to confirm squareness. Decide on an inset or an overlay. For overlay, use: door size = opening + 2×overlay.
Common overlay is ½” total (¼” per side). For inset, subtract 1⁄16″ (≈2 mm) clearance on all four sides: door size = opening − 2×clearance.
Sketch rail, stile, and panel sizes, label grain direction, and create a cut list before touching the saw.
Step 2: Cut the Rails and Stiles
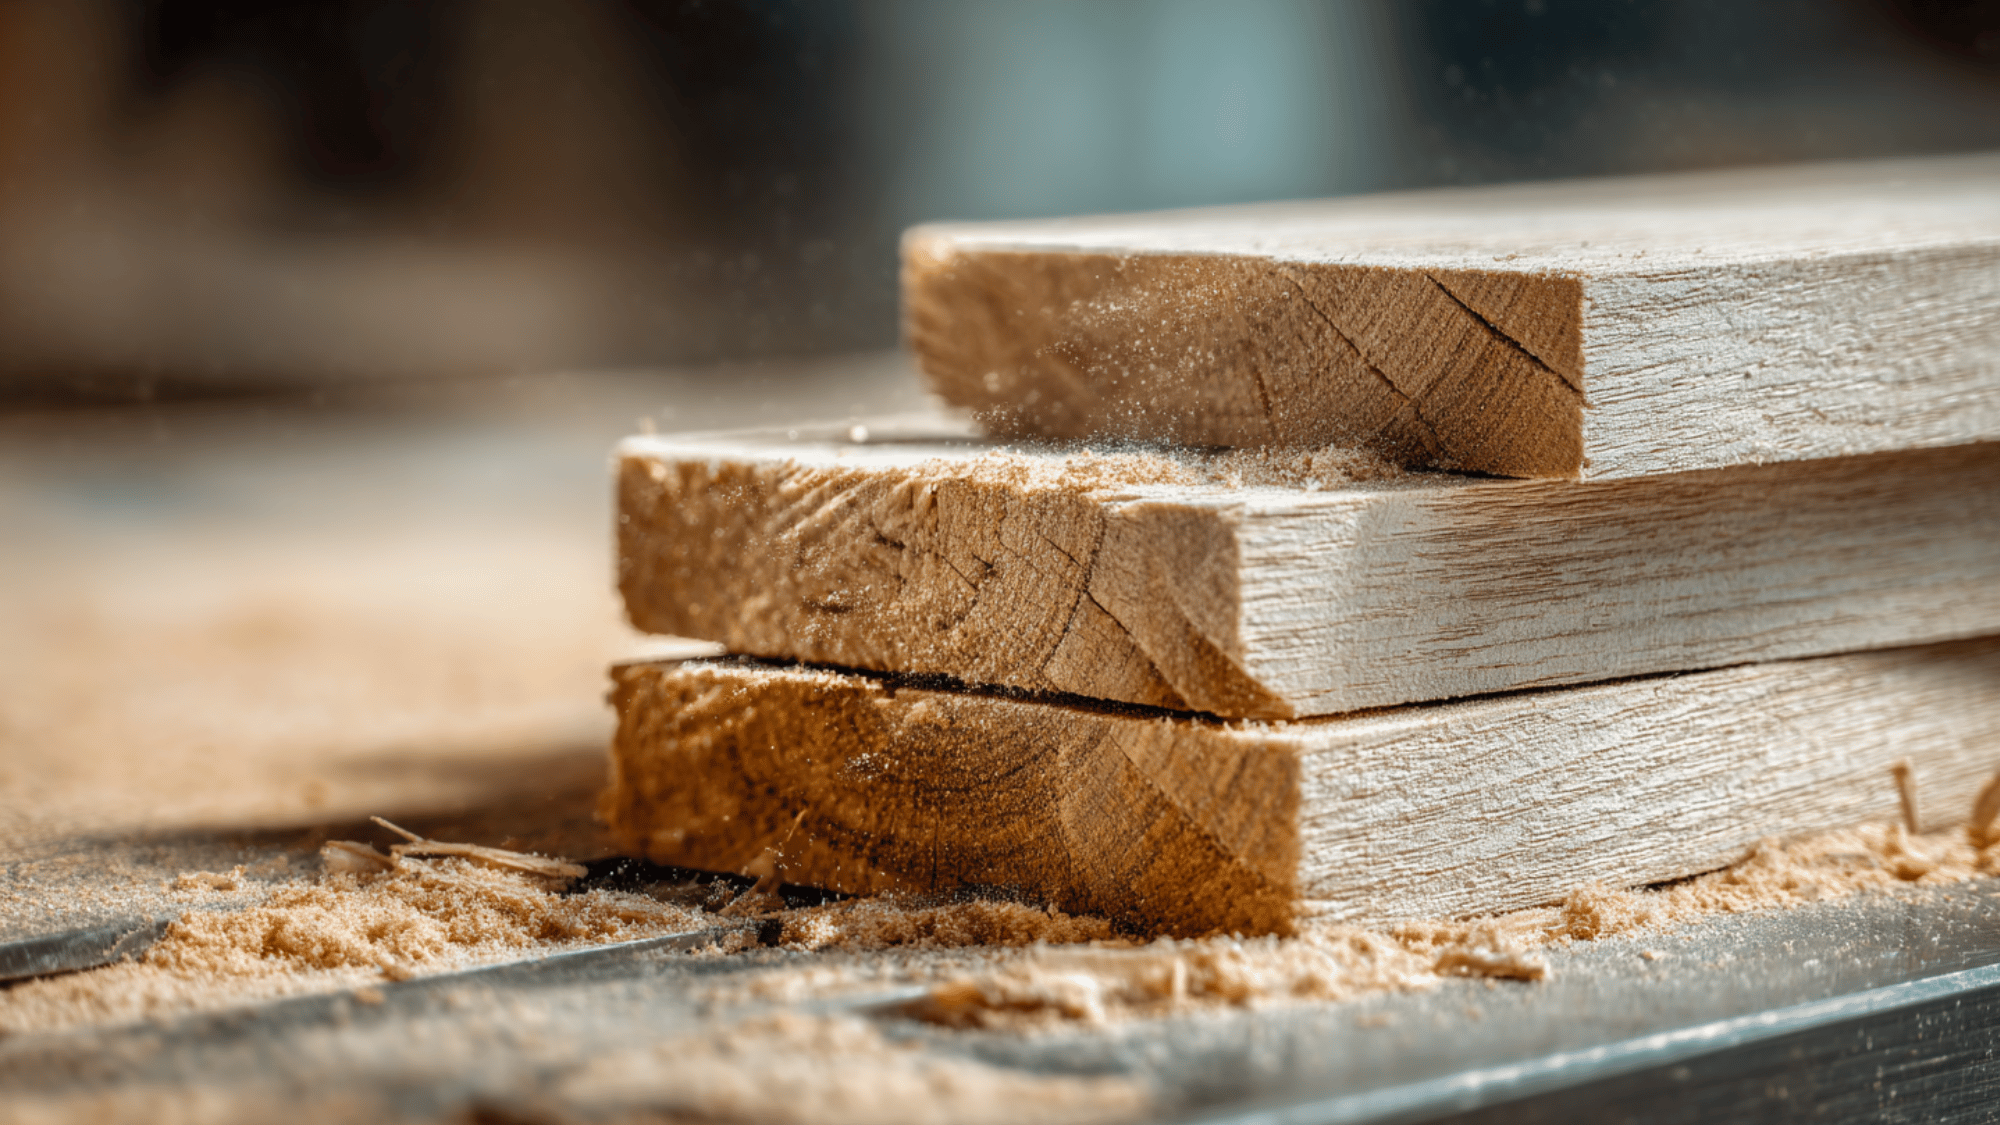
Rip and crosscut stiles and rails to final width and length (typical 2¼”–3″ wide).
Cut a centered groove for the panel: ¼” wide × ⅜” deep using a table saw or router. If using tongue-and-groove joinery, cut matching tongues on the rail ends.
Safety first: wear eye/ear protection, use a push stick, keep the blade guard in place, and stand out of the kickback zone.
Step 3: Prepare the Center Panel

Choose MDF for paint-smooth panels or solid wood/plywood for visible grain.
Size the panel to float inside the grooves: panel width/height = inside frame opening − 1⁄8″ total (leave about 1⁄16″ expansion gap per side).
If raising the panel, cut the profile after sizing. Lightly ease the panel edges for easier assembly. Check that the panel slides freely in the grooves without forcing, snug, not tight.
Step 4: Assemble the Door Frame

Dry-fit the parts to verify lengths and reveal alignment. During glue-up, apply wood glue only to the grooves and rail tongues, not the panel edges.
Apply even pressure with parallel clamps; add cauls to keep faces flush.
Check for a square by comparing the diagonal measurements to ensure they are equal. Wipe away the squeeze-out with a damp cloth. Let the frame set undisturbed until the glue firms up.
Step 5: Sanding and Finishing
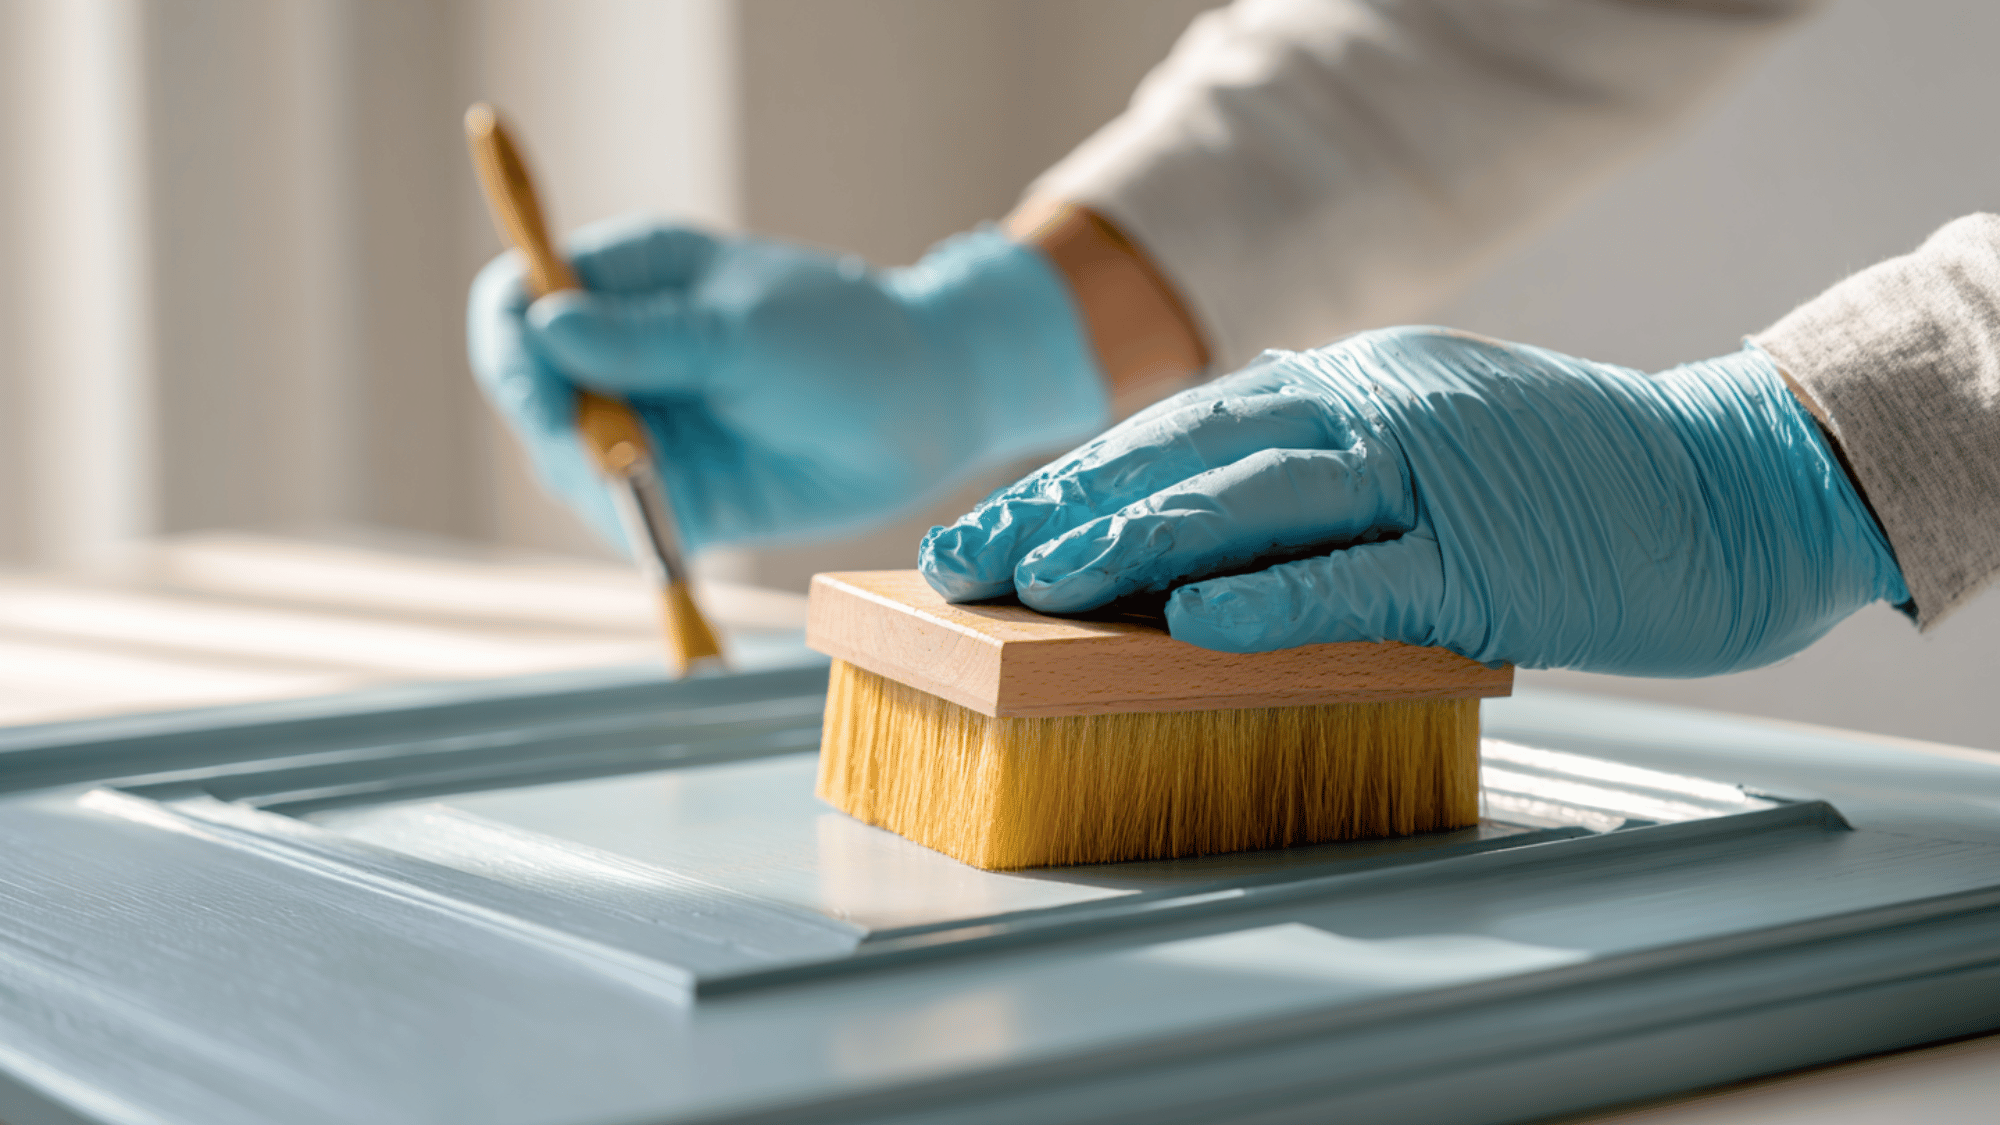
Sand the assembled door: 120 → 180 → 220 grit, breaking sharp edges slightly. Fill nail or micro gaps if needed, then vacuum and tack-cloth.
For paint: prime (especially on MDF), lightly scuff with 220, then apply two to three thin coats using a foam roller or sprayer.
For stain: apply wood conditioner on softwoods, stain evenly, and top with clear polyurethane. Let it finish drying fully before installing hinges and hardware.
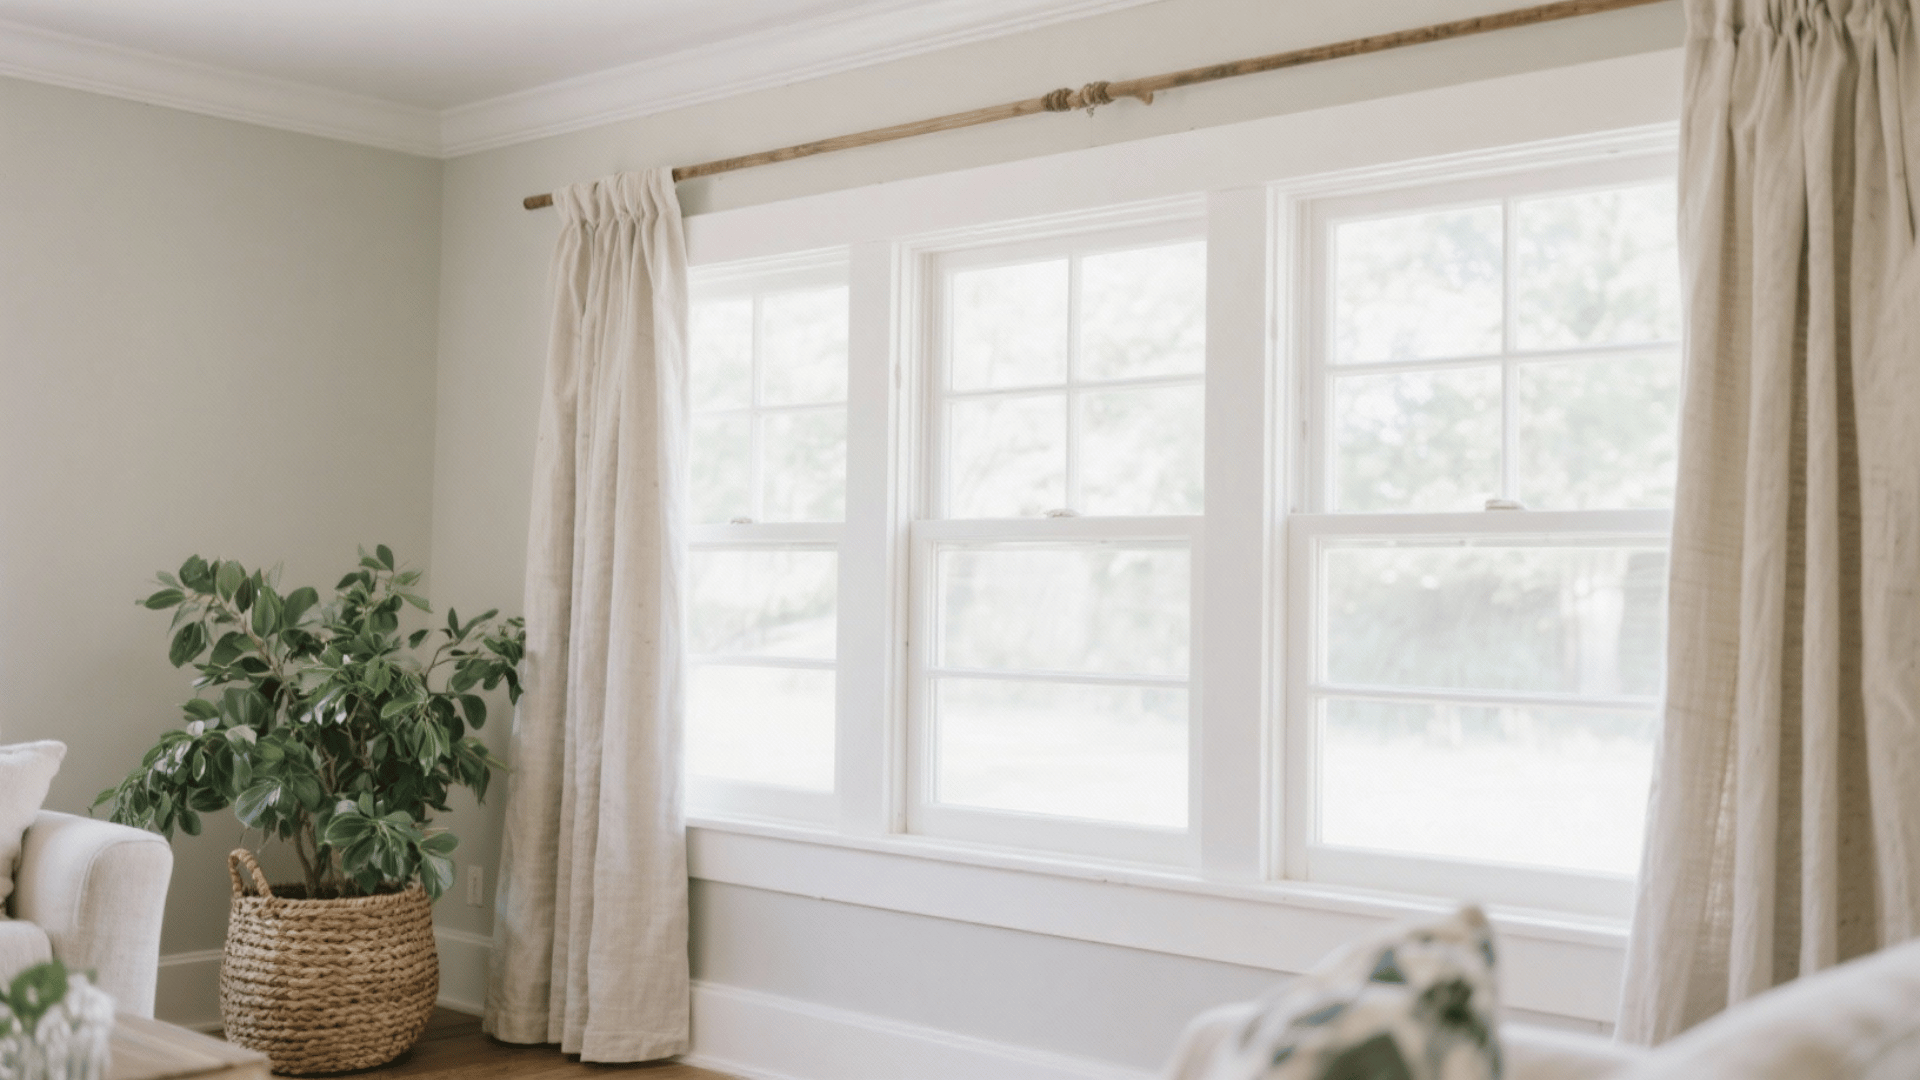
Final Touches That Bring Your Cabinet Doors to Life
Once your cabinet doors are built and finished, the final details make them truly stand out. This step is about design, not just protection.
- Choose Coordinating Hardware: Pick handles and knobs that match your kitchen’s style, brushed nickel for modern spaces, brass for classic looks, or matte black for a bold contrast.
- Match Colors and Finishes: Think about how your cabinet color complements the walls, counters, and flooring. Light tones create openness, while darker shades add warmth and depth.
- Add a Touch of Texture: Use beadboard panels, decorative trim, or glass inserts to bring personality to plain doors without overcomplicating the design.
- Finish With Protection: Seal your work with a clear satin or matte topcoat. It keeps the surface durable while giving the cabinets a soft, professional sheen.
Cost Breakdown: DIY vs. Store-Bought Doors
Before starting any project, it helps to know how much you can save by making your own cabinet doors compared to buying them ready-made. The difference often comes down to time, tools, and customization.
| Category | DIY Cabinet Doors | Store-Bought Cabinet Doors |
|---|---|---|
| Average Cost per Door | $35–$100 | $75–$300+ |
| Material Options | MDF, plywood, solid wood | Stock or custom hardwood |
| Customization | Fully customizable in size, design, and finish | Limited to available designs or custom order |
| Time Required | High – cutting, assembling, sanding, finishing | Low – ready to install |
| Skill Level Needed | Moderate to advanced DIY skills | None |
| Tools Required | Saw, clamps, sander, paint or stain supplies | None (optional for installation) |
| Durability | Depends on the material and craftsmanship | Consistent factory finish |
| Best For | Budget-friendly, hands-on projects | Quick, professional-looking upgrades |
Safety Tips for DIY Woodworking
Before cutting or assembling cabinet doors, take a moment to stay safe.
- Wear protection: Use safety glasses, ear protection, and a dust mask.
- Secure your work: Clamp wood firmly instead of holding it by hand.
- Keep tools in check: Make sure blades are sharp and cords are in good condition.
- Unplug before adjustments: Always turn tools off before changing parts.
- Work neatly: Keep your workspace clean and well-lit to avoid accidents.
A few safety steps can make your woodworking project smoother, safer, and more enjoyable.
Conclusion
Learning how to make cabinet doors gives DIY enthusiasts a chance to personalize their space with style and confidence.
Building shaker-style cabinet doors allows for creativity while keeping the process beginner-friendly and budget-conscious.
With careful measuring, steady sanding, and thoughtful finishing, anyone can craft doors that look professionally made.
By following each step patiently and avoiding common mistakes, even first-time builders can achieve beautiful, durable cabinet doors that reflect their personal craftsmanship.