Are your pantry items constantly tumbling out, making meal prep a daily struggle? It’s time to take control with custom DIY pantry shelves that change chaos into organization.
Building your own shelving system isn’t just about creating storage; it’s about designing a space that works perfectly for your lifestyle and kitchen needs.
Even if you’re dealing with an awkward corner, limited square footage, or simply craving better accessibility, custom shelves offer the ultimate solution.
Get ready to maximize every inch of your pantry while adding significant value to your home with shelving built exactly to your specifications.
How to Prepare for Your Pantry Shelving Project
Take time to assess your pantry’s unique characteristics and your household’s storage requirements.
Measure the space carefully, noting ceiling height, wall width, and any obstacles like electrical outlets or light fixtures.
Consider what items you will store. Bulky appliances need deeper shelves, while spice jars require minimal depth.
Sketch a rough layout showing shelf placement and spacing between levels. Determine your budget for materials and tools you may need to purchase or rent.
Proper planning prevents costly mistakes and ensures your finished shelves meet both functional needs and design expectations.
Tools and Materials Required
| Tools | Materials |
|---|---|
| Measuring tape | ¾-inch plywood |
| Drill & bits | 2×4 lumber for supports |
| Level | Screws and wall anchors |
| Stud finder | Wood filler and paint |
| Saw (miter or circular) | Sandpaper and brushes |
Step-By-Step Process of Building a DIY Pantry Shelves
Creating pantry shelves is a fun and practical project that changes a cluttered pantry into a neat, functional space.
Step 1: Prepare Your Space and Remove Existing Fixtures
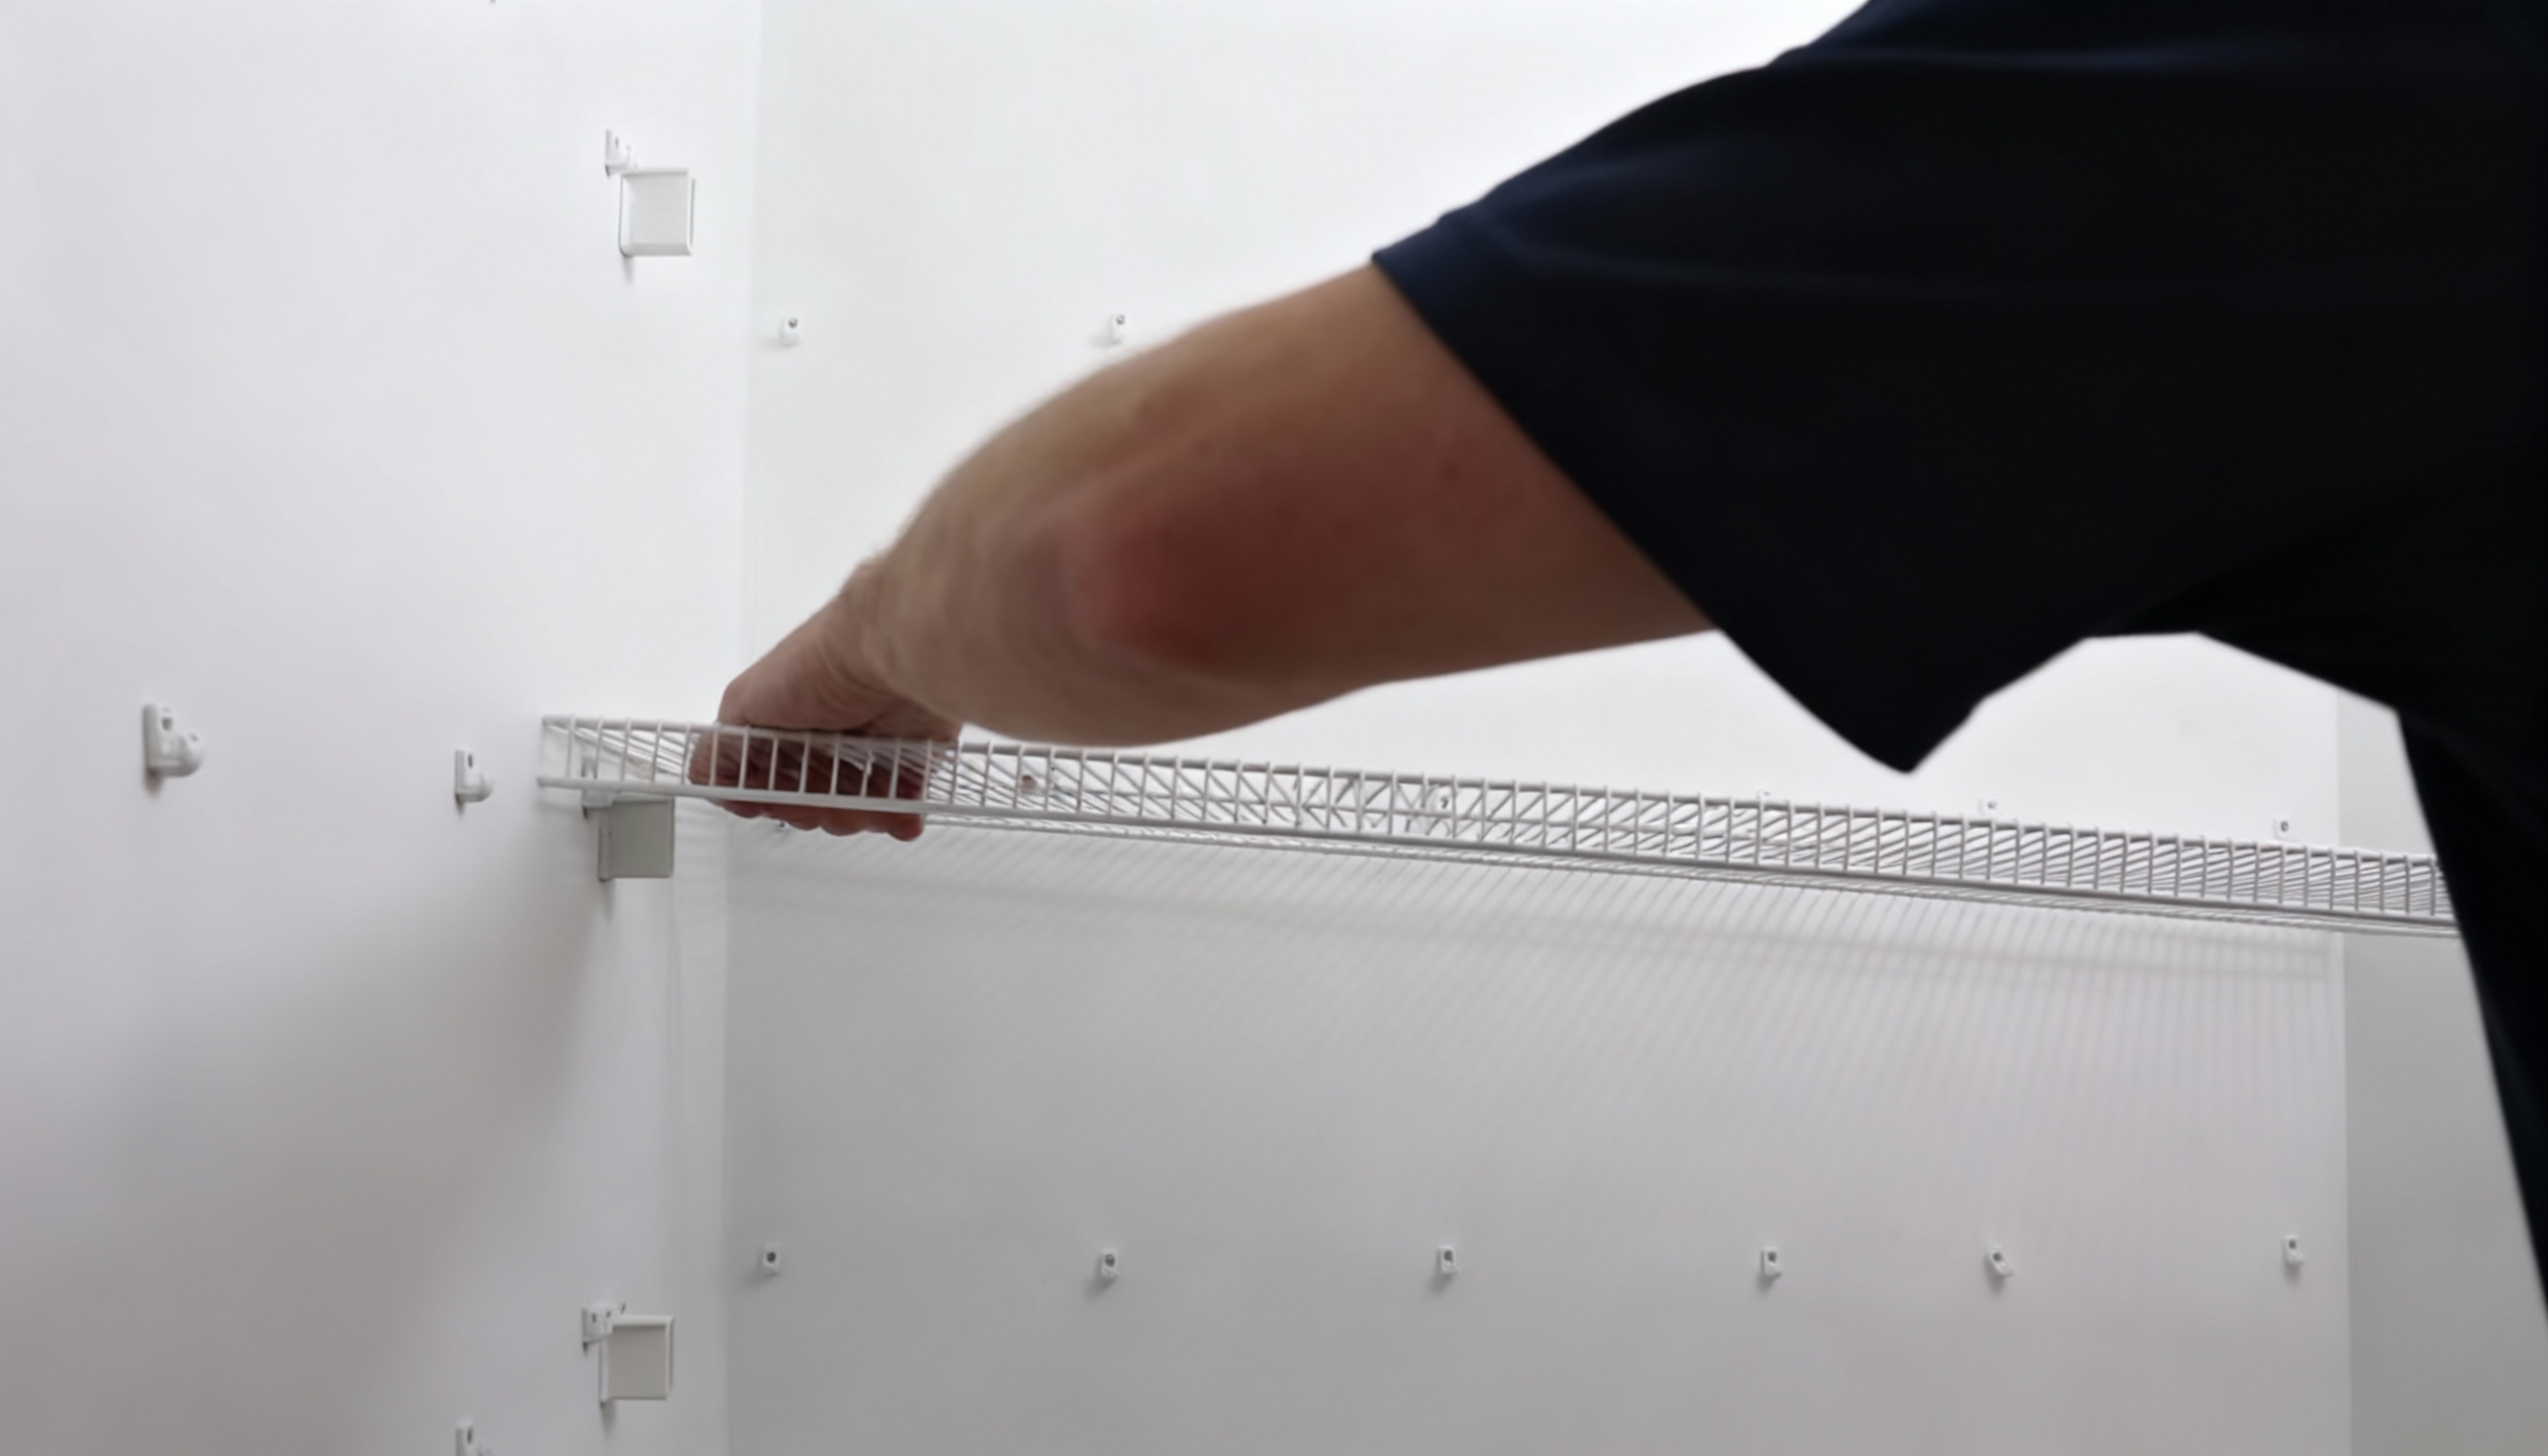
Start by emptying your pantry completely and carefully dismantling any old shelving systems.
When dealing with wire shelving, locate the mounting hardware and remove anchors methodically to minimize wall damage.
Use proper tools to extract mounting brackets and support clips. Take photos of the existing setup for reference. Dispose of old materials responsibly and clear the workspace entirely.
Step 2: Repair and Prime Wall Surfaces
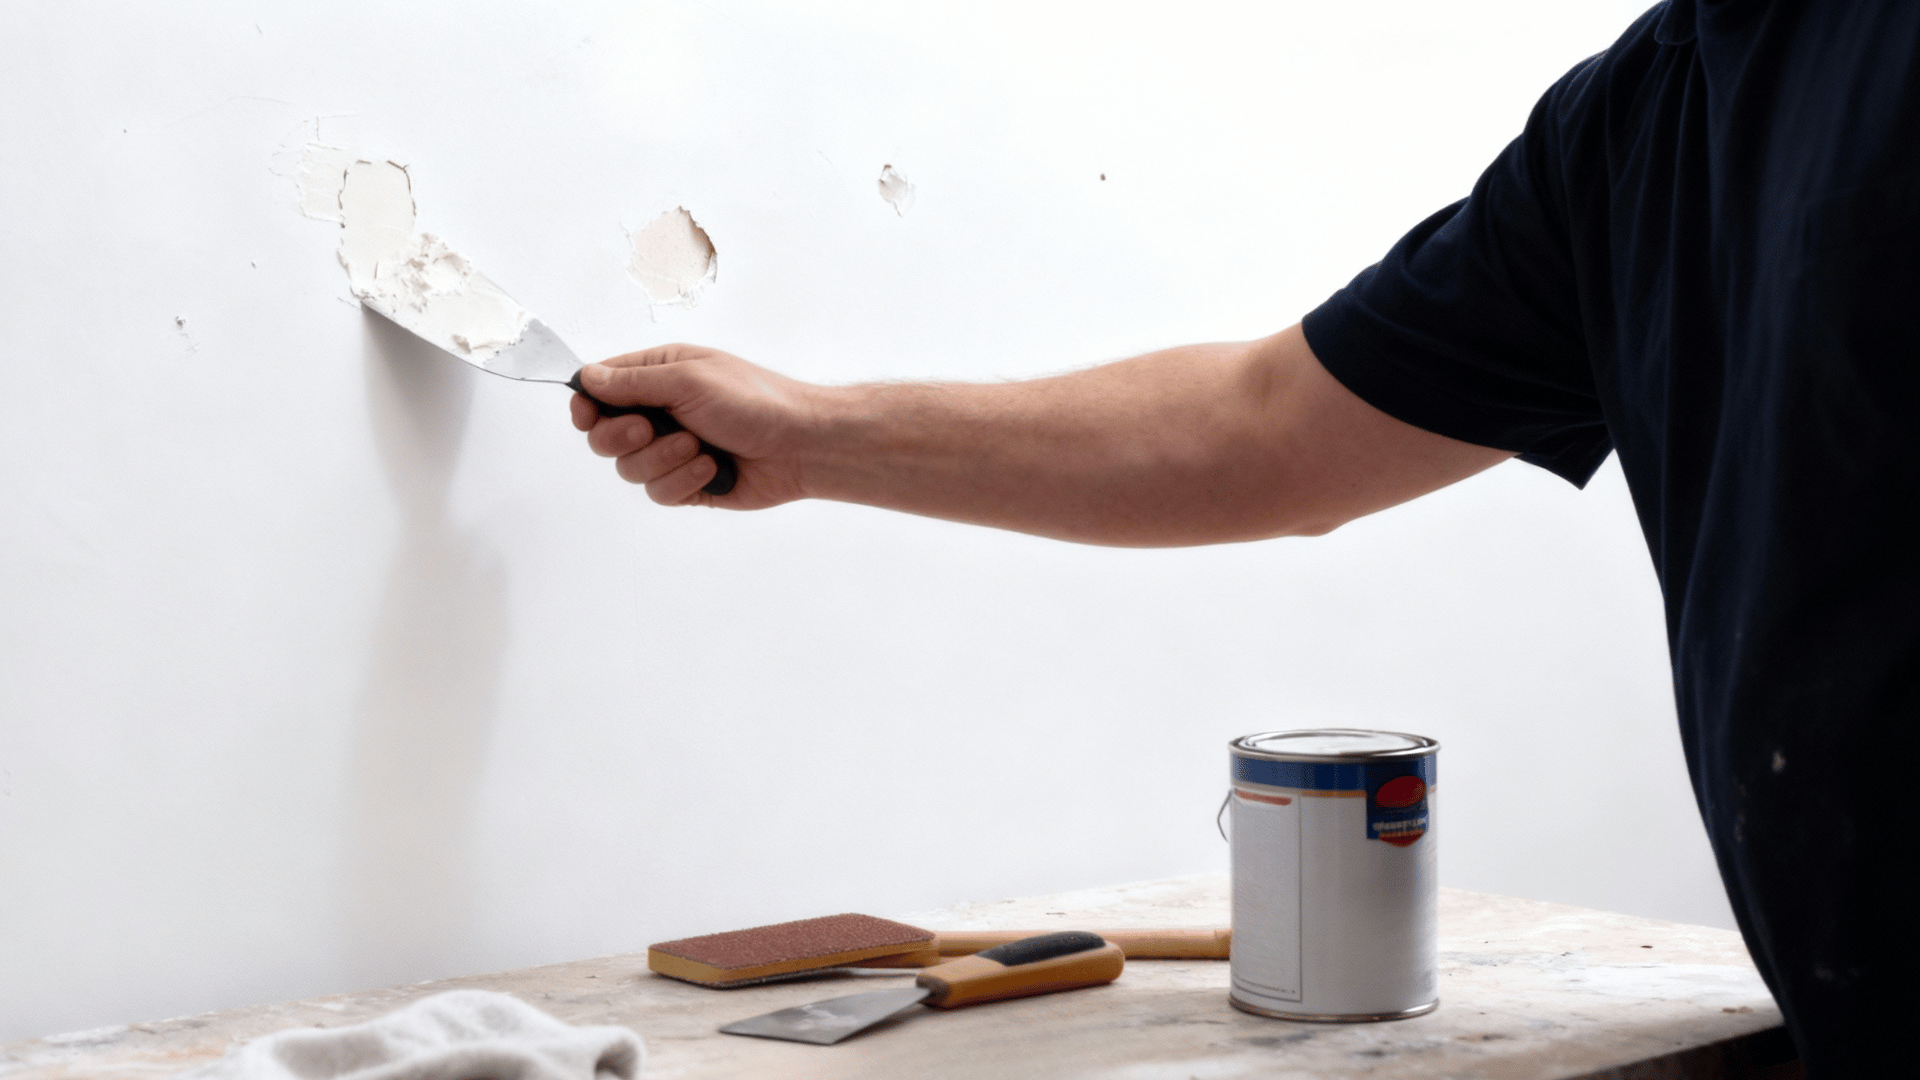
Examine walls thoroughly for damage, holes, and imperfections from previous installations. Fill all cavities with spackling compound or joint compound, applying multiple layers.
Allow adequate drying time between applications. Sand repaired areas smooth using progressively finer grits, starting coarse and finishing fine.
Wipe down walls to remove dust and debris. Consider applying a coat of primer to create a uniform texture and improve paint adhesion.
Step 3: Install Foundation Cabinets
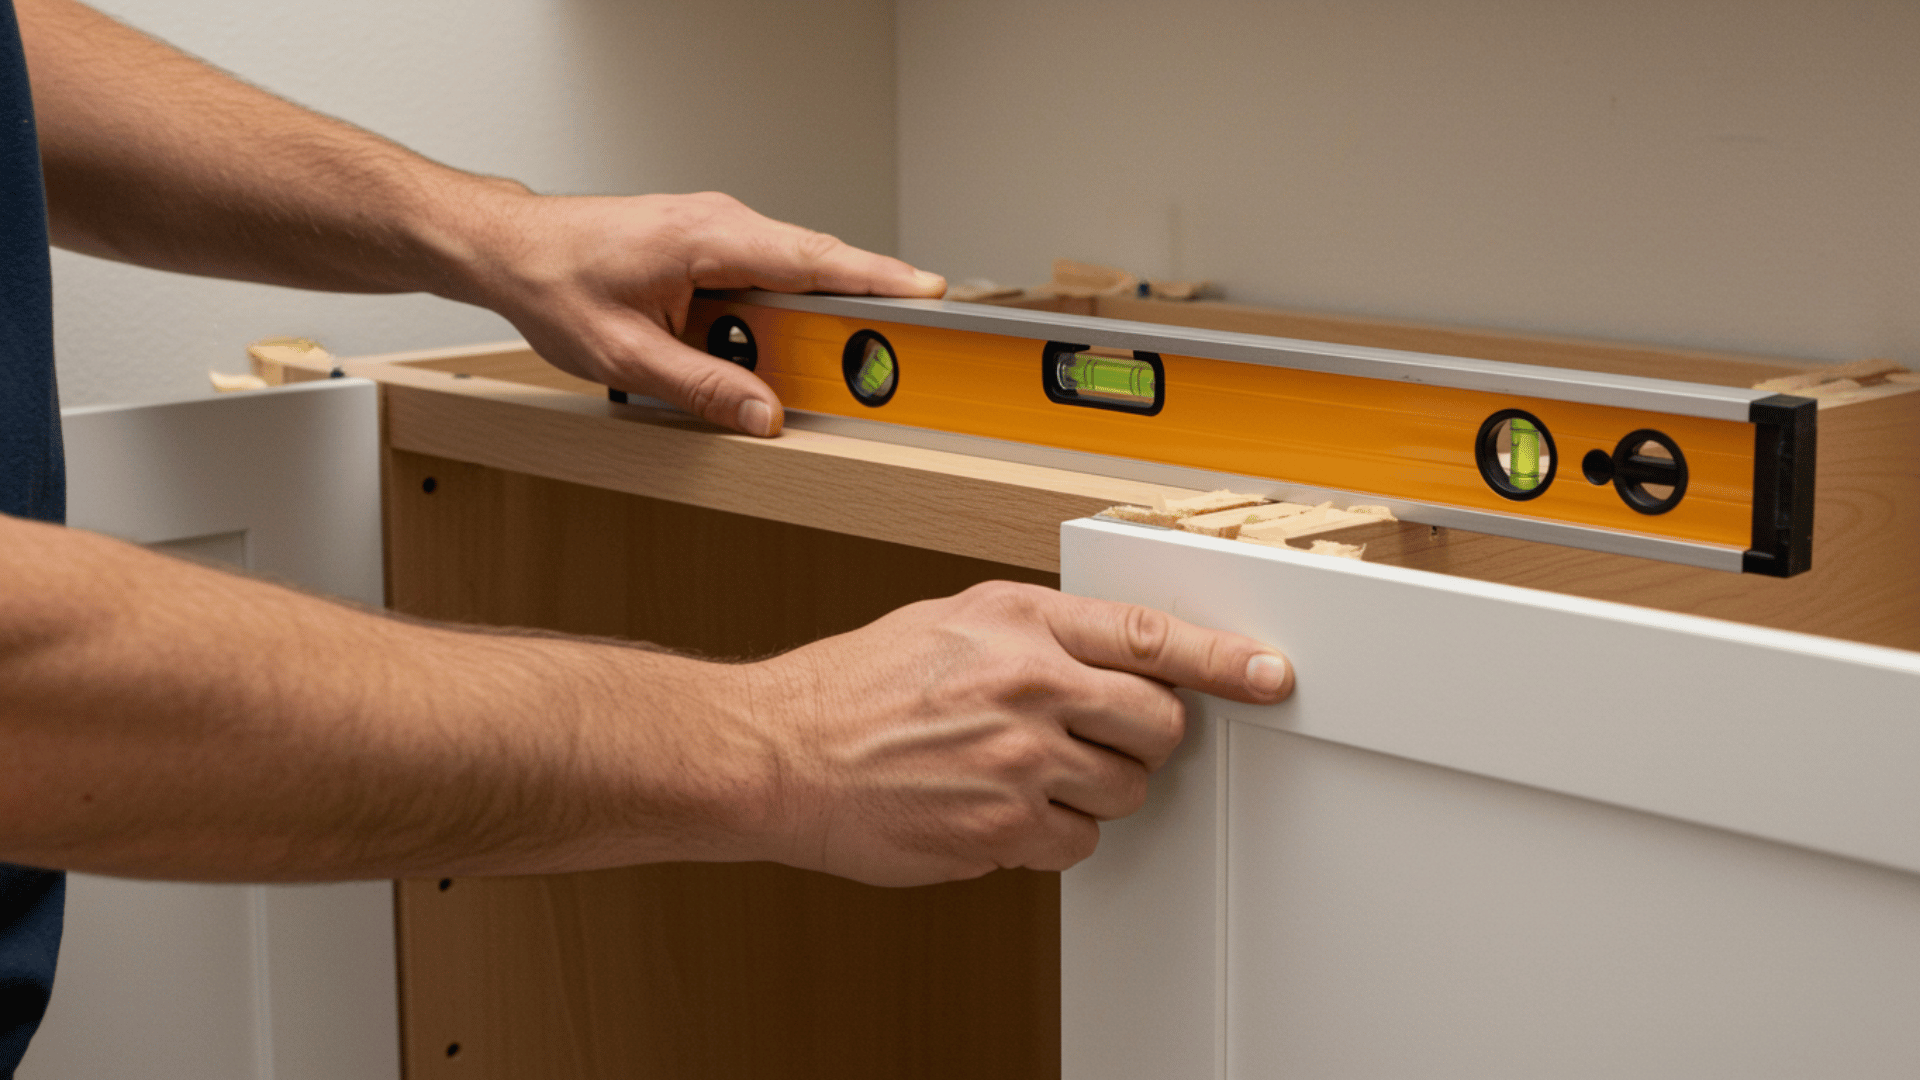
Position your base cabinets carefully, using shims to achieve perfect level alignment from front to back and side to side.
Check measurements against your plan and adjust placement as needed. Secure cabinets together using appropriate fasteners through adjoining sides.
Locate wall studs with a stud finder and mark positions clearly. Drive heavy-duty screws through the cabinet backing into studs for maximum stability.
Step 4: Mount Support Cleats
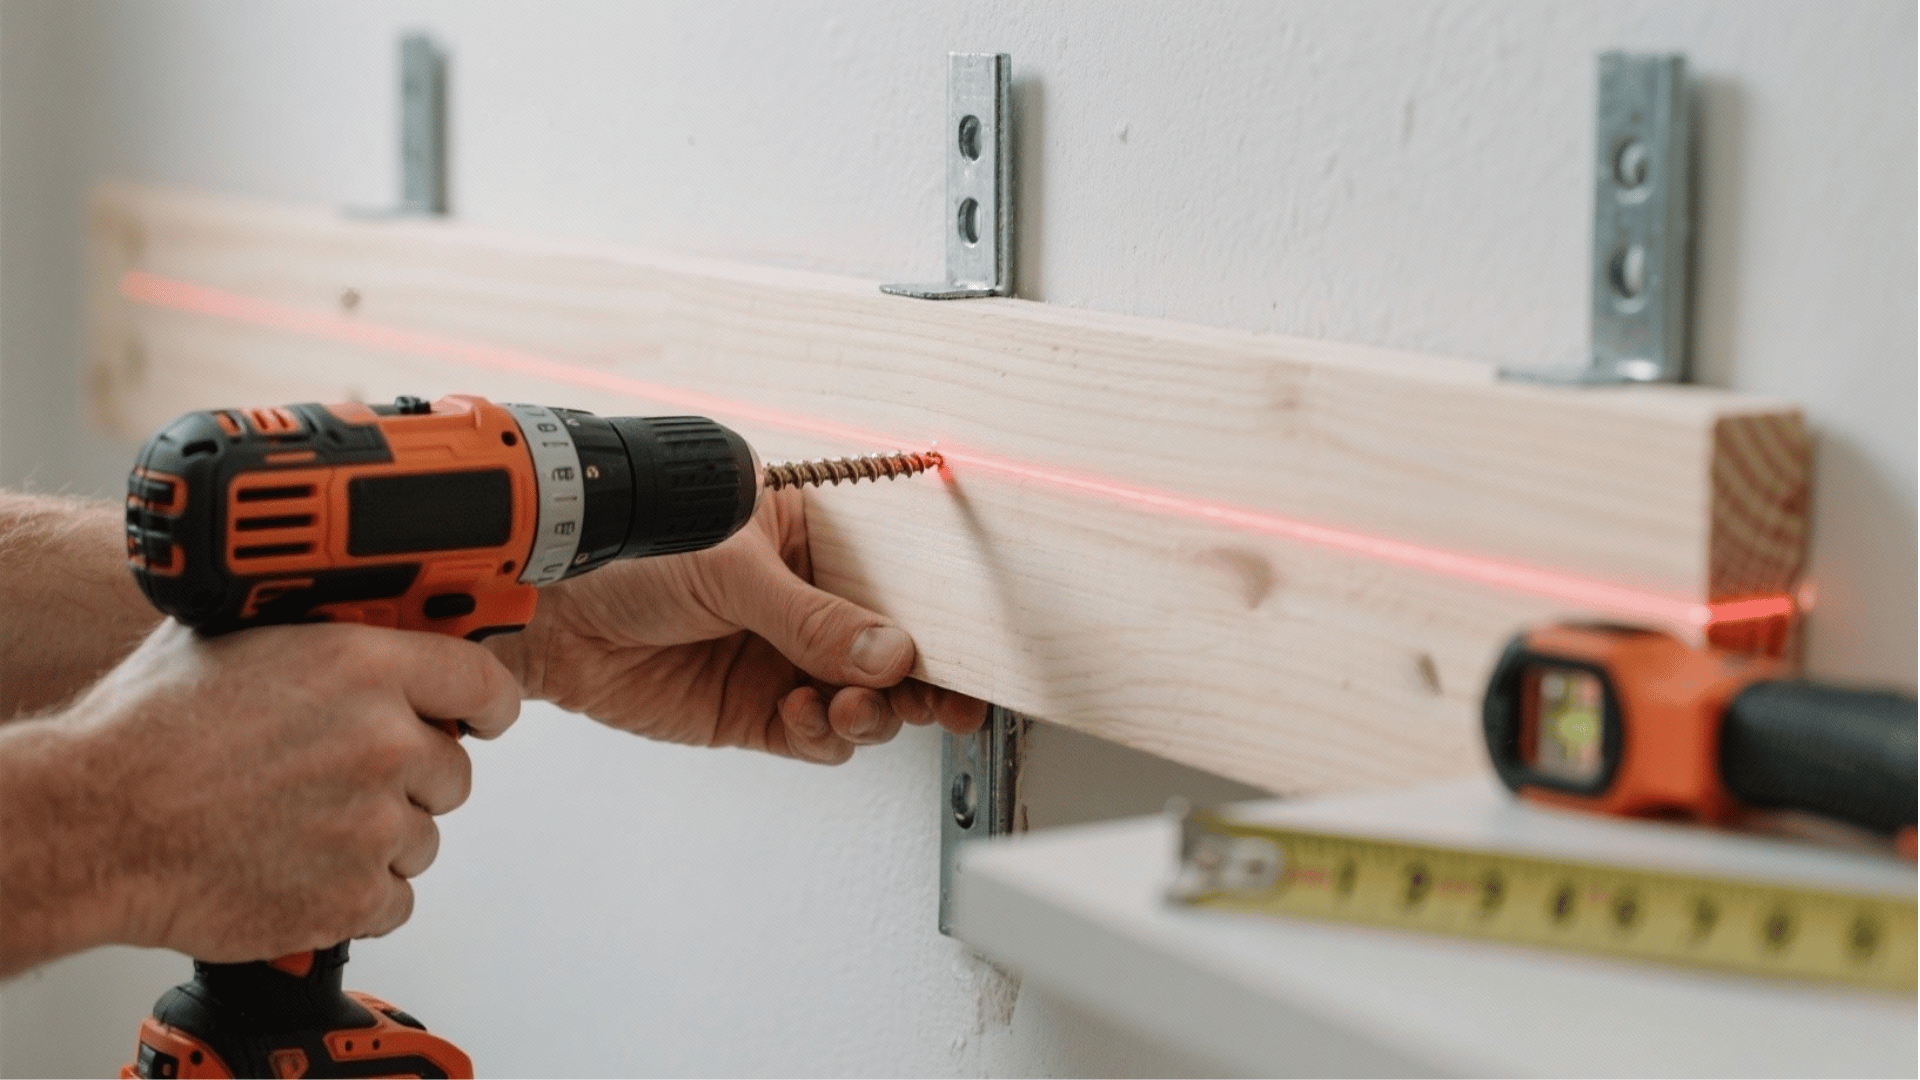
Cut dimensional lumber to the proper lengths for your shelf support system. Mark precise horizontal lines on walls at predetermined heights using a laser level for accuracy.
Position along marked lines and verify the level before fastening. Drill pilot holes to prevent wood splitting, then secure cleats into wall studs using screws rated for load-bearing.
Space cleats, according to your shelf span, to prevent sagging. These horizontal supports form the backbone of your shelving, distributing weight efficiently across the wall structure.
Step 5: Cut and Install Shelving Boards
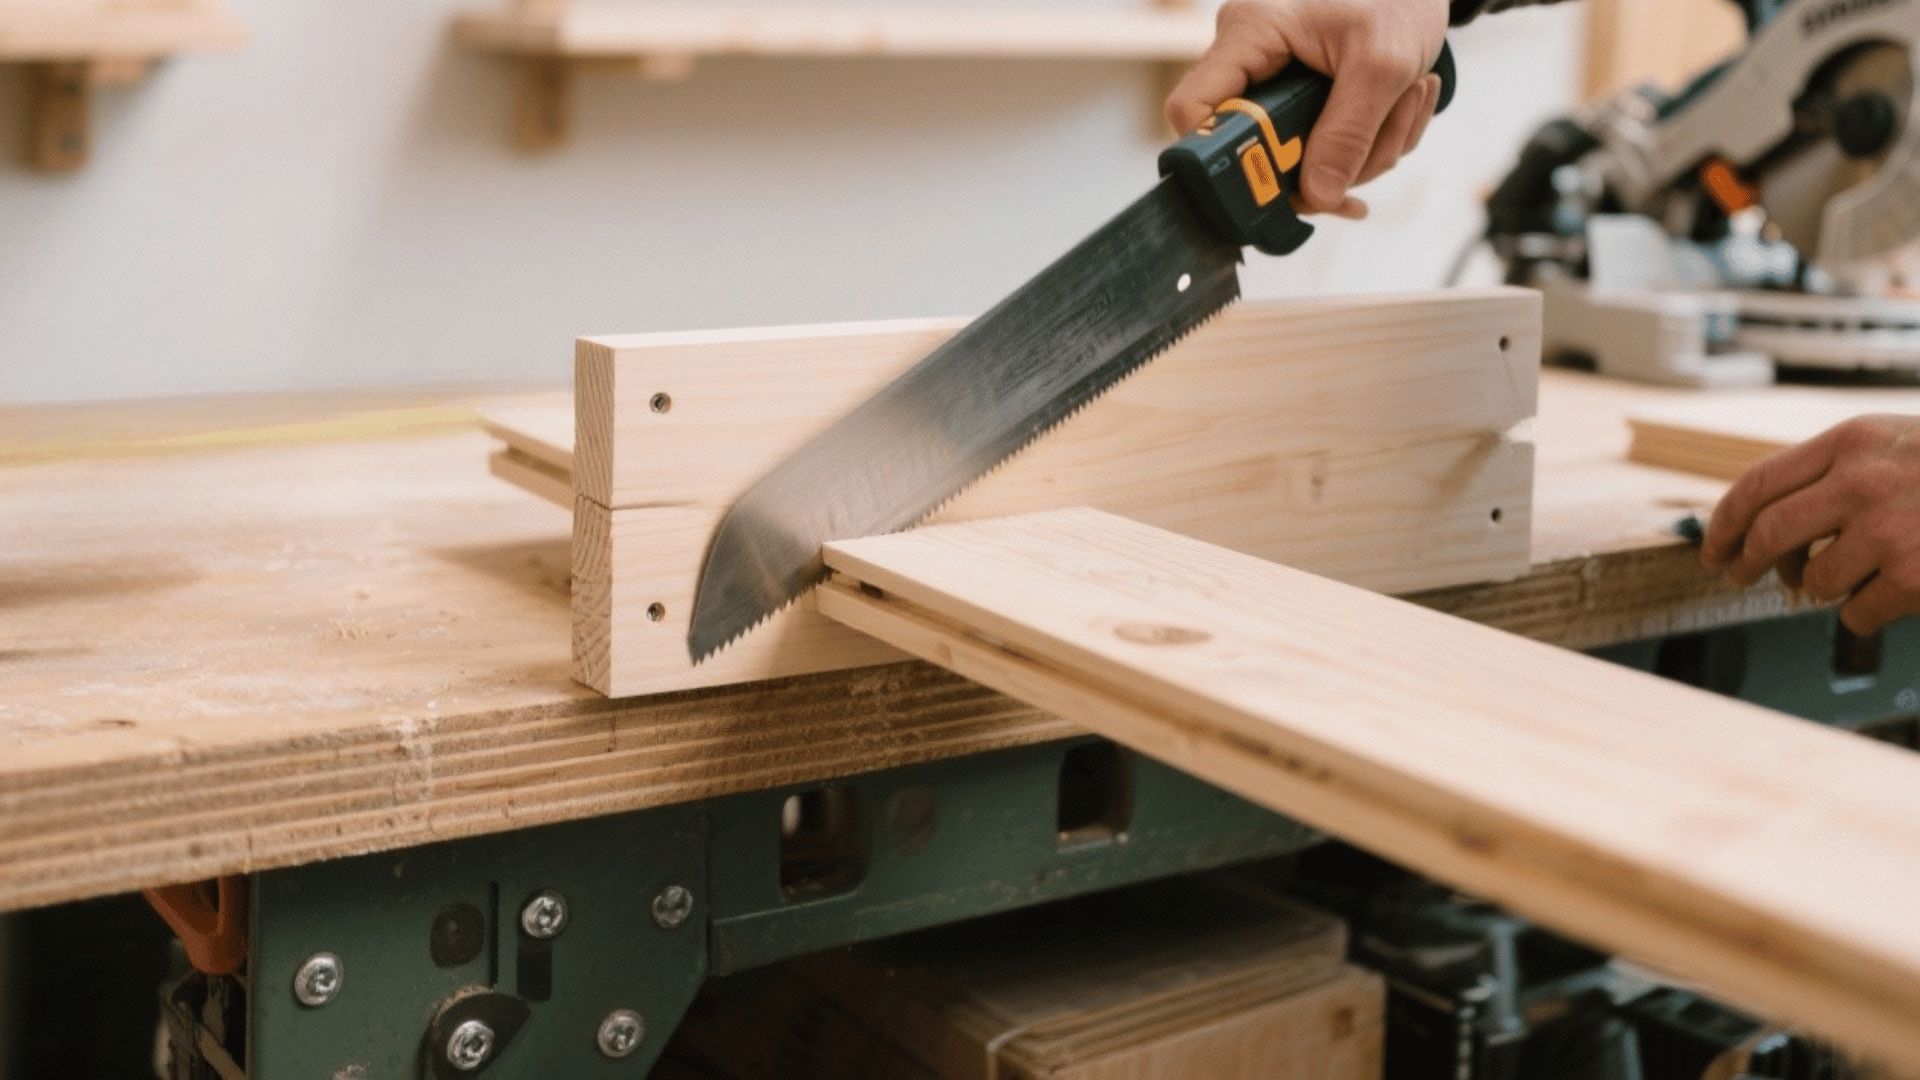
Measure shelf dimensions precisely, accounting for wall irregularities and corner angles. Transfer measurements to quality plywood sheets and cut using saws for clean edges.
For L-shaped configurations, carefully plan cuts to maximize material use and strength. Test-fit each shelf before final placement, trimming as necessary for tight fits.
Sand all cut edges smooth to prevent splinters. Set shelves onto cleats, ensuring full contact and support. Secure shelves to cleats from underneath using screws, creating a solid connection that won’t shift under load.
Step 6: Add Structural Reinforcement
Build supporting frameworks beneath longer shelf spans to prevent bowing under weight. Construct frames using pocket hole joinery for strong, hidden connections.
Add vertical supports and cross-bracing where shelves exceed recommended unsupported spans. Consider the weight capacity needed for your intended storage items.
Canned goods require more support than lightweight boxes. Attach reinforcement frames securely to both shelves and wall cleats.
Step 7: Apply Finishing Touches
Sand all visible wood surfaces progressively smoother, removing any rough patches or tool marks. Fill gaps between shelves and walls with paintable caulk for a seamless appearance.
Apply quality paint or stain in thin, even coats, allowing proper drying between applications. Consider edge banding for exposed plywood edges if desired.
Install any hardware, like shelf lips or decorative trim. Touch up paint after installation. Clean thoroughly and organize items back into your Changed pantry.
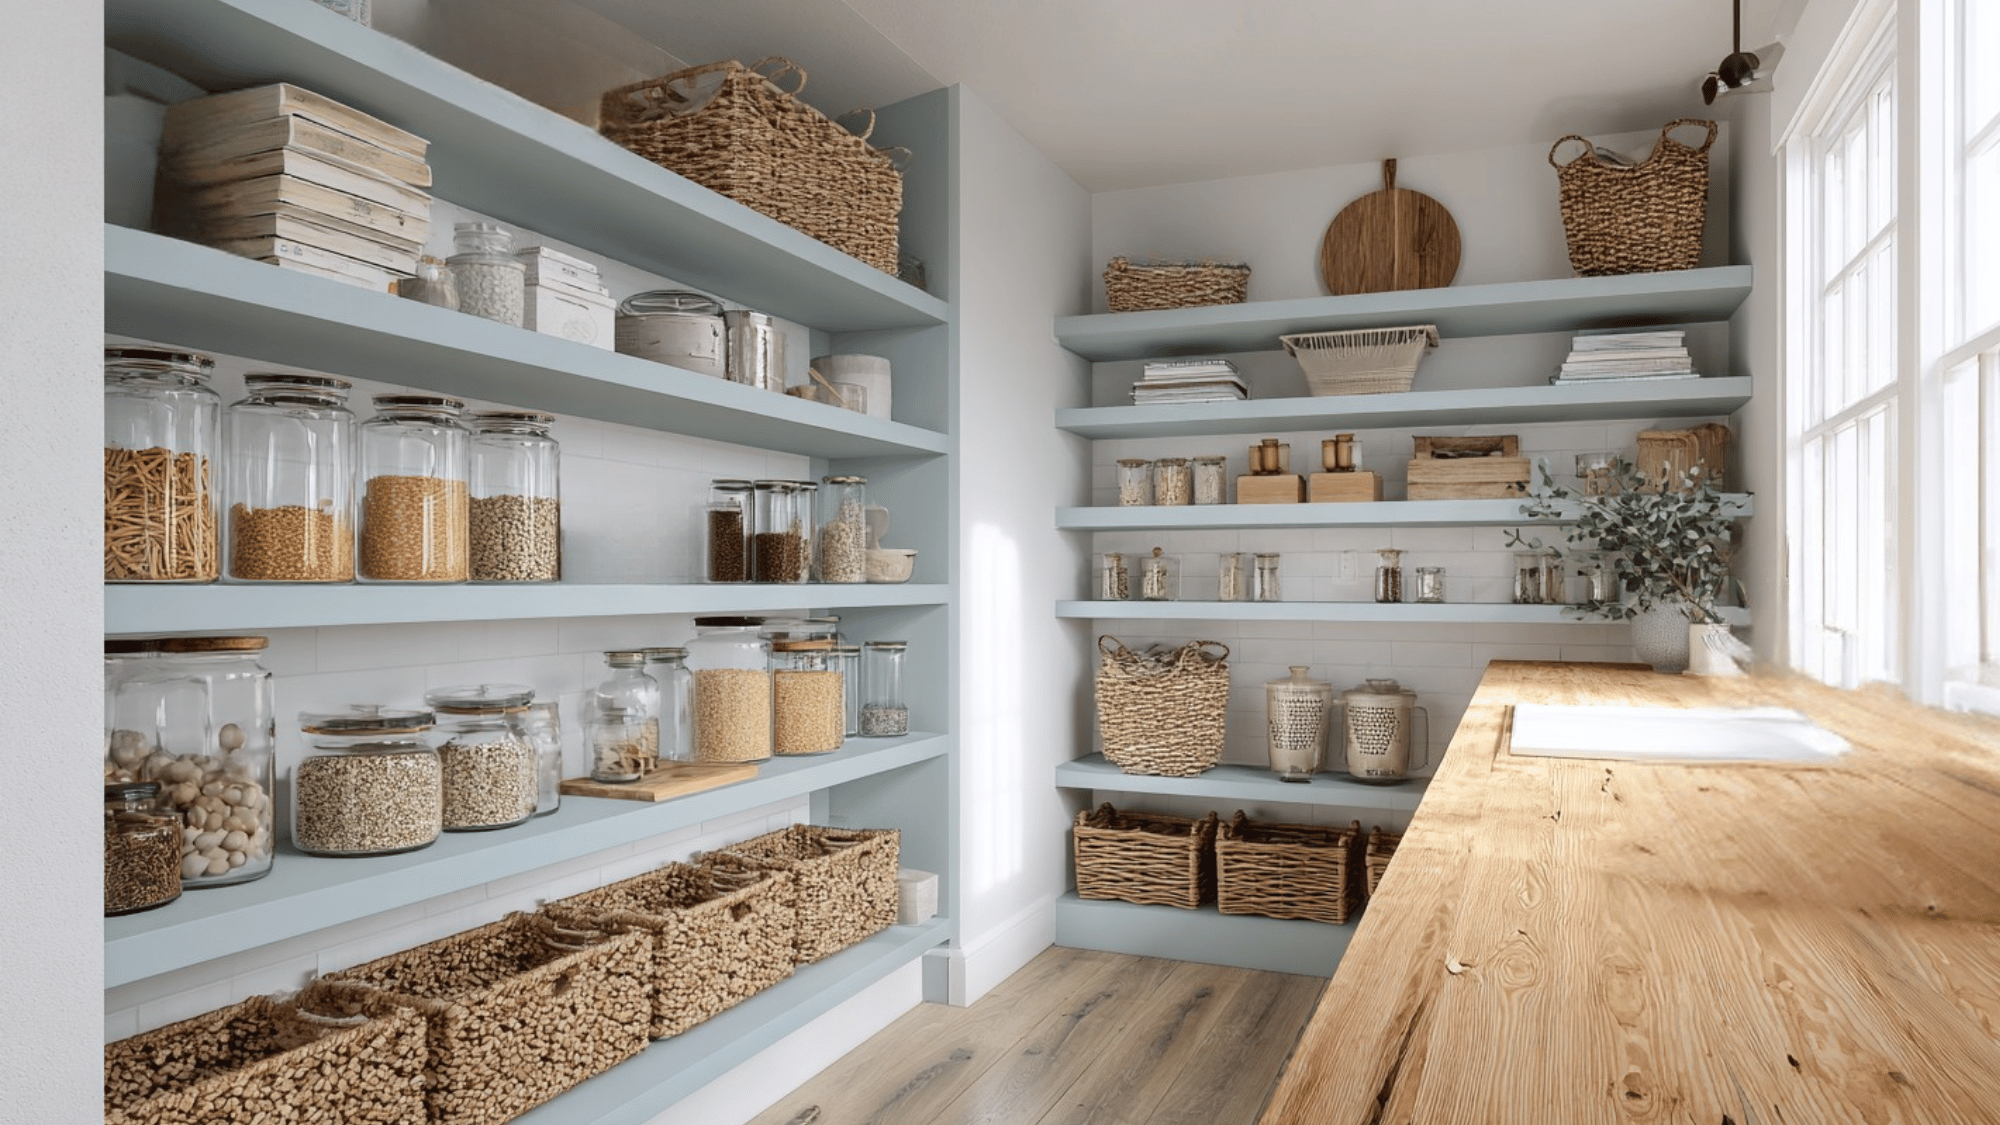
Creative Ideas for Pantry Shelves
Change your storage space with these creative pantry shelf ideas that blend smart organization, style, and practicality for every home
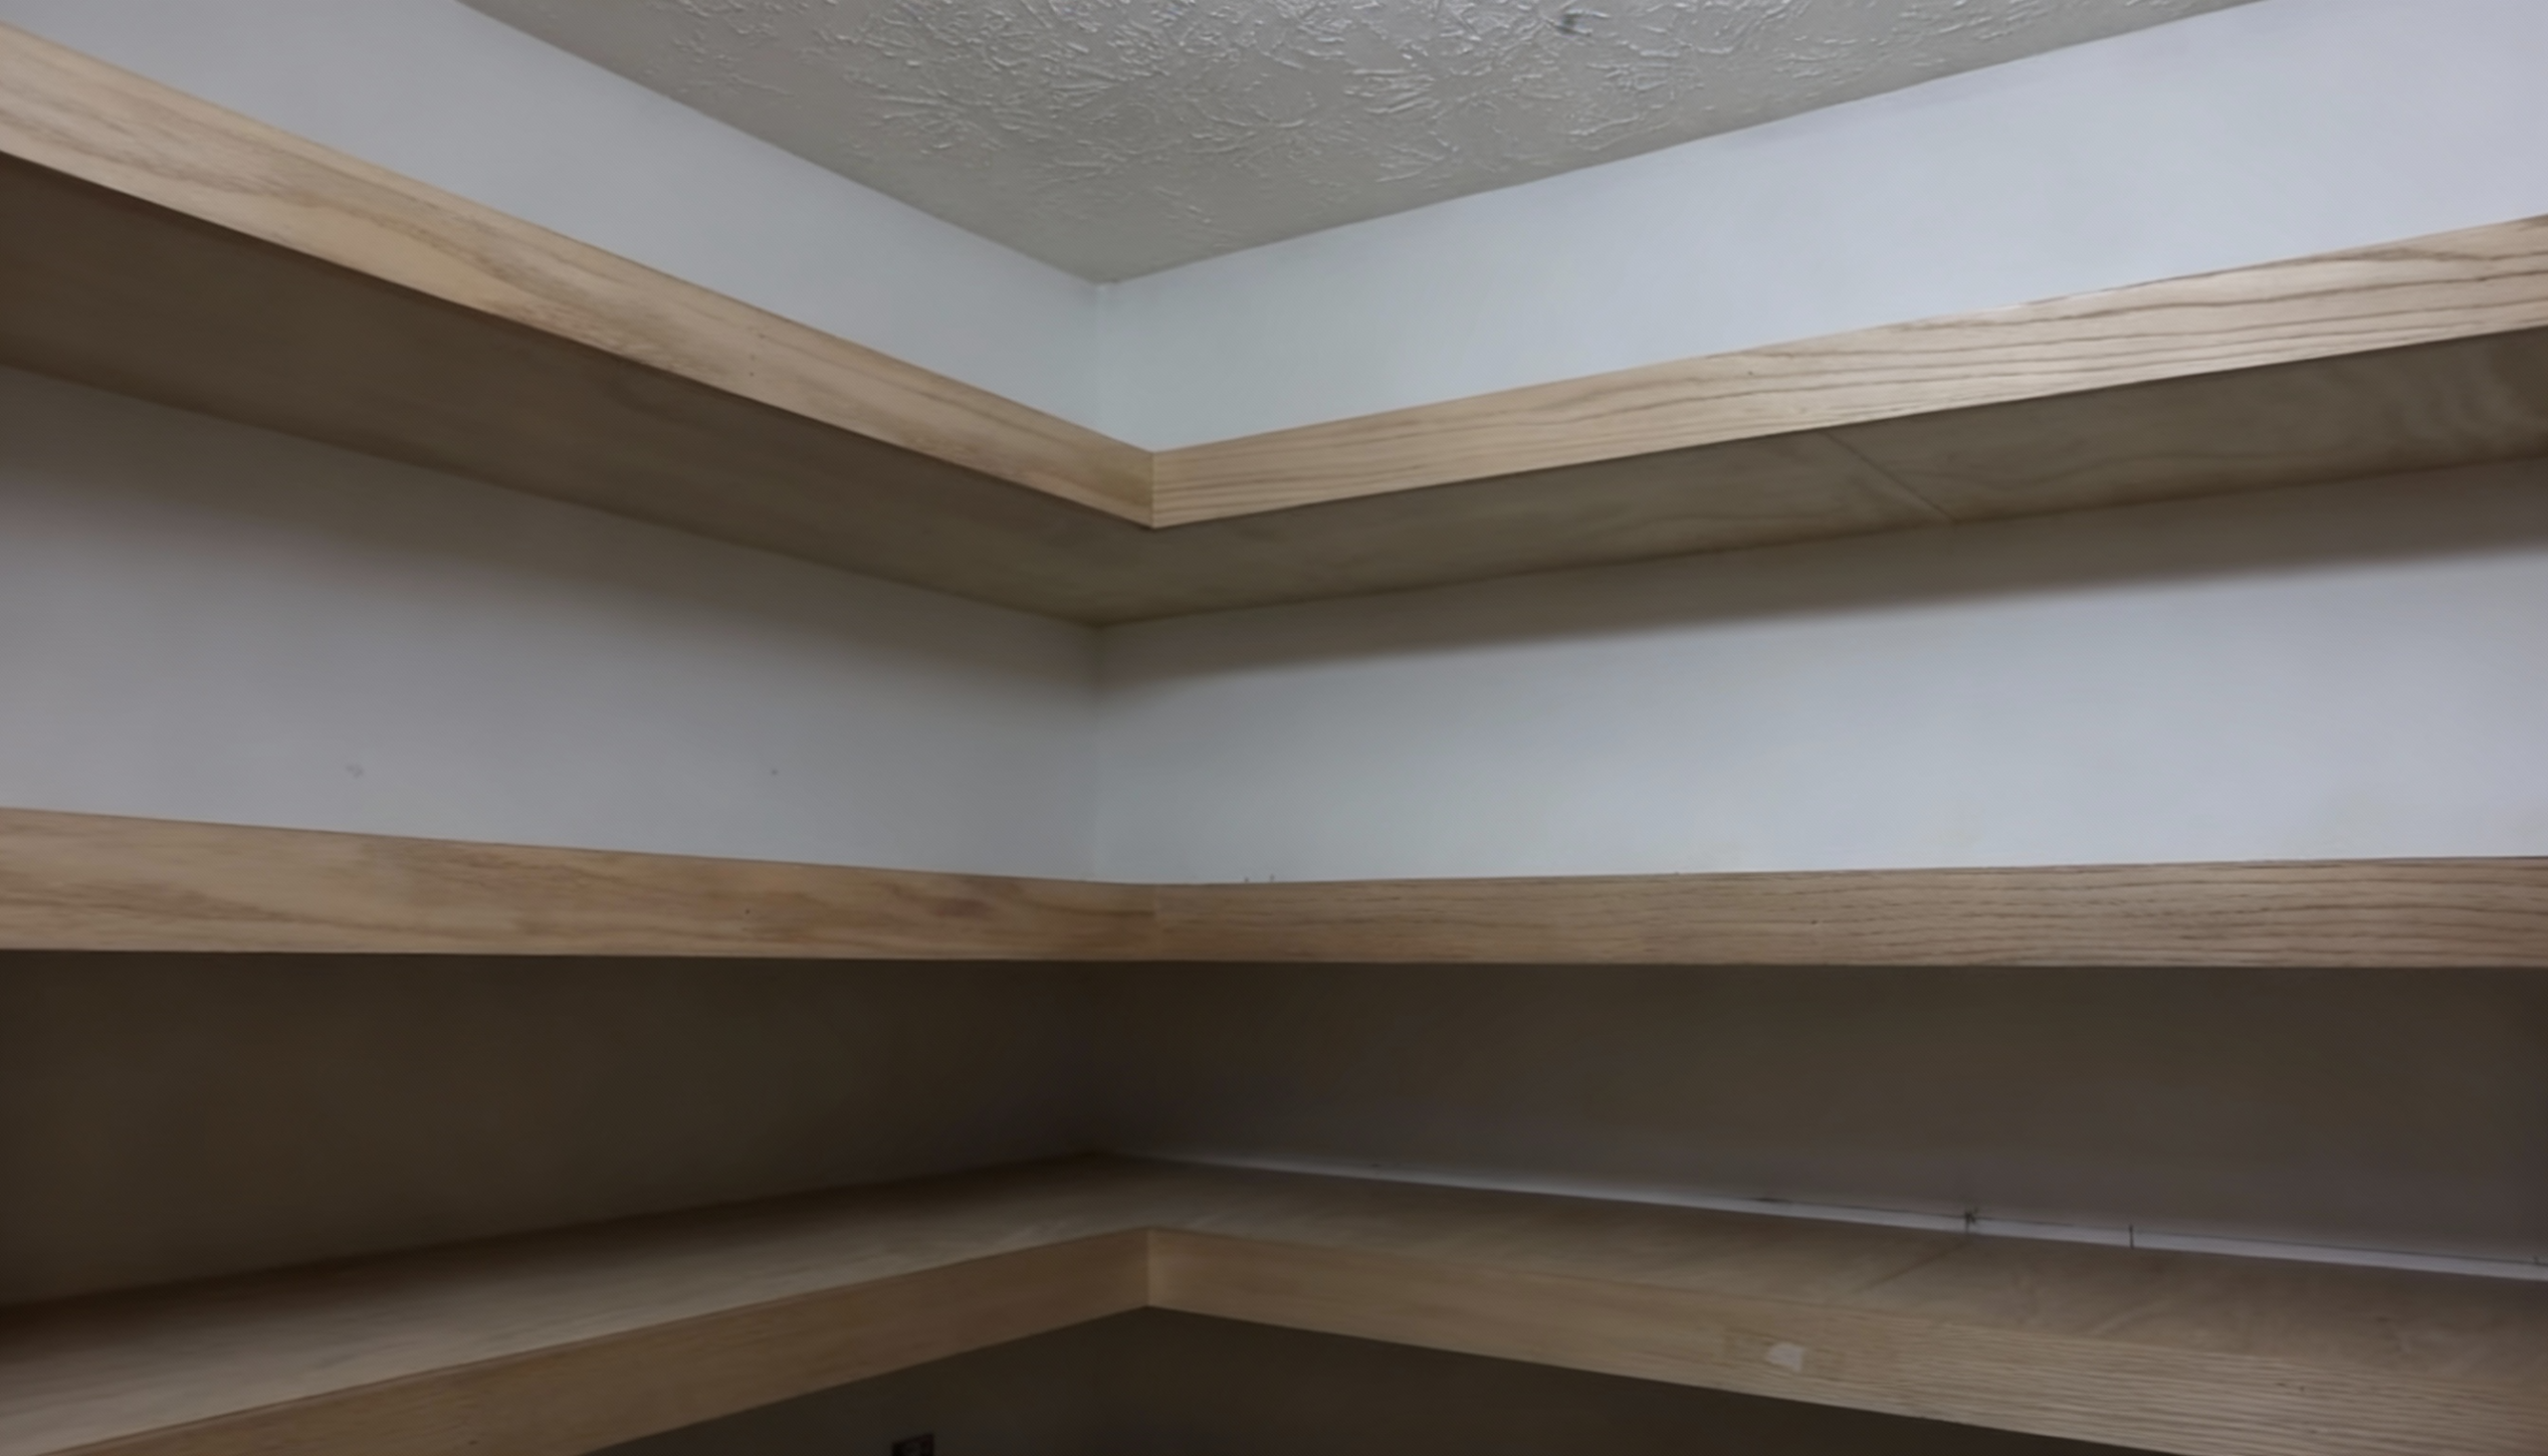
1. Floating Wooden Shelves
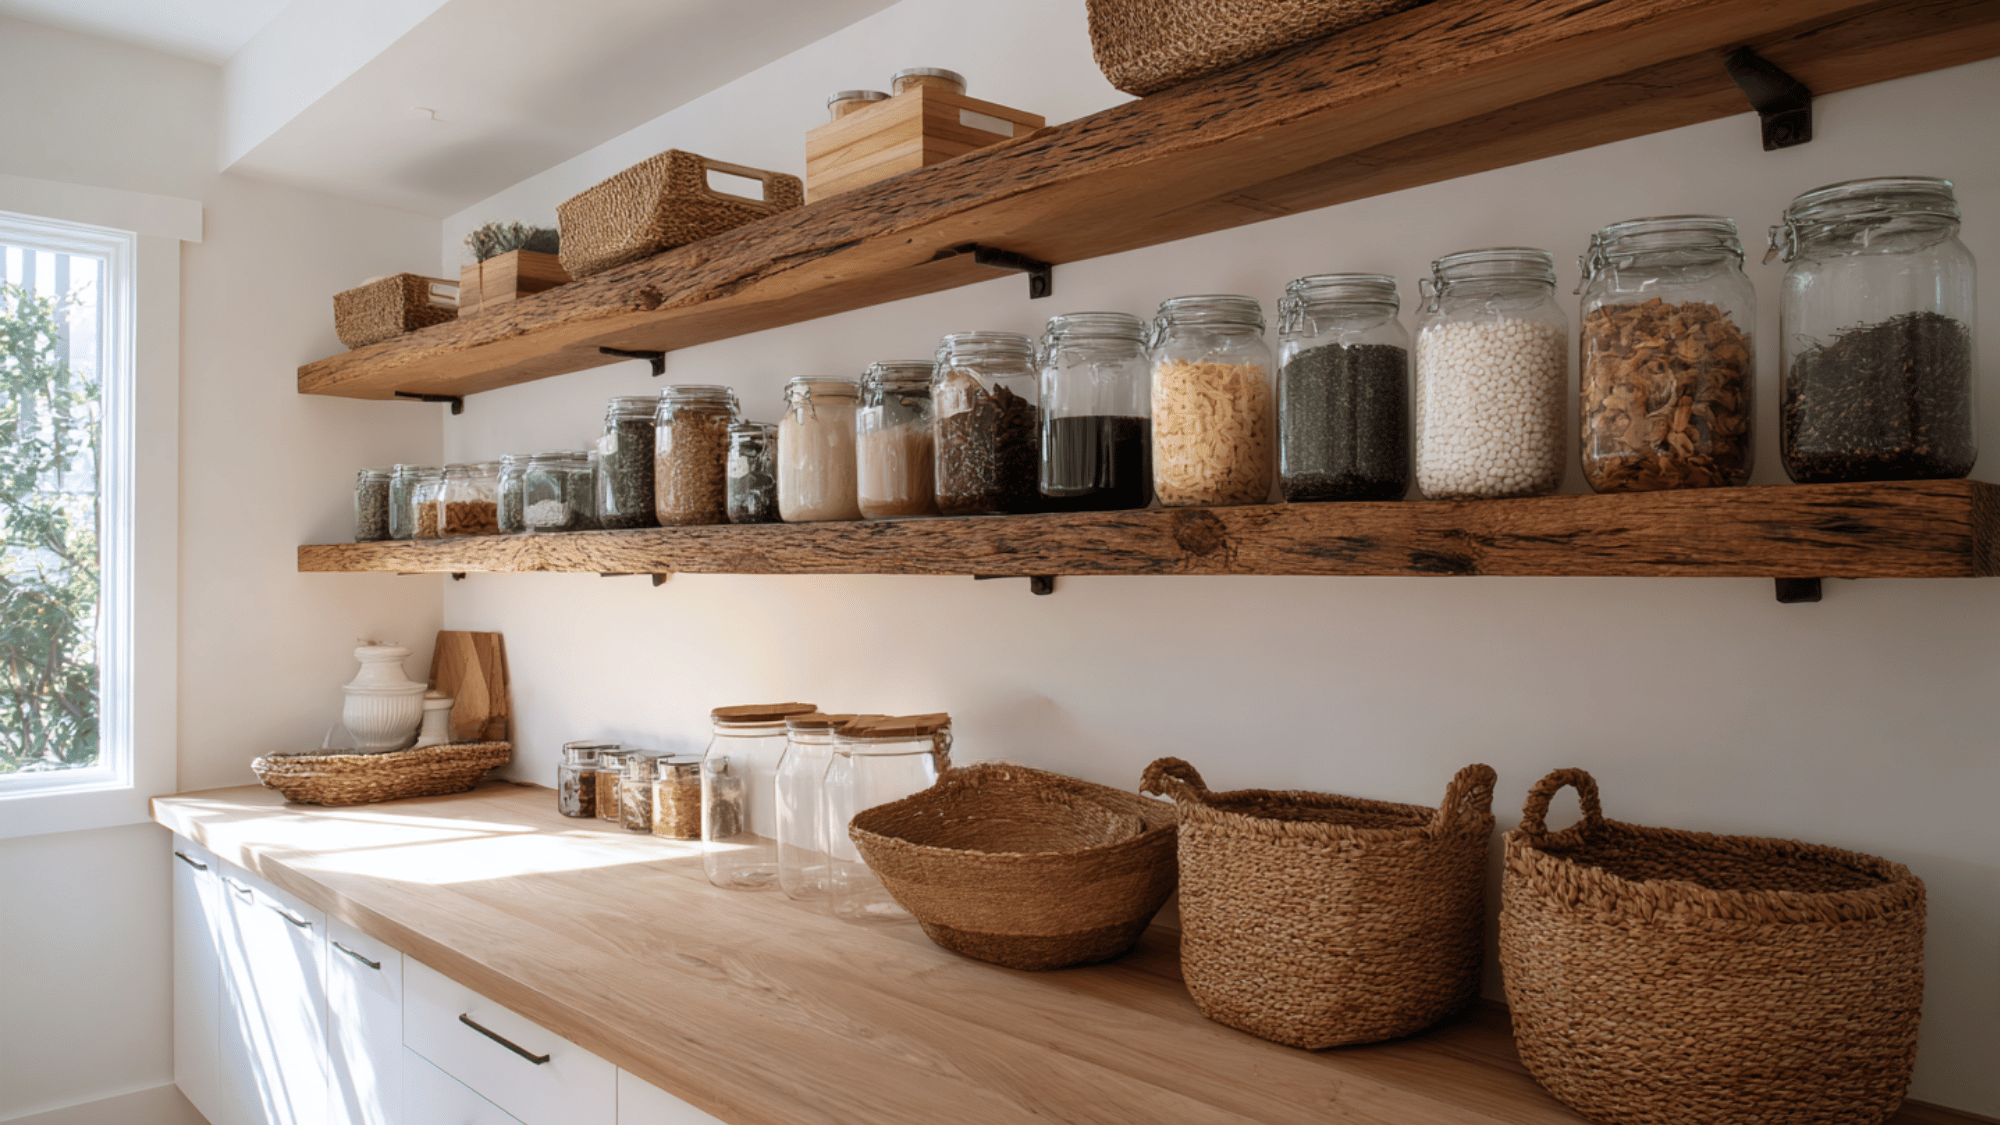
Floating shelves give your pantry a clean, modern appearance. Made from thick wood planks, they appear to float without visible brackets.
They’re ideal for smaller pantries, maximizing open wall space while keeping essentials easily accessible.
Choose natural or stained finishes for a warm, rustic feel, or paint them white for a sleek, minimalist design.
2. Adjustable Shelf System
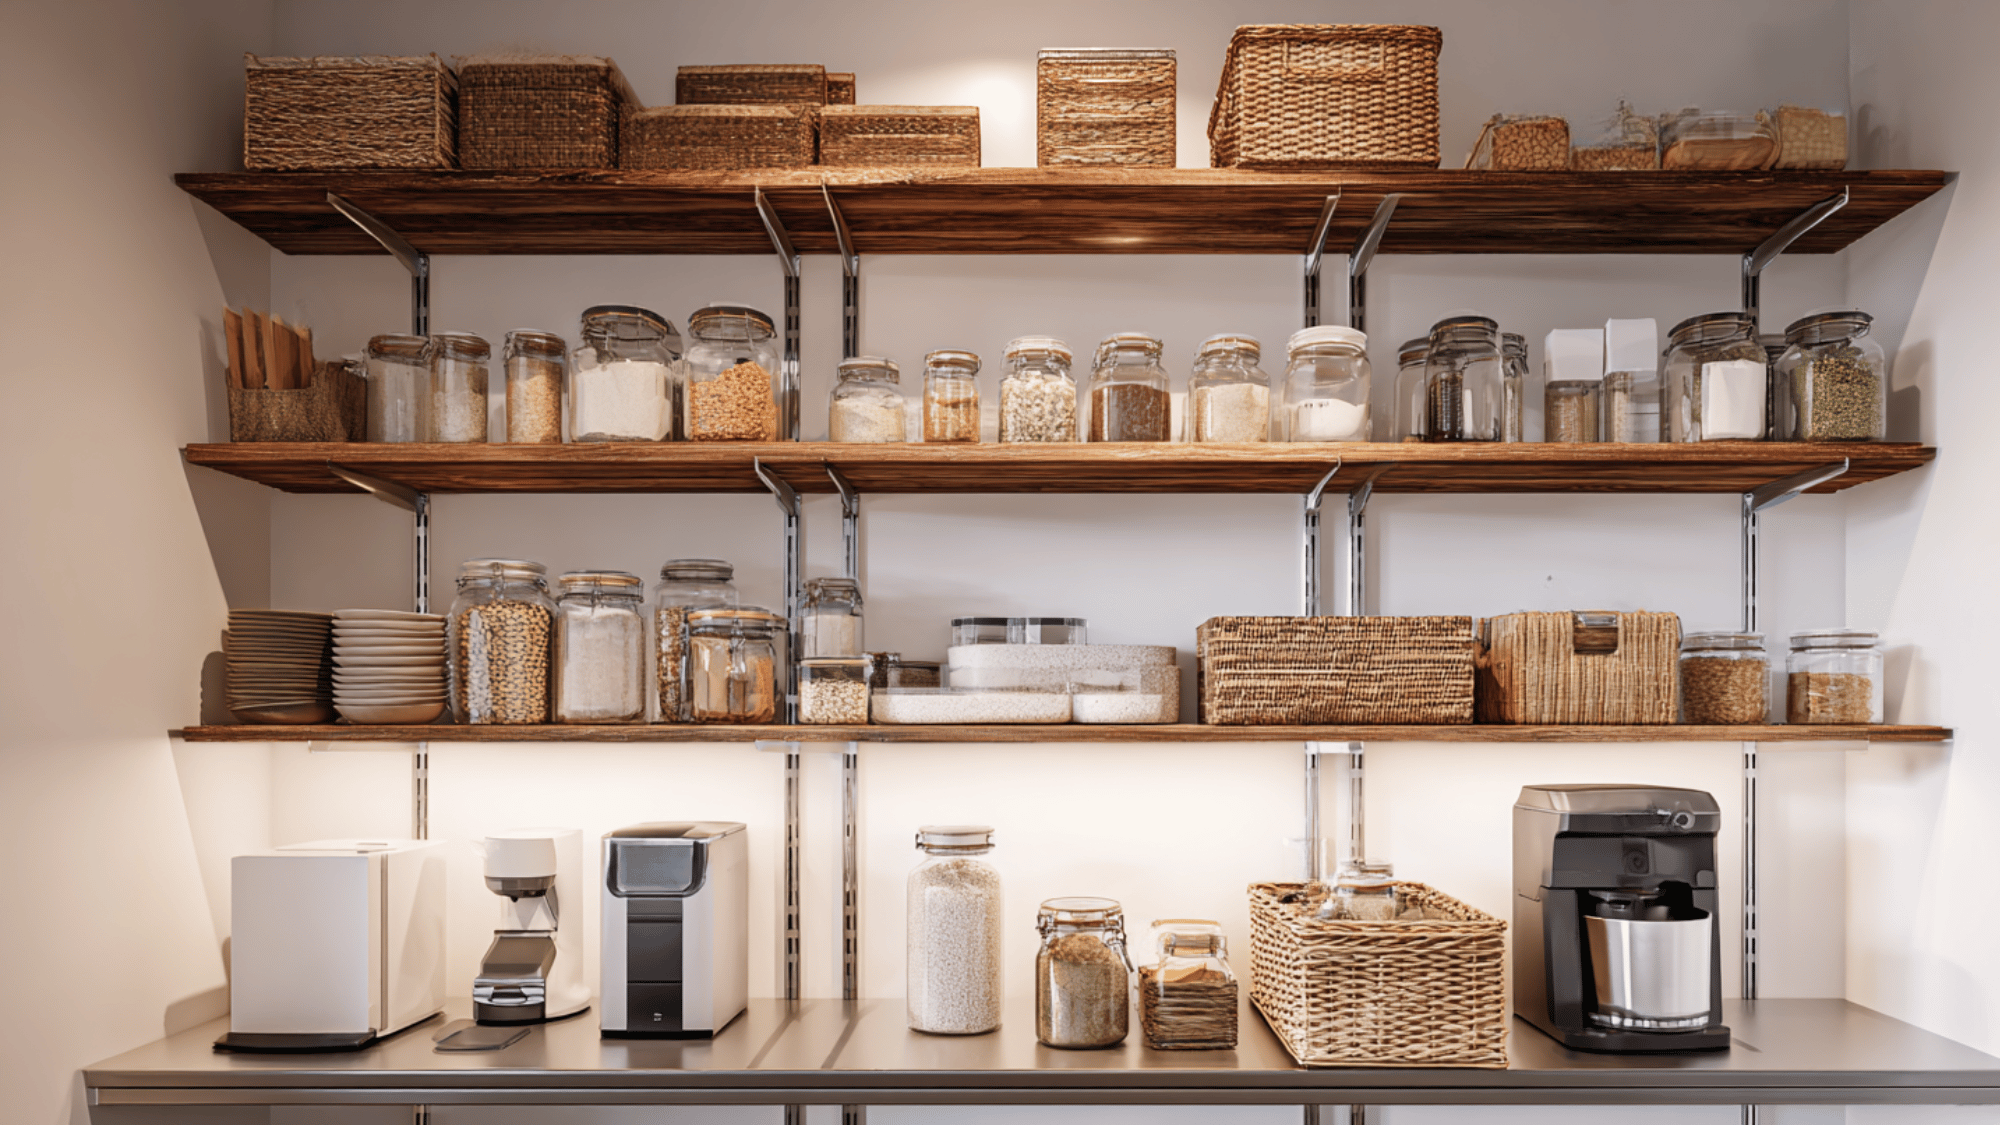
An adjustable shelf system features movable shelves that can be repositioned at various heights to accommodate items of different sizes.
These versatile storage solutions use tracks, pegs, or brackets, allowing customization based on changing needs.
Commonly found in pantries and retail displays, adjustable shelving maximizes space efficiency while providing flexible organization options for inventory.
3. Pull-Out Drawers
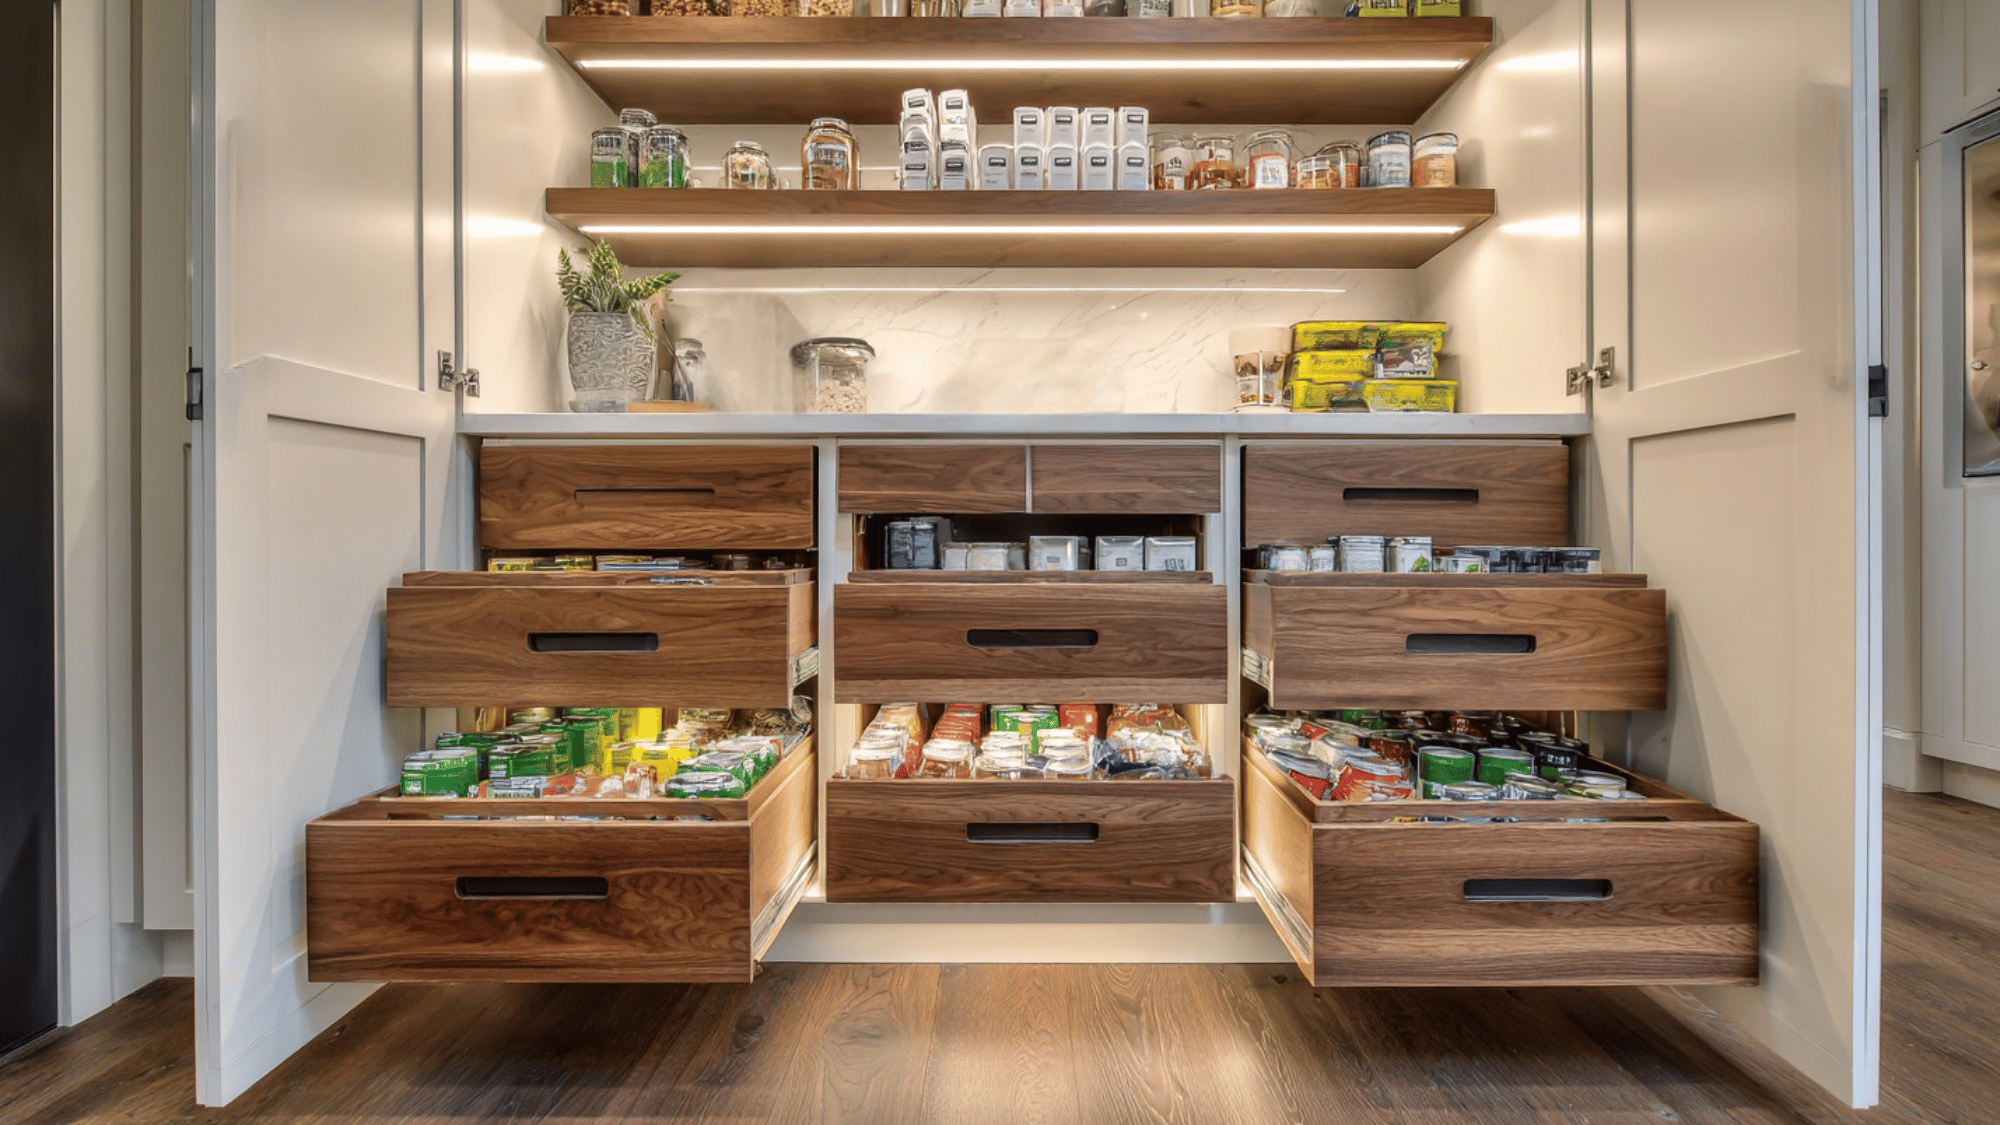
Pull-out drawers are sliding storage compartments integrated into pantry shelving systems that extend fully outward for easy access.
These convenient organizers eliminate the need to reach into deep cabinets, bringing items directly to you with a simple pull.
They’re ideal for storing canned goods, spices, snacks, and kitchen supplies while maximizing visibility and accessibility.
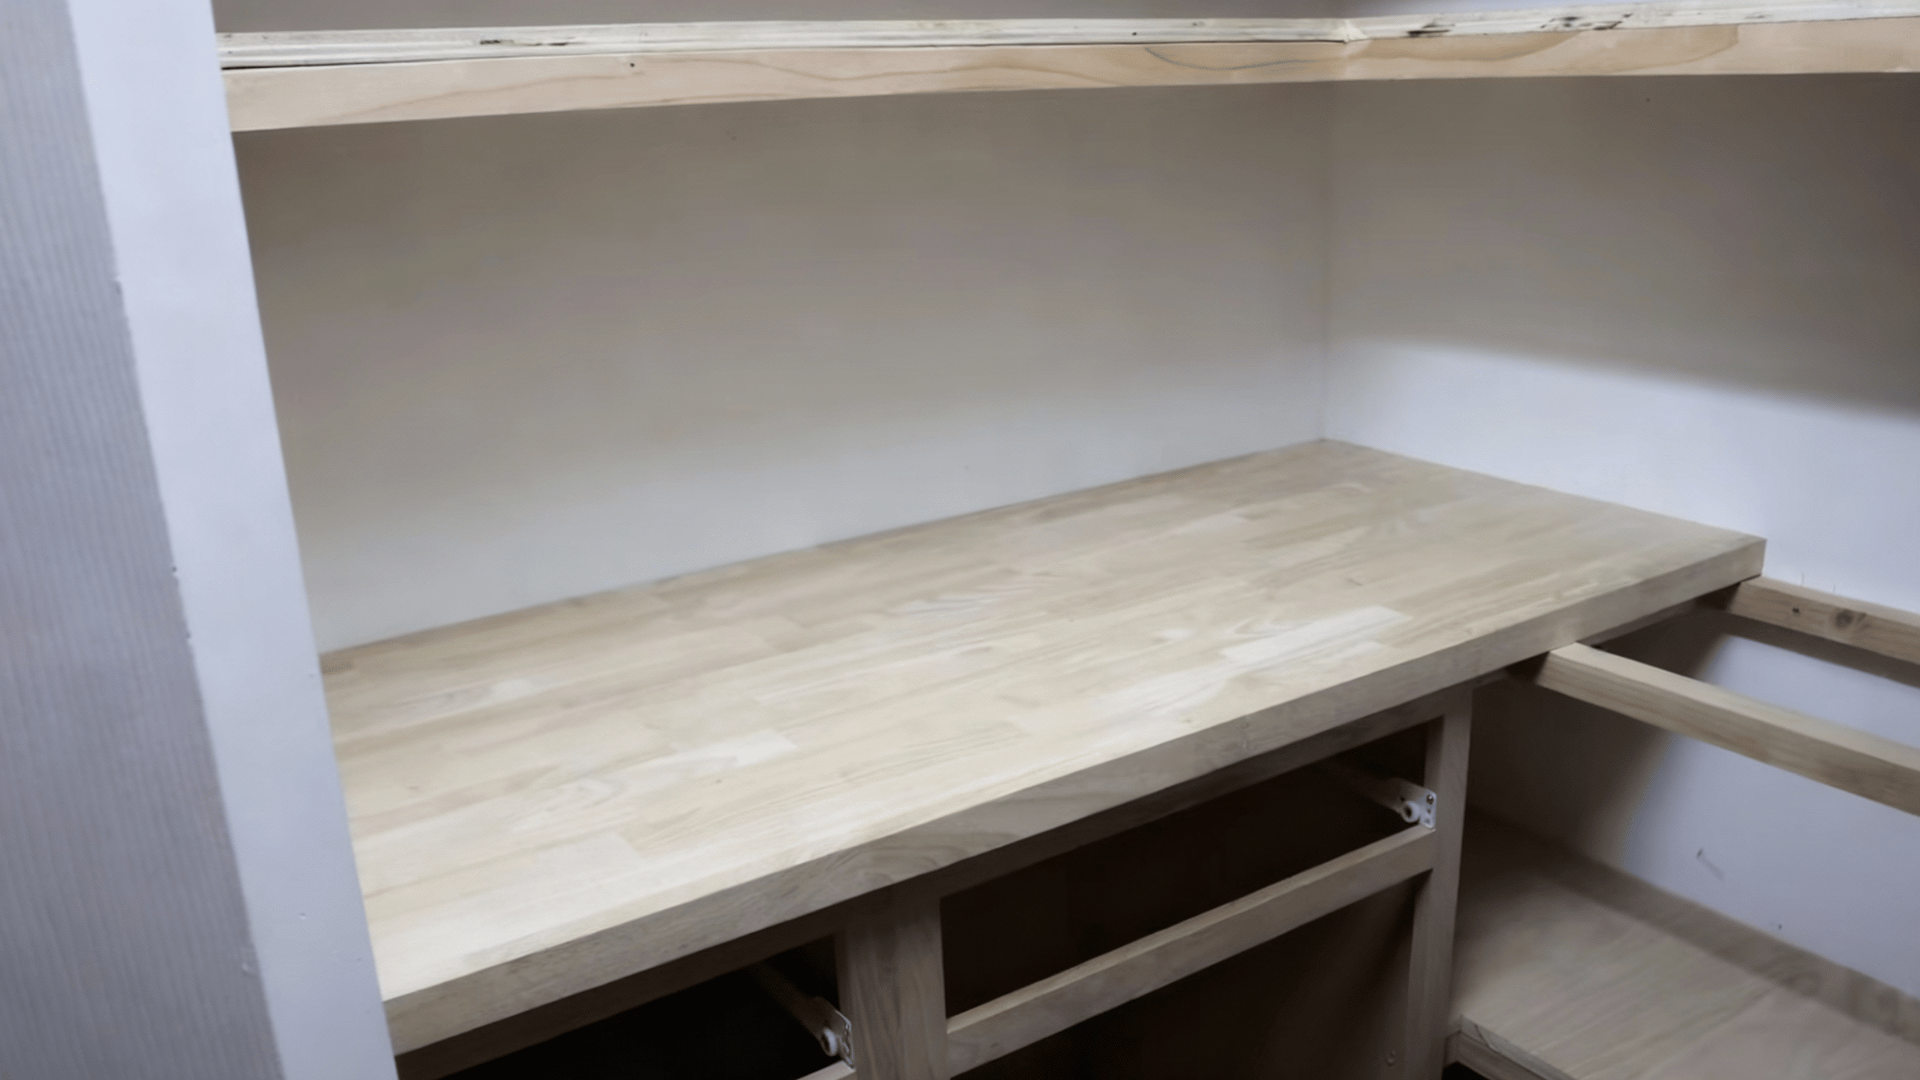
4. Built-In Cabinet Shelves
Built-in cabinet shelves are permanent fixtures integrated directly into pantry structures, offering sturdy and space-efficient storage solutions.
Unlike freestanding units, these shelves are custom-fitted to maximize every inch of available space, creating a seamless, organized look.
They’re typically constructed from durable materials like wood, metal, or laminate and can be fixed or adjustable.
5. Wire Rack Shelving
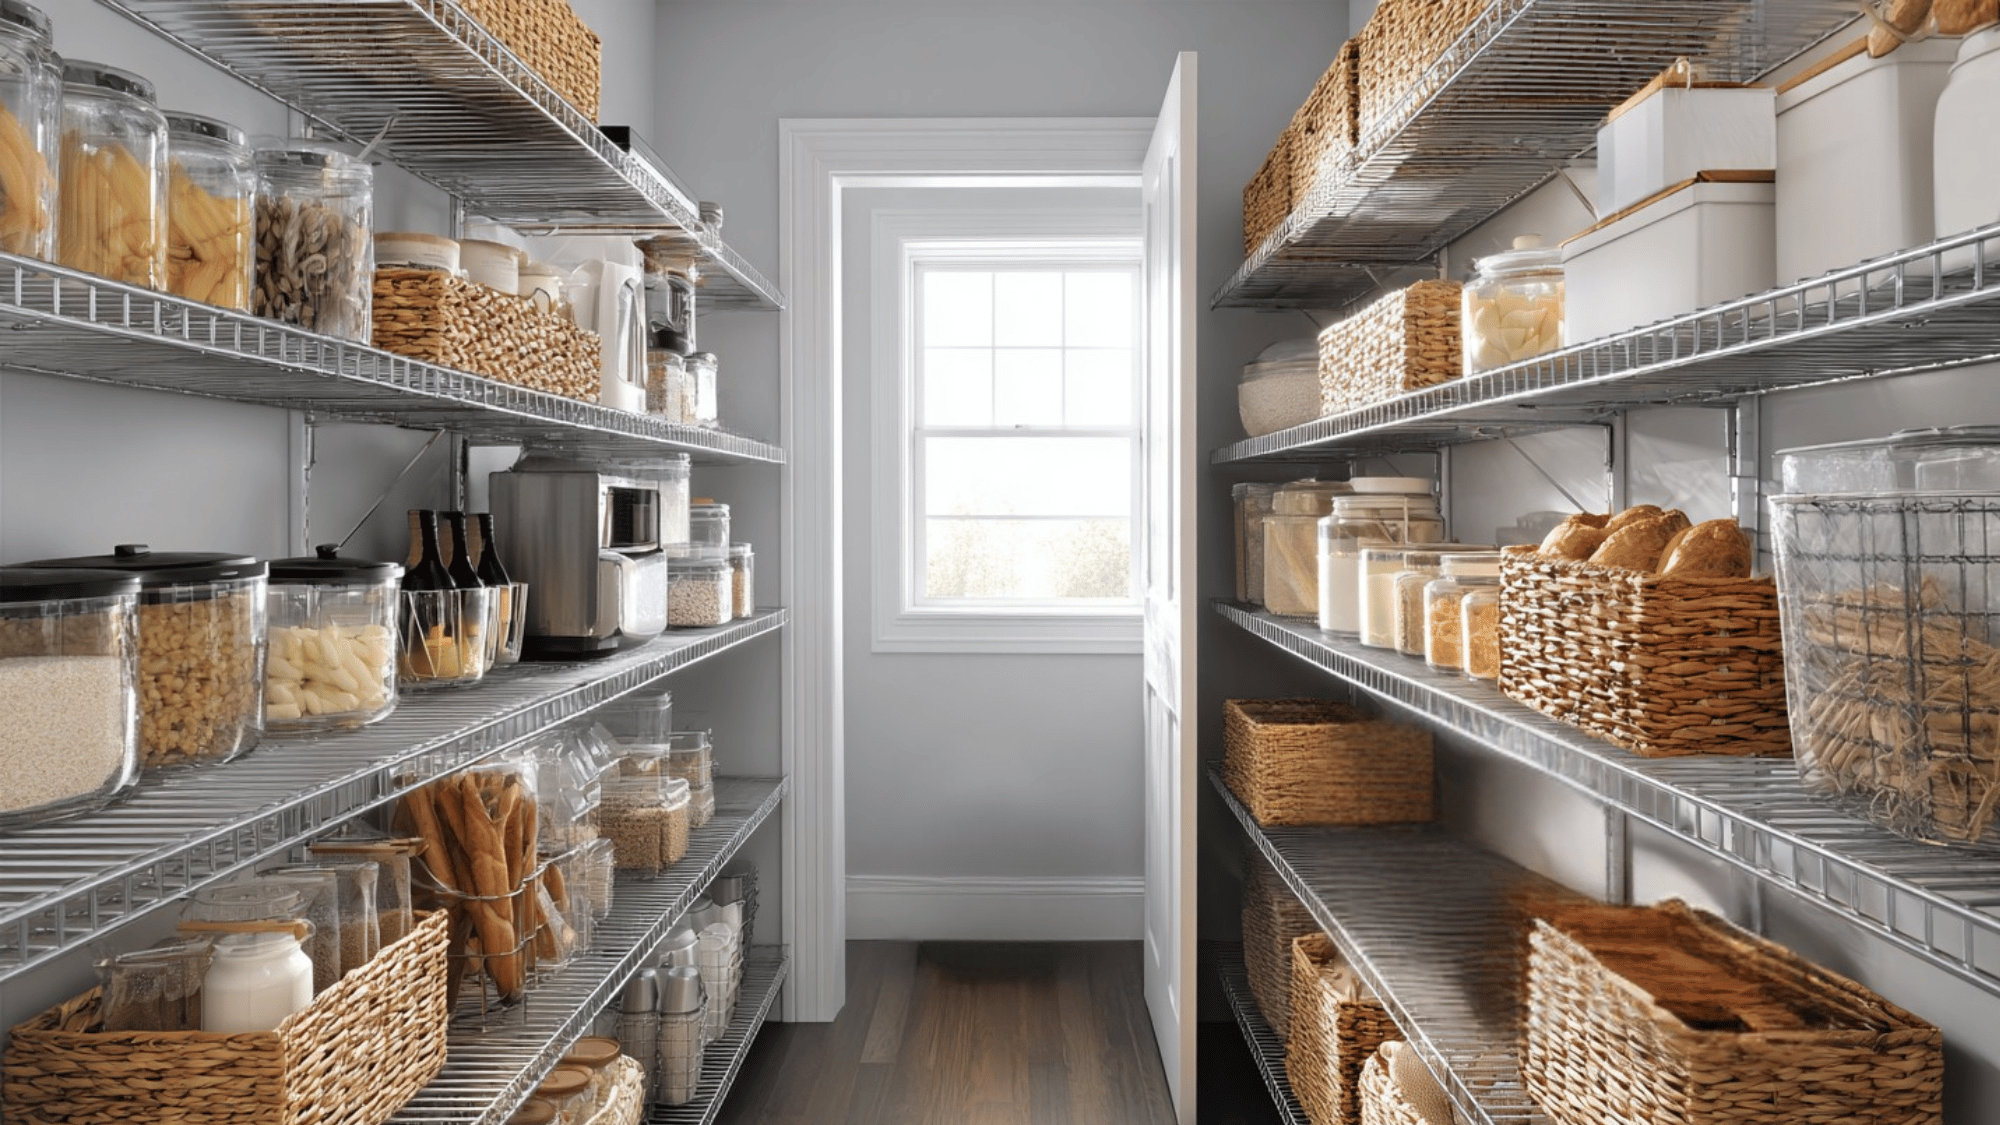
Wire rack shelving offers an ideal solution for pantry organization, combining functionality with visibility.
The open wire design promotes air circulation, preventing moisture buildup and keeping food fresh longer.
These lightweight yet sturdy shelves allow you to see stored items at a glance, reducing food waste and simplifying inventory management.
6. Glass Front Shelving
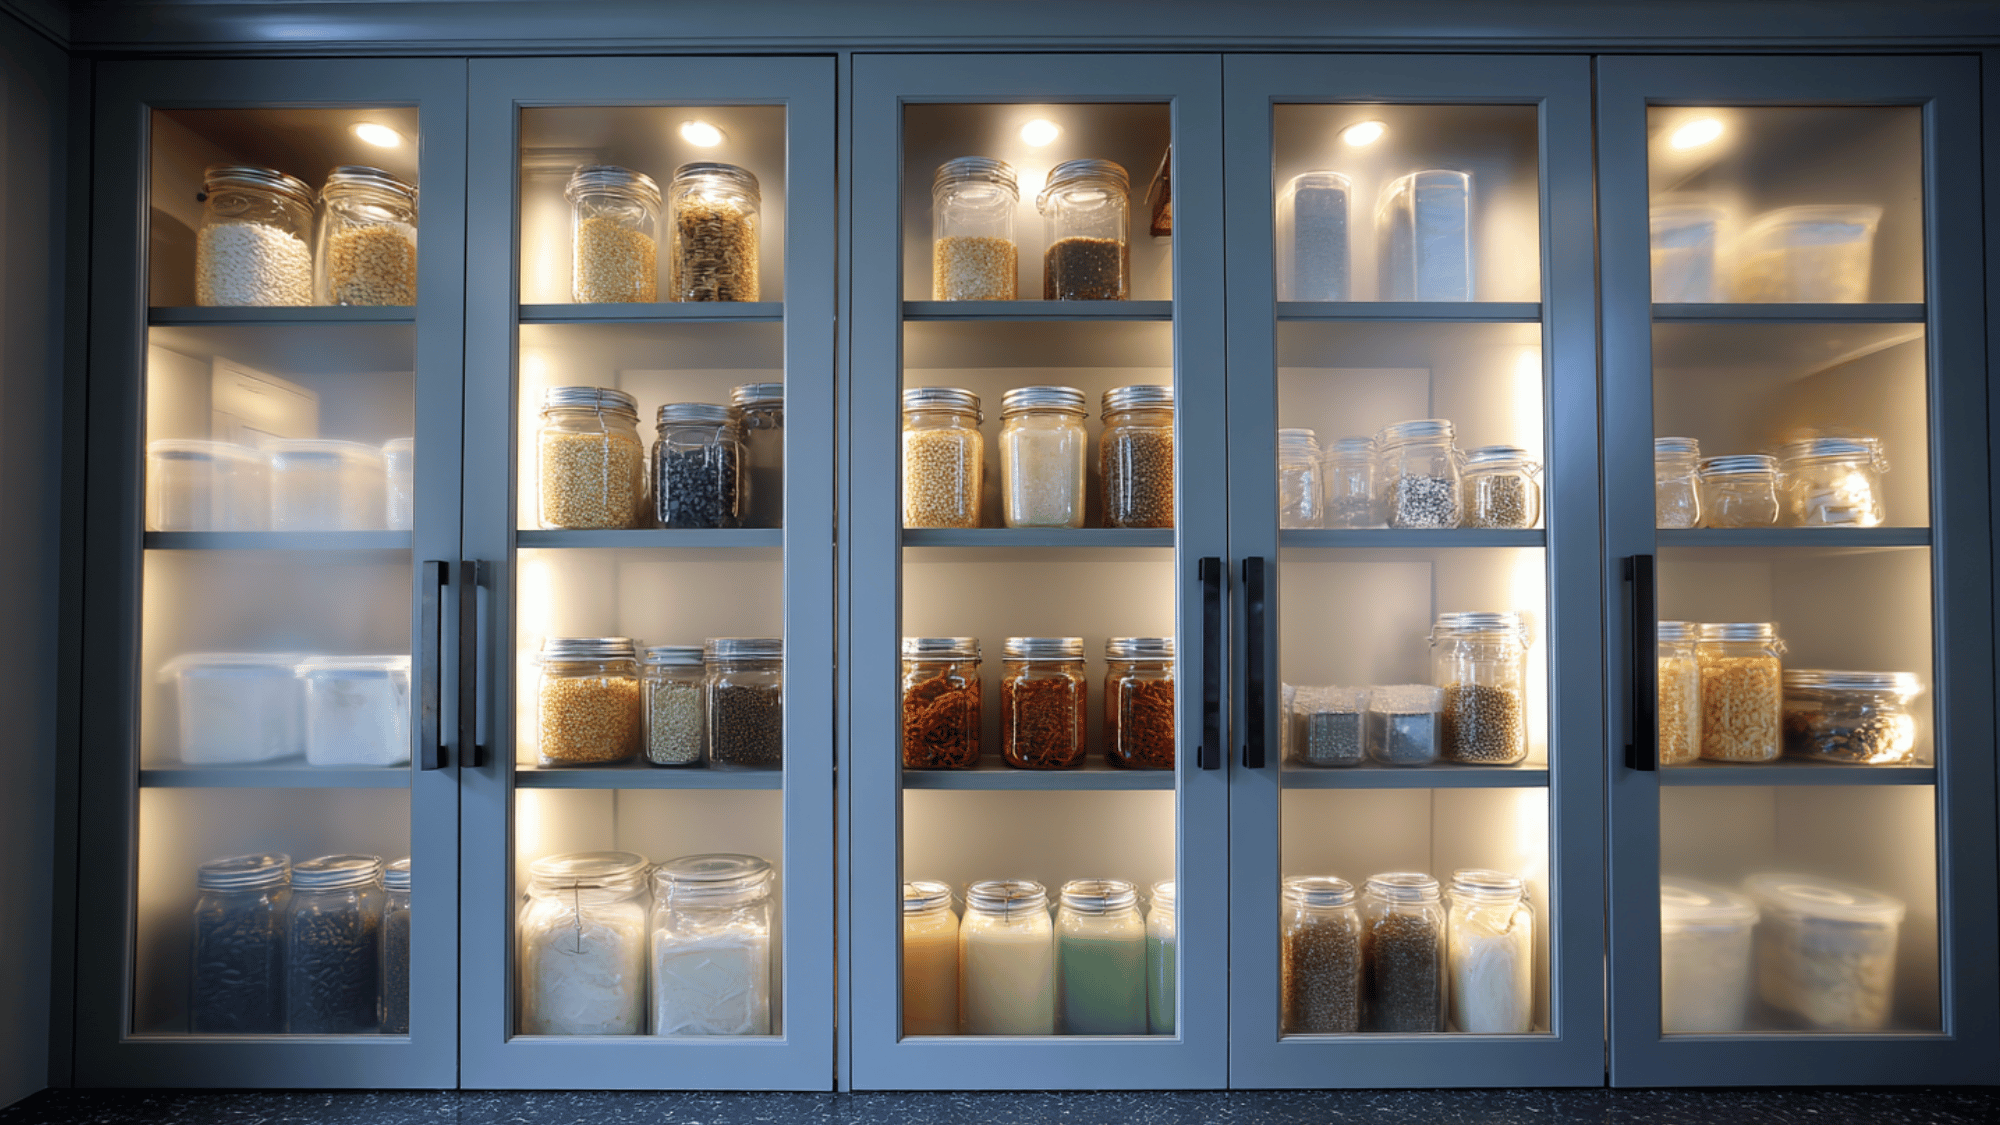
Glass front shelving in pantry spaces combines functionality with beautiful style. These shelves feature transparent glass panels or doors that showcase stored items.
The clear visibility allows easy inventory monitoring without opening compartments, helping reduce food waste and simplify meal planning.
Glass fronts create an upscale, organized appearance that changes ordinary pantries into smooth storage areas.
7. Built-In Lighting Shelves
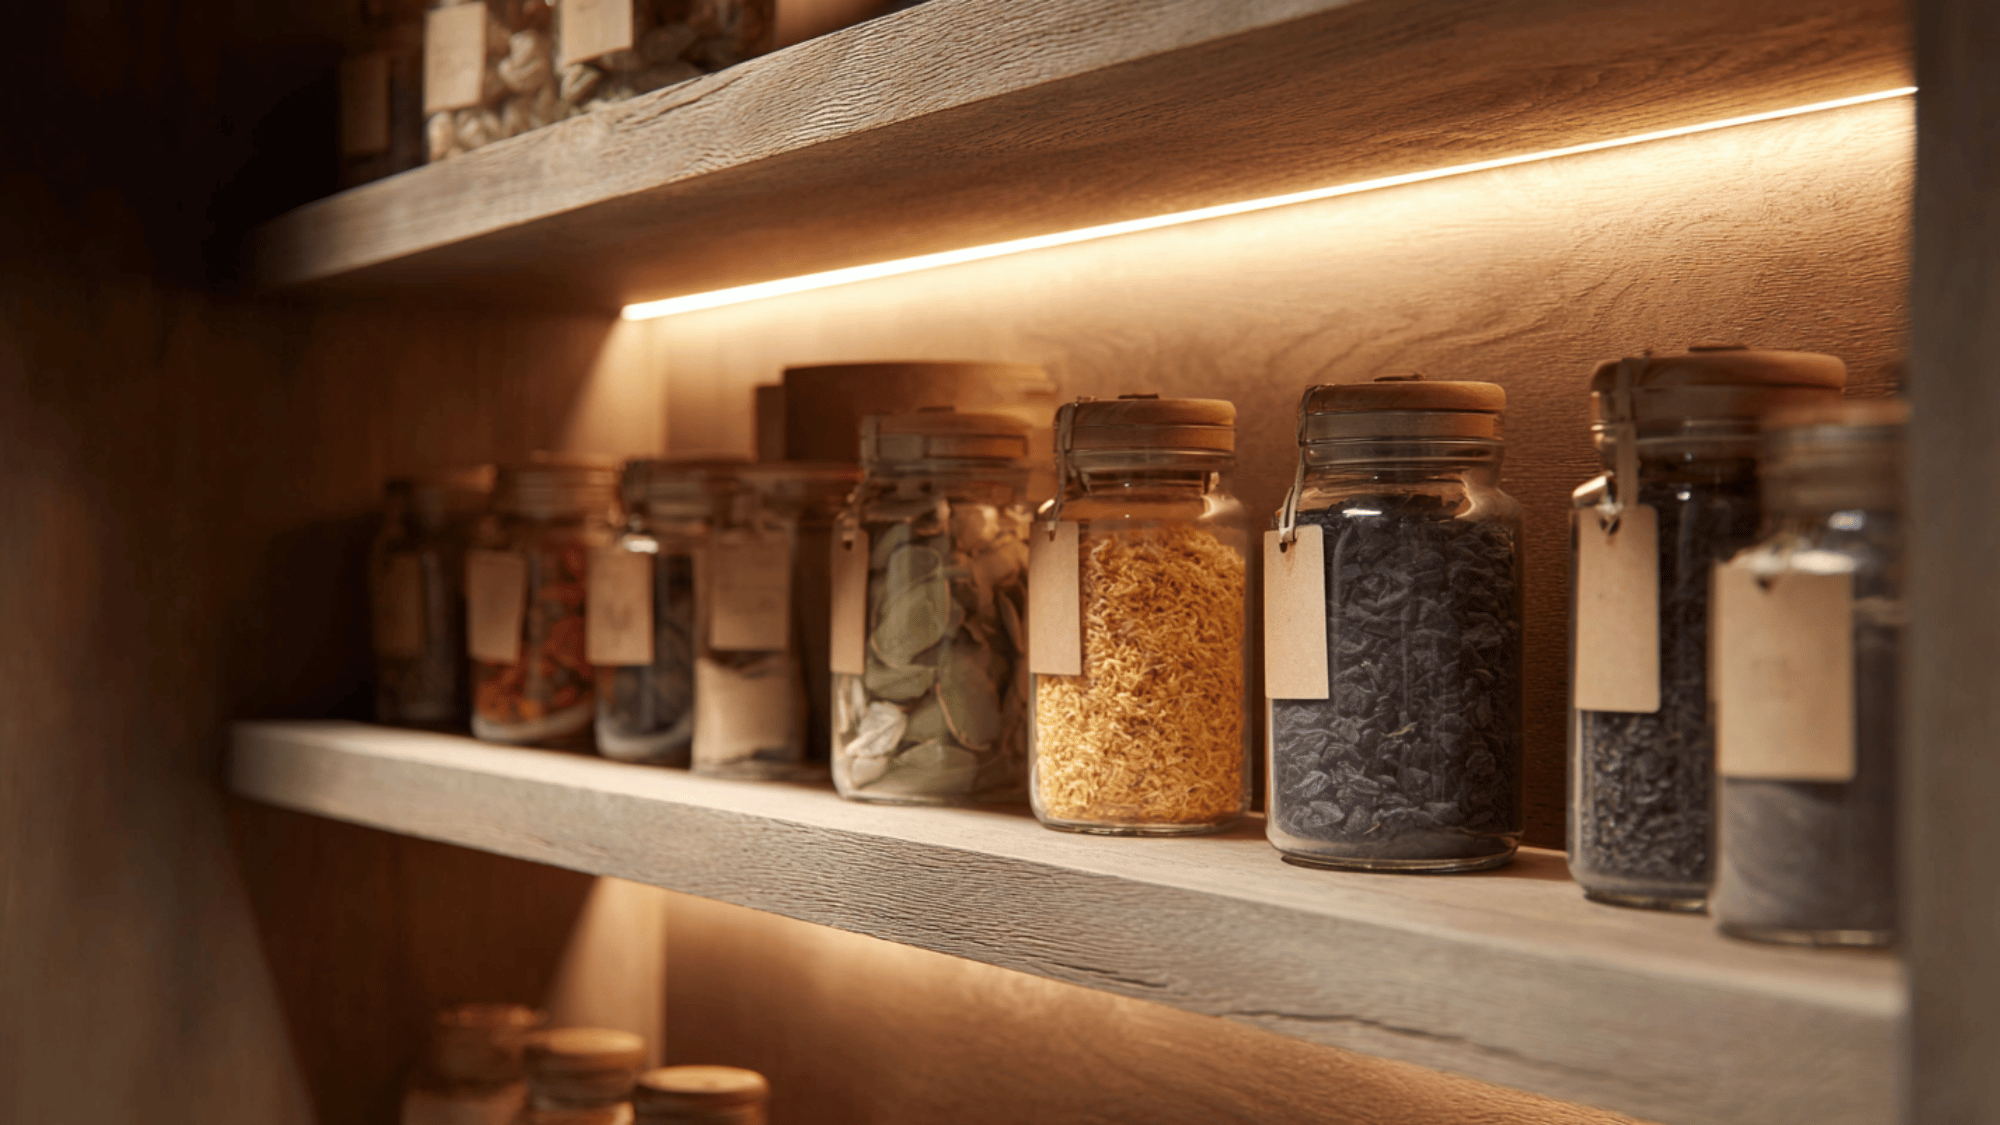
Built-in lighting shelves integrate illumination directly into shelving units, combining storage with functional lighting design.
LED strips or puck lights are embedded within or beneath shelves to highlight displayed items, create ambient lighting, and improve visibility.
It is Energy-efficient and customizable. Built-in lighting shelves enhance both practicality and visual appeal in any space.
8. Deep Storage Shelves
Deep storage shelves in pantry shelves are designed with greater depth than standard shelving, typically ranging from 16 to 24 inches.
This extra depth maximizes storage capacity, allowing you to store bulkier items like small appliances, large cereal boxes, or bulk purchases.
These shelves help organize pantry essentials efficiently by creating multiple rows of items. However, proper organization is crucial to prevent items from getting lost at the back.
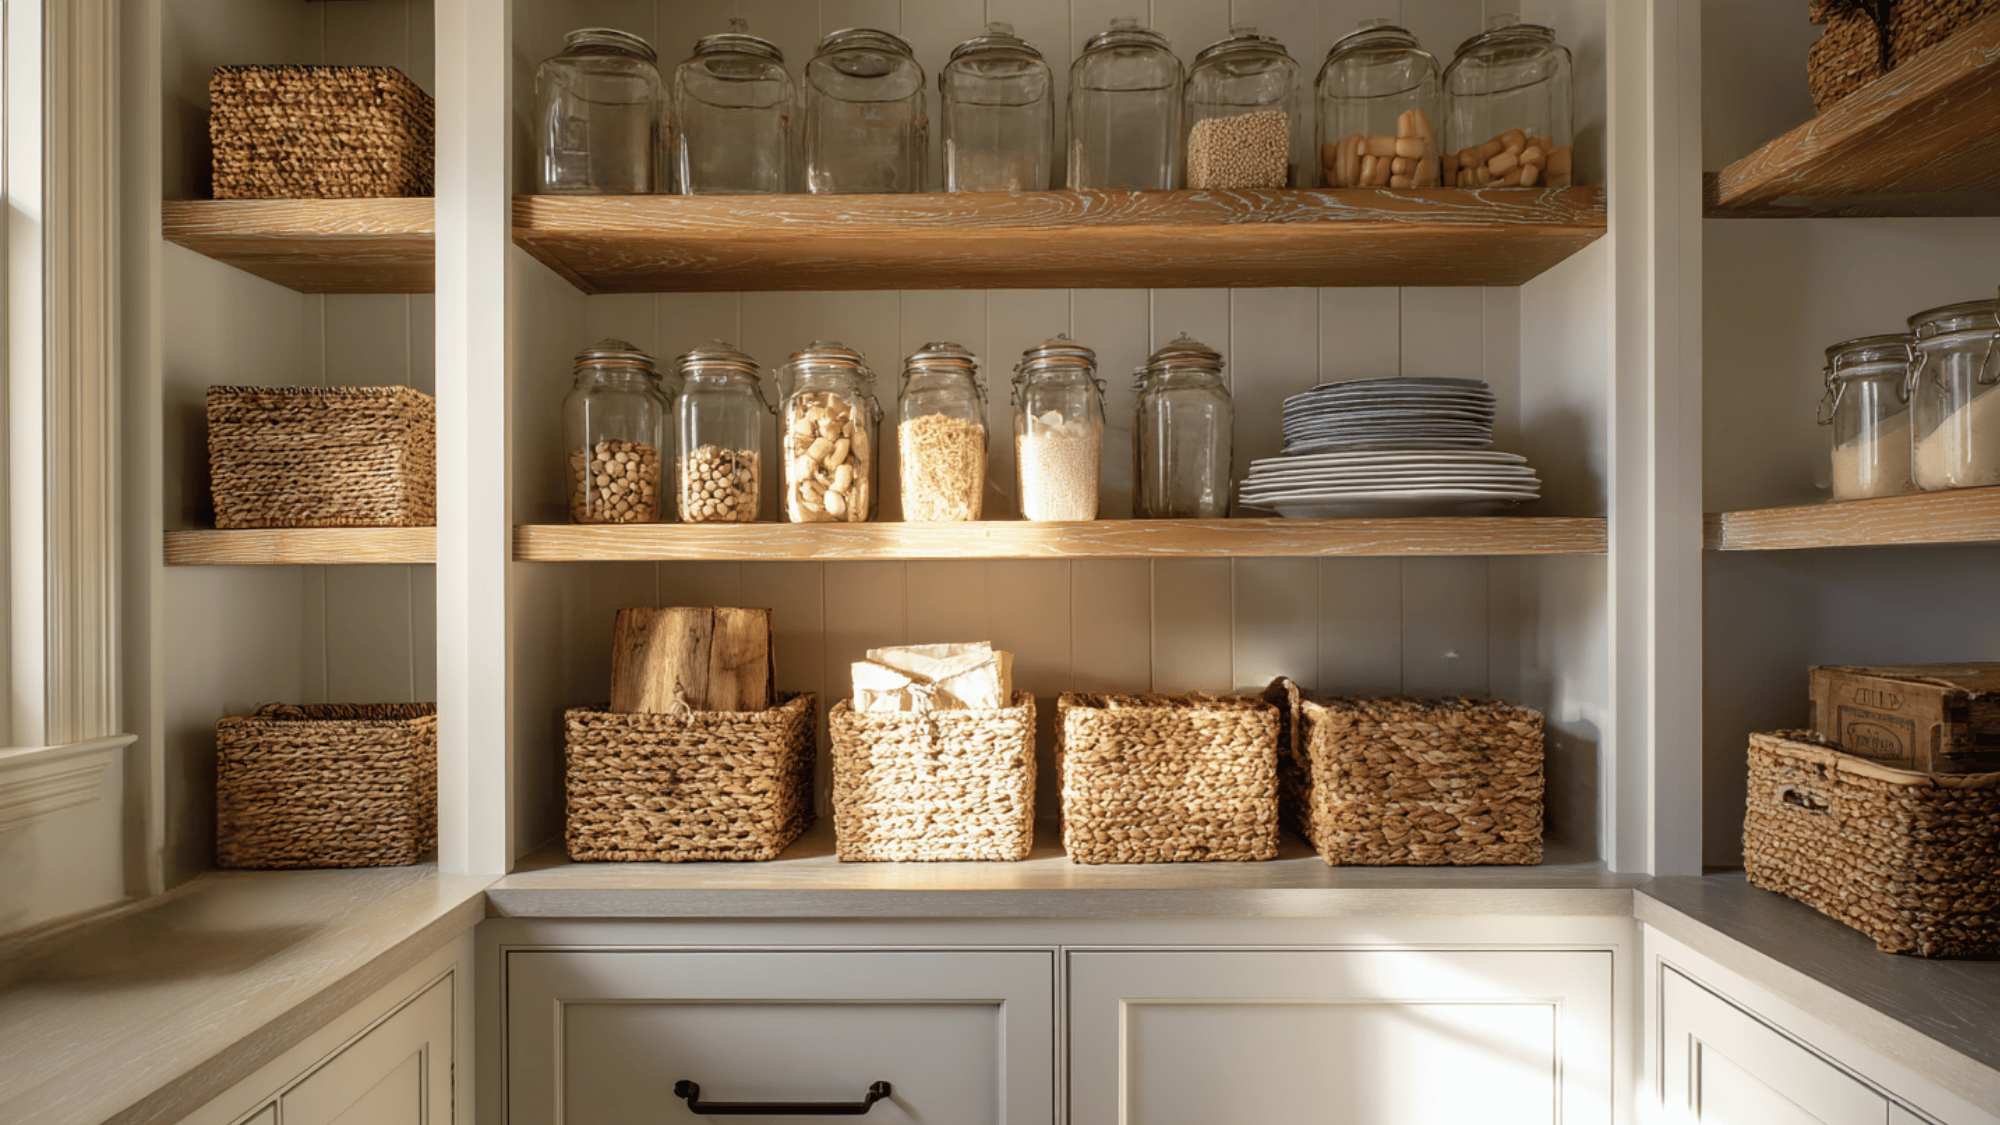
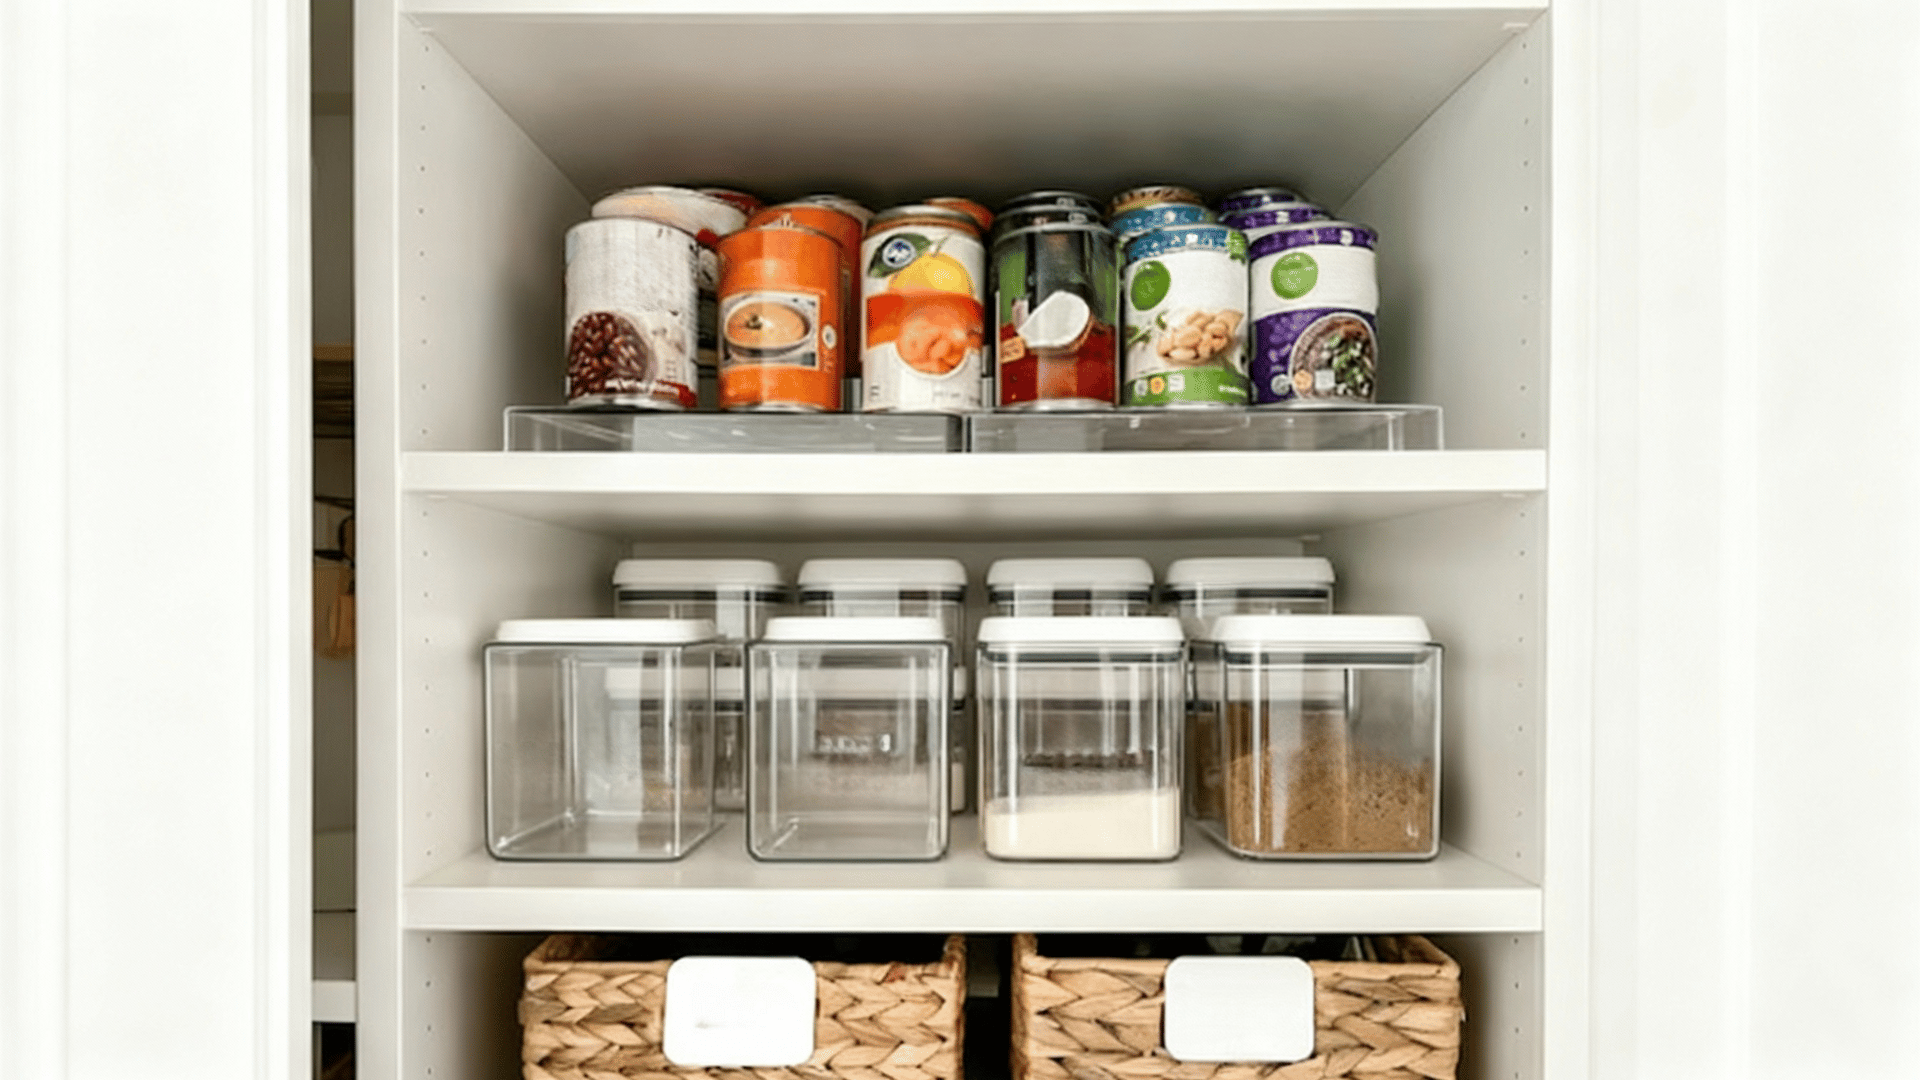
9. Basket and Bin Shelves
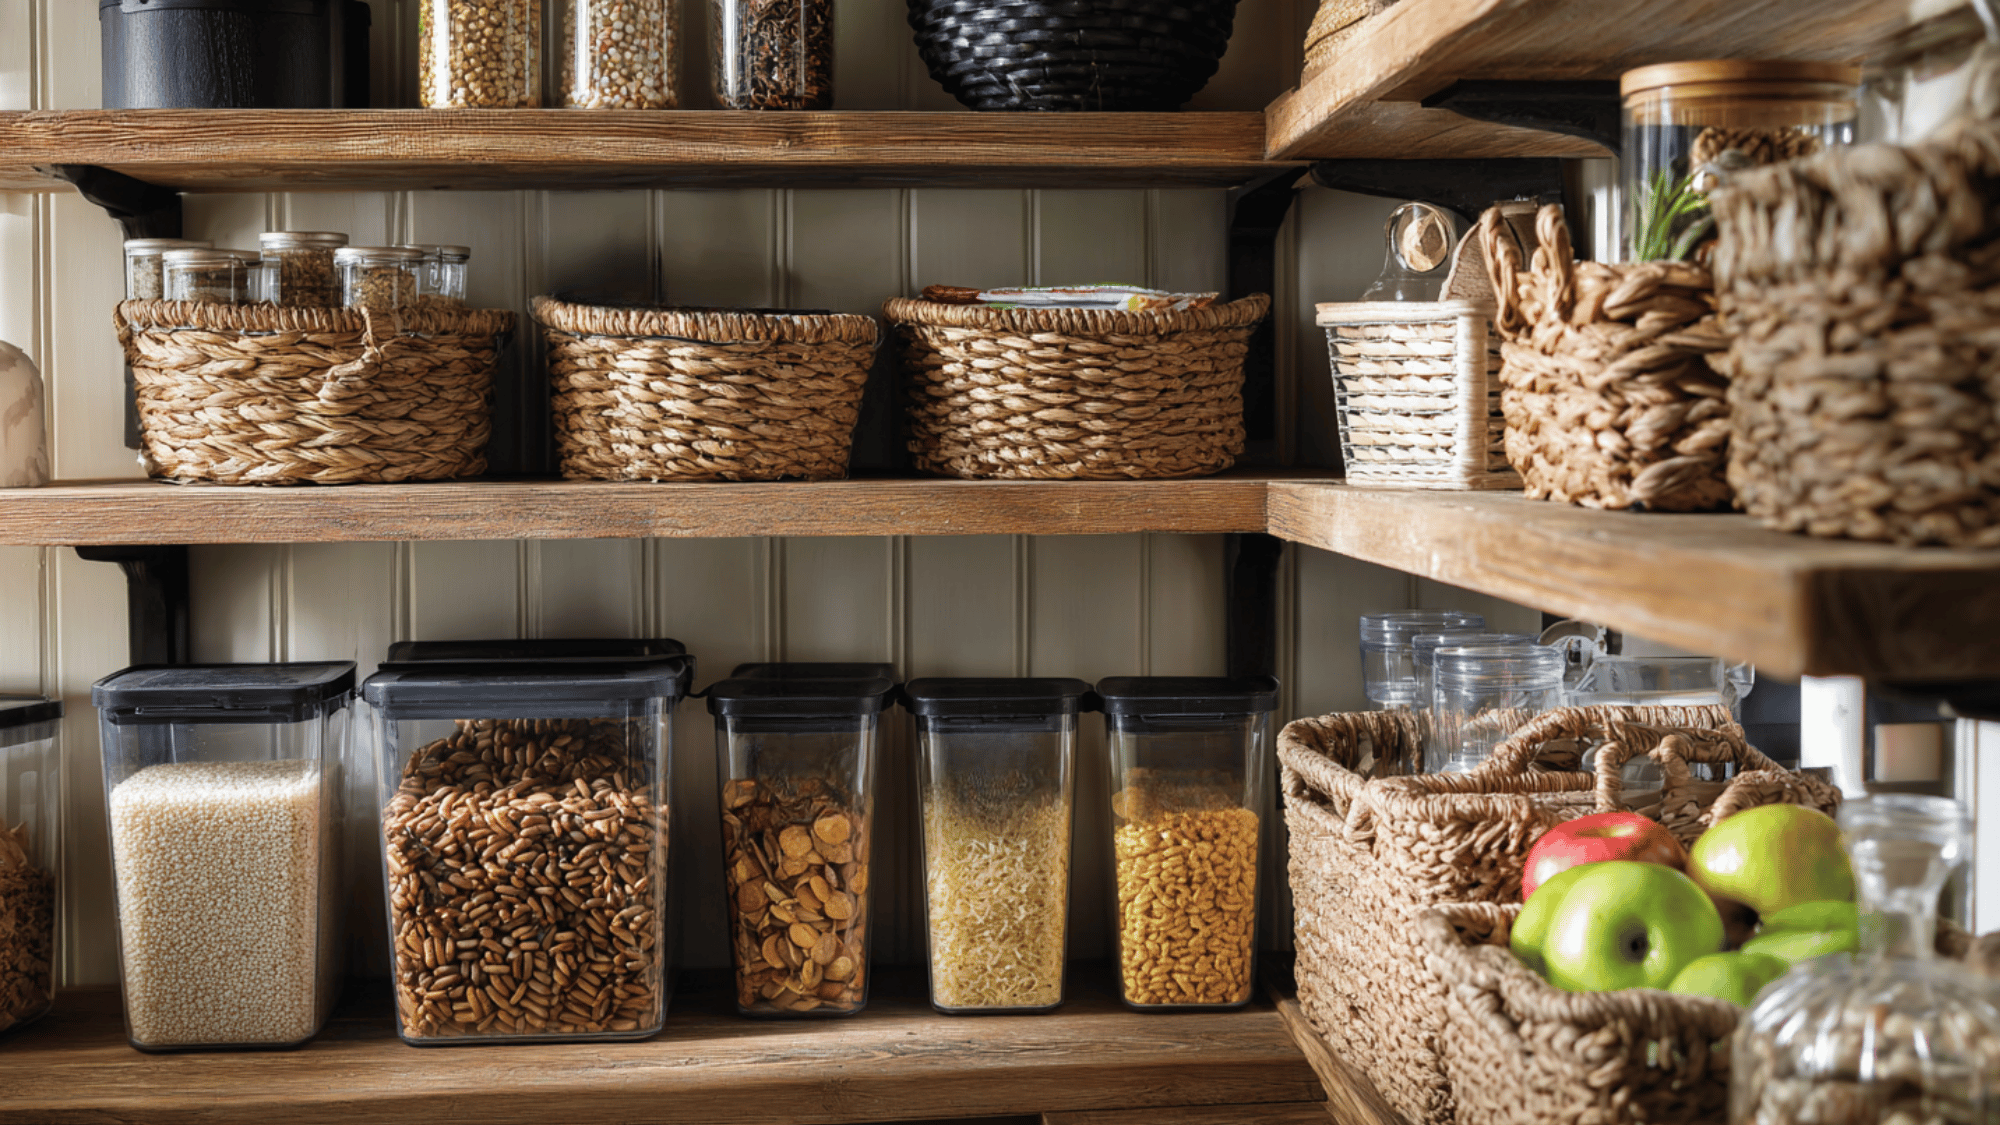
Basket and bin shelves in pantry storage combine traditional shelving with integrated baskets or plastic bins, creating a hybrid organization system.
These shelves feature designated slots, offering easy visibility and access to stored items. Ideal for organizing snacks and small containers, they prevent them from getting lost.
The open-weave design of baskets promotes air circulation for fresh foods, while bins contain loose items.
Common Mistakes to Avoid When Building DIY Pantry Shelves
A simple DIY pantry shelf project can go wrong without attention to detail. Avoid these common errors to ensure lasting strength and functionality.
- Skipping stud checks: Always anchor shelves into wall studs for proper support and safety. Drywall alone can’t hold heavy pantry items over time.
- Uneven shelf installation: Use a level throughout the process. Crooked or uneven shelves affect stability and make organizing items difficult.
- Choosing weak materials: Invest in quality plywood and sturdy supports. Low-grade materials may bend or crack under everyday kitchen use.
- Overloading shelves: Distribute weight evenly and avoid placing heavy appliances on weak points to prevent sagging and long-term damage.
- Neglecting lighting and airflow: Proper lighting improves visibility, while good ventilation prevents humidity buildup that can damage wood or stored food.
Conclusion
Creating DIY pantry shelves changes your storage space into an organized, efficient area tailored to your specific needs.
Beyond saving money, building your own shelving system gives you complete control over dimensions, materials, and style, ensuring a perfect fit for your home.
Even if you’re a beginner or experienced DIYer, pantry shelving offers a rewarding weekend project with lasting benefits.
Ready to start your pantry Development? Grab your tools and begin building the organized kitchen you’ve always wanted today!