Refinishing a table is an affordable and rewarding way to give old furniture a fresh new look.
It helps restore worn surfaces, faded color, and scratches, turning a dull table into a beautiful piece again.
With the right approach, even an outdated table can become a stylish focal point that fits your home perfectly.
The process doesn’t require special skills, just patience, care, and a few basic tools. Refinishing also helps protect the wood and extend the life of your furniture.
This article explains how to refinish a table the right way, helping you achieve smooth, lasting results that look clean and professional.
Why Refinish Instead of Replacing of Table
Refinishing a table is often a smarter choice than replacing it. Buying new furniture can be expensive, while learning how to refinish a table costs much less and gives old pieces a fresh look.
It’s also better for the environment since it reduces waste and keeps quality wood furniture out of landfills.
Beyond saving money, there’s something special about restoring a wooden or staining dining table that holds memories or family history.
The refinishing process usually includes stripping off the old finish, sanding the surface smooth, adding a fresh stain for color, and sealing it for protection.
With a little time and care, any table can look stylish and new again without ever leaving your home.
Tools and Materials Required
| Tools & Materials | Purpose |
|---|---|
| Orbital sander & sandpaper (150–220 grit) | Smooths and prepares the wood surface |
| Gel stripper & lacquer thinner | Removes old finish and residue |
| Wood stain & sealer/topcoat | Adds color and protects the table |
| Steel wool & shellac mix | Cleans and restores legs or faded areas |
| Rags, gloves & safety gear | Ensures safe, clean, and precise application |
Step-by-Step Process: How to Refinish a Table
Refinishing a table breathes new life into worn furniture by restoring its natural beauty through sanding, staining, and protective finishing.
Step 1: Assess the Table and Prepare the Workspace
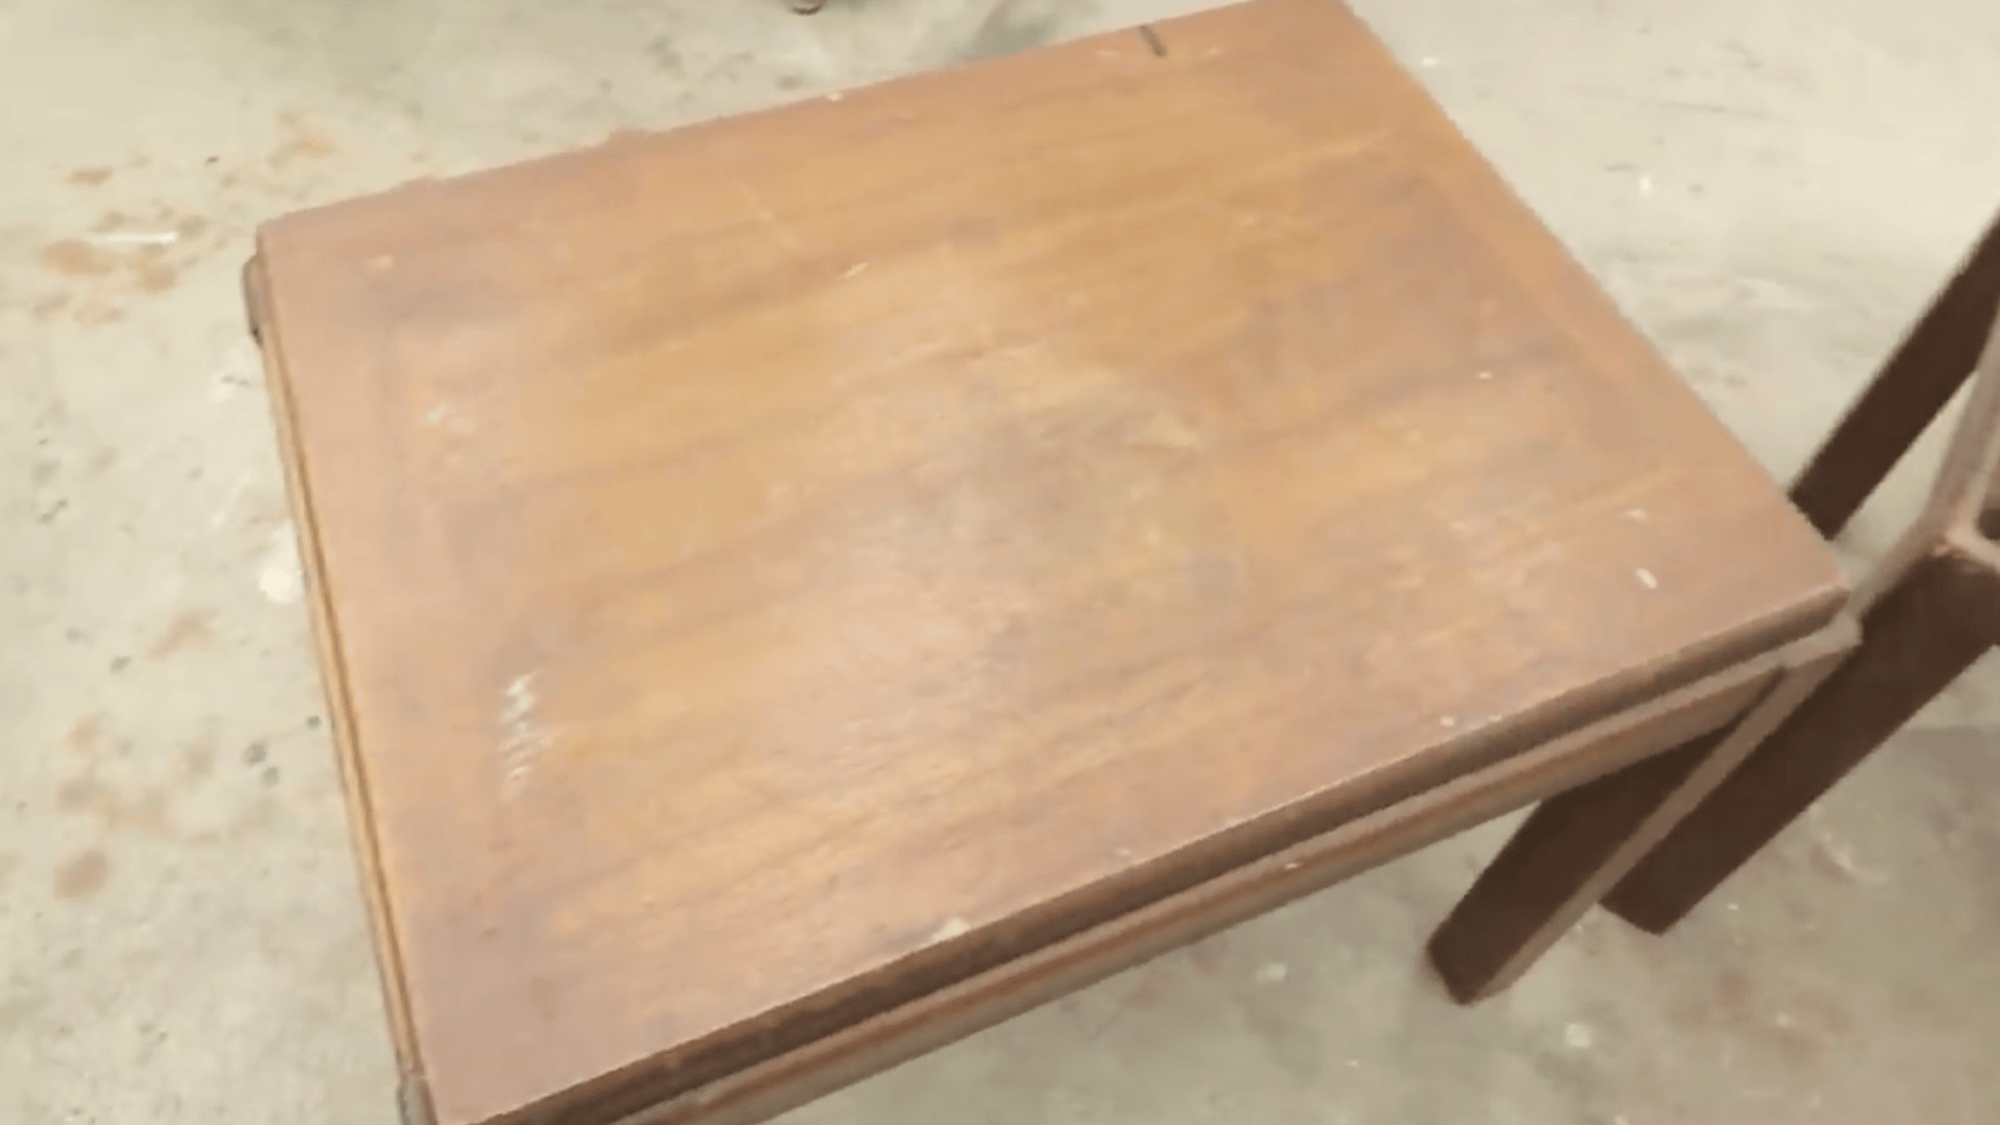
Before starting, ensure the workspace is well-ventilated, as refinishing generates fumes from chemicals and stains.
Clear the area, remove hardware if possible, and protect the floor.
This preparation prevents damage and ensures a smooth workflow during the refinishing process.
Step 2: Strip the Old Finish
Start by applying a gel stripper to remove the old finish from the table. The stripper will dissolve layers of varnish or lacquer, making it easier to lift them off.
Apply two coats to fully remove the built-up finish without over-sanding the surface. Let the stripper sit for the recommended time so it can work effectively.
Then, use steel wool dipped in lacquer thinner to clean off any remaining residue. Make sure to scrub gently until the surface feels clean and smooth.
This step prepares the table for sanding and ensures no sticky film remains that could affect staining or sealing later.
Step 3: Sand the Surface Smooth
Once the table is stripped to bare wood, begin sanding to create a smooth surface. Use 150-grit sandpaper with an orbital sander to remove any uneven spots or traces of the old finish.
Follow up by hand-sanding corners, edges, and detailed areas with the same grit. Then, switch to 220-grit sandpaper to achieve a fine, even texture.
Sanding properly is essential; it opens the wood grain for better stain absorption.
After sanding, let the workspace air out and wipe away all dust using a tack cloth or an air hose before moving on to staining.
Step 4: Apply the Wood Stain
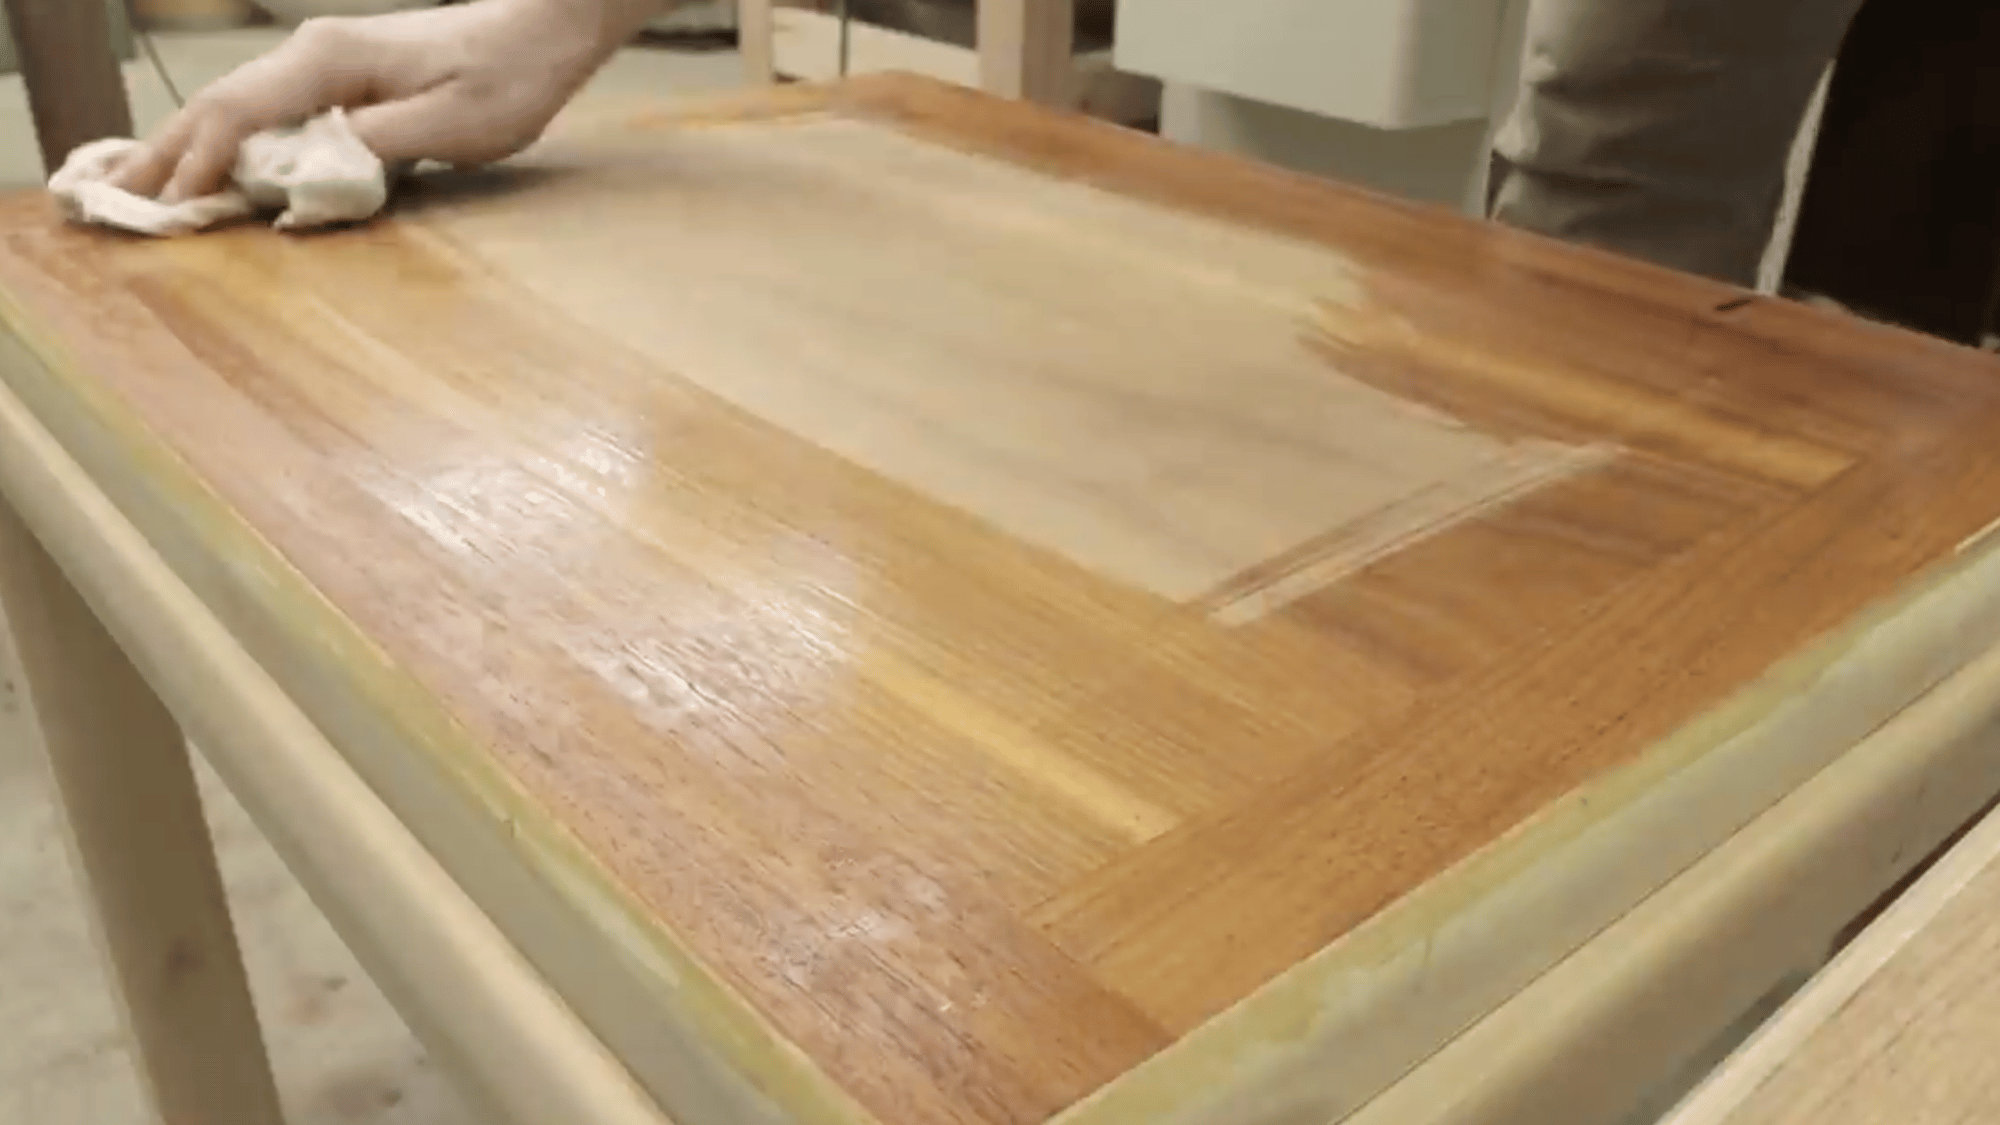
After sanding, prepare the surface for staining. Apply a brown mahogany stain evenly to both halves of the table and the leaf insert.
Use a brush or clean cloth, working in the direction of the wood grain for a smooth finish. Let the stain sit for a few minutes, then wipe away any excess to prevent blotches or uneven coloring.
Once the entire surface is coated, allow the table to dry for at least 48 hours.
Make sure all moisture has fully evaporated, especially in cracks and seams, before applying sealers to achieve a rich, uniform color.
Step 5: Seal and Topcoat the Table
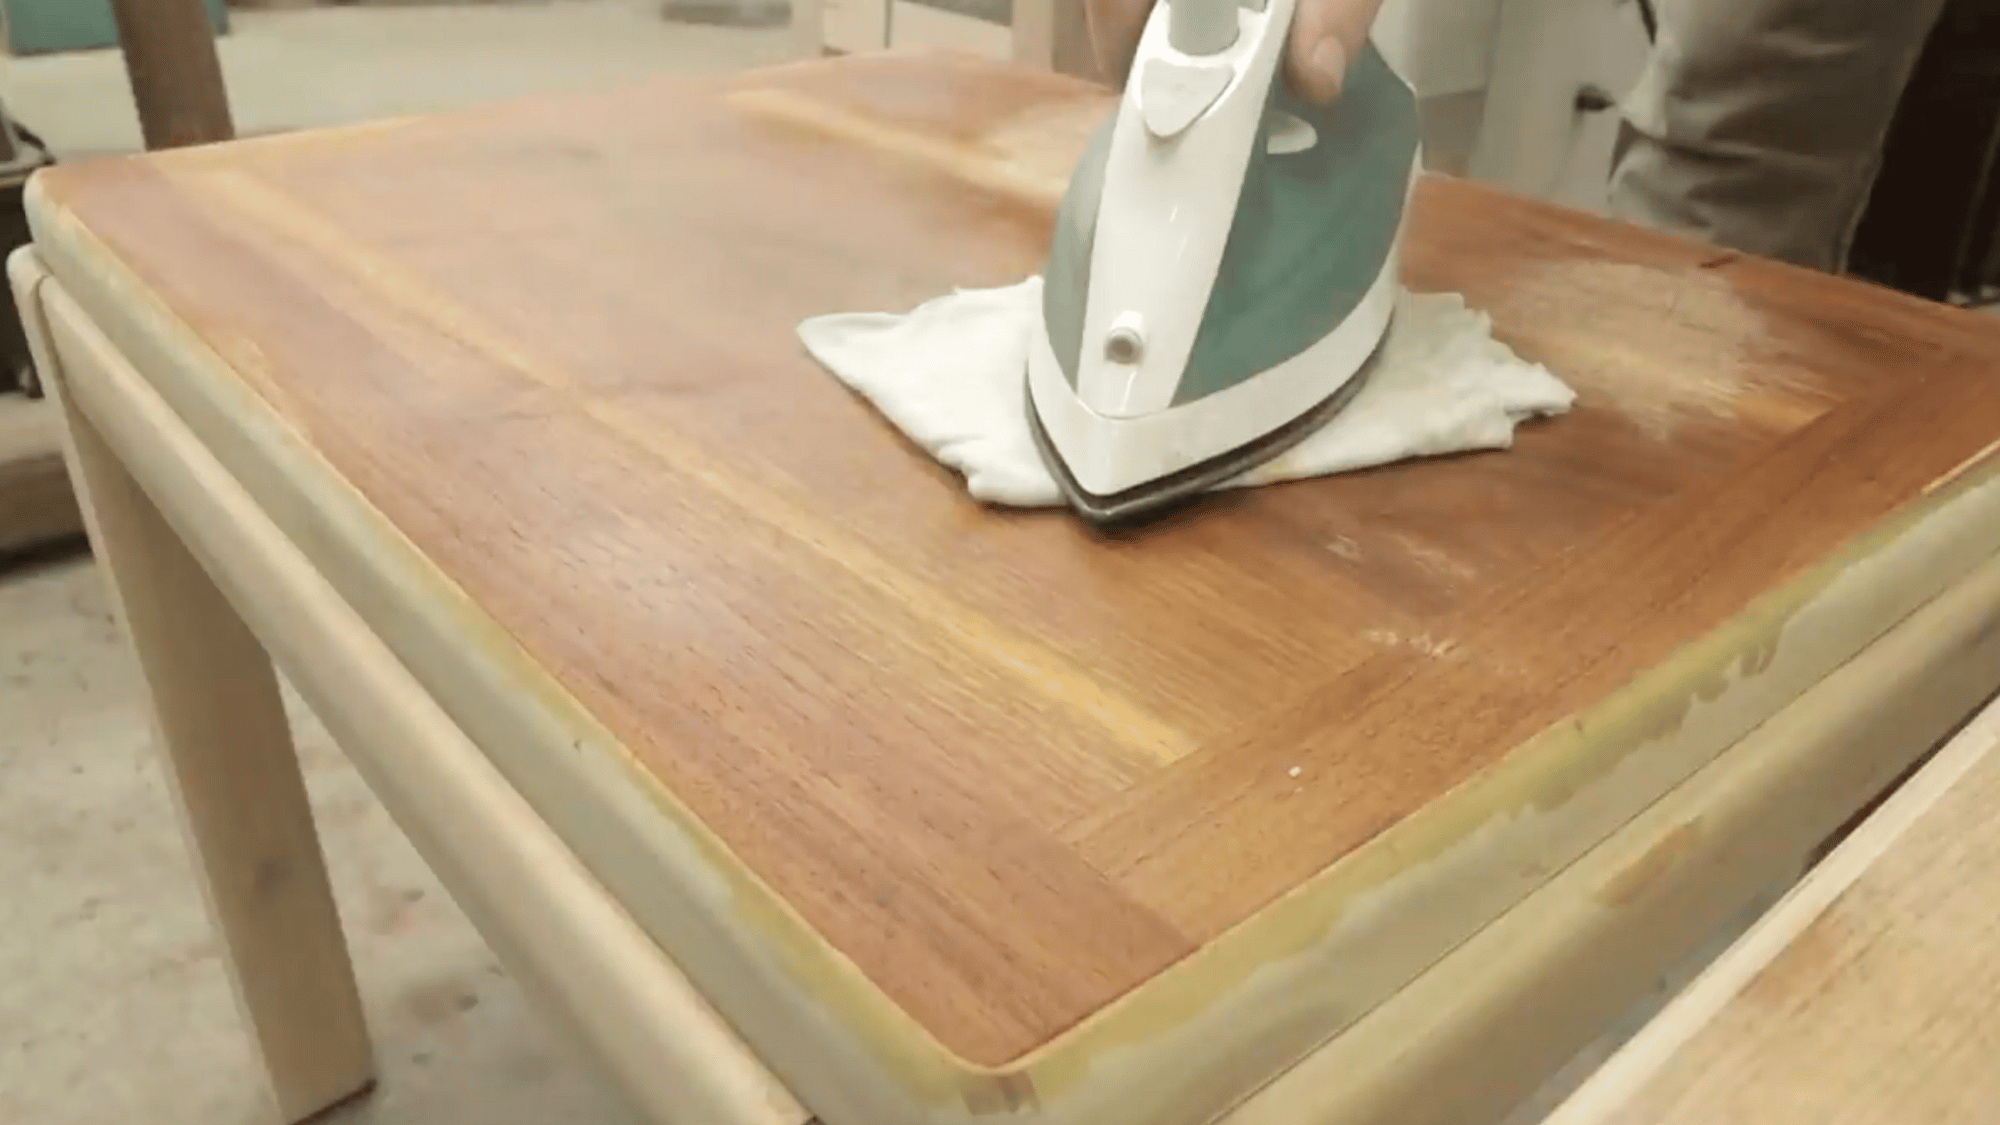
Once the stain has fully dried, begin sealing the surface to protect the finish. Apply a clear sealer first to lock in the color and prepare the wood for the final layers.
Let it dry completely, then lightly sand the surface to smooth out any raised grain. After sanding, spray on a toner coat with a light tint to even out the color across the table.
Finish by applying a durable topcoat to add shine and long-lasting protection.
This layered process gives the table a professional look and helps it resist scratches, moisture, and daily wear.
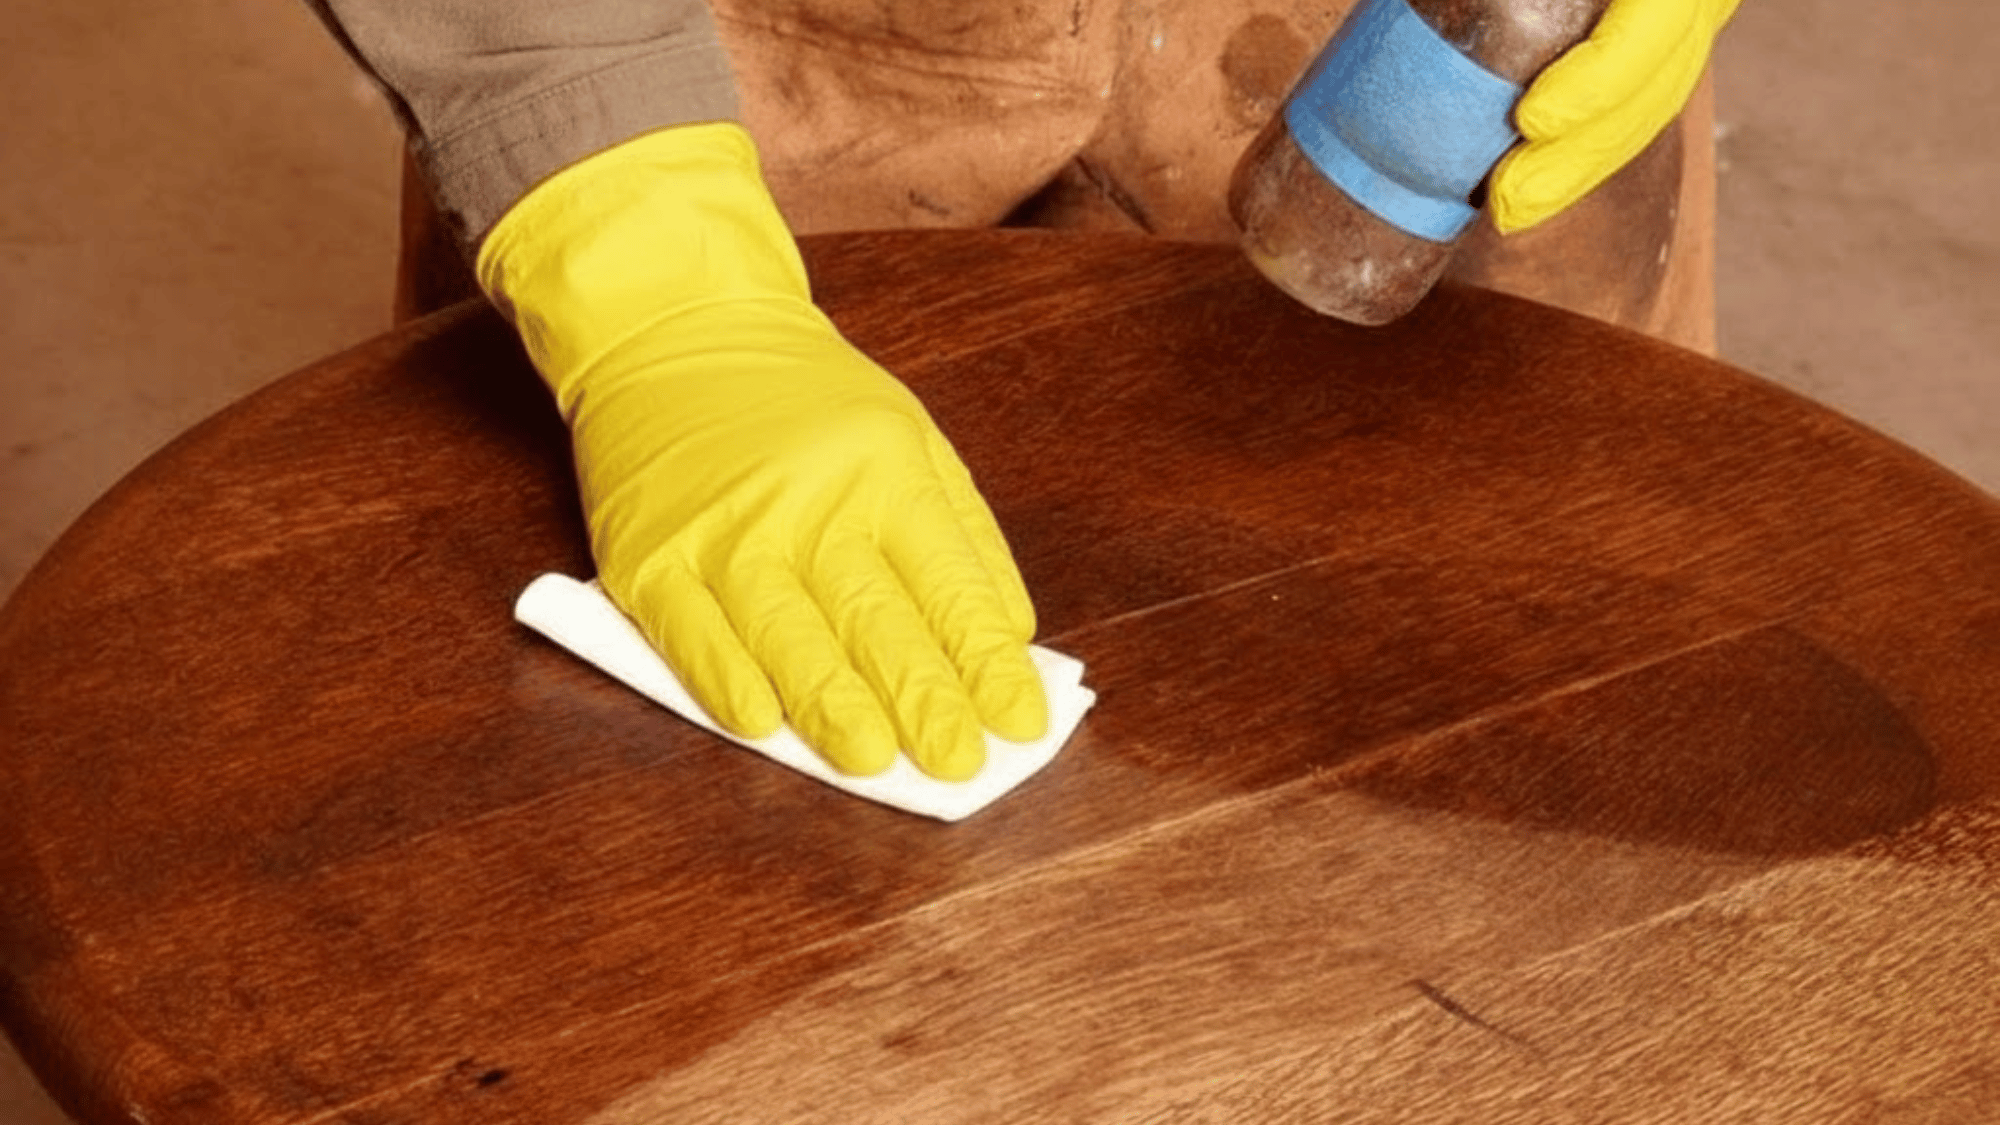
Step 6: Clean and Touch Up the Table Legs
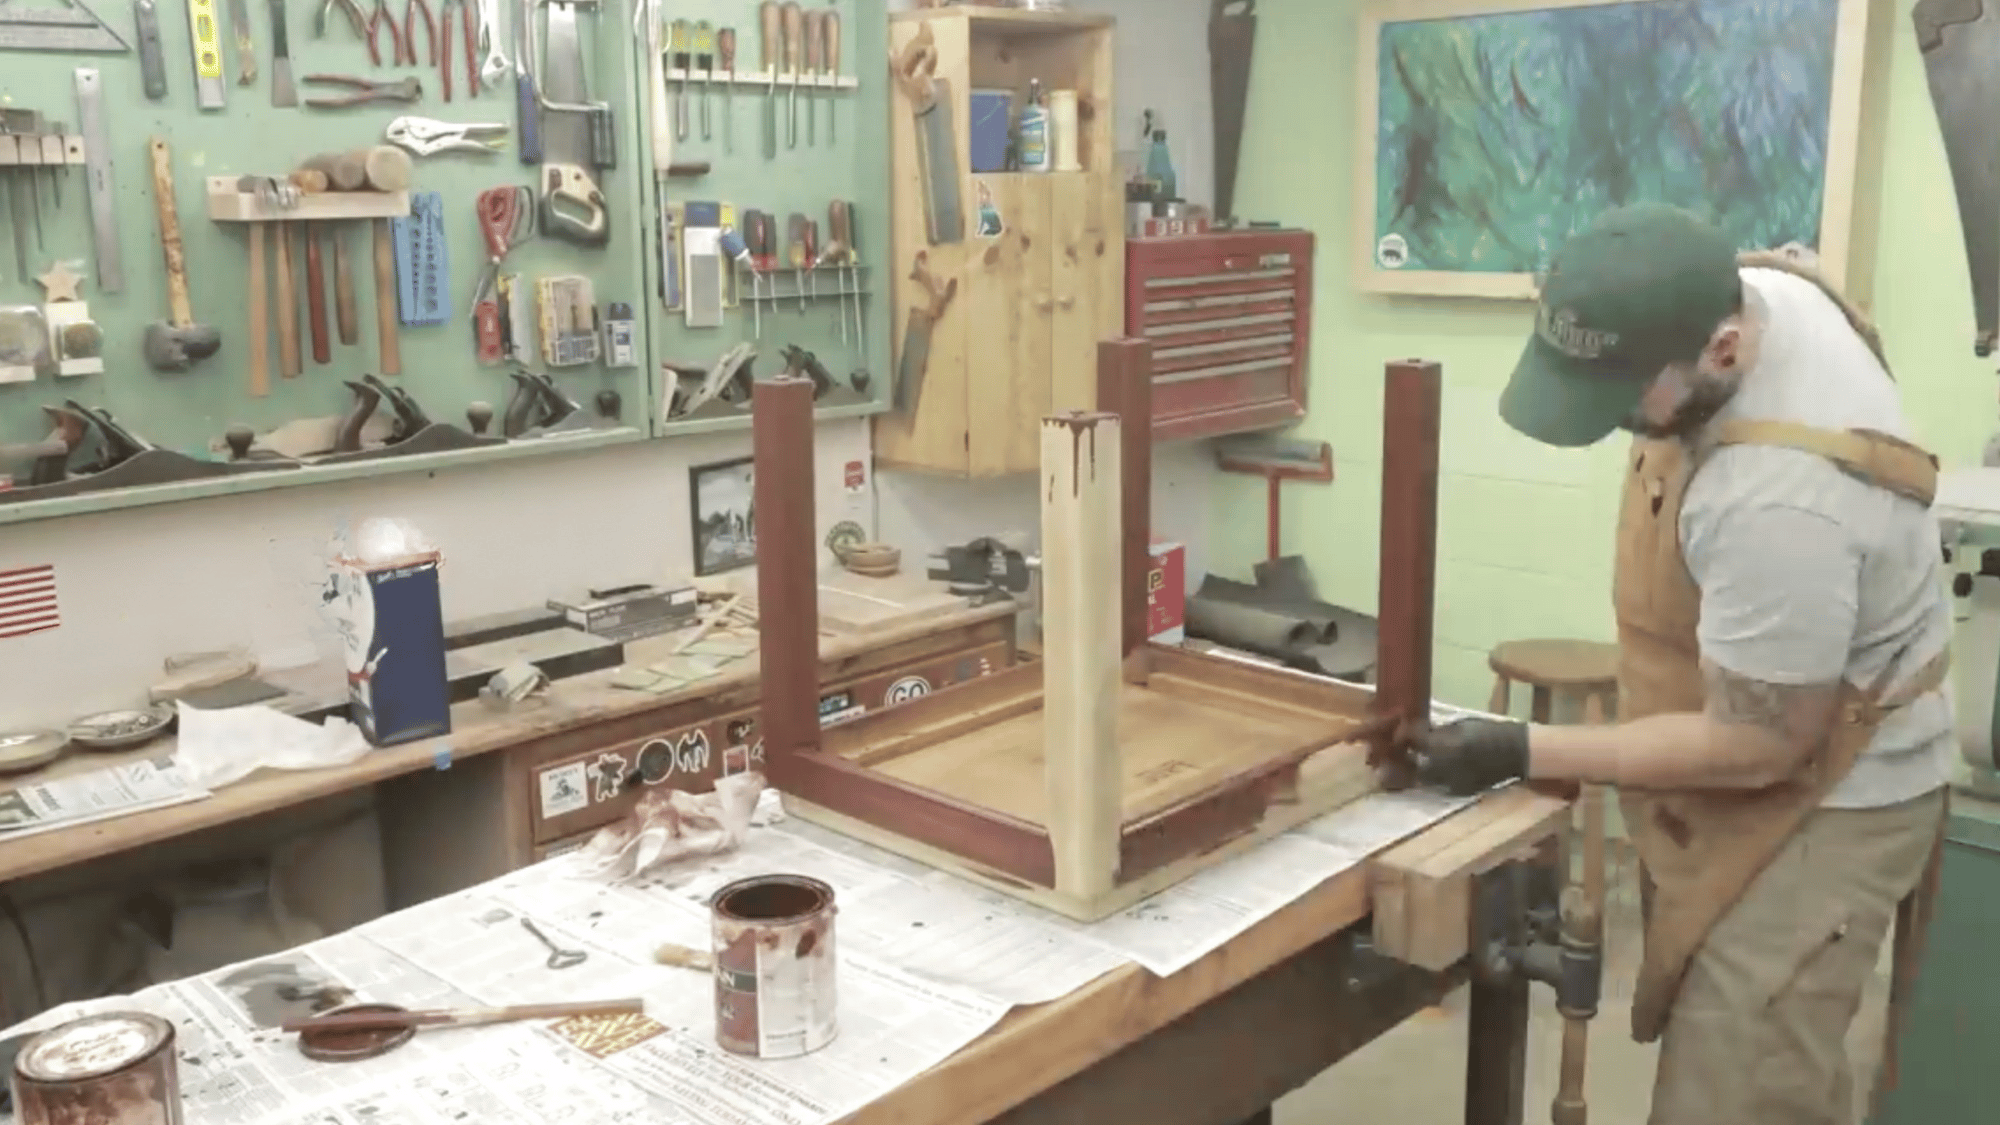
Clean and refresh the table legs instead of fully refinishing them. Start by using steel wool sprayed with a 50/50 mix of Windex and water to gently remove dirt, grease, and surface buildup.
Once the legs are dry, prepare a custom shellac mixture by thinning wax-free shellac with alcohol and adding a few drops of brown mahogany TransTint dye.
Apply the tinted shellac evenly to restore color and a subtle sheen without creating a heavy finish.
After it dries, lightly buff the legs with fine steel wool to soften the shine. Finish by cleaning them with wax-free furniture polish for a smooth, natural look
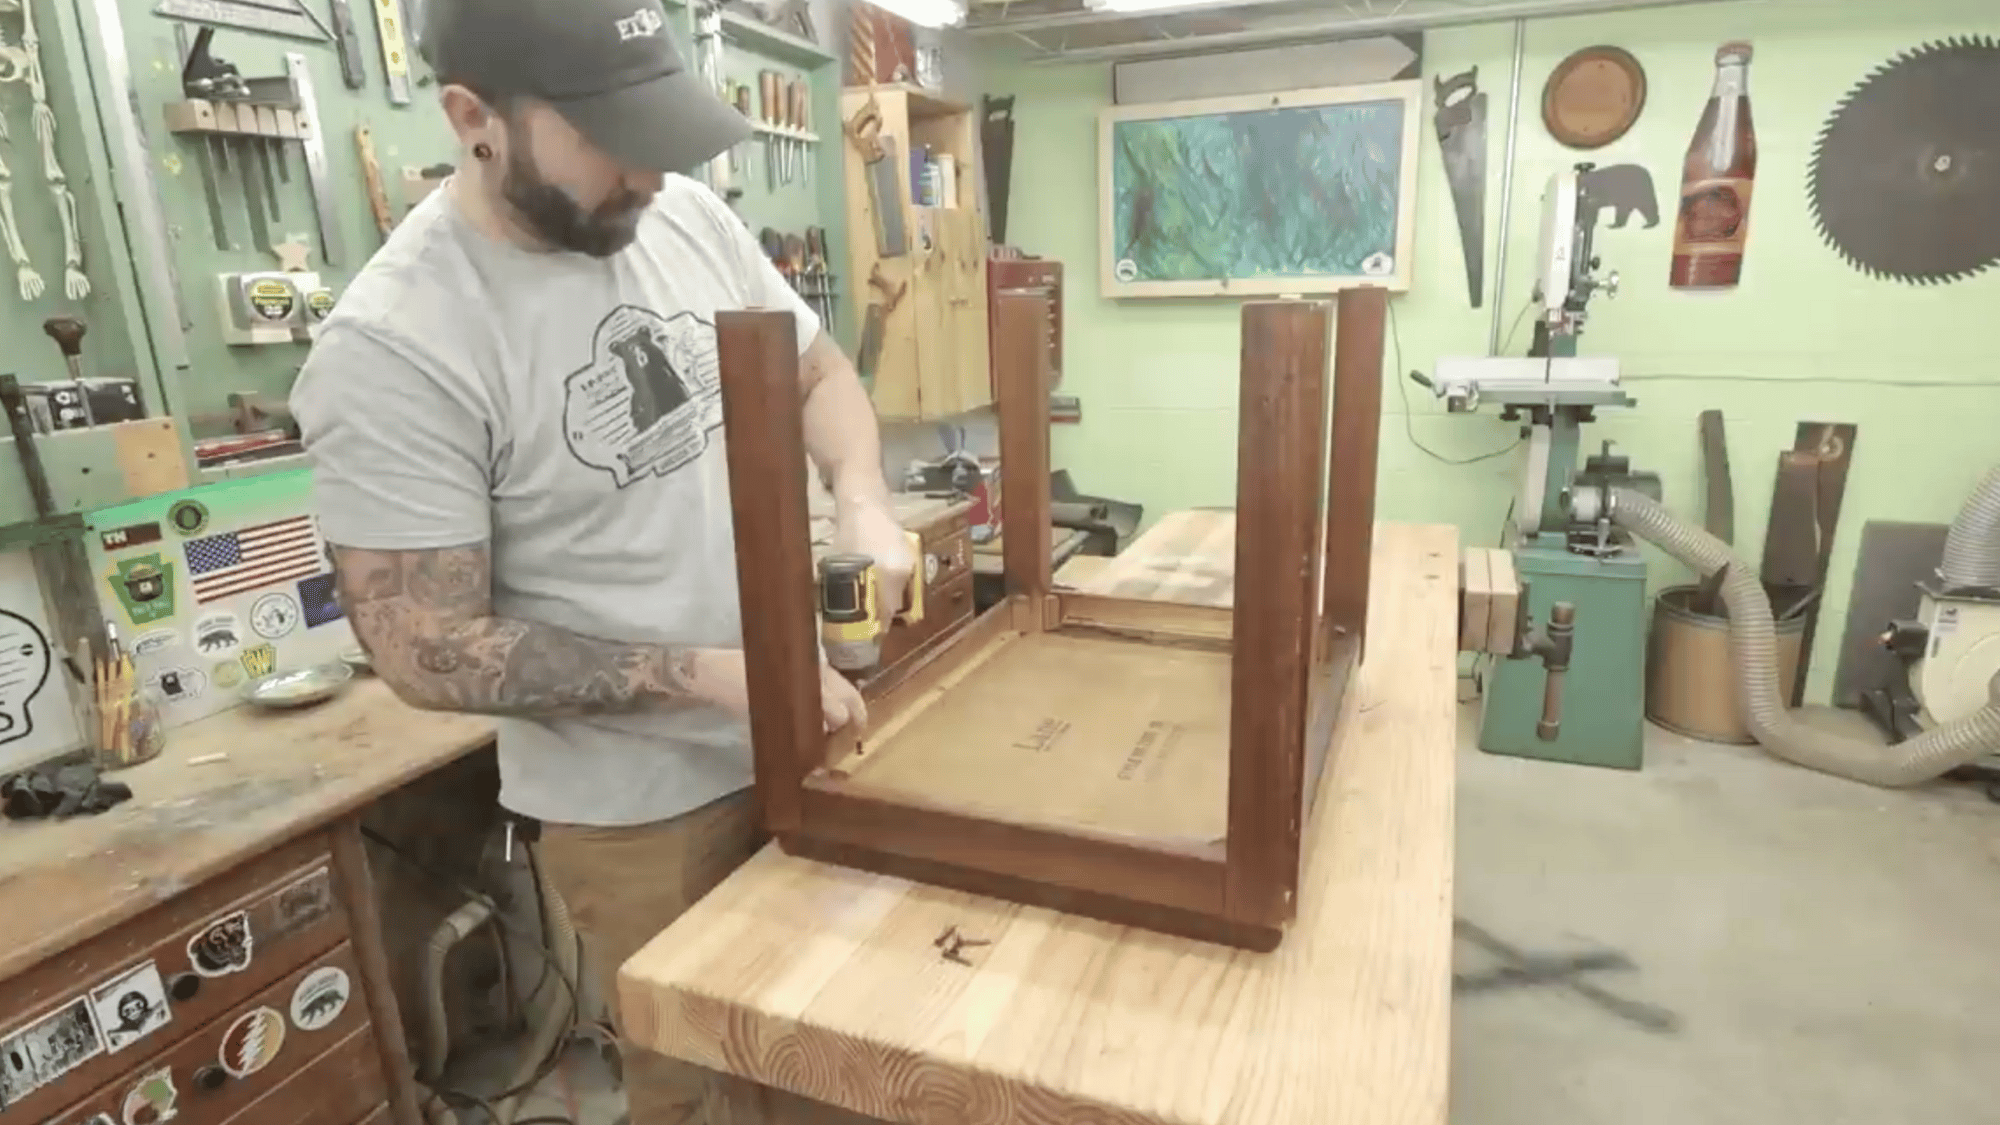
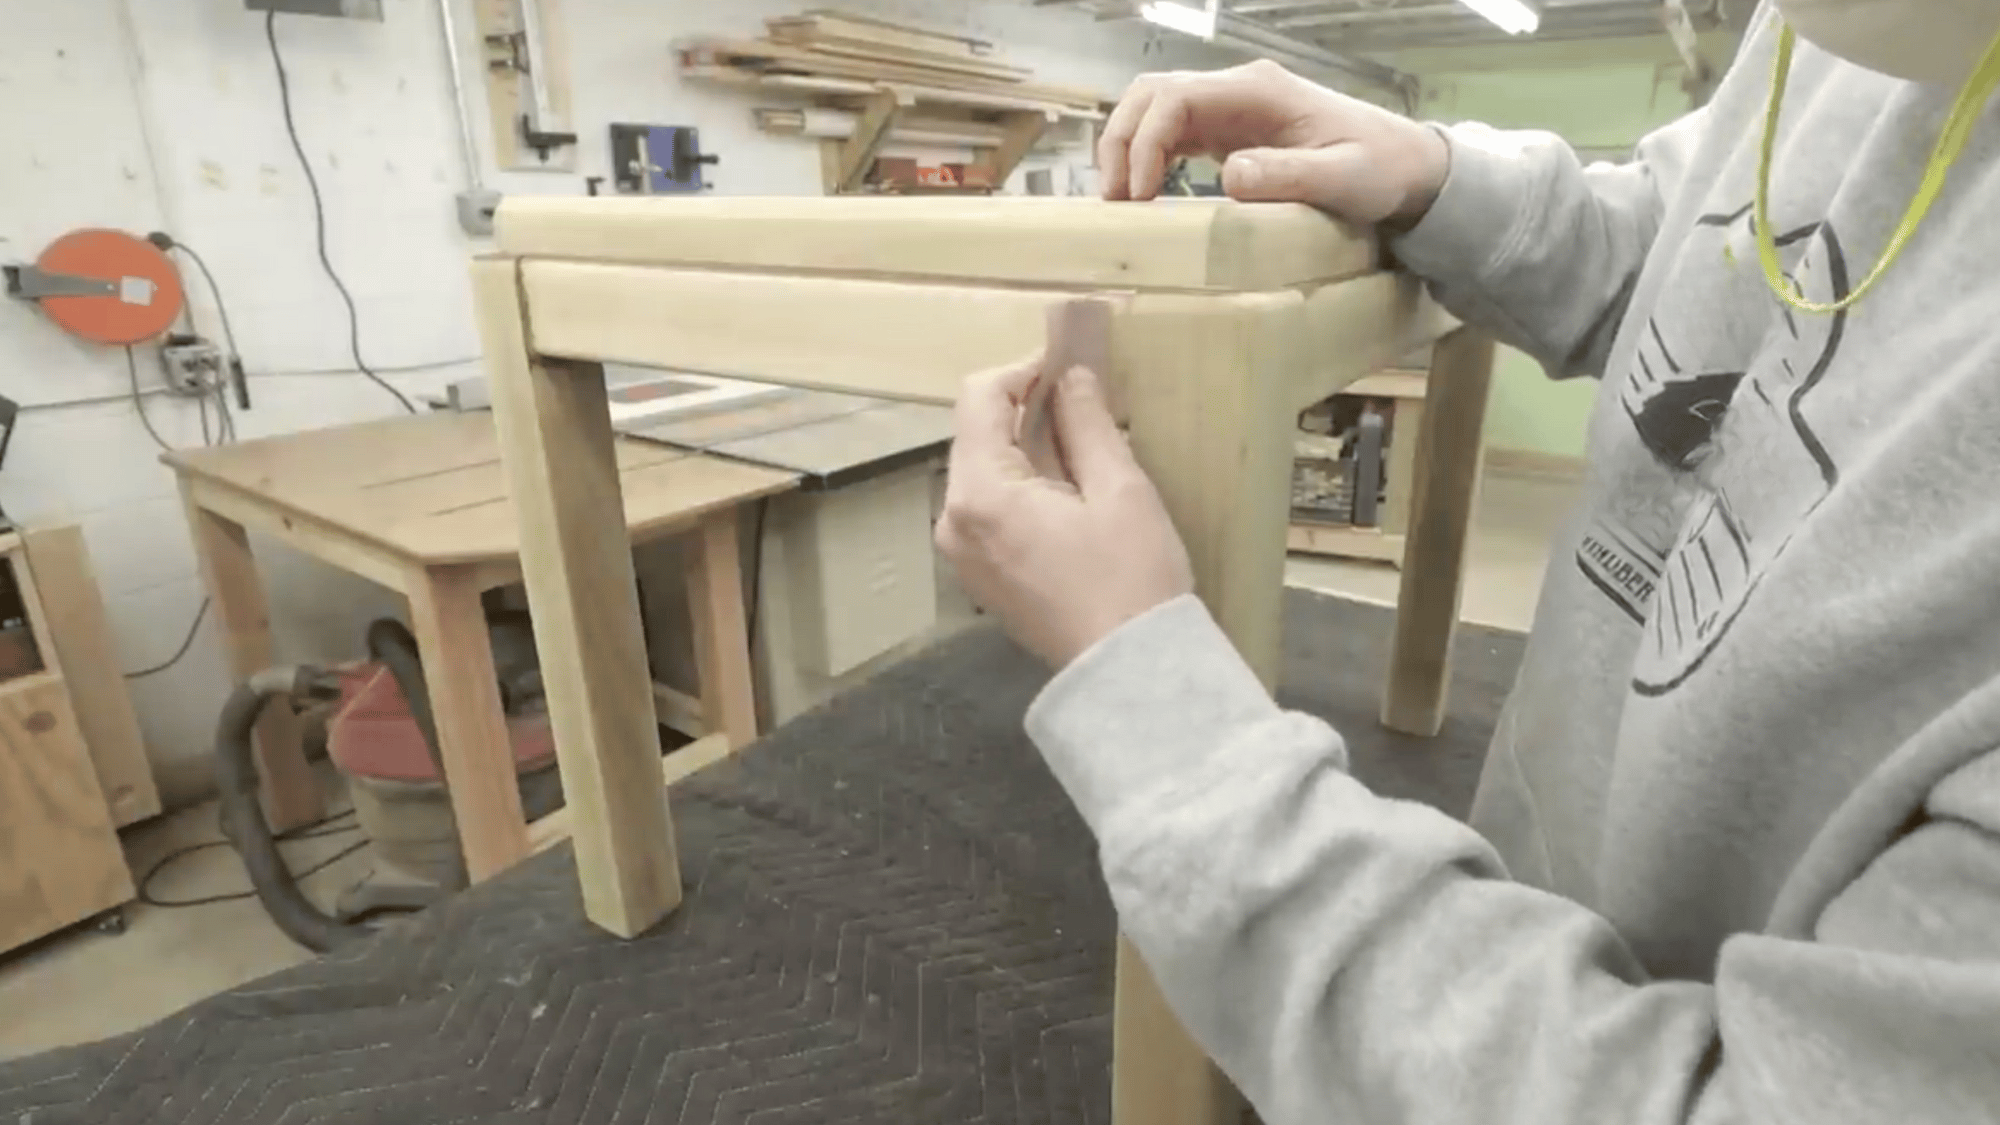
Step 7: Final Assembly and Finishing Touches
Once all parts are fully dry and cured, reattach the legs to the tabletop carefully, ensuring everything is aligned and secure.
After assembly, wipe the entire table with a soft cloth and furniture polish to remove any dust or fingerprints.
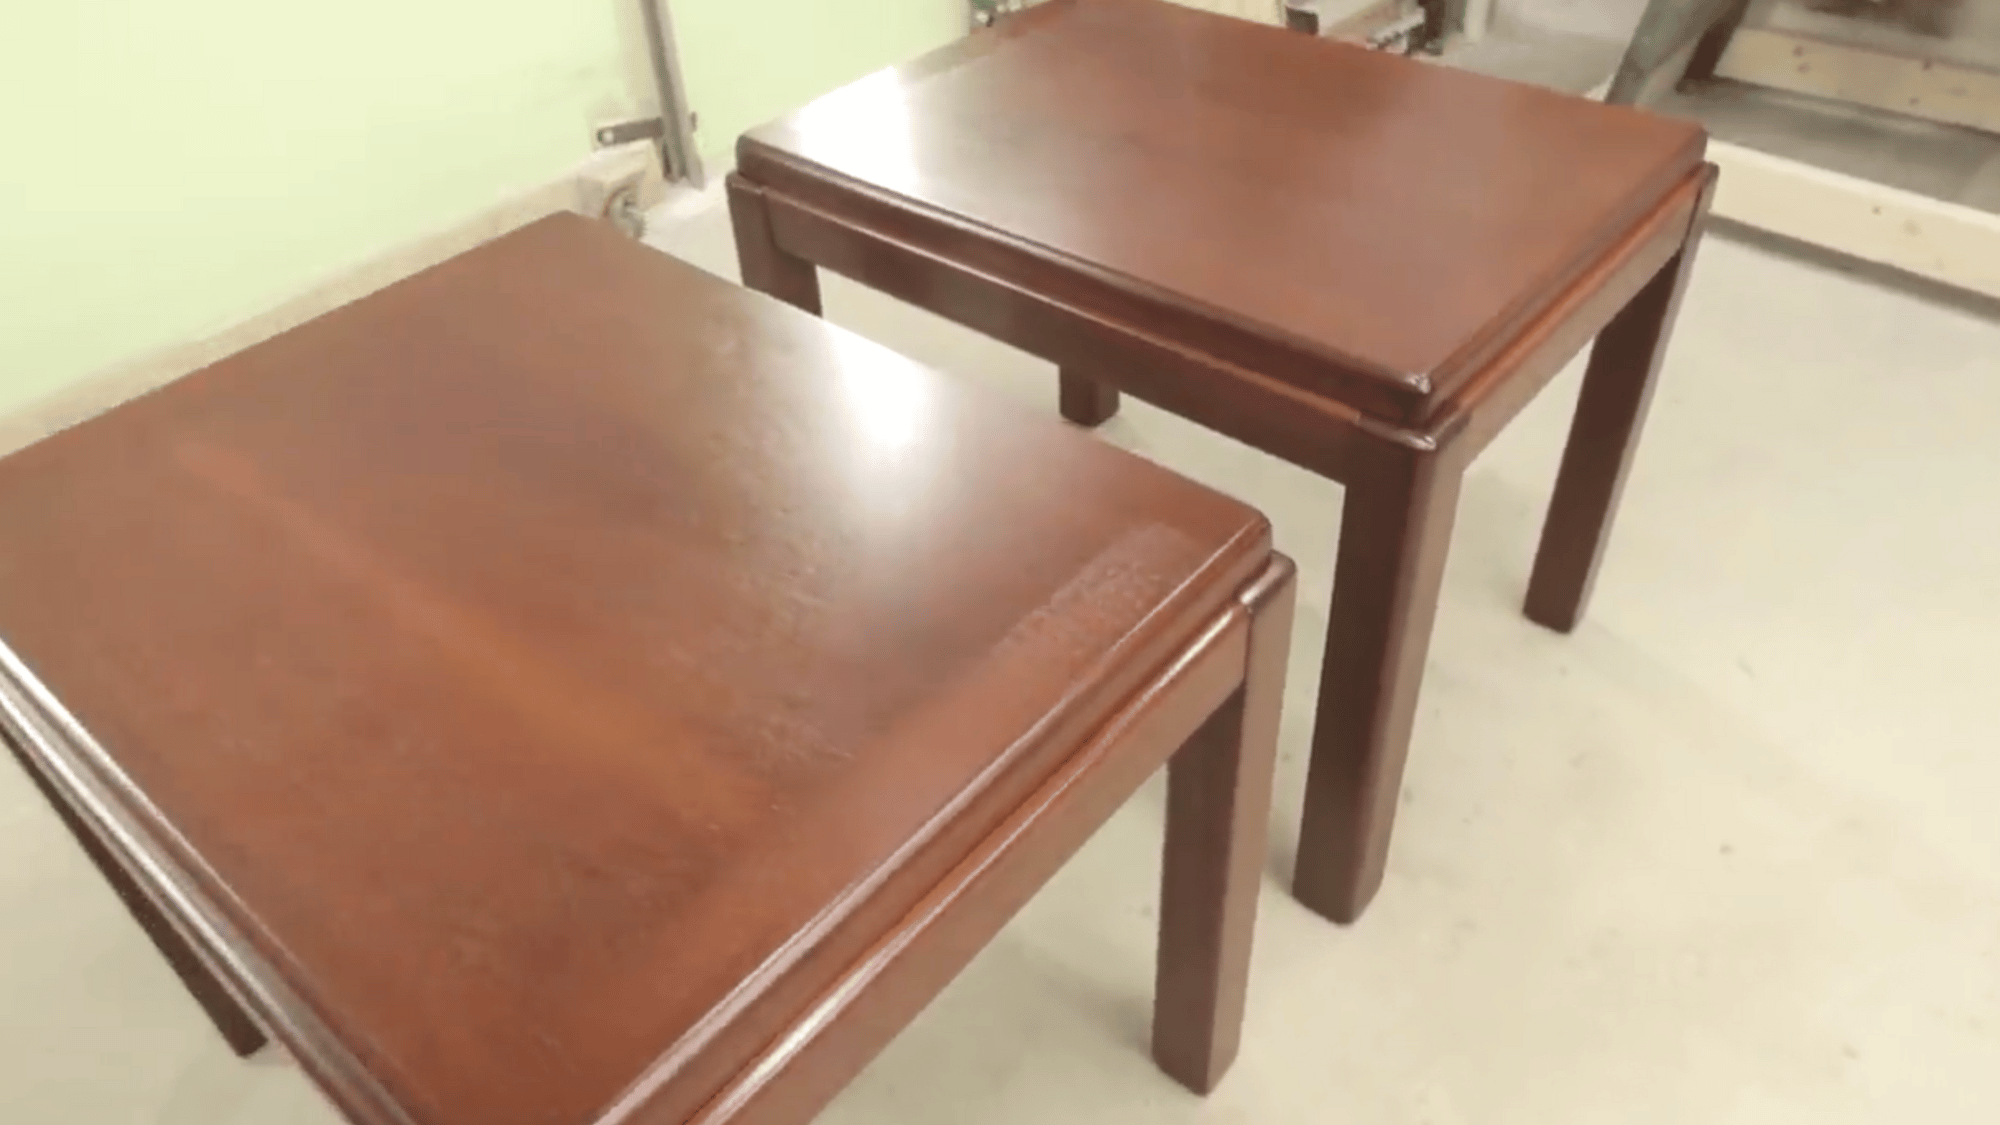
This finishing touch creates a smooth, glossy surface with even color across both the tabletop and the legs.
The result is a beautifully renewed piece that looks elegant and polished, restoring its original appearance while providing a fresh, long-lasting finish.
For more information, watch out the video now:
Common Mistakes to Avoid While Refinishing a Table
Avoiding common mistakes during table refinishing ensures a smoother process, better results, and a lasting, professional-looking finish.
- Skipping sanding steps: Incomplete sanding leaves rough spots that prevent even stain absorption and create an uneven, blotchy finish.
- Rushing the drying process: Not allowing stain or sealer to dry fully can cause sticky surfaces and ruin the final look.
- Using the wrong products: Applying an incompatible stain or sealer type may cause peeling, discoloration, or poor surface protection over time.
- Ignoring safety gear: Failing to wear gloves or masks can lead to skin irritation and inhalation of harmful fumes or dust.
- Poor ventilation: Refinishing indoors without airflow allows fumes to build up, creating unsafe conditions and affecting how the finish dries.
Conclusion
Refinishing a table is more than just a home project; it’s a creative way to restore beauty and value to furniture.
Once someone learns how to refinish a table, they gain a skill that can be used again for years to come.
With a little patience, the right tools, and careful attention to detail, any worn-out surface can shine again.
Refinishing helps preserve cherished pieces, making them stronger, more stylish, and ready to serve beautifully for many more family moments.