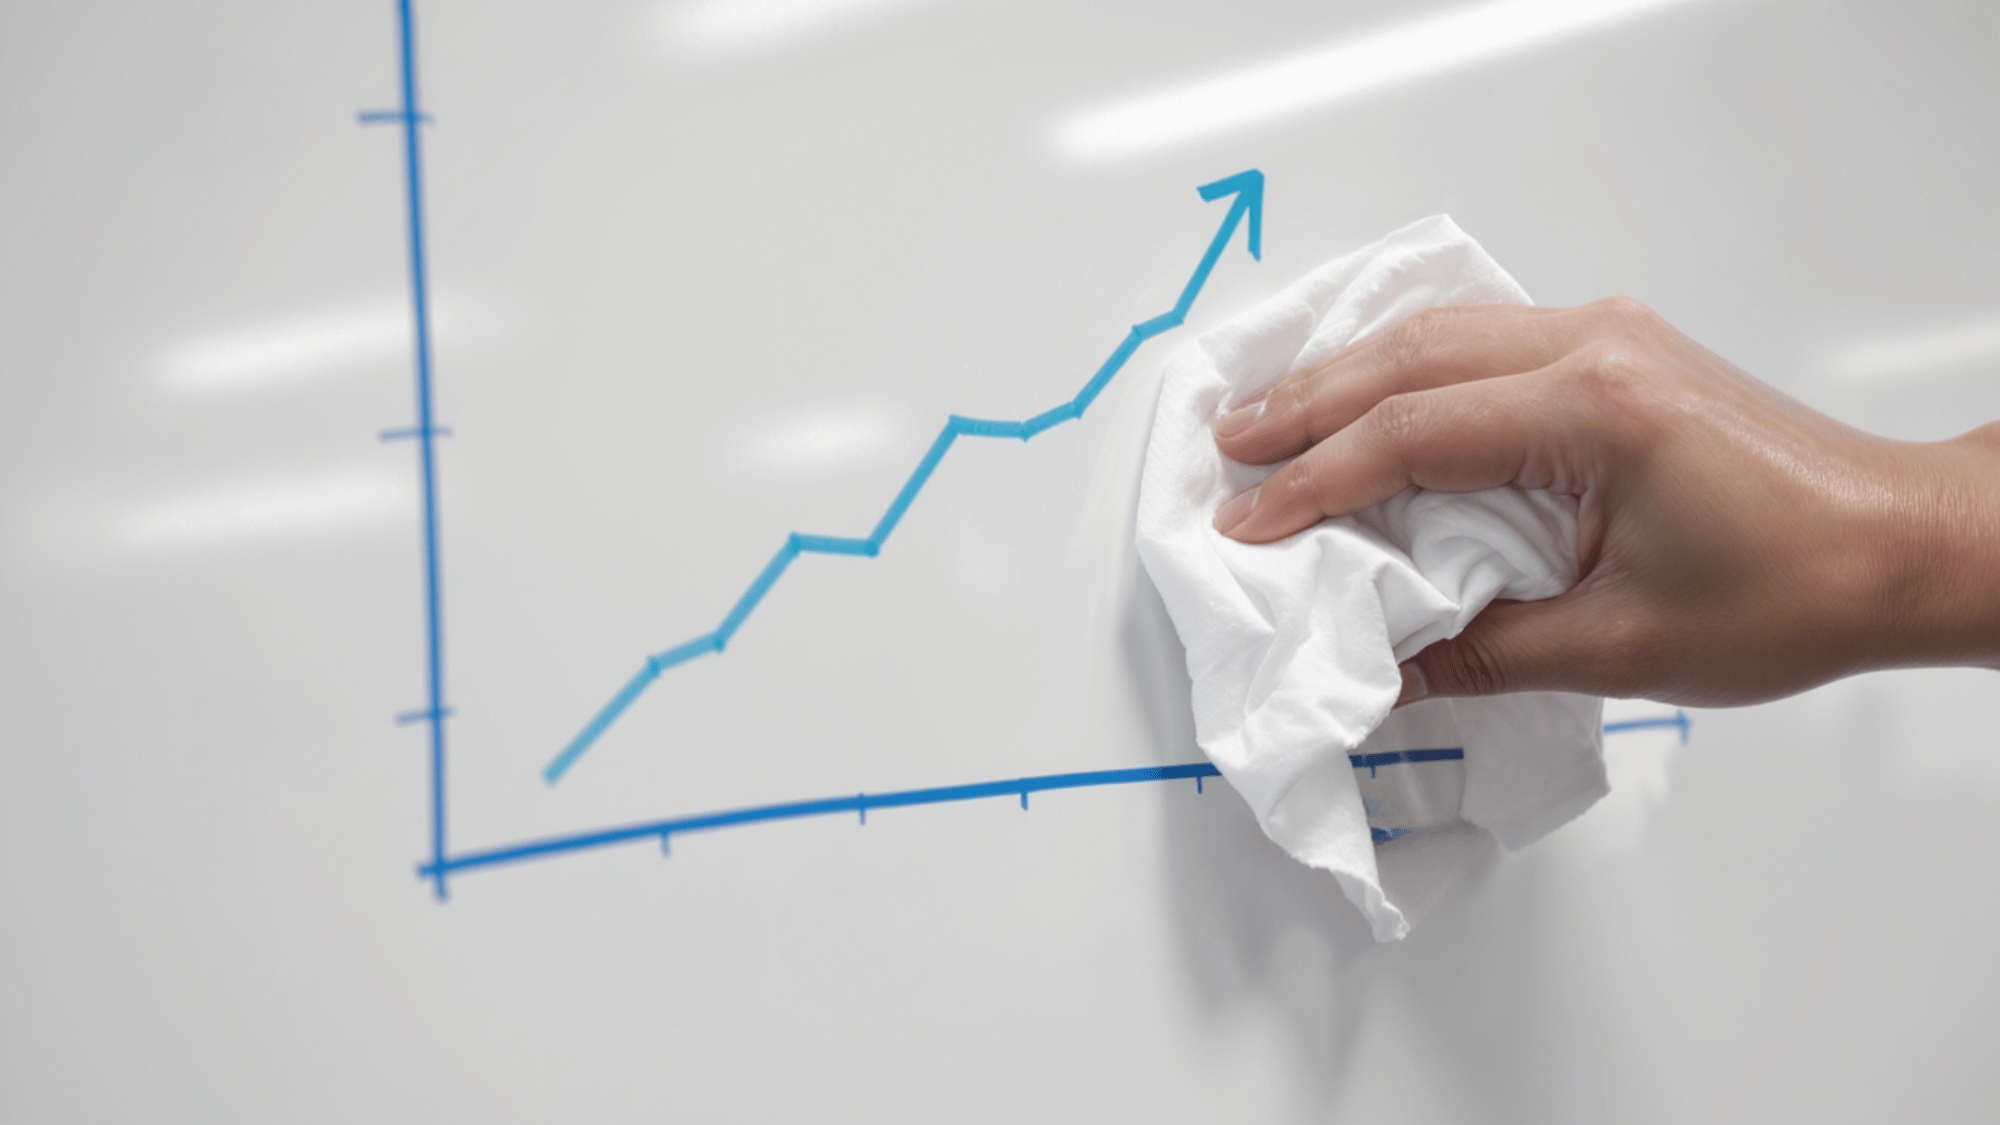
Struggling with stubborn marker stains and ghosting on your whiteboard surface? Learning how to clean a whiteboard properly restores writing and significantly extends the board’s lifespan.
Even if you use whiteboards at home, school, or the office, regular cleaning prevents permanent staining and keeps surfaces looking new for years.
Dry-erase markers leave residue that builds up over time, making writing difficult to read and erasing incomplete.
Simple household items and proper techniques remove even the toughest stains without damaging the board’s smooth writing surface.
How to Clean a Whiteboard Thoroughly in a Few Steps
Maintaining a pristine whiteboard requires following a systematic cleaning approach that removes stubborn marker residue while preserving the surface.
These straightforward steps ensure consistently clear, streak-free results every time.
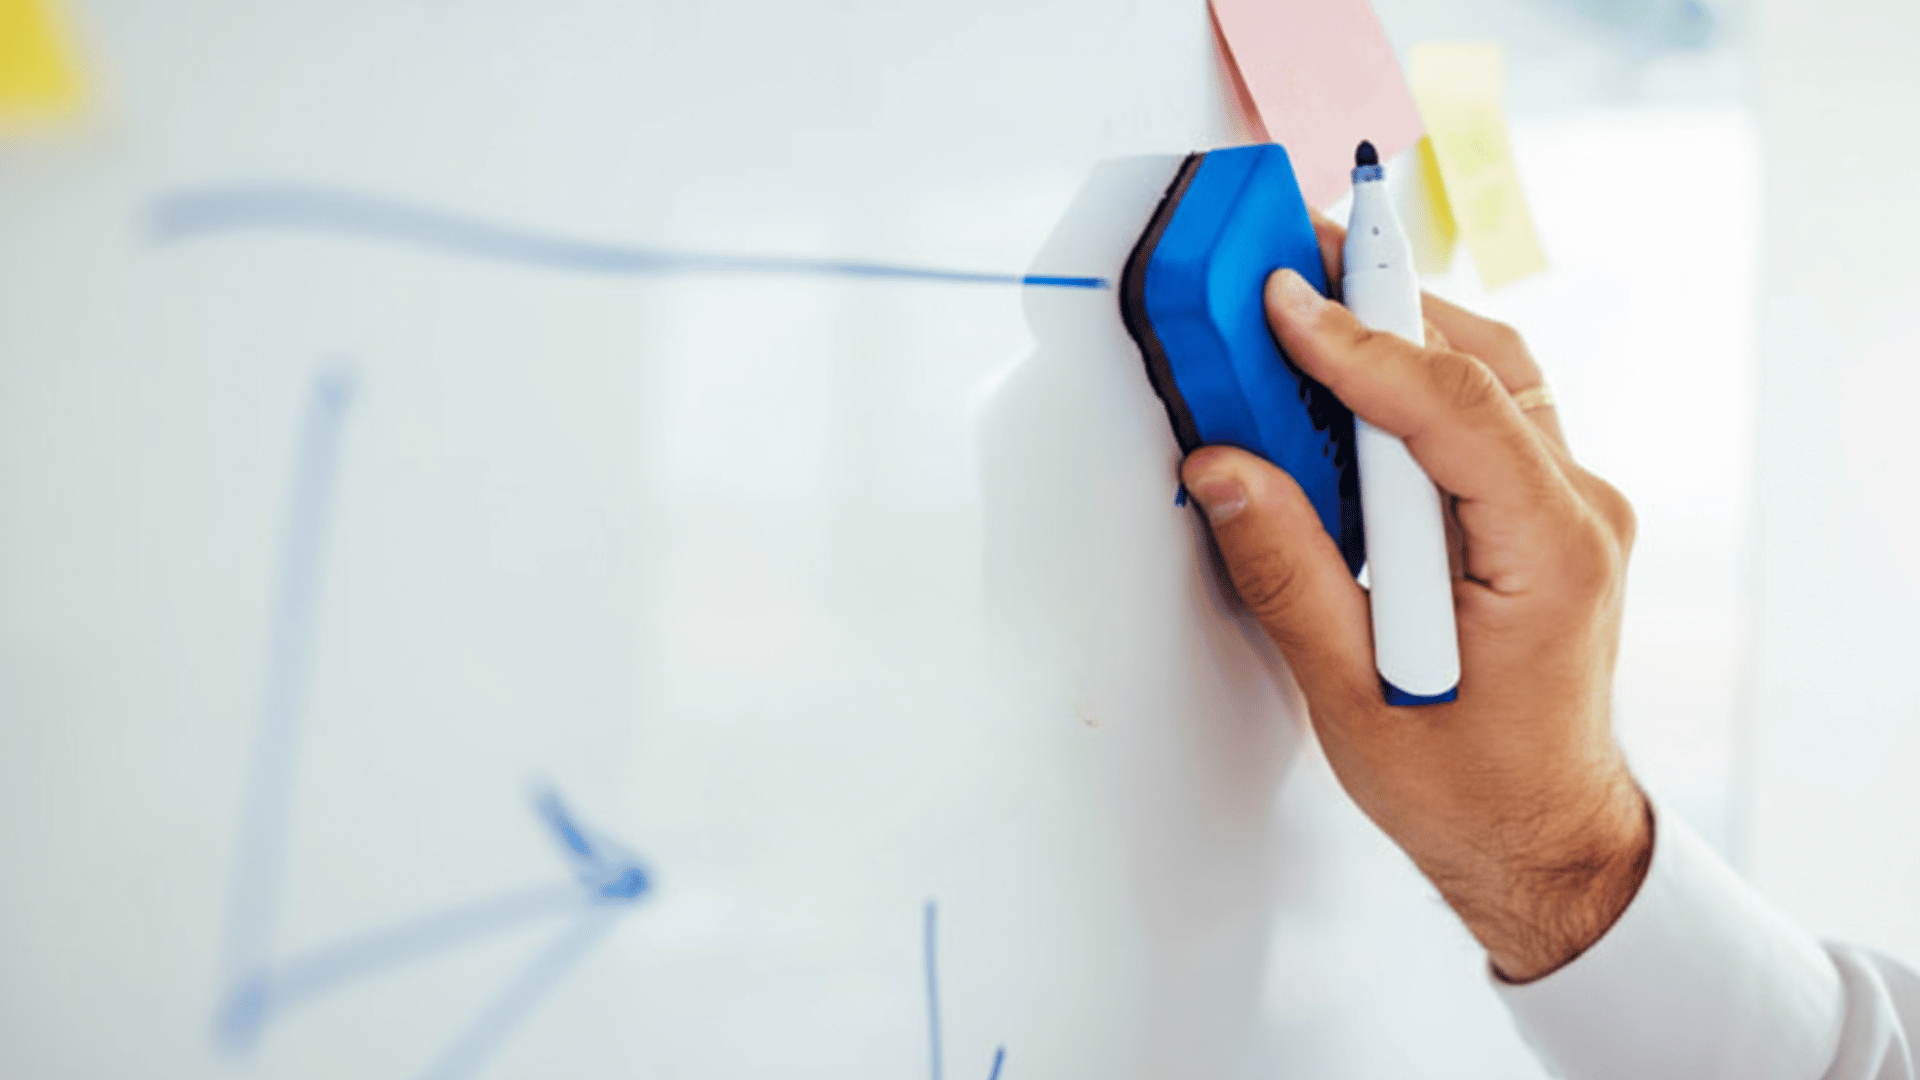
Step 1: Erase Existing Content – Begin by removing all current writing with a clean, dry whiteboard eraser, using gentle circular motions across the entire surface.
Step 2: Apply Cleaning Solution – Spray whiteboard cleaner or rubbing alcohol directly onto the board, ensuring even coverage across all areas that need attention.
Step 3: Wipe in Horizontal Strokes – Use a clean microfiber cloth to wipe from top to bottom in long, smooth strokes, eliminating all marker residue and cleaning solution.
Step 4: Target Stubborn Spots – For persistent marks, apply extra cleaner and allow it to penetrate for 30 seconds before wiping with increased pressure using a fresh cloth section.
Step 5: Buff to a Shine – Finish by buffing the entire surface with a dry microfiber cloth until all streaks disappear and the board gleams clearly.
Effective Cleaning Techniques for Stubborn Whiteboard Stains
Stubborn whiteboard stains from dried markers or ghosting require specialized cleaning techniques beyond standard maintenance. These targeted methods effectively restore boards to their original clarity.
1. Rubbing Alcohol Solution
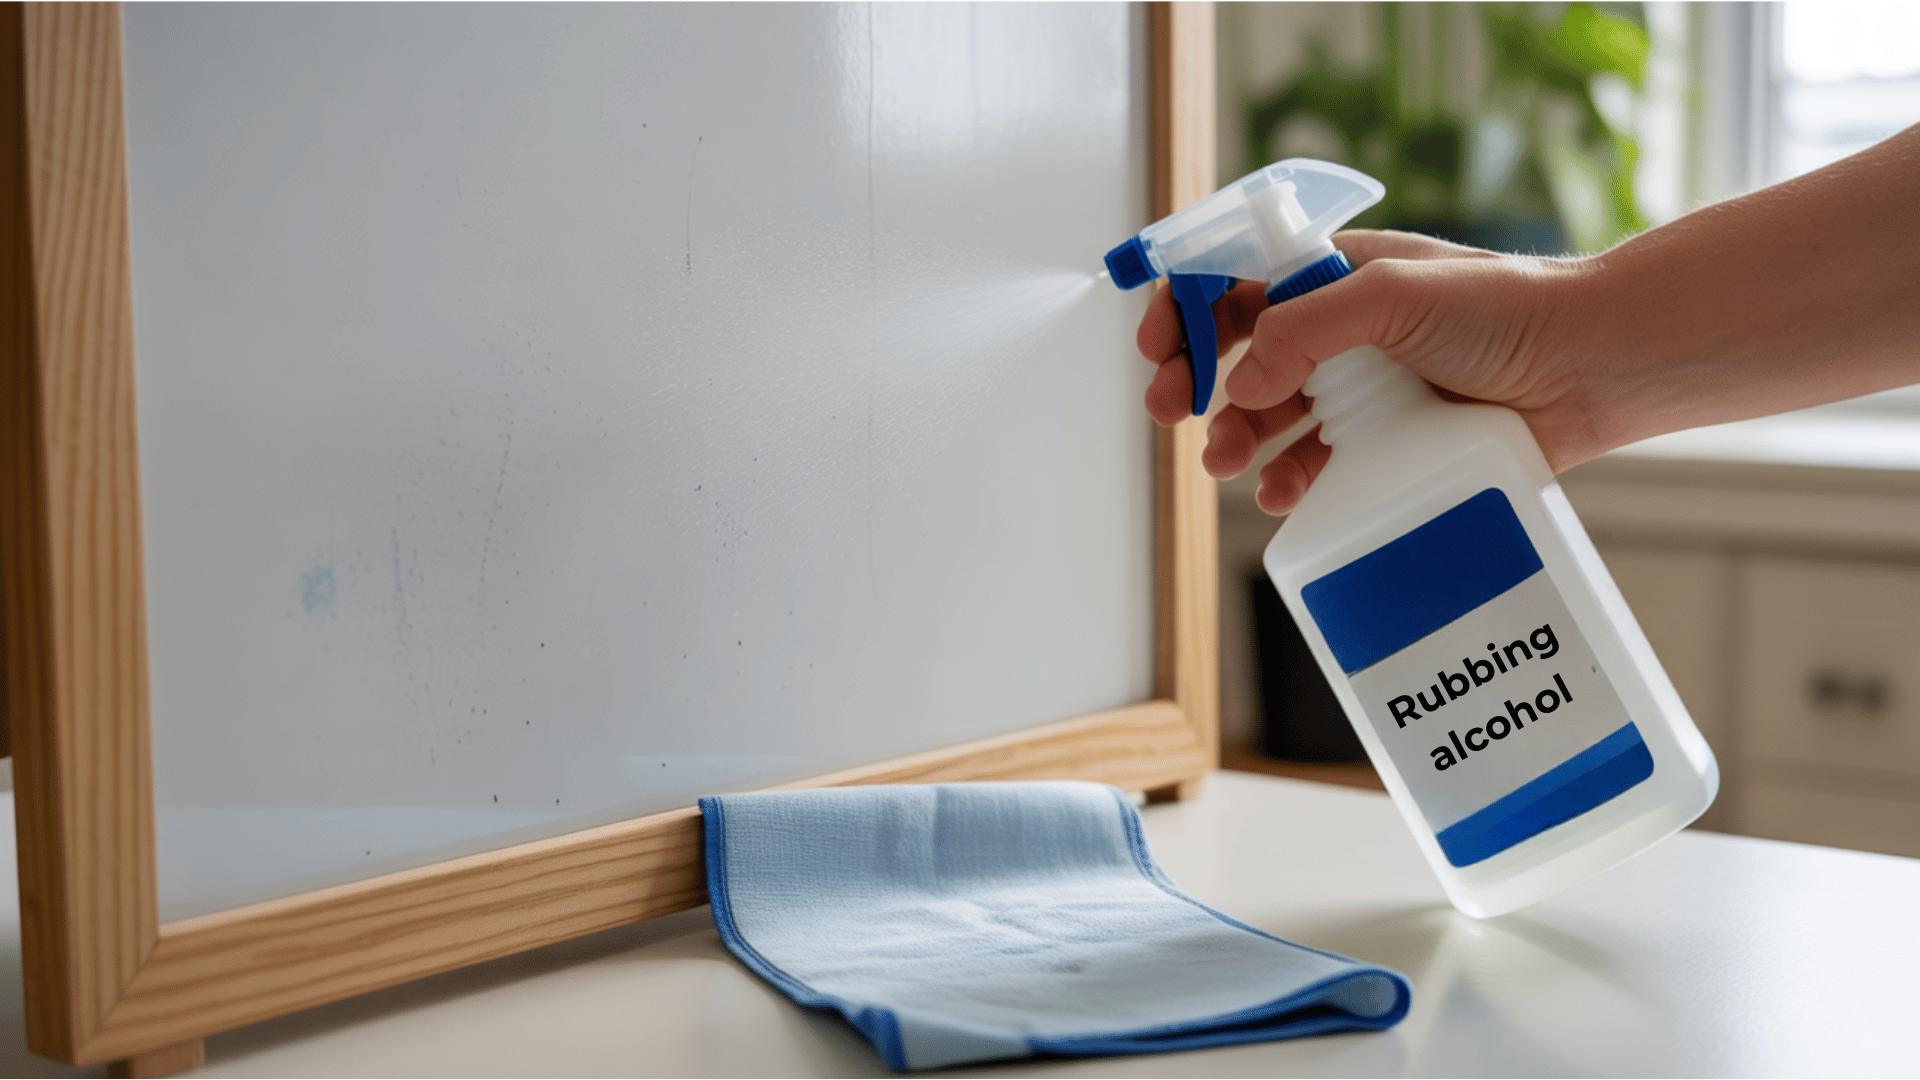
Rubbing alcohol effectively dissolves dried marker ink without damaging whiteboard surfaces, making it an ideal cleaning solution for regular maintenance.
Pour isopropyl alcohol at 70 percent or higher onto a clean cloth rather than spraying directly onto the board.
Wipe the entire surface using firm, even pressure in one direction to prevent streaking across the writing area. The alcohol evaporates quickly, leaving no residue behind and restoring the board’s finish.
2. Vinegar and Water Mix
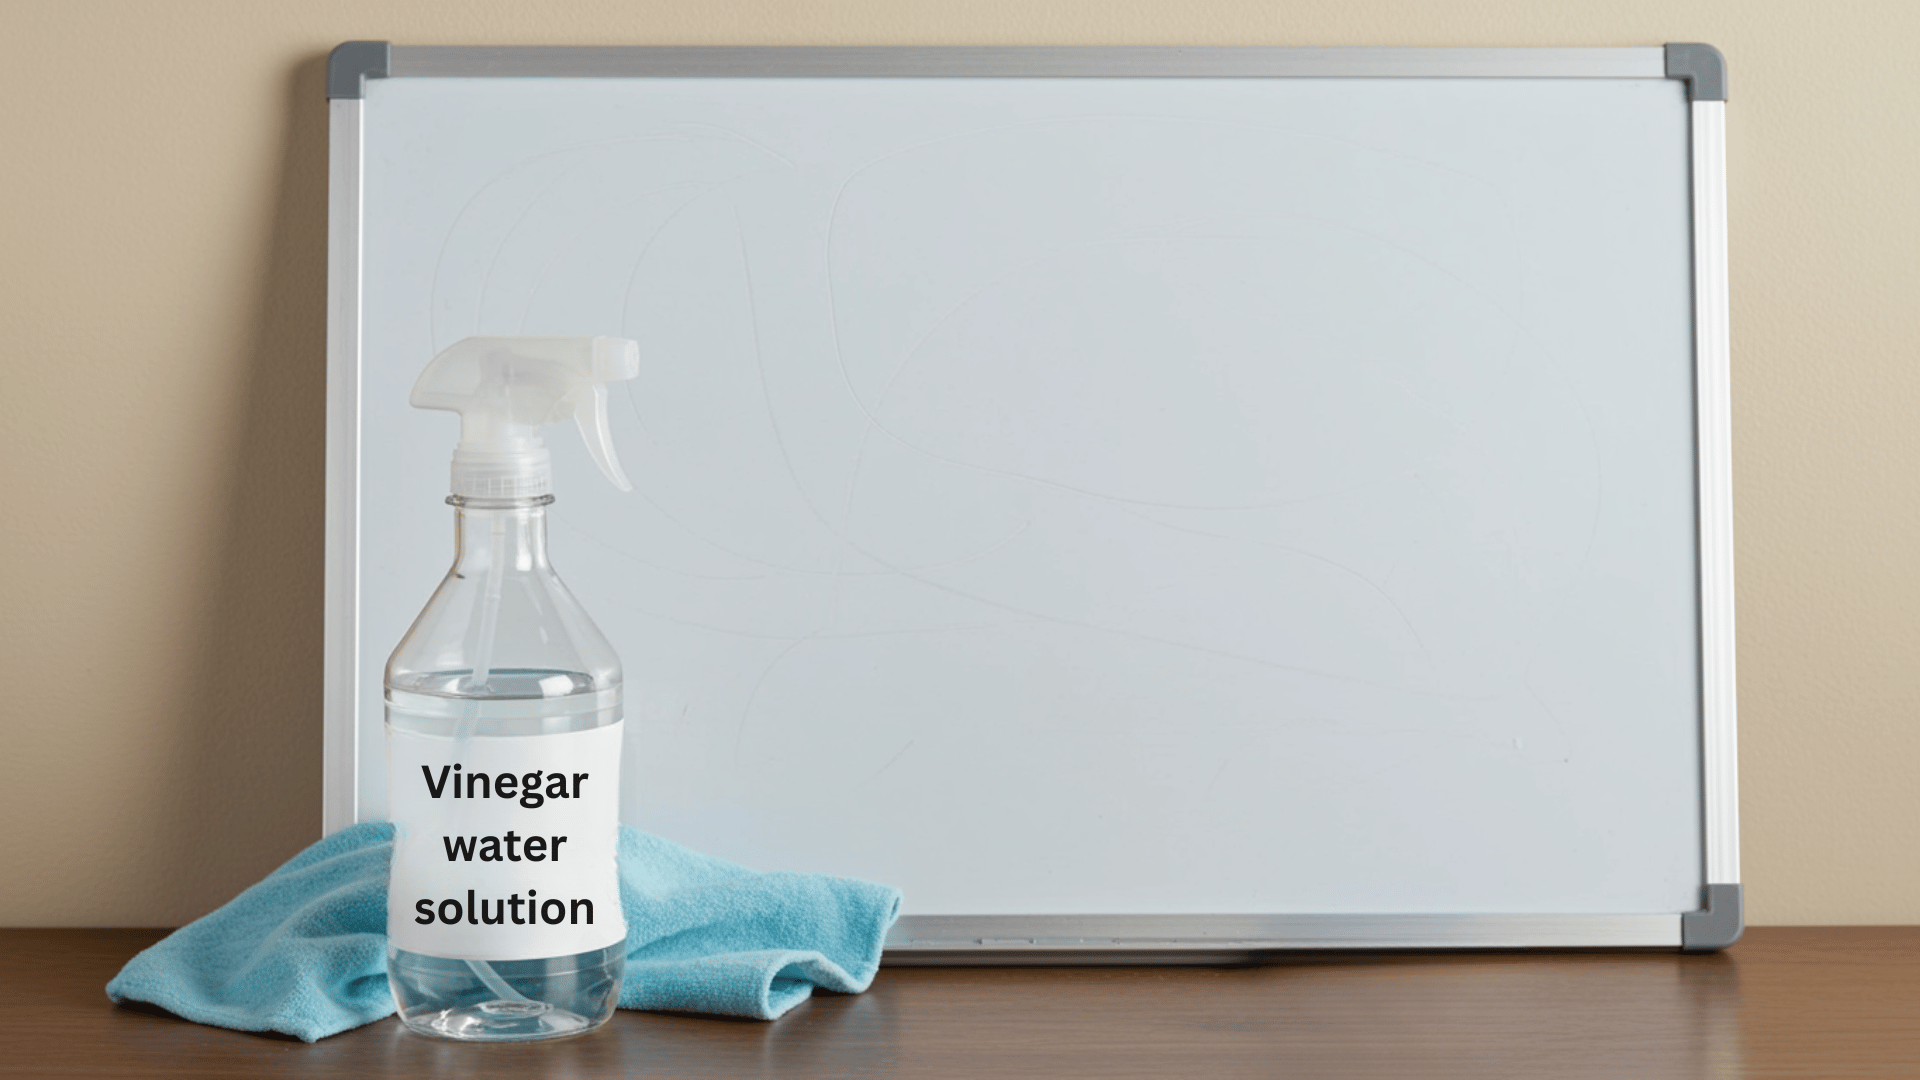
Create an effective cleaning solution by mixing equal parts vinegar and water in a spray bottle for eco-friendly whiteboard maintenance.
Spray the mixture onto the board’s surface and let it sit for one minute, allowing the acidic vinegar to break down stubborn marker residue.
Wipe clean with a microfiber cloth using horizontal strokes, then dry immediately with a separate cloth to prevent water spots.
This natural solution costs pennies compared to commercial cleaners while delivering comparable results. The vinegar smell dissipates quickly after the board dries completely.
3. Commercial Whiteboard Cleaner
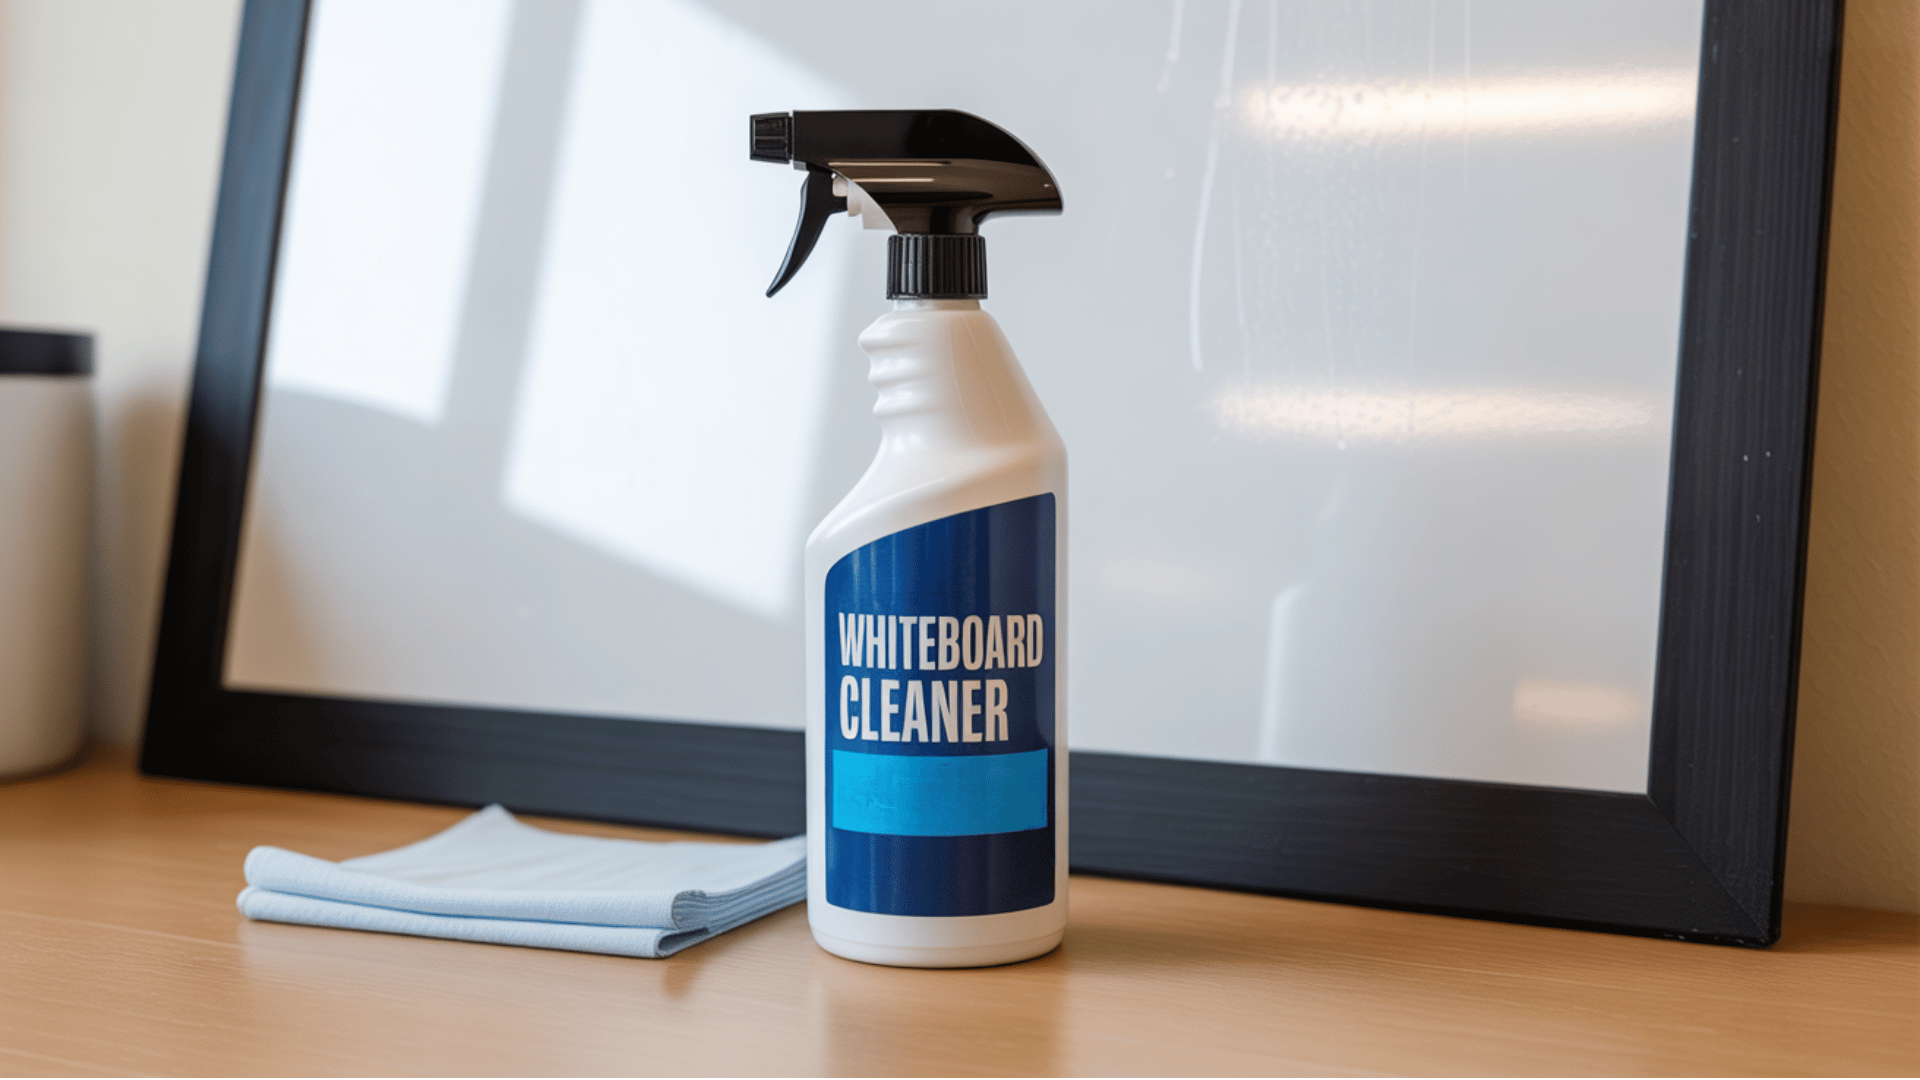
Purpose-made whiteboard cleaners contain specialized formulas designed to remove dry-erase marker residue without leaving harmful residue or damaging surfaces.
Follow the manufacturer’s instructions on the bottle, typically spraying directly onto the board and wiping with a clean cloth immediately.
These cleaners often include conditioning agents that help restore the board’s writing surface and prevent future staining problems.
While more expensive than homemade solutions, commercial cleaners offer convenience and consistent results.
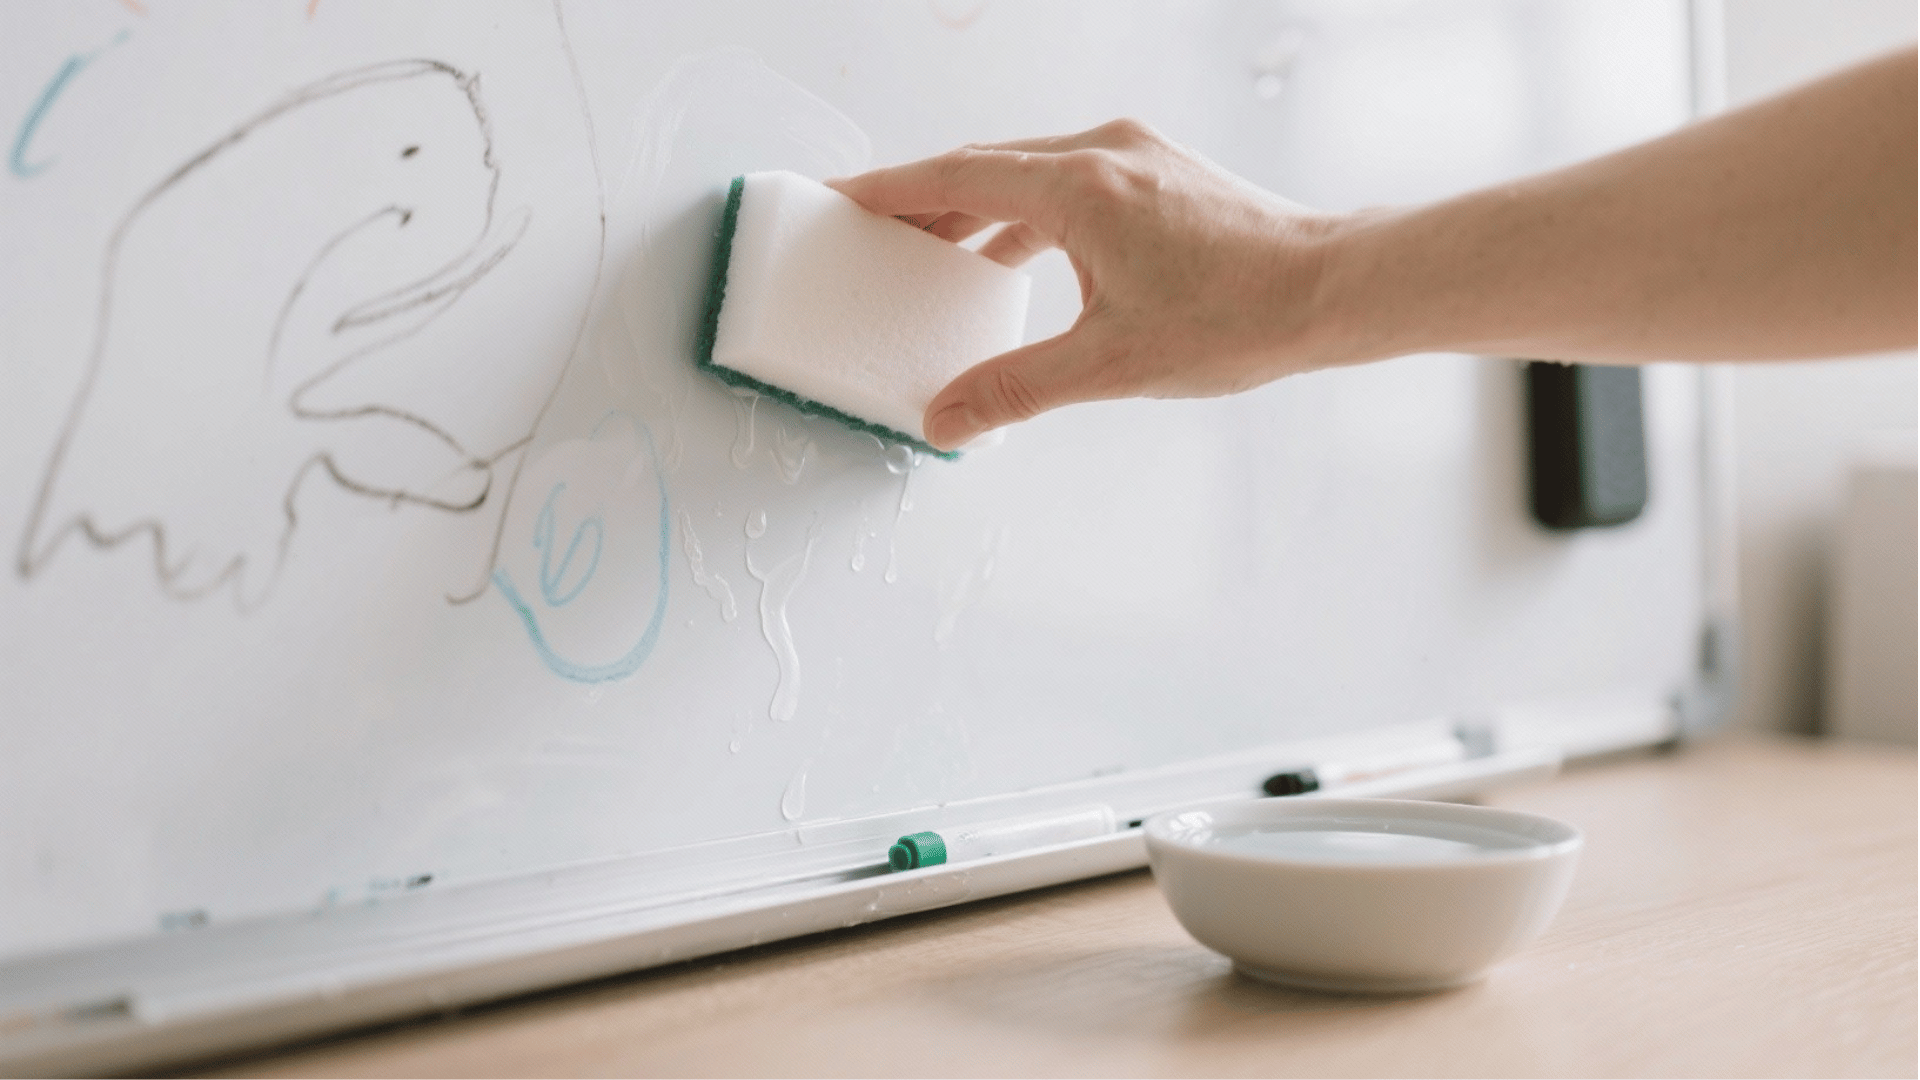
4. Dish Soap and Water
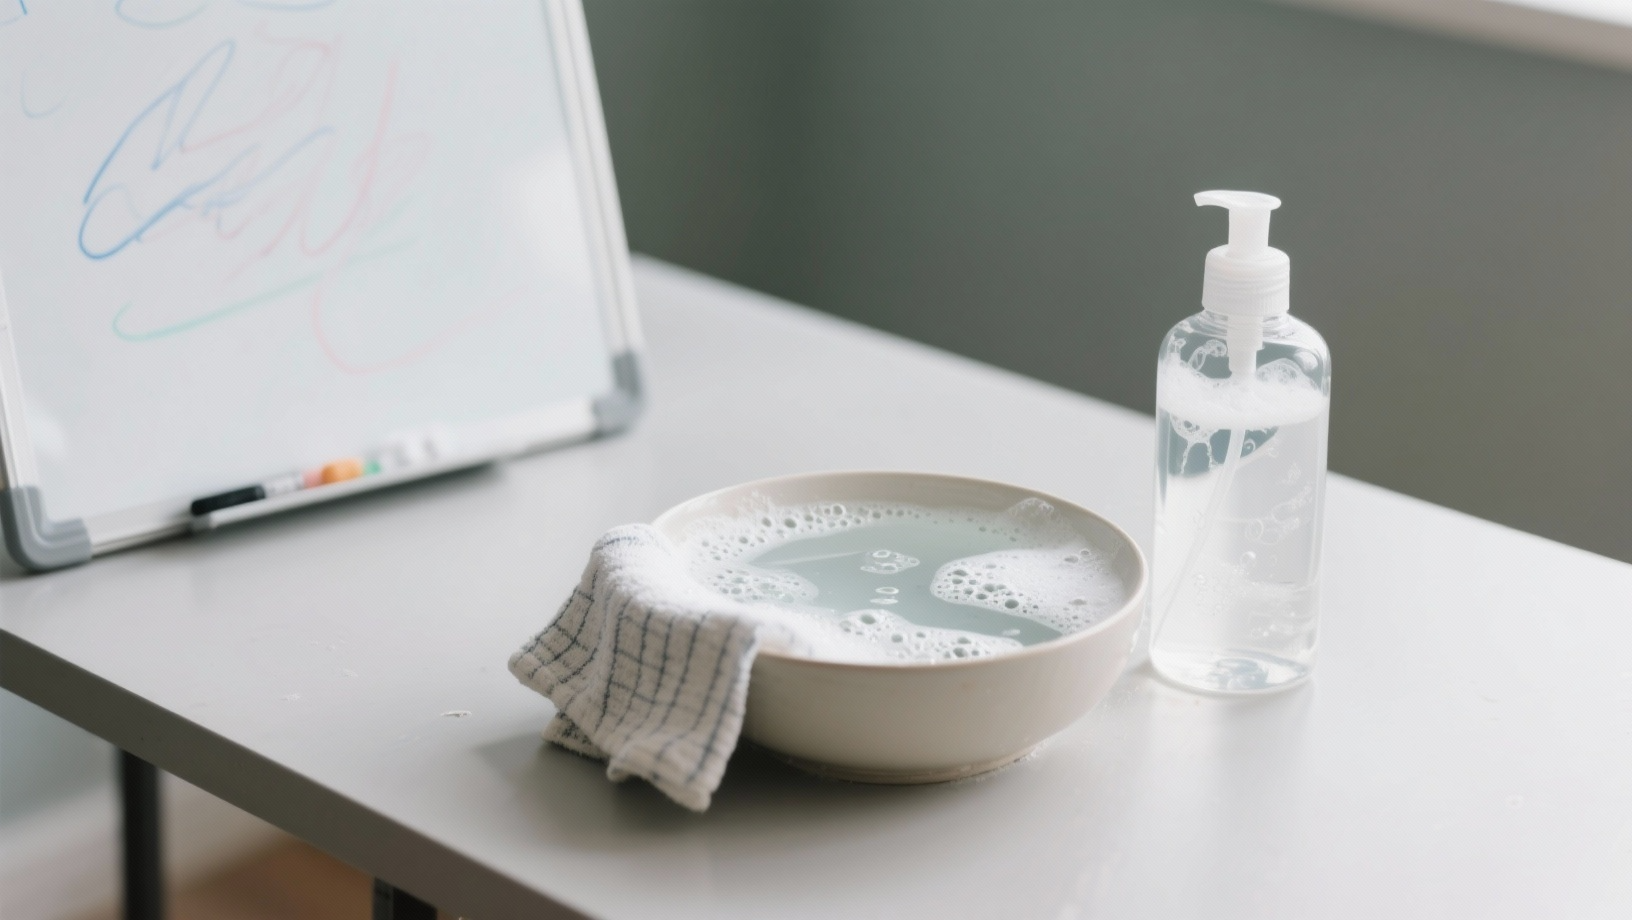
Mix a few drops of mild dish soap with warm water to create a gentle cleaning solution for regular whiteboard maintenance.
Dip a clean cloth into the soapy water, wring out excess water to prevent dripping, then wipe the entire surface of the board.
The dish soap cuts through oily marker residue while remaining gentle enough not to damage the smooth writing surface.
Rinse the cloth in clean water, then wipe the board to remove all soap residue. Dry thoroughly with a clean towel to prevent water spots or streaks from forming on the board.
5. Dry Erase Marker Over Stains
Learning how to clean a whiteboard with dry-erase markers is surprisingly effective for removing permanent marker accidents.
Write over the permanent marker stain completely with a fresh dry-erase marker, covering every bit of the permanent ink thoroughly.
The solvents in dry-erase markers dissolve the permanent marker ink, allowing both to be wiped away easily.
Erase immediately while the dry-erase ink is still wet with a clean eraser or cloth. Repeat this process if any permanent marker remains after the first attempt for complete removal.
6. Baking Soda Paste
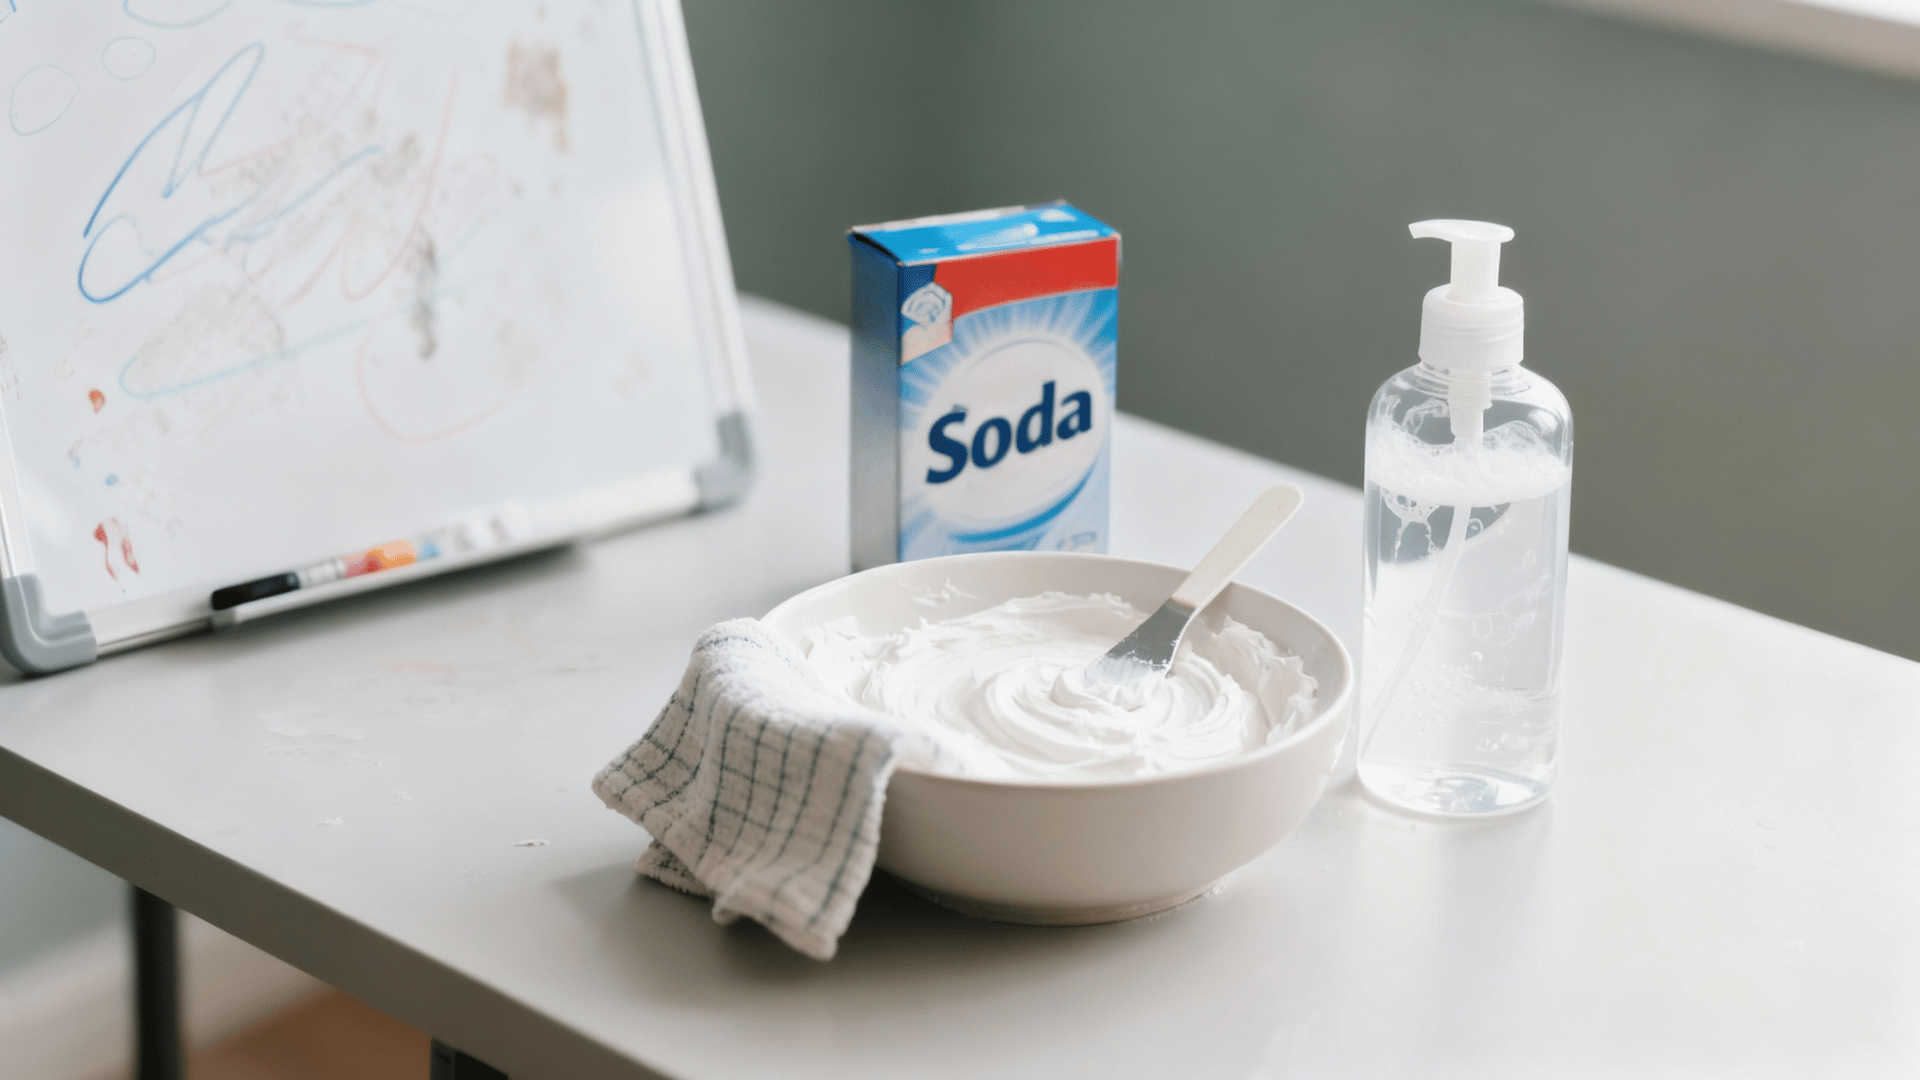
Create a gentle abrasive cleaning paste by mixing baking soda with just enough water to form a thick, spreadable consistency for deep cleaning.
Apply the paste to heavily stained areas using a damp cloth, rubbing gently in small circular motions to lift embedded marker residue.
The mild abrasive properties remove tough stains without scratching the board’s smooth surface like harsh scrubbers would.
Rinse the area thoroughly with a clean, damp cloth, removing all baking soda residue before it dries. Dry completely with a microfiber cloth, restoring the board’s cleanliness.
7. Pencil Eraser for Small Spots

A clean pencil eraser effectively removes small, stubborn marker spots that resist other cleaning methods without requiring liquid cleaners.
Gently rub the eraser over the stained area using light pressure, letting the eraser’s friction lift the marker residue away.
This method works best on fresh stains rather than old, set-in marks that have penetrated the board’s surface.
Wipe away eraser debris with a dry cloth after completely removing the stain. Keep a pencil eraser near your whiteboard for quick spot treatments and cleanings of the entire surface.
8. Hand Sanitizer Application
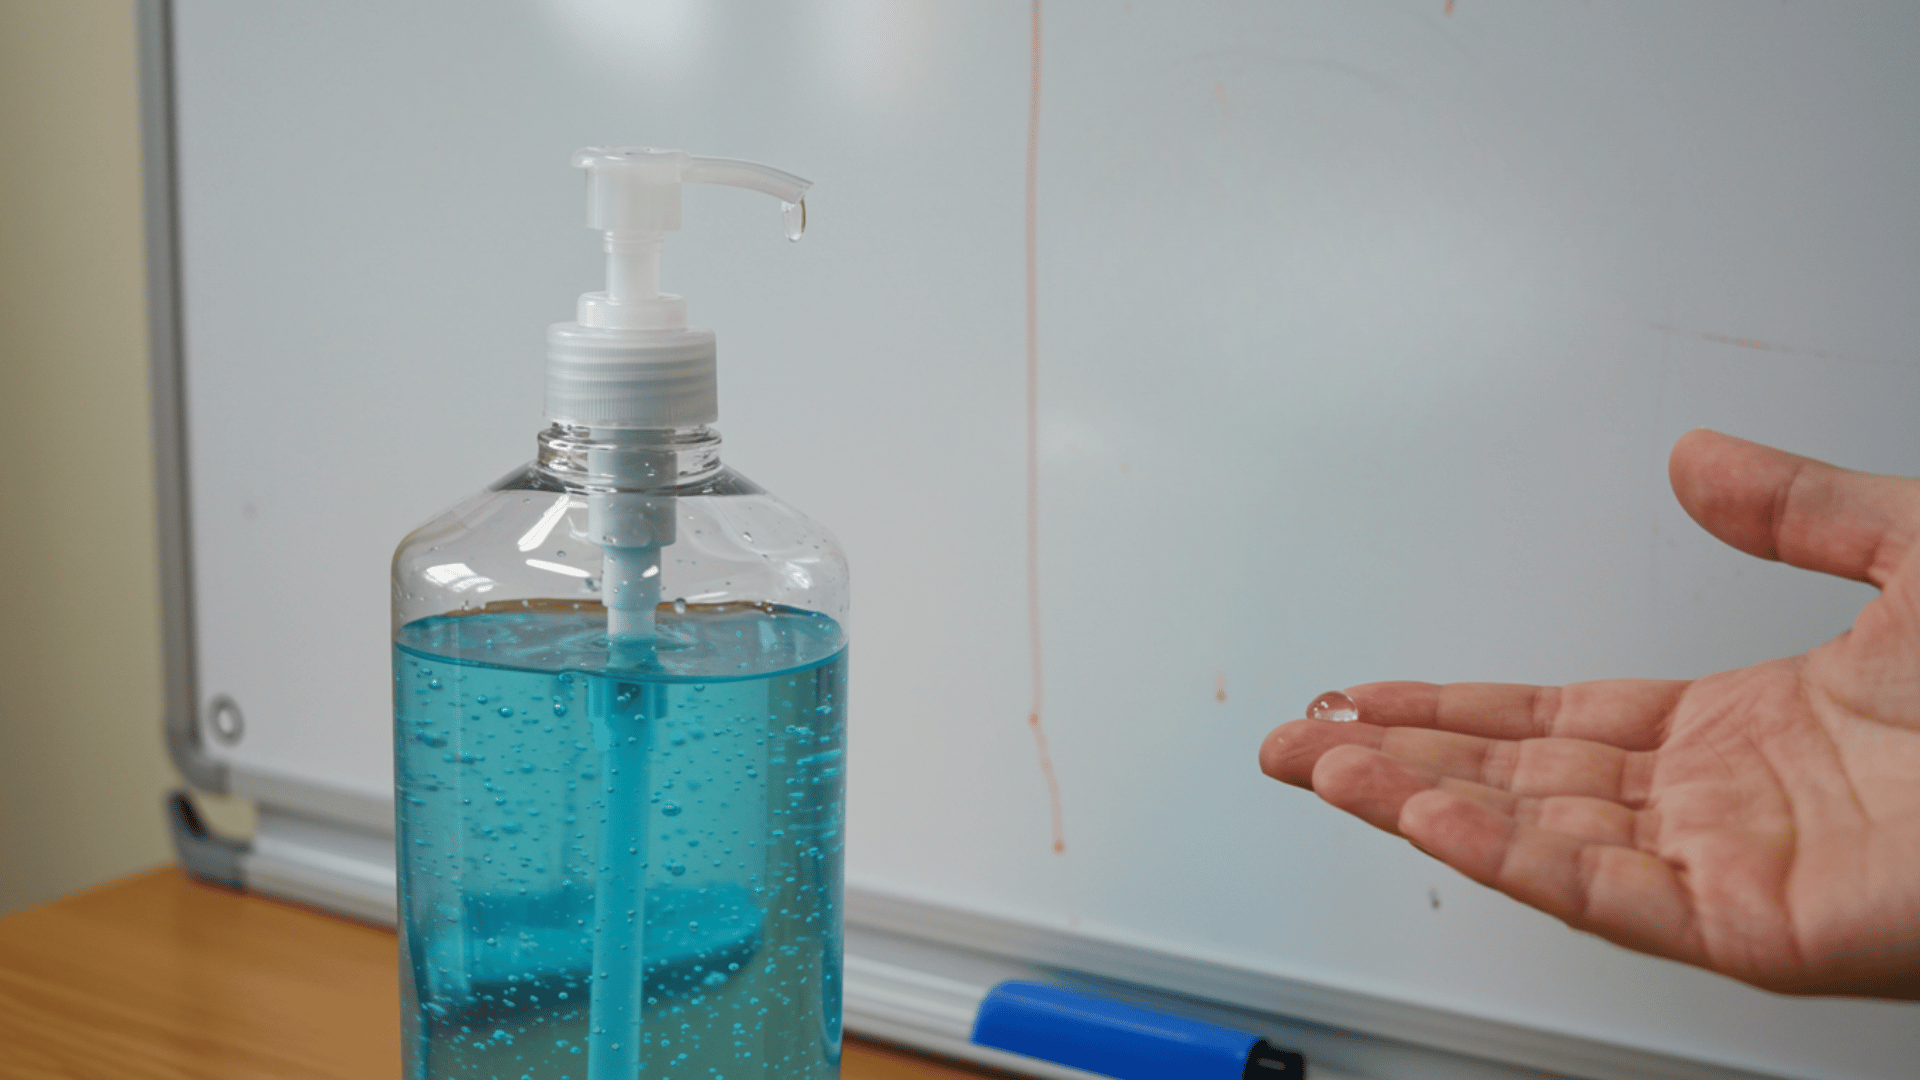
Hand sanitizer with a high alcohol content provides an effective cleaning solution, conveniently available in most homes and offices.
Squeeze a small amount directly onto stubborn stains or ghosted areas, then spread it around with your finger.
Let the sanitizer sit for 15 to 30 seconds, allowing the alcohol to break down dried marker ink effectively. Wipe with a microfiber cloth using pressure to remove residue completely.
The gel consistency helps the cleaner cling to vertical surfaces longer than liquid solutions, improving cleaning effectiveness on stubborn marks.
9. Baby Wipes Quick Clean
Pre-moistened baby wipes offer a convenient way to quickly clean whiteboards between meetings or classes without needing separate cleaning supplies.
Choose alcohol-free baby wipes to avoid potential damage to the board’s surface coating over time with repeated use.
Wipe the entire board surface using overlapping strokes, replacing wipes as they become saturated with marker residue.
This method works well for light cleaning but may not remove heavy staining or ghosting from older writing.
10. Peroxide for Tough Stains
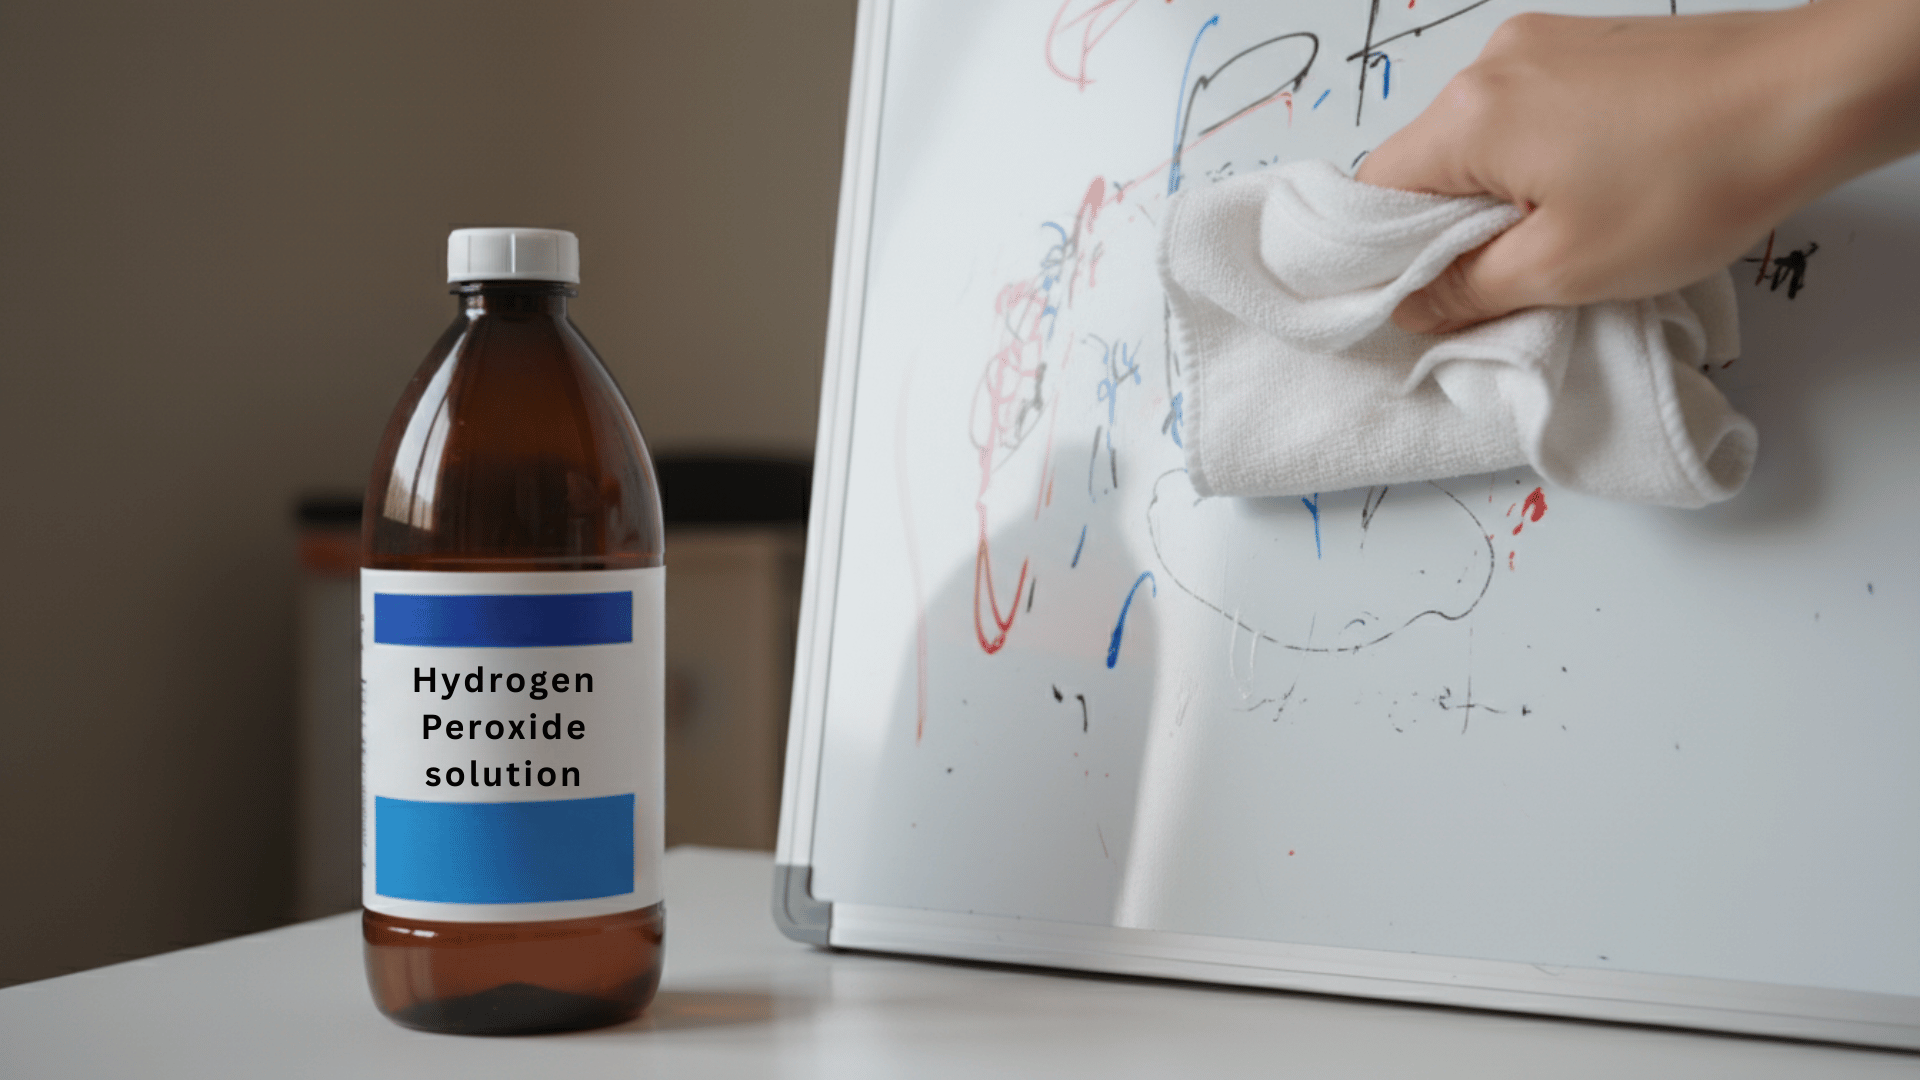
Hydrogen peroxide provides stronger cleaning power for boards with severe staining that resists gentler cleaning methods effectively.
Pour a small amount of 3 percent hydrogen peroxide onto a clean cloth, avoiding direct application to the board.
Wipe stained areas using firm, even pressure, allowing the peroxide’s oxidizing properties to break down embedded marker pigments.
Rinse the area thoroughly with a damp cloth, removing all peroxide residue before it dries on the surface.
11. Melamine Foam Eraser
Melamine foam erasers, commonly known as magic erasers, physically lift marker stains from whiteboard surfaces through micro-abrasion without harsh chemicals.
Dampen the eraser slightly with water, squeeze out excess moisture, then gently rub stained areas using light circular motions.
The foam’s fine structure removes embedded residue while being gentle enough not to scratch most whiteboard surfaces when used properly.
Avoid excessive pressure or aggressive scrubbing, as these can damage the board’s protective coating over time with repeated use.
Common Cleaning Solutions to Avoid When Cleaning a Whiteboard
Certain cleaning products can permanently damage whiteboard surfaces, so it’s essential to know which solutions cause harm before cleaning.
- Abrasive cleaners: Harsh scouring powders scratch and permanently damage the smooth whiteboard surface coating over time.
- Acetone products: Nail polish remover dissolves the protective coating on whiteboards, causing irreversible surface damage and clouding.
- Ammonia-based cleaners: Window cleaners containing ammonia break down the surface of the board, leaving permanent yellow stains and damage.
- Rough materials: Steel wool, abrasive sponges, or paper towels scratch the delicate writing surface, creating permanent marks.
- Oil-based products: Furniture polish or oil-based cleaners leave residue, preventing markers from writing smoothly on treated surfaces.
Comparing Whiteboard Cleaning Products
Choosing the right cleaning solution ensures your whiteboard remains clear, stain-free, and ready for effective daily use.
| Cleaning Product | Effectiveness | Cost | Safety |
|---|---|---|---|
| Rubbing Alcohol | Excellent for all marker types | Around $3-$5 | Safe, non-toxic when dry |
| White Vinegar | Good for light to medium stains | Around $2-$4 | Safe, natural, non-toxic |
| Commercial Cleaner | Excellent, specially formulated | Around $8-$15 | Generally safe, check labels |
| Dish Soap | Good for regular maintenance | Around $2-$5 | Safe, gentle, non-toxic |
| Hand Sanitizer | Good for spot cleaning | Around $3-$6 | Safe, alcohol-based formula |
| Baking Soda Paste | Excellent for tough stains | Around $1-$3 | Safe, natural, gentle abrasive |
Maintenance Tips to Keep Your Whiteboard Clean Longer
Regular preventive care and proper cleaning habits extend the lifespan of whiteboards while maintaining clear, smudge-free surfaces for effective daily use.
- Erase immediately: Remove marker writing within 24 hours to prevent ink from setting into the surface and causing permanent ghosting.
- Quality markers: Use only fresh, name-brand dry-erase markers, avoiding dried-out or off-brand markers that stain more easily.
- Clean erasers: Wash whiteboard erasers weekly in warm, soapy water to remove accumulated marker dust and residue buildup.
- Weekly deep-clean: Thoroughly clean the entire board surface once weekly, even if it appears clean, to prevent residue buildup.
- Proper storage: Store dry-erase markers horizontally with caps on tightly, preventing the tips from drying out prematurely.
- Avoid touching: Keep fingers and hands off the writing surface, as skin oils attract marker residue, making stains harder to remove.
Conclusion
Maintaining a spotless whiteboard doesn’t require expensive products or complicated procedures.
The cleaning techniques shared here change even the most neglected boards back to their original brilliance using affordable household items.
Preventive care through regular maintenance saves money by avoiding premature replacement of expensive whiteboard equipment.
Start with the simplest solution first, gradually advancing to stronger treatments only when necessary. A well-maintained whiteboard supports productivity, creativity, and effective communication for years ahead.