Ready to change those plain unfinished cabinets into beautiful focal points?
You’re in the right place. Painting unfinished cabinets is one of the most cost-effective ways to achieve success in home renovation.
Even if you’ve purchased raw wood cabinets or you’re refreshing builder-grade pieces, a fresh coat of paint can completely change the look and feel of your space.
You can achieve a professional-looking finish that rivals custom cabinetry at a fraction of the cost. The process requires some preparation and patience, but the results are absolutely worth it.
Understanding Your Cabinet Material
Before you grab a paintbrush, identify what type of wood you’re working with. Common unfinished cabinet materials include pine, oak, maple, birch, and MDF.
Each responds differently to paint and primer. Hardwoods like oak have prominent grain patterns that may show through paint, requiring extra sanding.
Pine is softer and more prone to dents, but it accepts paint readily. MDF offers an ultra-smooth surface but requires careful priming due to its high absorbency.
Birch and maple provide excellent paint adhesion with minimal prep work. Knowing your material helps you choose the right primer.
Taking time to assess your cabinet material upfront ensures you select the proper products and techniques for a durable, beautiful finish.
Tools and Materials Required
| Item | Purpose |
|---|---|
| Screwdriver & Labels | Remove and organize cabinet parts. |
| Degreaser / Cleaner | Eliminate grease and dust. |
| Sandpaper (120–220 grit) | Smooth surface for better adhesion. |
| Tack Cloth | Wipe away fine dust after sanding. |
| Primer | Seal wood and prep for paint. |
| Paint (Cabinet or Enamel) | Provide color and a durable finish. |
| Brushes / Foam Rollers | Apply paint evenly and smoothly. |
| Painter’s Tape & Drop Cloths | Protect surfaces and edges. |
| Topcoat / Sealer (optional) | Add extra protection and shine. |
How to Paint Unfinished Cabinets
Follow this proven process to achieve a flawless, professional-looking finish on your unfinished cabinets
Step 1: Sand the Surface
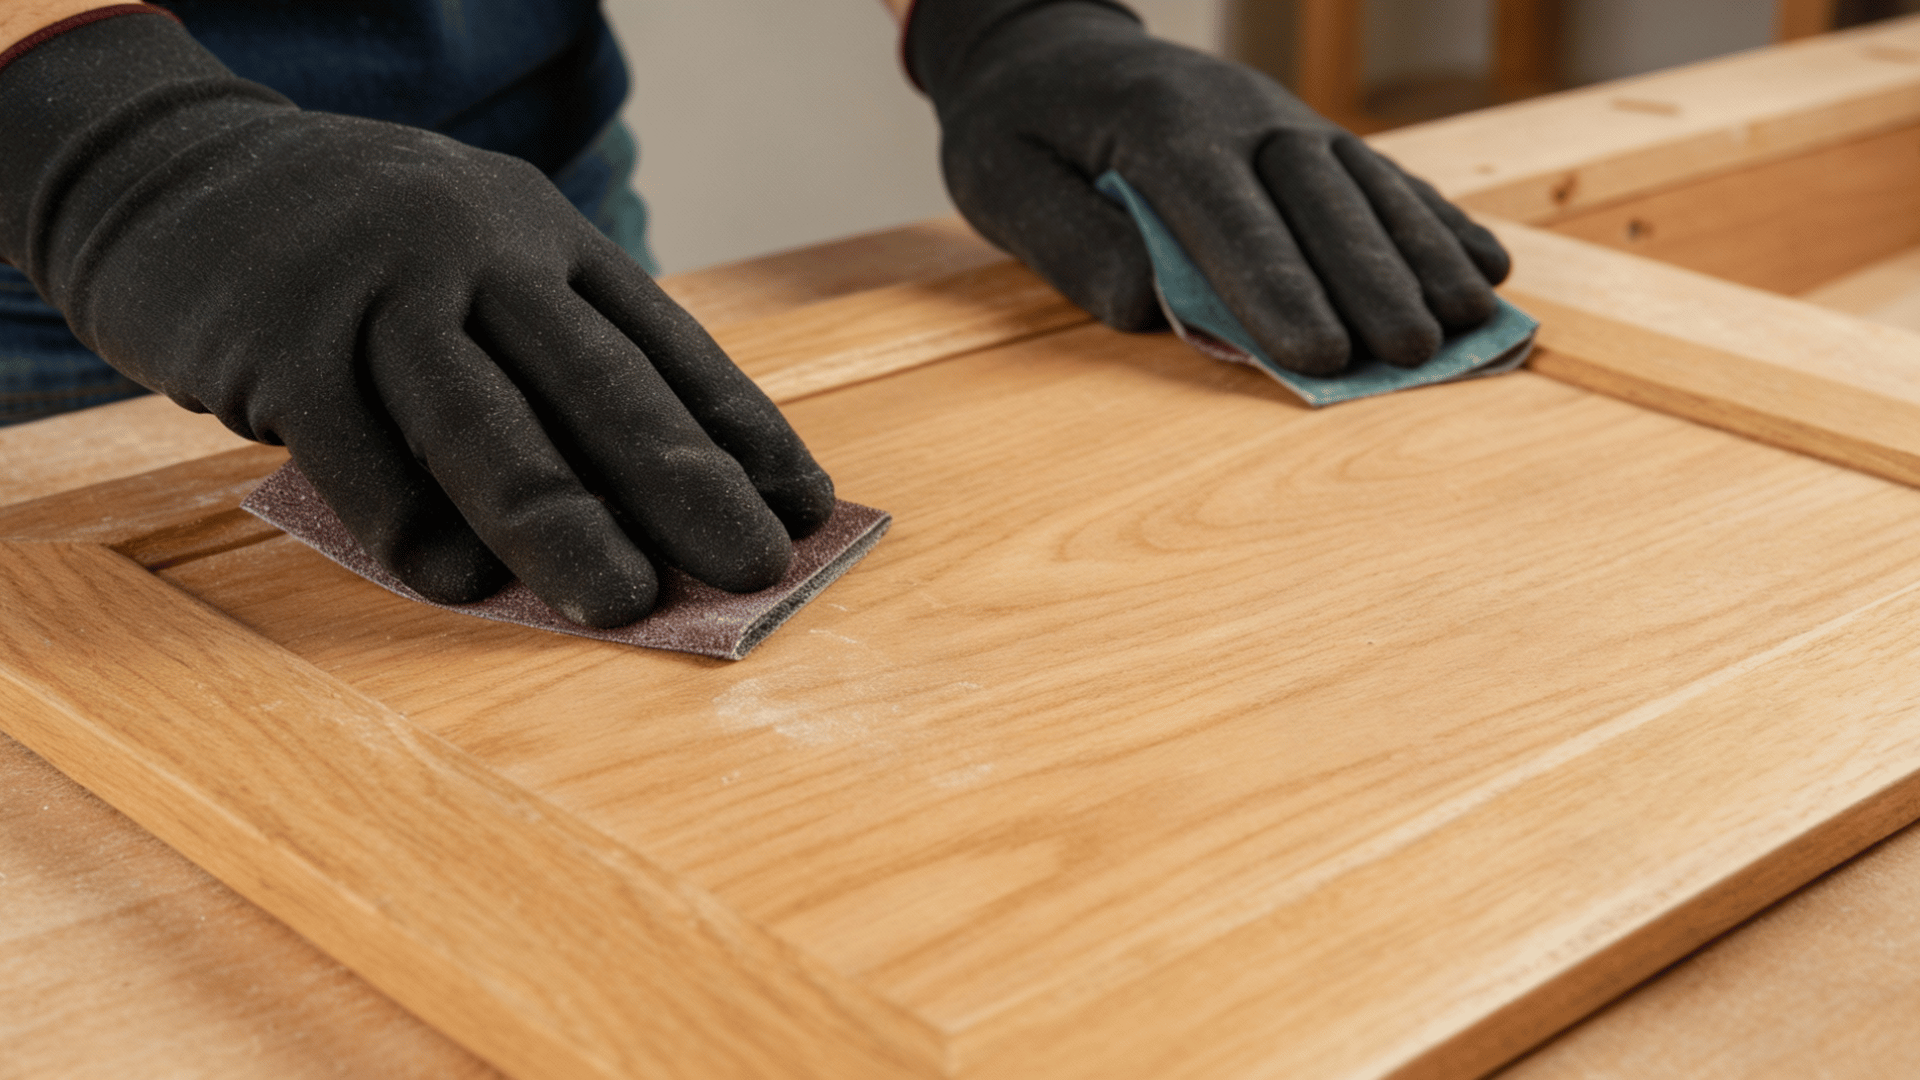
Begin by sanding all cabinet surfaces with 120-grit sandpaper to smooth rough spots and imperfections. Follow with 220-grit sandpaper for a finer finish.
Always sand along the wood grain to prevent scratches. After sanding, thoroughly wipe away all dust using a tack cloth or slightly damp rag.
Allow surfaces to dry completely before proceeding to ensure proper primer adhesion.
Step 2: Apply Primer
Apply a high-quality wood primer to seal the bare wood and create a solid foundation for paint adhesion.
Use a quality brush for detailed areas like edges and corners, and a foam roller for larger flat surfaces.
Apply thin, even coats to avoid drips and runs. Allow the primer to dry completely according to the manufacturer’s instructions, typically two to four hours.
Step 3: Sand the Primer

Once the primer is fully dry, lightly sand all surfaces using 220-grit sandpaper to eliminate any raised wood grain or surface imperfections.
This crucial step creates an ultra-smooth base, ensuring your final paint finish looks professional. Use gentle, even pressure throughout.
Remove all sanding dust with a tack cloth before painting. Skipping this step can result in a rough final appearance.
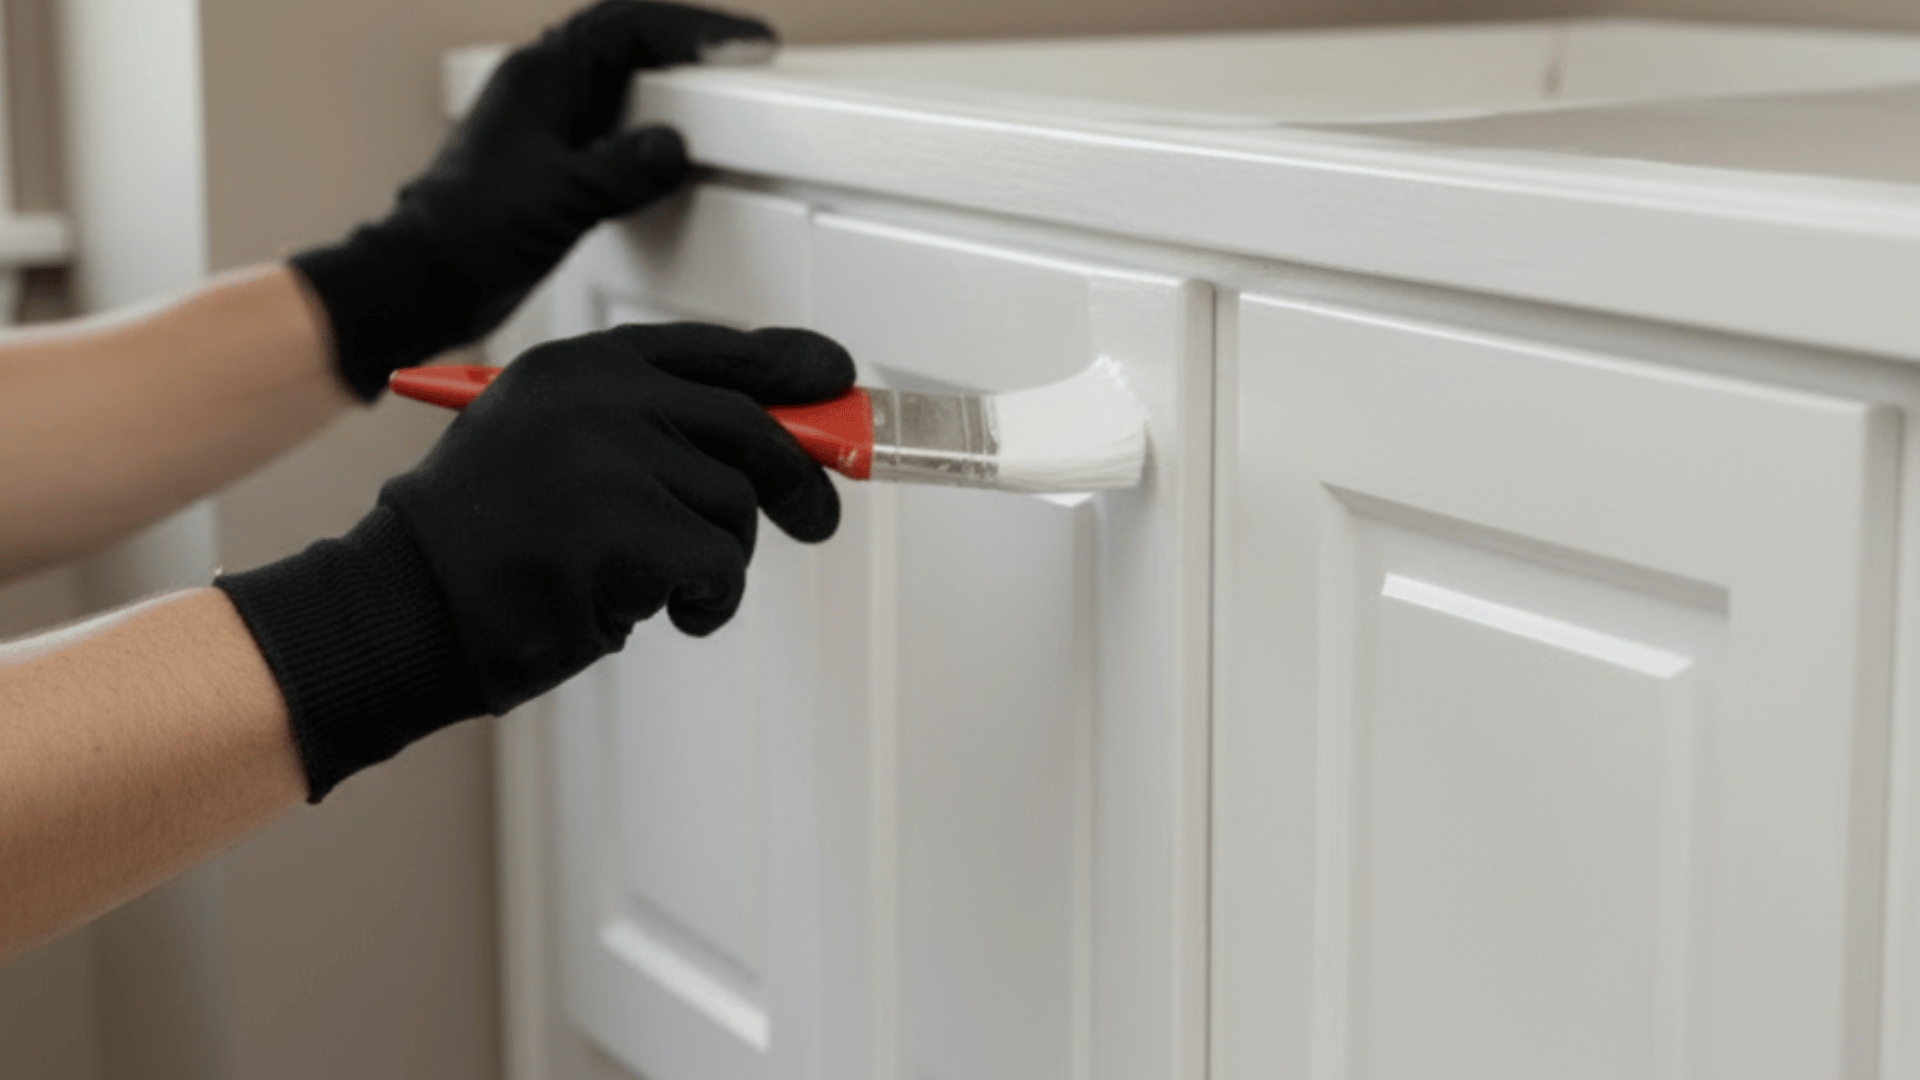
Step 4: Apply the First Paint Coat
Using a high-quality brush and foam roller, apply your first paint coat in long, smooth strokes. Avoid overloading your brush to prevent drips and uneven coverage.
Paint cabinet frames first, then move to doors and drawer fronts. Work systematically to maintain a wet edge.
Allow this coat to dry for four to six hours or follow the paint manufacturer’s recommended drying time
Step 5: Light Sanding Between Coats
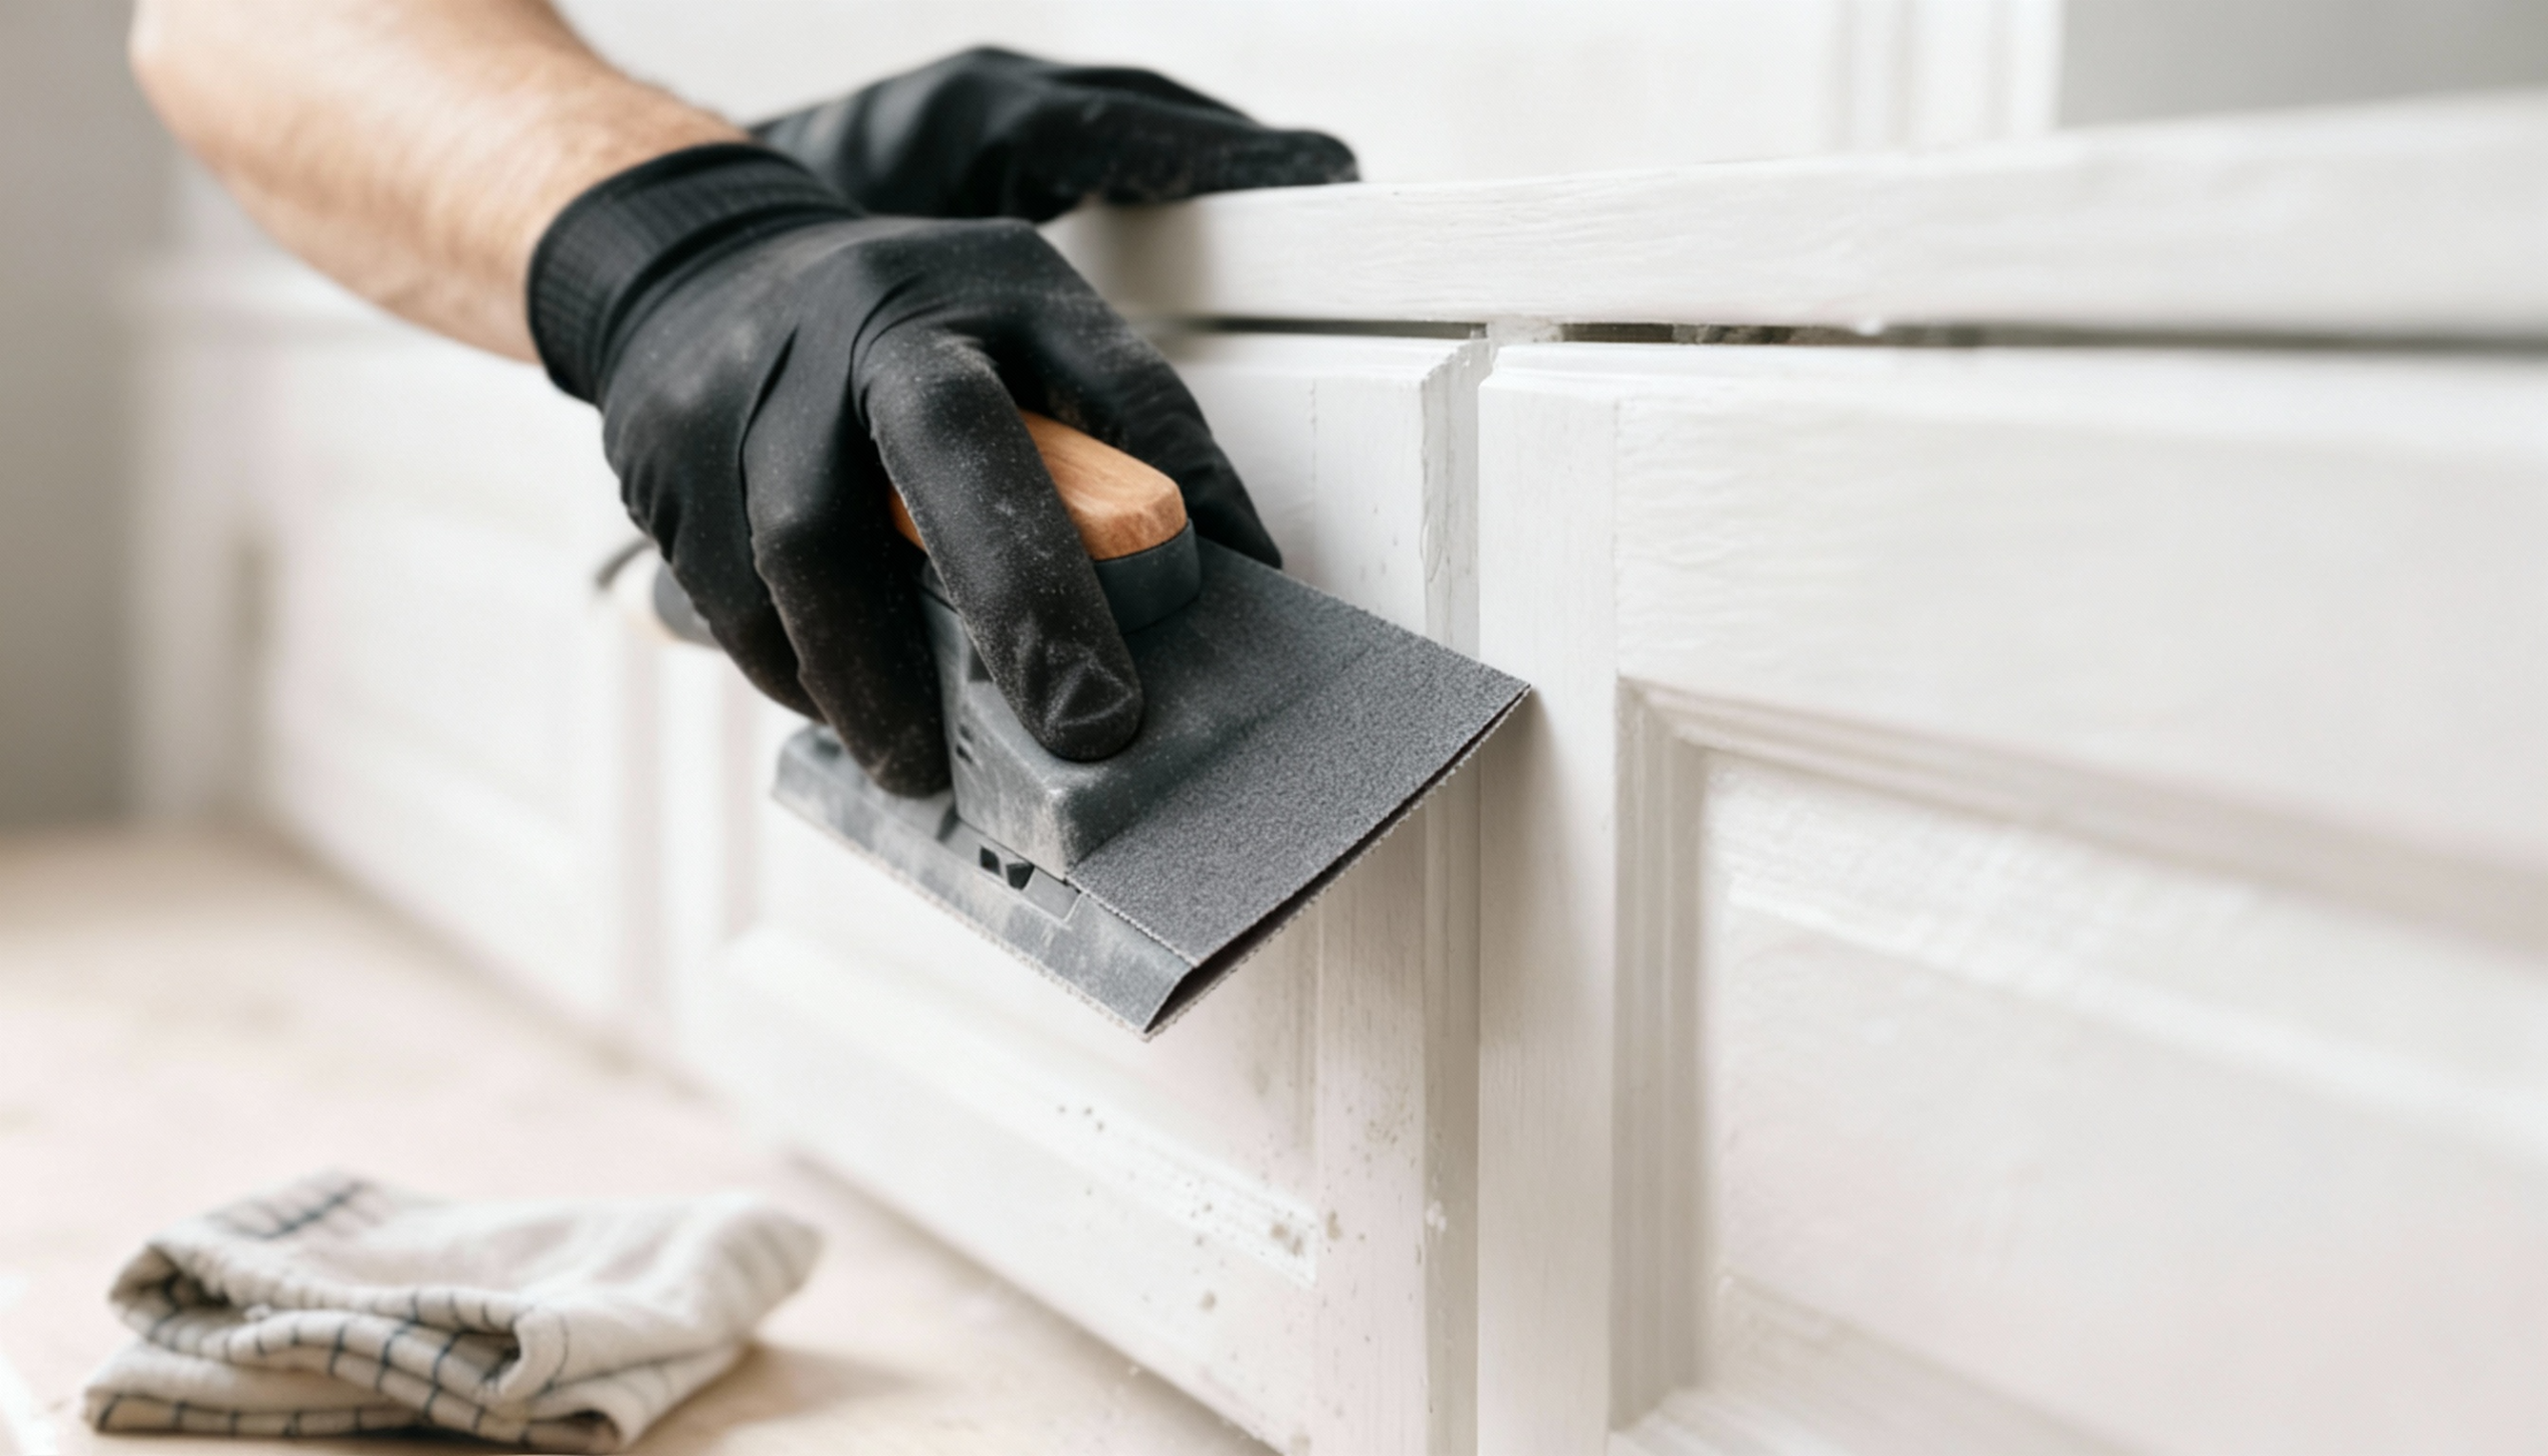
After the first paint coat dries completely, gently sand the entire surface with 320-grit sandpaper or a fine sanding sponge.
This step removes any brush marks or imperfections and helps the second coat bond properly. Use light pressure to avoid sanding through the paint layer.
Clean away all dust particles thoroughly with a tack cloth before applying your next coat for optimal results.
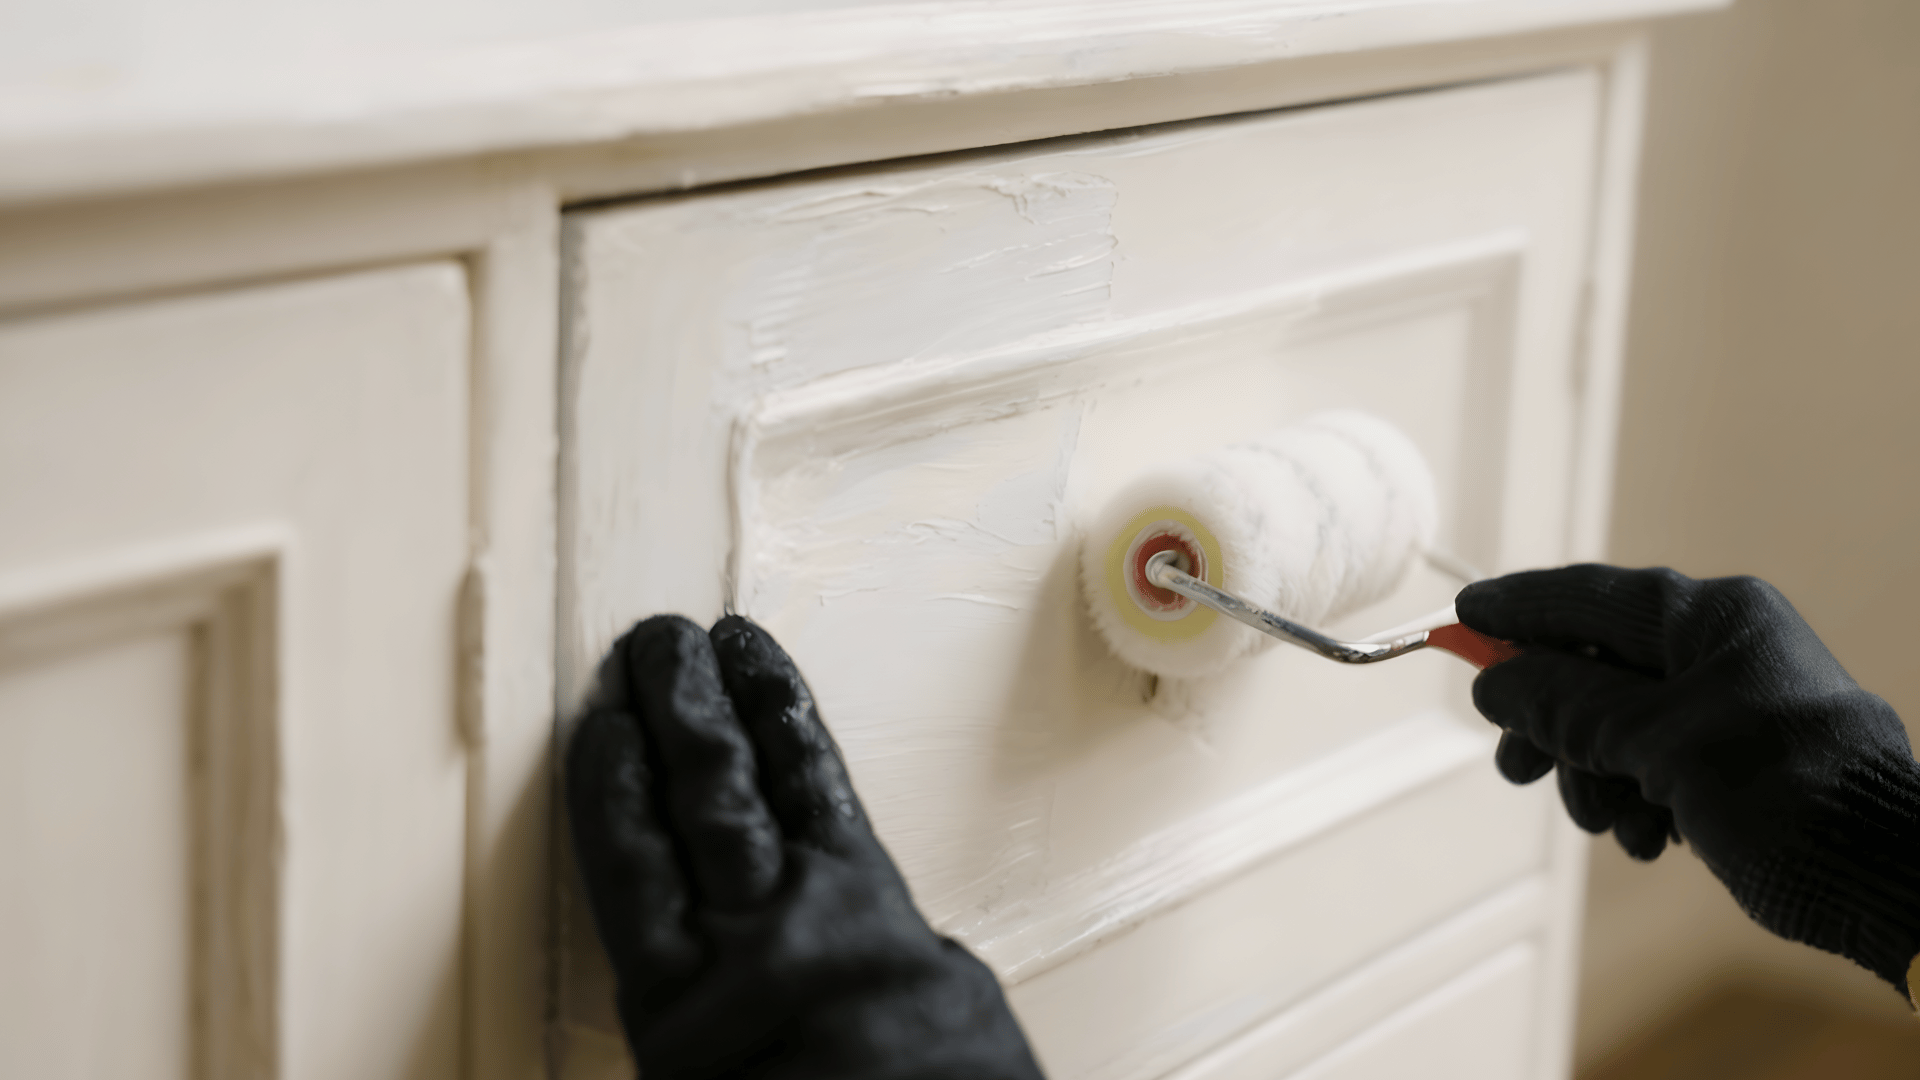
Step 6: Apply the Second Paint Coat

Apply your second paint coat using identical techniques from the first application. This coat should provide complete, uniform coverage across all surfaces.
Examine carefully for any thin spots or missed areas once dry. If needed, apply a third coat for perfect coverage.
Allow the final coat to cure for at least twenty-four hours before any handling to prevent damage or fingerprints.
Step 7: Reassembleand Cure
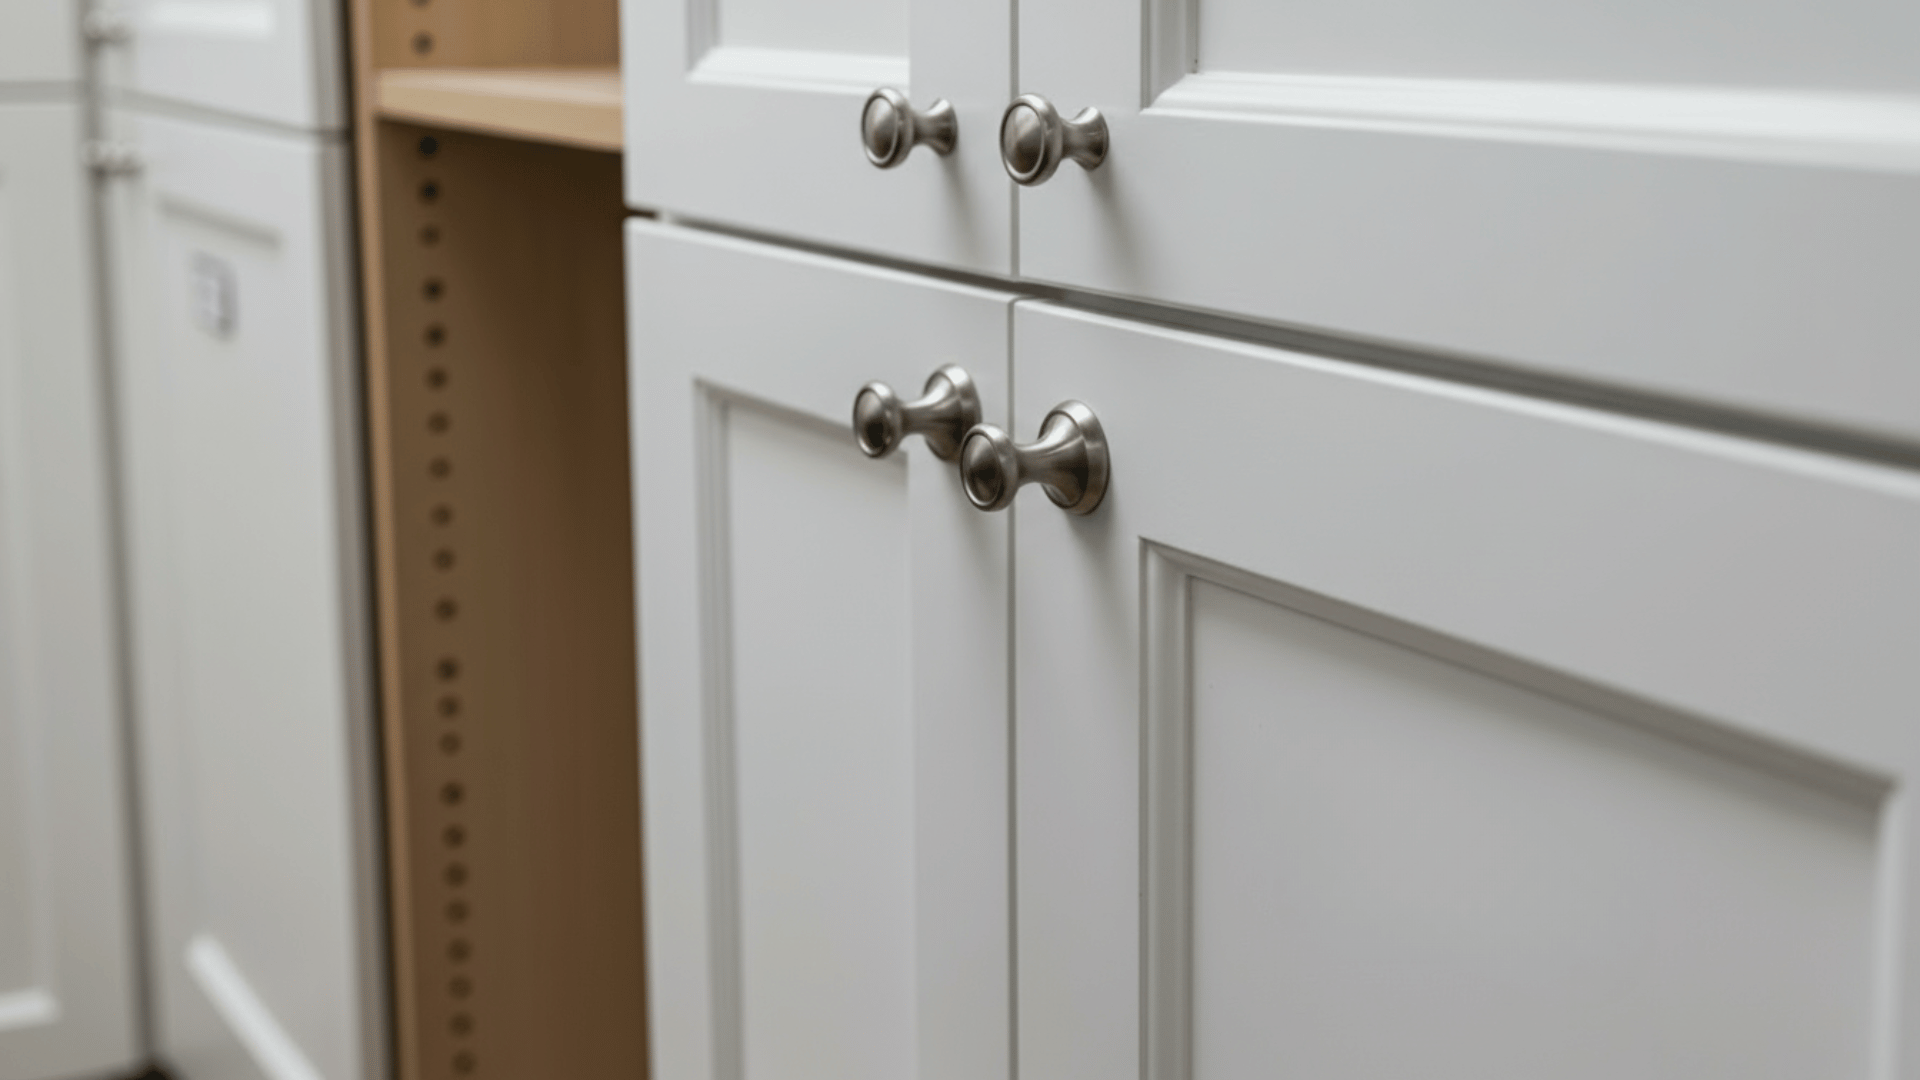
Once the paint is dry to the touch, carefully reattach all hardware and rehang cabinet doors in their original positions.
Remember that while paint may feel dry, it requires one to two weeks to fully cure and harden.
During this curing period, avoid heavy use and be gentle when closing doors and drawers to prevent chips, scratches, or damage to your newly painted finish.
Cost of Painting Unfinished Cabinets
Think about how much it really costs to paint unfinished cabinets yourself? The table below outlines common expenses for tools, paint, and prep materials.
| Item / Material | Estimated Cost Range | Notes / Recommendations |
|---|---|---|
| Primer | $25 – $45 | Choose a bonding primer like Zinsser BIN or KILZ Premium for raw wood. |
| Paint | $40 – $70 | Use durable enamel or cabinet paint such as Benjamin Moore Advance. |
| Sandpaper | $10 – $20 | Include 120–220 grit for prep and between coats. |
| Brushes & Rollers | $15 – $30 | High-quality synthetic brushes minimize streaks. |
| Painter’s Tape & Drop Cloths | $10 – $25 | Essential for neat edges and protecting surfaces. |
| Cleaner / Degreaser | $8 – $15 | Helps remove oils and residue before priming. |
| Topcoat or Sealer (optional) | $20 – $40 | Adds extra protection and durability. |
| Miscellaneous | $10 – $20 | Basic safety and cleanup supplies. |
Community Insights Saying About Painting Unfinished Cabinets
Many DIYers agree that sanding between coats is essential for a smooth, professional finish. One Reddit user shared,
“You should sand before every coat of everything, moving up in grit number the closer you get to the final coat.”
This gradual sanding helps each layer bond better and prevents uneven texture. Another contributor noted,
“I did sand a little after rolling the BIN, but it probably wasn’t necessary. spraying would be easier and have great results if you’re comfortable with it.”
Overall, the community consensus is clear: light sanding between coats and careful material choice lead to a flawless, lasting finish on cabinets.
Common Mistakes to Avoid
Before you dip your brush, take note. Many DIY painters make avoidable mistakes that can ruin an otherwise beautiful cabinet makeover.
- Skipping primer: Unprimed wood absorbs paint unevenly, leading to blotchy coverage and poor adhesion over time.
- Rushing between: Applying second coats too quickly causes tackiness, drag marks, and an unprofessional-looking finish.
- Using cheap Supplies: low-quality brushes leave visible bristle marks and streaks that ruin your cabinet’s smooth appearance.
- Ignoring ventilation: Poor airflow extends drying time and exposes you to harmful fumes during the painting process.
- Inadequate sanding: Rough surfaces create texture issues that show through paint, preventing the sleek, professional look desired.
- Overloading brushes: Too much paint causes drips, runs, and uneven coverage that requires extensive sanding and recoating.
Conclusion
Painting unfinished cabinets is a rewarding DIY project that can dramatically beautify your kitchen or bathroom without the hefty price tag of custom cabinetry.
With proper preparation, quality materials, and careful technique, you’ll achieve the best finish that protects your cabinets and improves your home’s style.
Even if you’re aiming for a classic white, a bold navy, or a trendy two-tone look, painted cabinets offer lasting possibilities for personalization.
Ready to start your cabinet development? Gather your supplies, clear your workspace, and begin creating the kitchen of your dreams today!