One of the biggest issues I see at my Craft Make & Take classes are problems with decoupaging. It is a learned process for sure. My friends seem to think I’ve become some kind of expert in the decoupaging department….which is not the case. I’ve just gone through the process so many times that I’ve learned a thing or two along the way. So I decided to write up a post, rounding up all of my 12 Decoupaging Tips into one place.

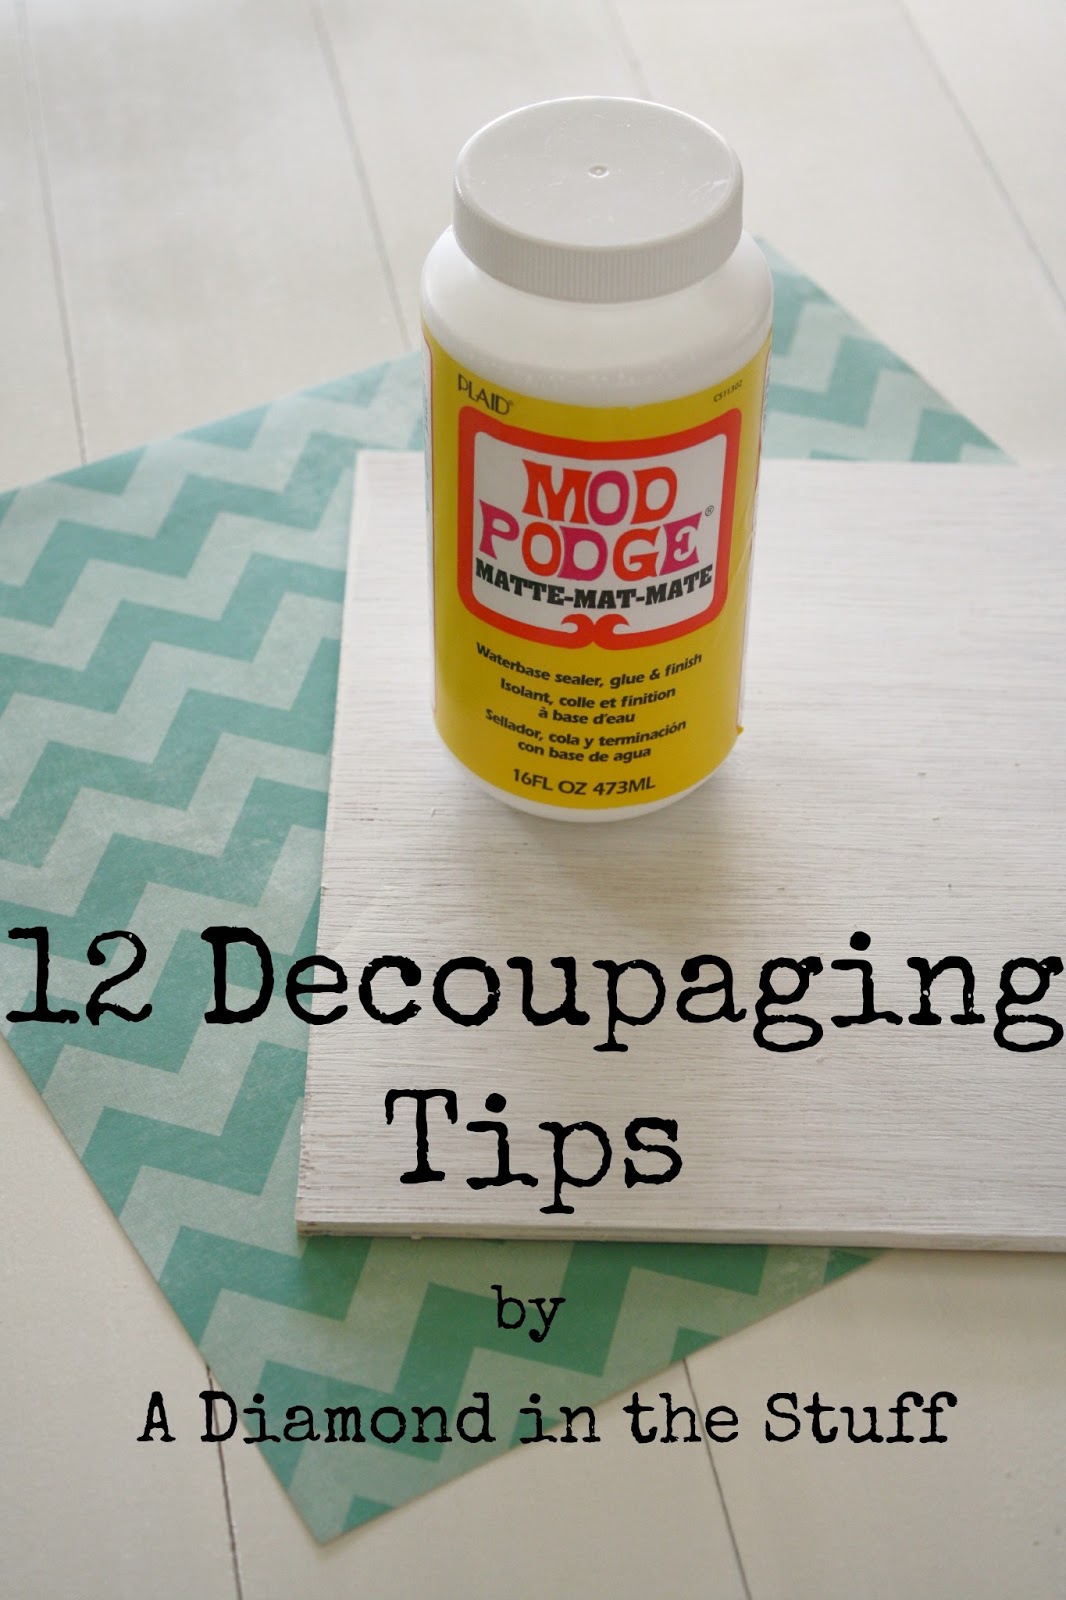
No 1: The first step to decoupaging is picking what medium you want to use for your project. Whether you want to make your own or use store bought, this brand or that, and matte or gloss….you need to decide. Right now I find myself using Mod Podge Matte on a lot of projects.

No 2: The next step is cutting your paper to the size of the surface you want to cover. I hold my paper over the wood (in this case) and use a pencil to mark the outer edges where I will want to cut the paper. If you want the paper to be slightly smaller than the surface space your working with, then just move your pencil line in the desired amount.

No 3: I always use my large 12in straight paper cutter while cutting my paper. It would be a miracle for me to cut a straight line by hand. I just line up my pencil marks on the paper cutter and cut away!!!

No 4: Once the paper is cut, it’s very important to check the size of the paper. If there is any trimming that needs to be done, now is a good time to do it!!! But just in case there is any overhang after this step….don’t worry we can fix that (later)!!!

Ok now it’s actually time to start decoupaging!!! THIS IS A VERY IMPORTANT STEP, so I’m going to break it into two steps….
No 5: The amount of Mod Podge I use is directly related to how thick my paper is. The thicker the paper: the more Mod Podge you can use. The thinner the paper: the less Mod Podge you should use. Just make sure you have good coverage no matter the amount of Mod Podge you use. You want to prevent the paper from becoming too saturated. The wetter the paper is, the easier it will bubble and tear.
No 6: I apply the Mod Podge to the wood surface first and then to the backing of the paper. This also helps prevent the paper from soaking up too much of the Mod Podge and getting too wet.

No 7: It’s time to add the paper to the project. I start by attaching one of the edges first, making sure that everything is lined up and straight. If the first time you lay it down doesn’t work, quickly peel it up and try again.

No 8: While you are laying down your paper onto the wood surface, use some kind of straight edged tool (you can use a credit card, vinyl tool, or pampered chef stone scrapper) to push the paper down onto the surface. You hold the non-attached side of your paper with one hand, scraping your tool towards you with the other hand, pressing the paper down with the tool as you go. Once the paper is completely attached to the wood, use the tool to smooth the paper down and get rid of any bubbles. Scrape from the middle of the project out to the edges to get rid of any excess Mod Podge.

No 9: If there are any stubborn bubbles, use a needle or sharp pin to “pop” the bubble. Simply poke a small hole into the paper and then use your fingers or scraper tool to push the bubble down. Still have some stubborn areas? Use the back of your finger nail to rub down problem areas. Just be very careful not to rip the paper.

No 10: Now comes a hard part. Waiting. You will want the Mod Podge to dry for a bit before putting on the top coat. Give it about 20 minutes to dry. If you can give it more time, great! If not, at least wait the 20 minutes!!! You will be very glad you did. The dryer the Mod Podge is the less bubbling issues you will have when putting on the top coat.

No 11: Once you have let the Mod Podge dry it’s time to take care of any paper overhang (remember step 4 when I said we’d take care of overhanging paper later on, now’s the time). I use some sand paper to remove any access paper. I hit the edge of the wood at an angle with the sand paper, the paper usually separates right where it is hanging over the edge. Make sure you remove any dust particles before moving on.

No 12: It’s the final step and time for the top coat!!! I use a foam craft brush to apply the Mod Podge to my project. I use long continuous strokes, covering the entire surface. Sometimes I go back after a few minutes and do another coat if I feel it needs it.
Alright, those are my 12 Decoupaging Tips!!! I hope I was able to answer some questions that you had or shed some light on a problem you may of been having. Have a question that wasn’t covered here….feel free to ask away!!!
Linking up to these great link parties!!!
~~~~~~~~~~~~~~~~~~~~~~~~~~~~~~~~~~~~~~~~~~~~~~~~~~~~~~~~~~~~~~~~~~~~~~~~~~

The Time to Shine link party is up and running!!! I would just love if you would come by and link up!!! Make sure you link back, I’d love to feature you!!!


Thanks, that was very useful.
Thank you so much! That was a great tute and very helpful!
Great! Thank you for sharing this!
Hey Courtney — have you ever used the Mod Podge outdoor? I’m wondering if it works on everything, or should I bite the bullet and buy the a second jar of the regular matte stuff for my indoor projects. If any of your other readers have any input, it would be appreciated!
Thanks.
Laura
Yes I have. It does work on anything. It is basically the same, it just is formulated to help protect projects that may be outside. From my experience though, it takes a little longer to dry and loose some of the tacky feeling. If it were me, I would just go ahead and get some regular Mod Podge (you can use a coupon for it too!!!).
Thanks!
Thanks!
Hey Courtney; Thank-You so much for the very helpful Mod Podge Tips!!!!
Great tips, thanks so much!
Courtney, those are all great tips. Thanks for sharing. I have nominated you for a Liebster award. I hope you don’t mind!
http://www.colorsmixedtogether.com/2013/03/so-honored-liebster-award.html
I like the way you clearly explain each step and the reason for each step. Great tutorial!
This is such a a great tutorial! Thanks for sharing! I would love for you to come by and link this or another project/recipe at my brand new link party!! Hope to see you! http://domesticsuperhero.com/2013/03/07/domestic-superhero-sharing-thursday-1
These are great tips! I’m always getting bubbles and it never occurred to me to just pop them! Sheesh.
Jillian – http://epic-thread.blogspot.com
Thanks for these tips – I have a decoupage idea and this gives me the confidence to go forward with it!
These are great tips! Thanks bunches!!!
Great tips! Thanks for the step by step.
I found you today at I Heart Naptime’s Linky. I hope you get a chance to stop by my blog and leave a comment, too!
~ Megin of VMG206
http://www.vmg206.blogspot.com
Newest follower here! I found you through the blog hop. You have a super cute blog, I can’t wait to read more. You can find me at meandmr.com
-Melanie @meandmr.com
Fabulous and informative tips! Thanks for sharing them at Project Inspired!
Hello.
I am totally new to Decoupaging with Mod Podge. Since i’ve never tried it before. But i want to decoupage my coffee table. So my question is, Is this thing, You know the classic MOD PODGE, waterproof?? Also somebody said about MOD PODGE outdoor. Is that the thing to make my mod podge waterproof. Also i have one more question, Can you recommend what should i buy? The Matte one or the Gloss one??
Thank you
Roshni Mukherjee
Hi! Welcome!
If you are worried about the table getting wet I would say to use the Outdoor formula…it is made to protect against moisture. There isn’t an option in matte or gloss for the outdoor formula. From my experience though the outdoor mod podge can feel a little sticky when “dry”. So to add extra protection and to reduce stickiness I suggest using some of the Clear Acrylic Sealer (which you can get info here) on top of everything once it’s all dry.
This is what I do for my coasters! If you have any other questions please feel free to ask!!!
Great tips, but I would suggest you proofread. There are quite a few spelling errors/typos, and it detracts from the wisdom you are sharing.
Thanks Susan, I always try to make sure I catch any problems before posting but some always seem to sneak though! I tried to go through the post again and edit any errors I saw….hopefully I caught them all this time! Thanks for stopping by!
I have decoupaged old photos on a wood frame for my mom, but it dried with a bunch of brush lines. can I remove them or soften them or eliminate them by applying another coat? Advice, please. I really enjoyed your tips and found it very helpful. thank you so much
What type of brush did you use? I like to use foam brushes, they seem to leave less of the brush strokes. If you still have brush strokes, try spraying them with spray Mod Podge.
Can I use scrabokking paper for decoupage? Or is it too thick!
Do you mean thicker cardstock? Yes you can. Actually the thicker paper is easier to deal with because you have less chance of bubbles and tears.
I know this is an old post but … a couple days ago I used maps as drawer liners. with Hard Coat MP. The edges are all curly and wavy and the interior is all bubbly.. I worked really hard to put it down, used a brayer and scraper.
I am not that upset because these are inside the drawers. but, my next project was to cover a large table I use in my office, it’s an Ikea “board” table, boring.
I want to use wallpaper and I REALLY don’t want the edges to curl up. Do you have any suggestions about wall paper?
I think I will scrounge up some scraps and practice first but I feel the map paper was somewhat heavy and I was really careful and took an hour of drying time between application and top coats.
Feeling discouraged.
Practicing on some scrap wood wouldn’t be a bad idea. I have become pretty good at decoupaging mostly because I have done it over and over.
For your bubbles, try to poke them with a sharp needle and press them down….if there is any wet mod podge still in there they will squish down. If the mod podge on the inside of the bubble is dry: pop the bubble with the needle and then go over the hole with more mod podge and they try to press it down with your fingers/nail.
As for the edges, gently lift the map up and take a brush with Mod Podge and brush it on the drawer. Then press the map down and keep an eye on it. Anything that peals up again continue to gently press down.
Depending on how thick the wall paper is, it should be easy to use. I have found the thicker the “paper” is the less issues you have. Especially bubbles.
I hope some of that helped! Good luck!!!
Super advice…thank you. Yesterday i started a project…covering an old table top. I’m using white glue as my mod podge (2 parts glue, 1 part water). I’ve glued the paper to the table top…sorting the bubbles wasn’t too difficult, however, with everything now in place and ready to top everything with a coat of my mod podge…i notice that the paper is bubbling up again. Luckily i had only tried a corner!! I’ve lightly sprayed the top with an acrylic varnish but it’s still bubbling as soon as i’m placing on the mod podge…not quite sure what to do at this point. Would love your advice!!